The Importance of Bathroom Sink Shutoff Valves
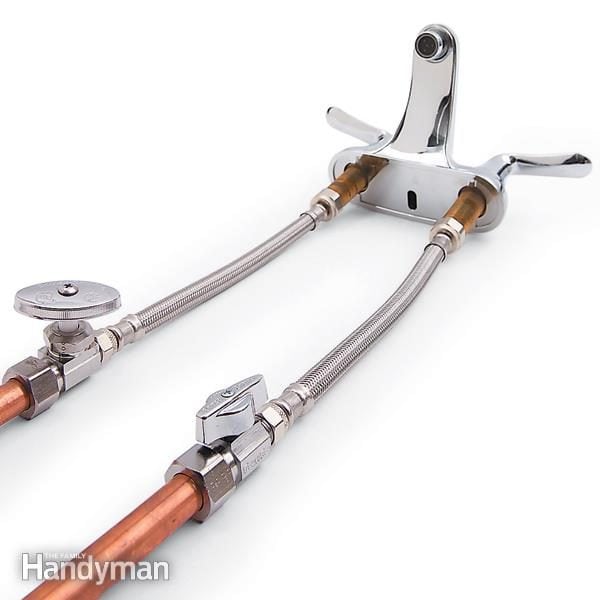
Bathroom sink shutoff valves may seem like a small component of your plumbing system, but they play a crucial role in the functionality and maintenance of your bathroom. These valves control the flow of water to your sink, allowing you to turn off the water supply for maintenance or repairs. Understanding their importance ensures you appreciate their role in your plumbing system.
- Prevent Water Damage: One of the primary reasons for having a bathroom sink shutoff valve is to prevent water damage. In the event of a leak or burst pipe, being able to quickly shut off the water supply at the sink can minimize damage to your home and belongings. Without a functioning shutoff valve, you may have to shut off the water supply to the entire house, inconveniencing everyone.
- Facilitate Maintenance and Repairs: Bathroom sink shutoff valves make maintenance and repairs much easier. Whether you’re replacing a faucet, fixing a leaky pipe, or installing new fixtures, having the ability to shut off the water supply locally means you don’t have to disrupt the water flow to the rest of the house.
- Emergency Preparedness: In emergencies such as a burst pipe or a malfunctioning faucet, being able to quickly access and operate the shutoff valve can prevent significant water damage. It’s important to know the location of these valves and how to use them in case of an emergency.
- Cost Savings: By allowing you to address plumbing issues promptly, bathroom sink shutoff valves can help save you money in the long run. Small leaks or drips can lead to significant water wastage and increased water bills if left unchecked. With a functional shutoff valve, you can address these issues before they escalate.
- Convenience: Having a bathroom sink shutoff valve adds convenience to your daily life. Whether you need to replace a faucet, clean the sink, or perform other maintenance tasks, being able to shut off the water locally means you can work more efficiently without disrupting the water supply to the entire house.
- Compliance with Building Codes: In many regions, building codes require the installation of shutoff valves for plumbing fixtures. Ensuring that your bathroom sink is equipped with a shutoff valve not only keeps you compliant with regulations but also enhances the safety and efficiency of your plumbing system.
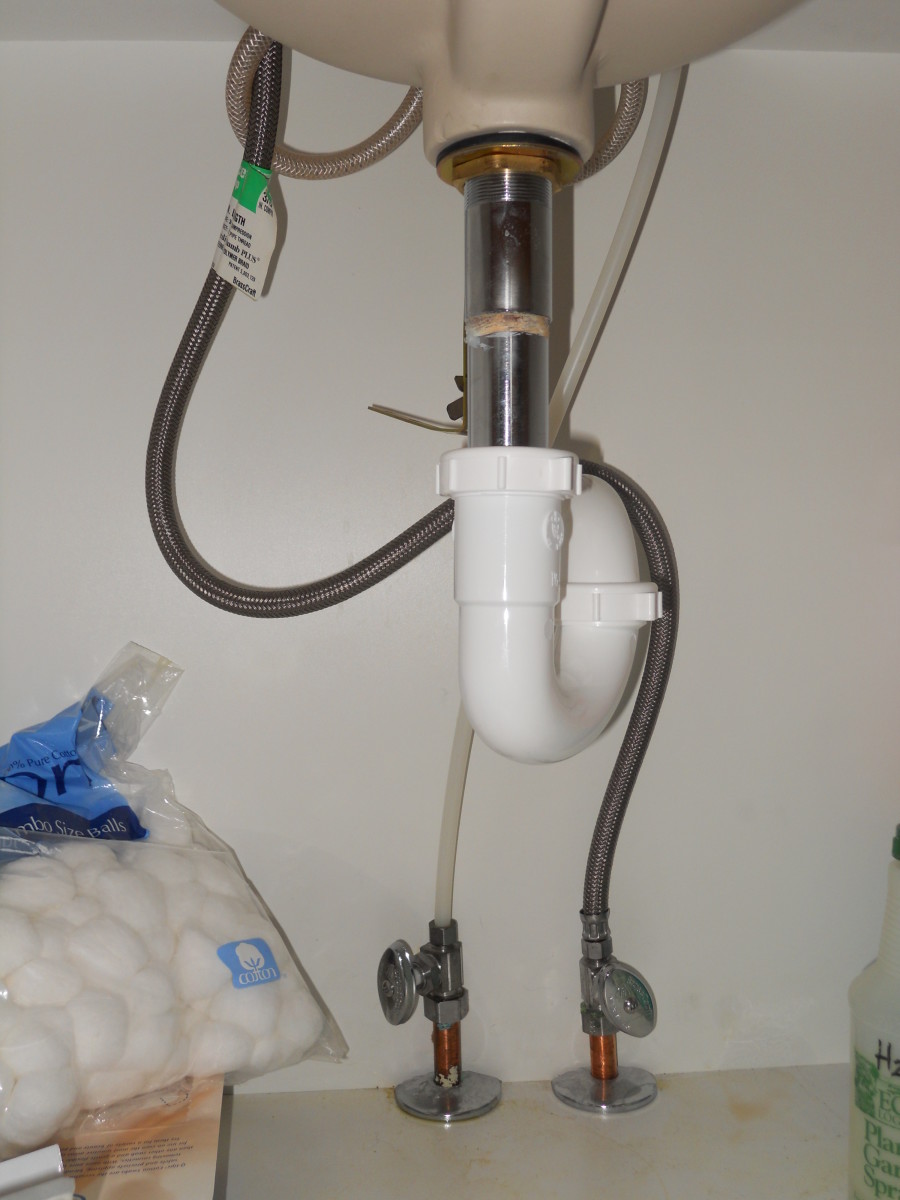
Types of Bathroom Sink Shutoff Valves
When it comes to bathroom sink shutoff valves, there are several types to choose from, each with its advantages and disadvantages. Understanding the differences between these types can help you make an informed decision when selecting the right valve for your needs.
Compression Valves: Compression valves are one of the most common types of shutoff valves found in residential plumbing systems. They feature a washer that compresses against a valve seat to stop the flow of water. While inexpensive and easy to find, compression valves are prone to leaks over time and may require periodic maintenance.
Ball Valves: Ball valves are another popular option for bathroom sink shutoff valves. They use a rotating ball with a hole in it to control the flow of water. Ball valves are known for their durability and reliability, as they are less prone to leaks compared to compression valves. However, they tend to be more expensive and may require more effort to operate due to their design.
Quarter-Turn Valves: Quarter-turn valves, also known as stop valves or shut-off valves, are a modern and convenient option for bathroom sink shutoff valves. As the name suggests, they require only a quarter-turn of the handle to shut off the water supply completely. This simplicity makes them easy to operate and less prone to wear and tear. However, quarter-turn valves may be more expensive than other types of valves.
Gate Valves: Gate valves are less common in residential plumbing systems but are still used in some older homes. They feature a gate or wedge that lowers into the path of the water flow to shut off the supply. While gate valves provide a tight seal when closed, they are susceptible to corrosion and may become difficult to operate over time.
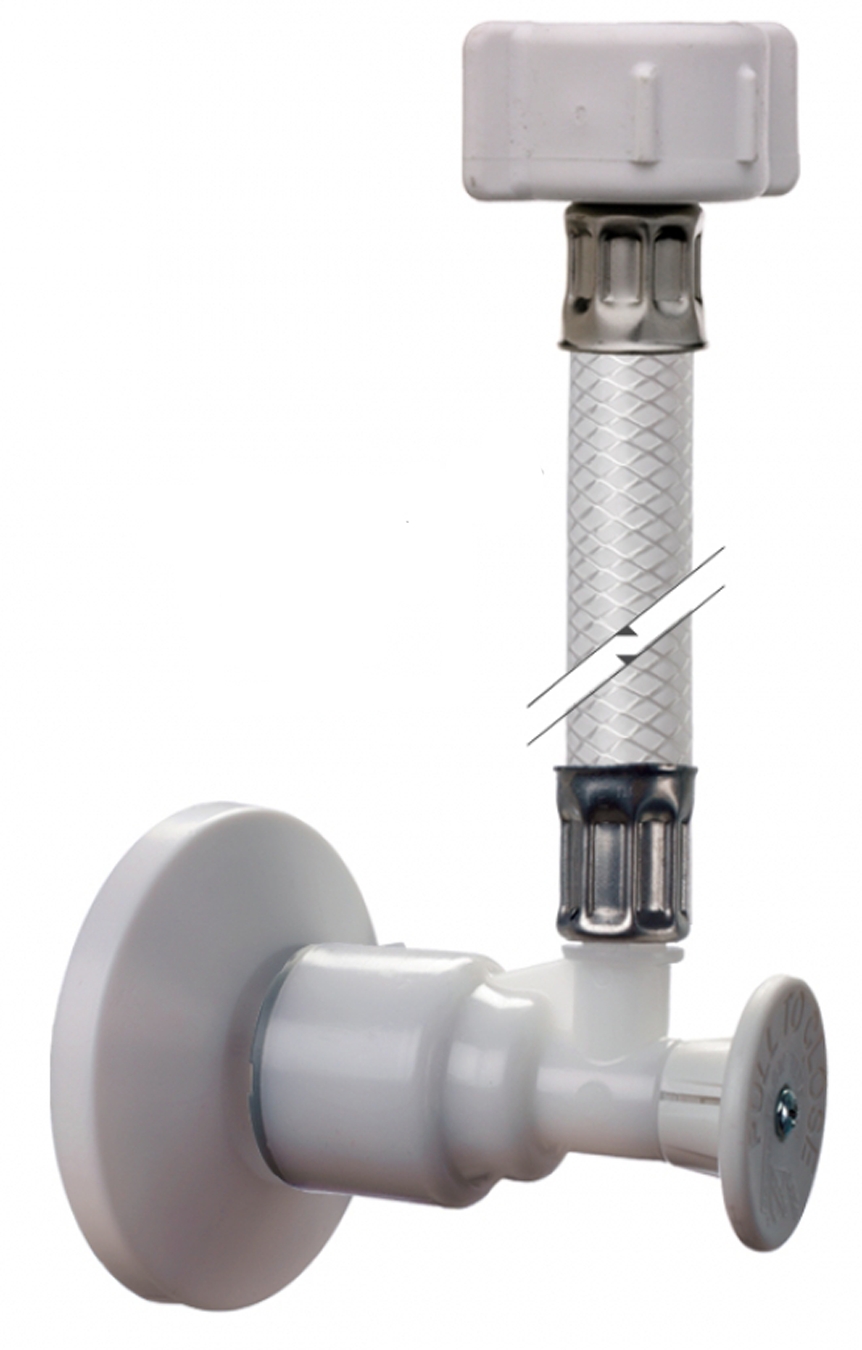
Push-Fit Valves: Push-fit valves, also known as push-to-connect or push-on valves, are a relatively new innovation in plumbing technology. These valves feature a push-fit mechanism that allows them to be installed quickly and easily without the need for soldering or threading. While convenient, push-fit valves may not be as durable as other types and may be prone to leaks if not installed properly.
How to Install or Replace a Bathroom Sink Shutoff Valve
Installing or replacing a bathroom sink shutoff valve is a relatively straightforward task that can be completed by DIY enthusiasts with the right tools and materials. Whether you’re upgrading an old valve or installing a new one, following these steps will ensure a successful installation.
Gather Your Tools and Materials: Before you begin, gather all the necessary tools and materials for the job. You’ll typically need an adjustable wrench, pipe wrench, Teflon tape, plumber’s putty, and the new shutoff valve.
Turn Off the Water Supply: Before you start working, turn off the water supply to the sink. You can usually do this by locating the main water shut-off valve for your home and turning it clockwise to shut off the water flow.
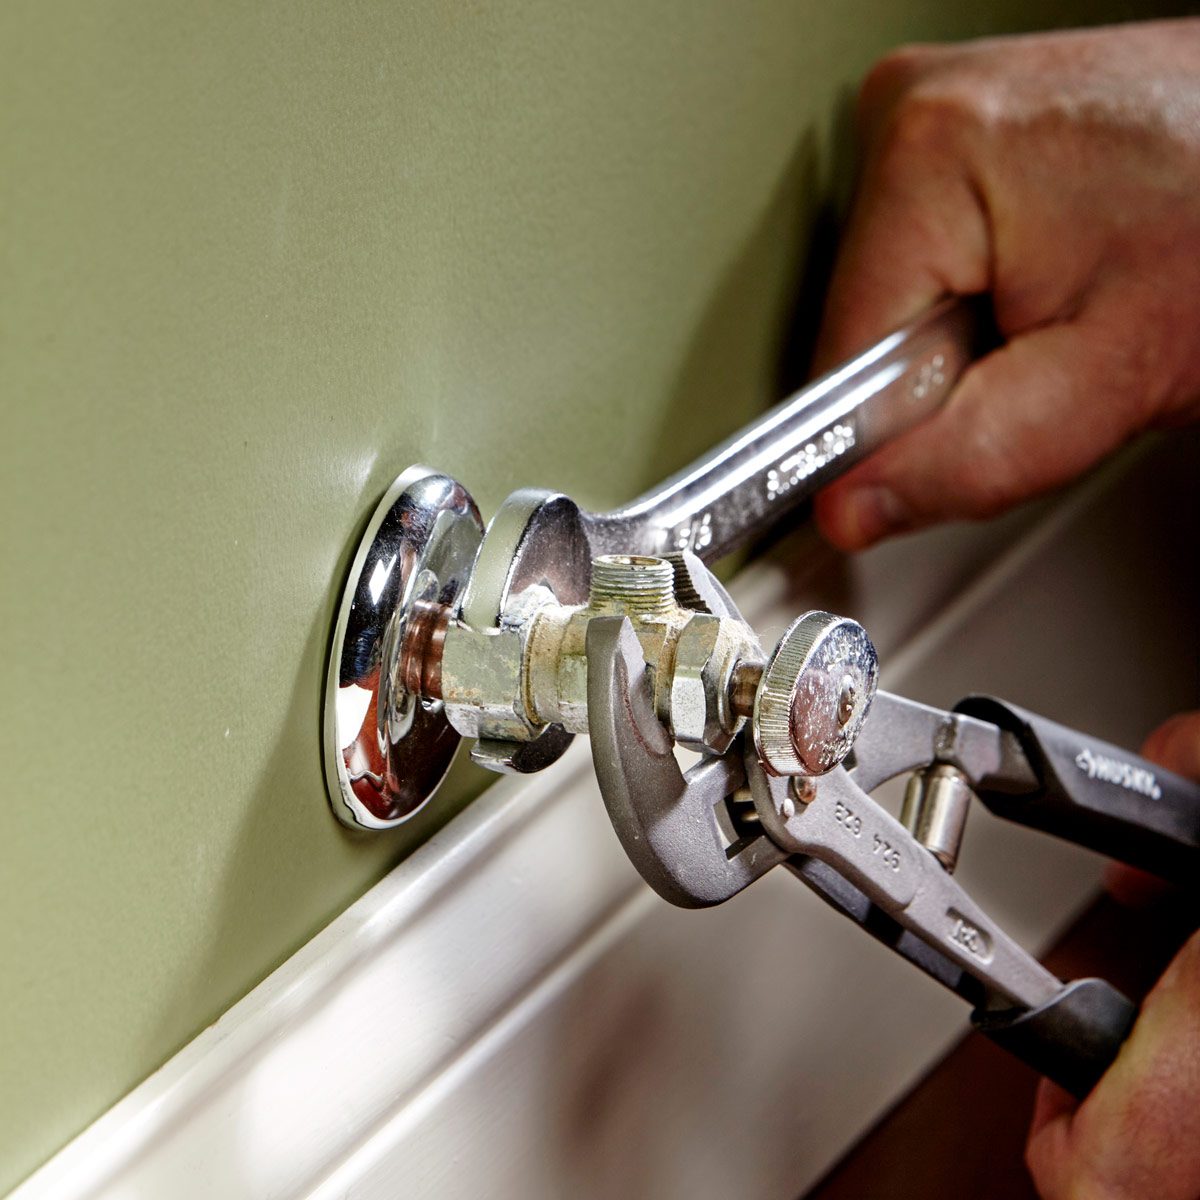
Remove the Old Valve (If Necessary): If you’re replacing an old valve, use a wrench to loosen and remove the nuts connecting the valve to the supply lines. Once the nuts are removed, you can pull the old valve away from the pipes.
Prepare the Pipes: Before installing the new valve, clean the ends of the supply lines to remove any debris or corrosion. Apply the plumber’s putty or Teflon tape to the threads of the supply lines to create a tight seal.
Install the New Valve: Place the new valve onto the supply lines and hand-tighten the nuts onto the threads. Use a wrench to securely tighten the nuts, being careful not to over-tighten and damage the threads.
Test for Leaks: Once the new valve is installed, turn the water supply back on and check for any leaks. If you notice any leaks, tighten the connections further or apply additional plumber’s putty or Teflon tape as needed.
Secure the Valve: Once you’ve confirmed that the valve is installed correctly and there are no leaks, secure it in place using the mounting brackets or screws provided with the valve.
Final Checks: Double-check all connections and ensure that the valve operates smoothly by turning it on and off a few times. Once you’re satisfied with the installation, clean up any debris and enjoy your newly installed bathroom sink shutoff valve.
Common Issues with Bathroom Sink Shutoff Valves and How to Fix Them
While bathroom sink shutoff valves are relatively simple devices, they can experience issues over time that require attention. Understanding common problems and their solutions can help you troubleshoot and resolve issues with your shutoff valve.
Leaking Valve: A leaking shutoff valve is a common issue that can lead to water wastage and potential water damage. The most common cause of a leaking valve is a worn or damaged washer or seal. To fix this issue, turn off the water supply to the sink and replace the washer or seal with a new one.
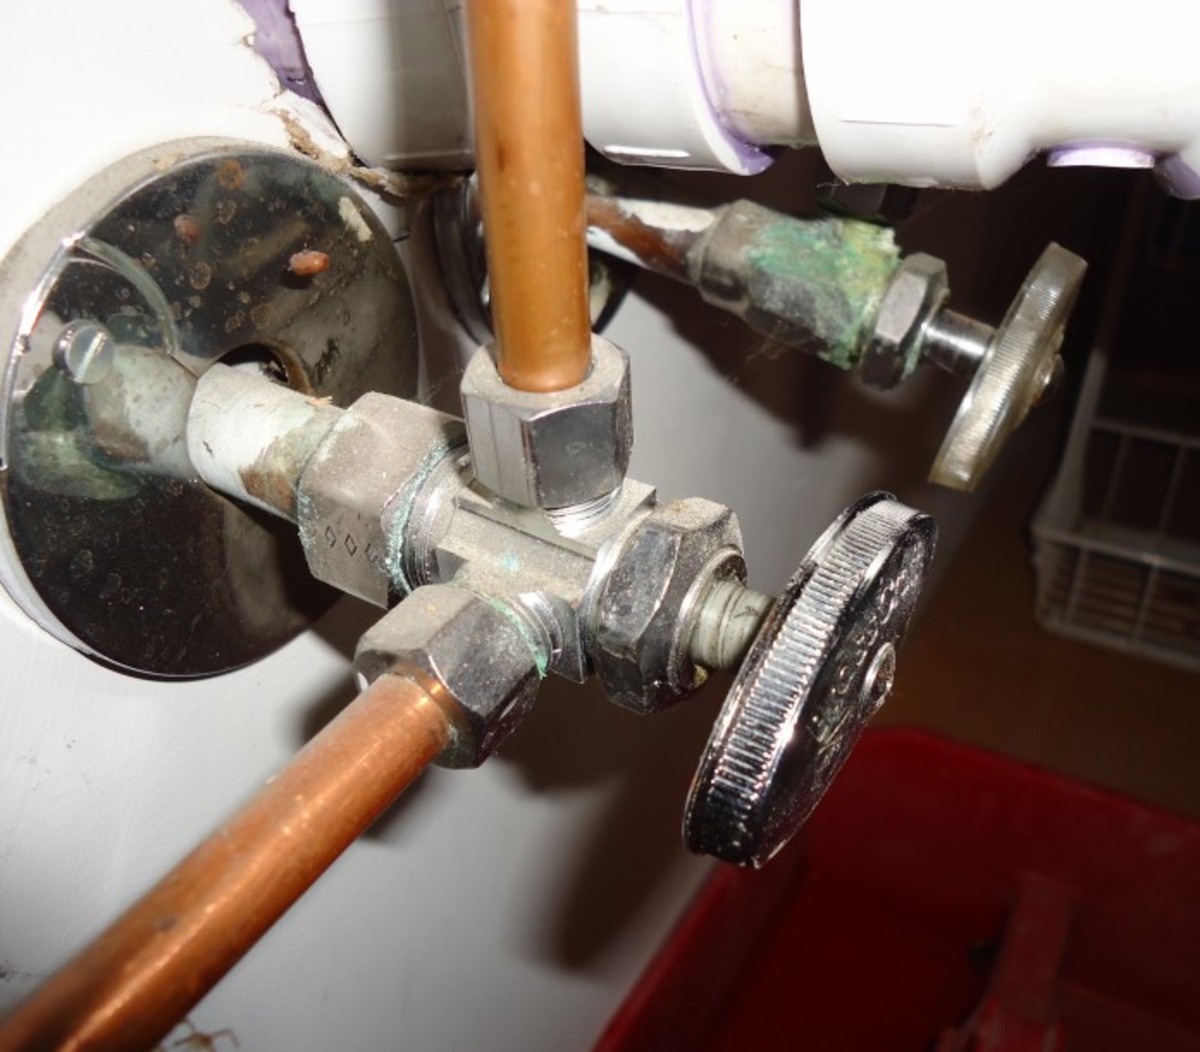
Stuck Valve: A stuck shutoff valve is another common issue that can occur due to corrosion or mineral buildup inside the valve. To free a stuck valve, try gently tapping it with a wrench or applying a lubricant such as WD-40 to loosen the mechanism. If the valve remains stuck, you may need to replace it with a new one.
Difficulty Turning Valve: If you’re having difficulty turning the shutoff valve handle, it may be due to corrosion or mineral buildup. Try cleaning the valve with a brush and vinegar solution to remove any buildup. If the handle is still difficult to turn, consider replacing the valve with a newer model that operates more smoothly.
Incomplete Shut-Off: If the shutoff valve fails to completely stop the flow of water, it may be due to a worn or damaged valve seat. To fix this issue, turn off the water supply and disassemble the valve to inspect the seat for any damage. If the seat is damaged, replace it with a new one to ensure a tight seal.
Noisy Valve: A noisy shutoff valve can be caused by vibrations or water hammers, especially in older homes with outdated plumbing systems. To reduce noise, try tightening any loose connections or installing shock absorbers or water hammer arrestors on the supply lines.
Frequent Maintenance: If your shutoff valve requires frequent maintenance or repairs, it may be a sign that it’s reaching the end of its lifespan. Consider replacing the valve with a newer model that offers improved durability and reliability.
Maintenance Tips to Keep Top Condition
Regular maintenance is key to ensuring the longevity and functionality of your bathroom sink shutoff valve. By following these simple maintenance tips, you can keep your valve in top condition and avoid potential issues down the line.
Inspect Regularly: Periodically inspect your bathroom sink shutoff valve for any signs of wear, corrosion, or leaks. Check the valve handle, connections, and surrounding pipes for any visible damage or deterioration.
Exercise the Valve: To prevent the valve from becoming stuck or difficult to turn, exercise it regularly by turning the handle on and off a few times. This helps keep the valve mechanism lubricated and ensures smooth operation.
Clean and Lubricate: Clean the valve and surrounding area regularly to remove any buildup of dirt, grime, or mineral deposits. Use a brush and vinegar solution to clean the valve and apply a lubricant such as silicone grease to the moving parts to keep them operating smoothly.
Check for Leaks: Keep an eye out for any signs of leaks around the valve or surrounding pipes. If you notice any leaks, address them promptly by tightening connections or replacing worn washers or seals.
Protect from Freezing: In colder climates, take precautions to protect your bathroom sink shutoff valve from freezing temperatures. Insulate exposed pipes and valves with pipe insulation or heat tape to prevent freezing and potential damage.
Schedule Professional Inspection: Consider scheduling a professional inspection of your plumbing system, including the bathroom sink shutoff valve, regularly. A licensed plumber can identify any potential issues and perform necessary maintenance or repairs to keep your system in optimal condition.
Shut-Off Valves
Types of Water Shut-Off Valvesu200b
Stop Plumbing Leaks With Ball-Type Shutoff Valves (DIY) Family
Types of Under-Sink Shutoff Valves and How to Choose One
How to Replace a Shutoff Valve (DIY) Family Handyman
Handle broke off on shut-off valve under sink
How to Install Water Shutoff Valves In kitchen Sink 1/4 Turn Valve
Types of Under-Sink Shutoff Valves – Kitchen Infinity
Related Posts:
- Ada Approved Bathroom Sinks
- Vessel Bathroom Sinks Pros And Cons
- How To Install A Bathroom Sink Trap
- Bathroom Sink Remodel
- Flex Drain Pipe For Bathroom Sink
- Caustic Soda Bathroom Sink
- Vintage Bathroom Sinks And Vanities
- Cleaning Bathroom Sink Stopper
- Single Bathroom Sink With Two Faucets
- Travel Trailer Bathroom Sink


