Bathroom Tile Direction: A Guide for Homeowners
When it comes to designing your bathroom, the direction in which you lay your tiles can have a significant impact on the overall look and feel of the space. From creating visual interest to enhancing the perception of size and flow, understanding the principles of bathroom tile direction is essential for homeowners looking to achieve their desired aesthetic. Let’s discuss the importance of tile direction in bathroom design and provide tips for making the most of this versatile design element.
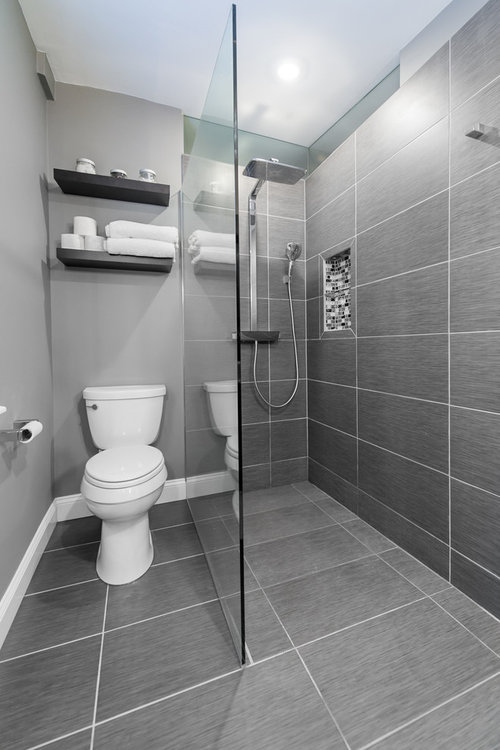
- Enhancing Visual Appeal: The direction in which you lay your bathroom tiles can greatly enhance the visual appeal of the space. Horizontal tile direction, for example, can create a sense of width and spaciousness, making small bathrooms appear larger and more open. Vertical tile direction, on the other hand, can draw the eye upward, making the ceiling appear higher and adding a sense of grandeur to the room. The diagonal tile direction adds visual interest and can create a dynamic and modern look in the bathroom.
- Creating Flow and Continuity: Tile direction plays a crucial role in creating flow and continuity in the bathroom design. By laying tiles in the same direction throughout the space, you can create a sense of unity and cohesion, tying the various elements of the room together seamlessly. This is especially important in open-concept bathrooms where the shower, tub, and vanity areas are interconnected. Consistent tile direction helps create a harmonious flow from one area to the next, enhancing the overall aesthetic of the space.
- Adding Dimension and Texture: Another advantage of playing with tile direction in the bathroom is the ability to add dimension and texture to the space. By alternating the direction of the tiles or using a combination of horizontal, vertical, and diagonal patterns, you can create visual interest and depth on the walls and floors. This adds a tactile element to the design, inviting touch and creating a more dynamic and engaging environment.
- Maximizing Space Perception: The direction in which you lay your bathroom tiles can also affect the perception of space in the room. In narrow bathrooms, laying tiles horizontally can visually widen the space and create a sense of openness. Similarly, in long bathrooms, laying tiles vertically can elongate the space and make it appear more expansive. By strategically choosing the direction of your tiles, you can manipulate the perception of space to suit your design goals and preferences.
- Reflecting Personal Style: Ultimately, the direction in which you lay your bathroom tiles is a reflection of your personal style and design preferences. Whether you prefer a classic and timeless look with horizontal subway tiles or a contemporary and edgy vibe with diagonal patterns, the possibilities are endless. Experiment with different tile directions, patterns, and layouts to find the perfect combination that reflects your unique aesthetic and enhances the overall look of your bathroom.

How Tile Direction Affects Bathroom Space Perception
The direction in which you lay your bathroom tiles can have a significant impact on the visual appeal and perception of space in the room. Whether you’re aiming to make a small bathroom appear larger or create a sense of flow and continuity in an open-concept space, understanding how tile direction affects the visual impact of your bathroom design is essential. Let’s discuss the relationship between tile direction and space perception and provide tips for maximizing the visual impact of your bathroom tiles.
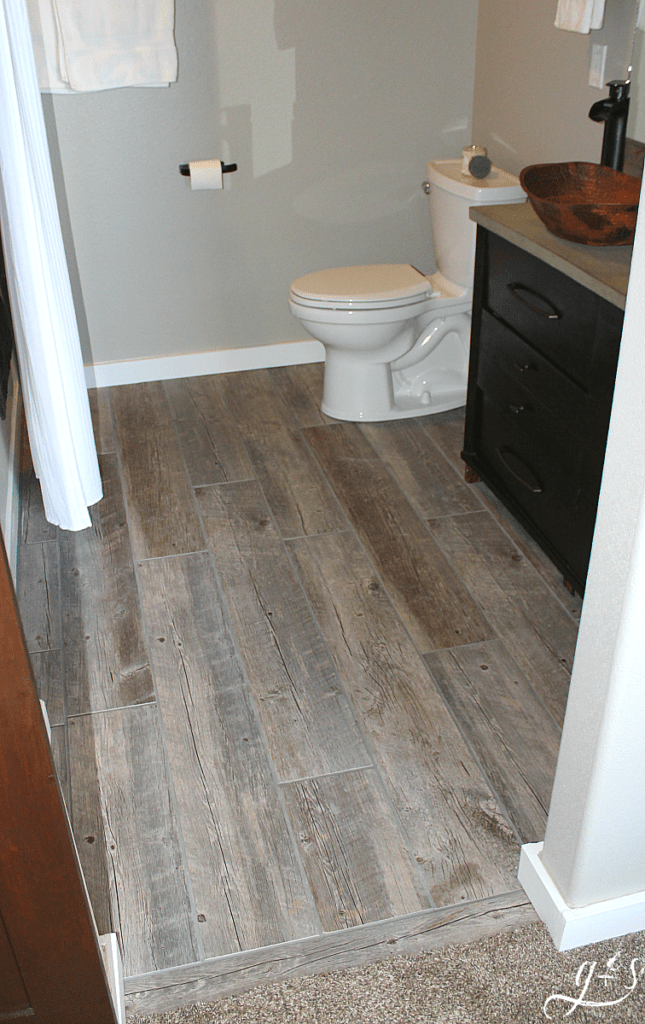
Creating the Illusion of Width: In small or narrow bathrooms, laying tiles horizontally can create the illusion of width and spaciousness. Horizontal tile direction draws the eye outward, making the walls appear wider and the space feels more open. This is particularly effective in bathrooms with limited square footage, where maximizing space perception is key to creating a comfortable and inviting environment. Horizontal tiles, such as subway tiles or plank tiles, are popular choices for achieving this effect.
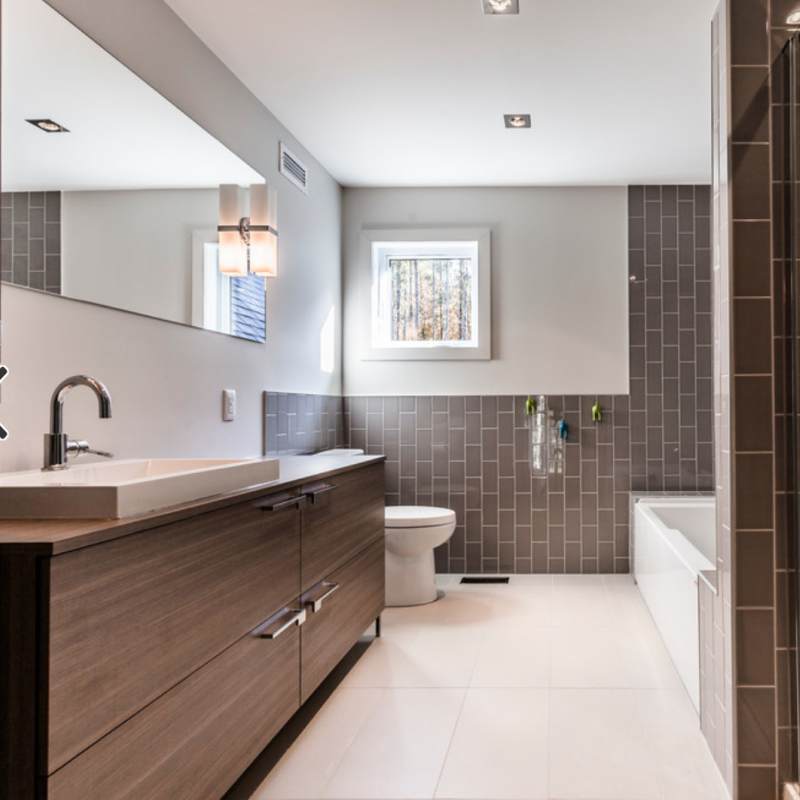
Elongating the Space: Conversely, in long or narrow bathrooms, laying tiles vertically can elongate the space and make it appear larger. Vertical tile direction draws the eye upward, creating the illusion of height and adding a sense of grandeur to the room. This is especially effective in bathrooms with low ceilings or cramped proportions, where creating a sense of verticality can help open up the space and make it feel more spacious. Vertical tiles, such as large-format tiles or stacked subway tiles, are ideal for achieving this effect.
Adding Depth and Dimension: By alternating the direction of your bathroom tiles or using a combination of horizontal, vertical, and diagonal patterns, you can add depth and dimension to the space. This creates visual interest and texture on the walls and floors, making the room feel more dynamic and engaging. Experiment with different tile directions and patterns to create a unique and visually striking design that enhances the overall aesthetic of your bathroom.
Enhancing Flow and Continuity: Tile direction also plays a crucial role in enhancing the flow and continuity of the bathroom design. By laying tiles in the same direction throughout the space, you can create a sense of unity and cohesion, tying the various elements of the room together seamlessly. This is particularly important in open-concept bathrooms where the shower, tub, and vanity areas are interconnected. Consistent tile direction helps create a harmonious flow from one area to the next, enhancing the overall aesthetic of the space.
Reflecting Personal Style: The direction in which you lay your bathroom tiles is ultimately a reflection of your personal style and design preferences. Whether you prefer a classic and timeless look with horizontal subway tiles or a contemporary and edgy vibe with diagonal patterns, the choice is yours. Experiment with different tile directions, patterns, and layouts to find the perfect combination that reflects your unique aesthetic and enhances the overall look of your bathroom.
Choosing the Right Tile Direction for Your Bathroom
When it comes to selecting the right tile direction for your bathroom, there are several practical considerations to keep in mind. From maximizing space perception to enhancing flow and continuity, the direction in which you lay your tiles can have a significant impact on the overall look and feel of the space. Below are some practical considerations for choosing the right tile direction for your bathroom and provide tips for achieving your desired aesthetic.
Assessing Room Dimensions: Start by assessing the dimensions of your bathroom to determine the most appropriate tile direction. In small or narrow bathrooms, laying tiles horizontally can create the illusion of width and make the space appear larger. Conversely, in long or narrow bathrooms, laying tiles vertically can elongate the space and make it feel more spacious. Consider the proportions of your bathroom and choose a tile direction that maximizes space perception and enhances the overall flow of the room.
Considering Ceiling Height: Another important consideration when choosing the right tile direction for your bathroom is ceiling height. In bathrooms with low ceilings, laying tiles vertically can draw the eye upward and create the illusion of height, making the ceiling appear taller and the space feel more open. Conversely, in bathrooms with high ceilings, laying tiles horizontally can visually widen the space and prevent it from feeling cavernous. Consider the height of your ceilings and choose a tile direction that complements the proportions of the room.
Evaluating Traffic Patterns: Think about the traffic patterns and circulation flow in your bathroom when selecting the tile direction. In bathrooms with a clear traffic path, such as a straight hallway or an open-concept layout, laying tiles in the same direction as the flow of traffic can create a sense of continuity and guide the eye through the space. In bathrooms with multiple entry points or irregular layouts, consider laying tiles in a diagonal pattern to create visual interest and break up the space.
Assessing Design Preferences: Your personal design preferences and aesthetic goals should also inform your choice of tile direction. Consider the overall style and theme of your bathroom, as well as your individual tastes and preferences. Whether you prefer a classic and timeless look with horizontal subway tiles or a modern and edgy vibe with diagonal patterns, choose a tile direction that reflects your unique aesthetic and enhances the overall design of the space.
Consulting with Professionals: If you’re unsure about which tile direction is best for your bathroom, consider consulting with design professionals or tile experts for guidance. They can provide valuable insight and recommendations based on your specific needs and preferences, helping you choose the right tile direction that achieves your desired aesthetic and functionality. Professional designers can also help you explore creative tile layouts and patterns that enhance the overall look and feel of your bathroom.
Considering Maintenance and Installation: Finally, consider the practical aspects of maintenance and installation when choosing the right tile direction for your bathroom. Some tile directions, such as diagonal patterns or herringbone layouts, may require more intricate installation techniques and may be more challenging to clean and maintain over time. Keep maintenance considerations in mind when selecting the tile direction to ensure that your bathroom remains both beautiful and functional for years to come.
Popular Tile Direction Patterns
When it comes to designing your bathroom, the direction in which you lay your tiles can dramatically impact the overall aesthetic of the space. From classic subway tiles to modern herringbone patterns, there are countless tile direction patterns to choose from, each offering its unique look and feel. Here are some popular tile direction patterns for bathroom tiles and inspire incorporating these designs into your bathroom.
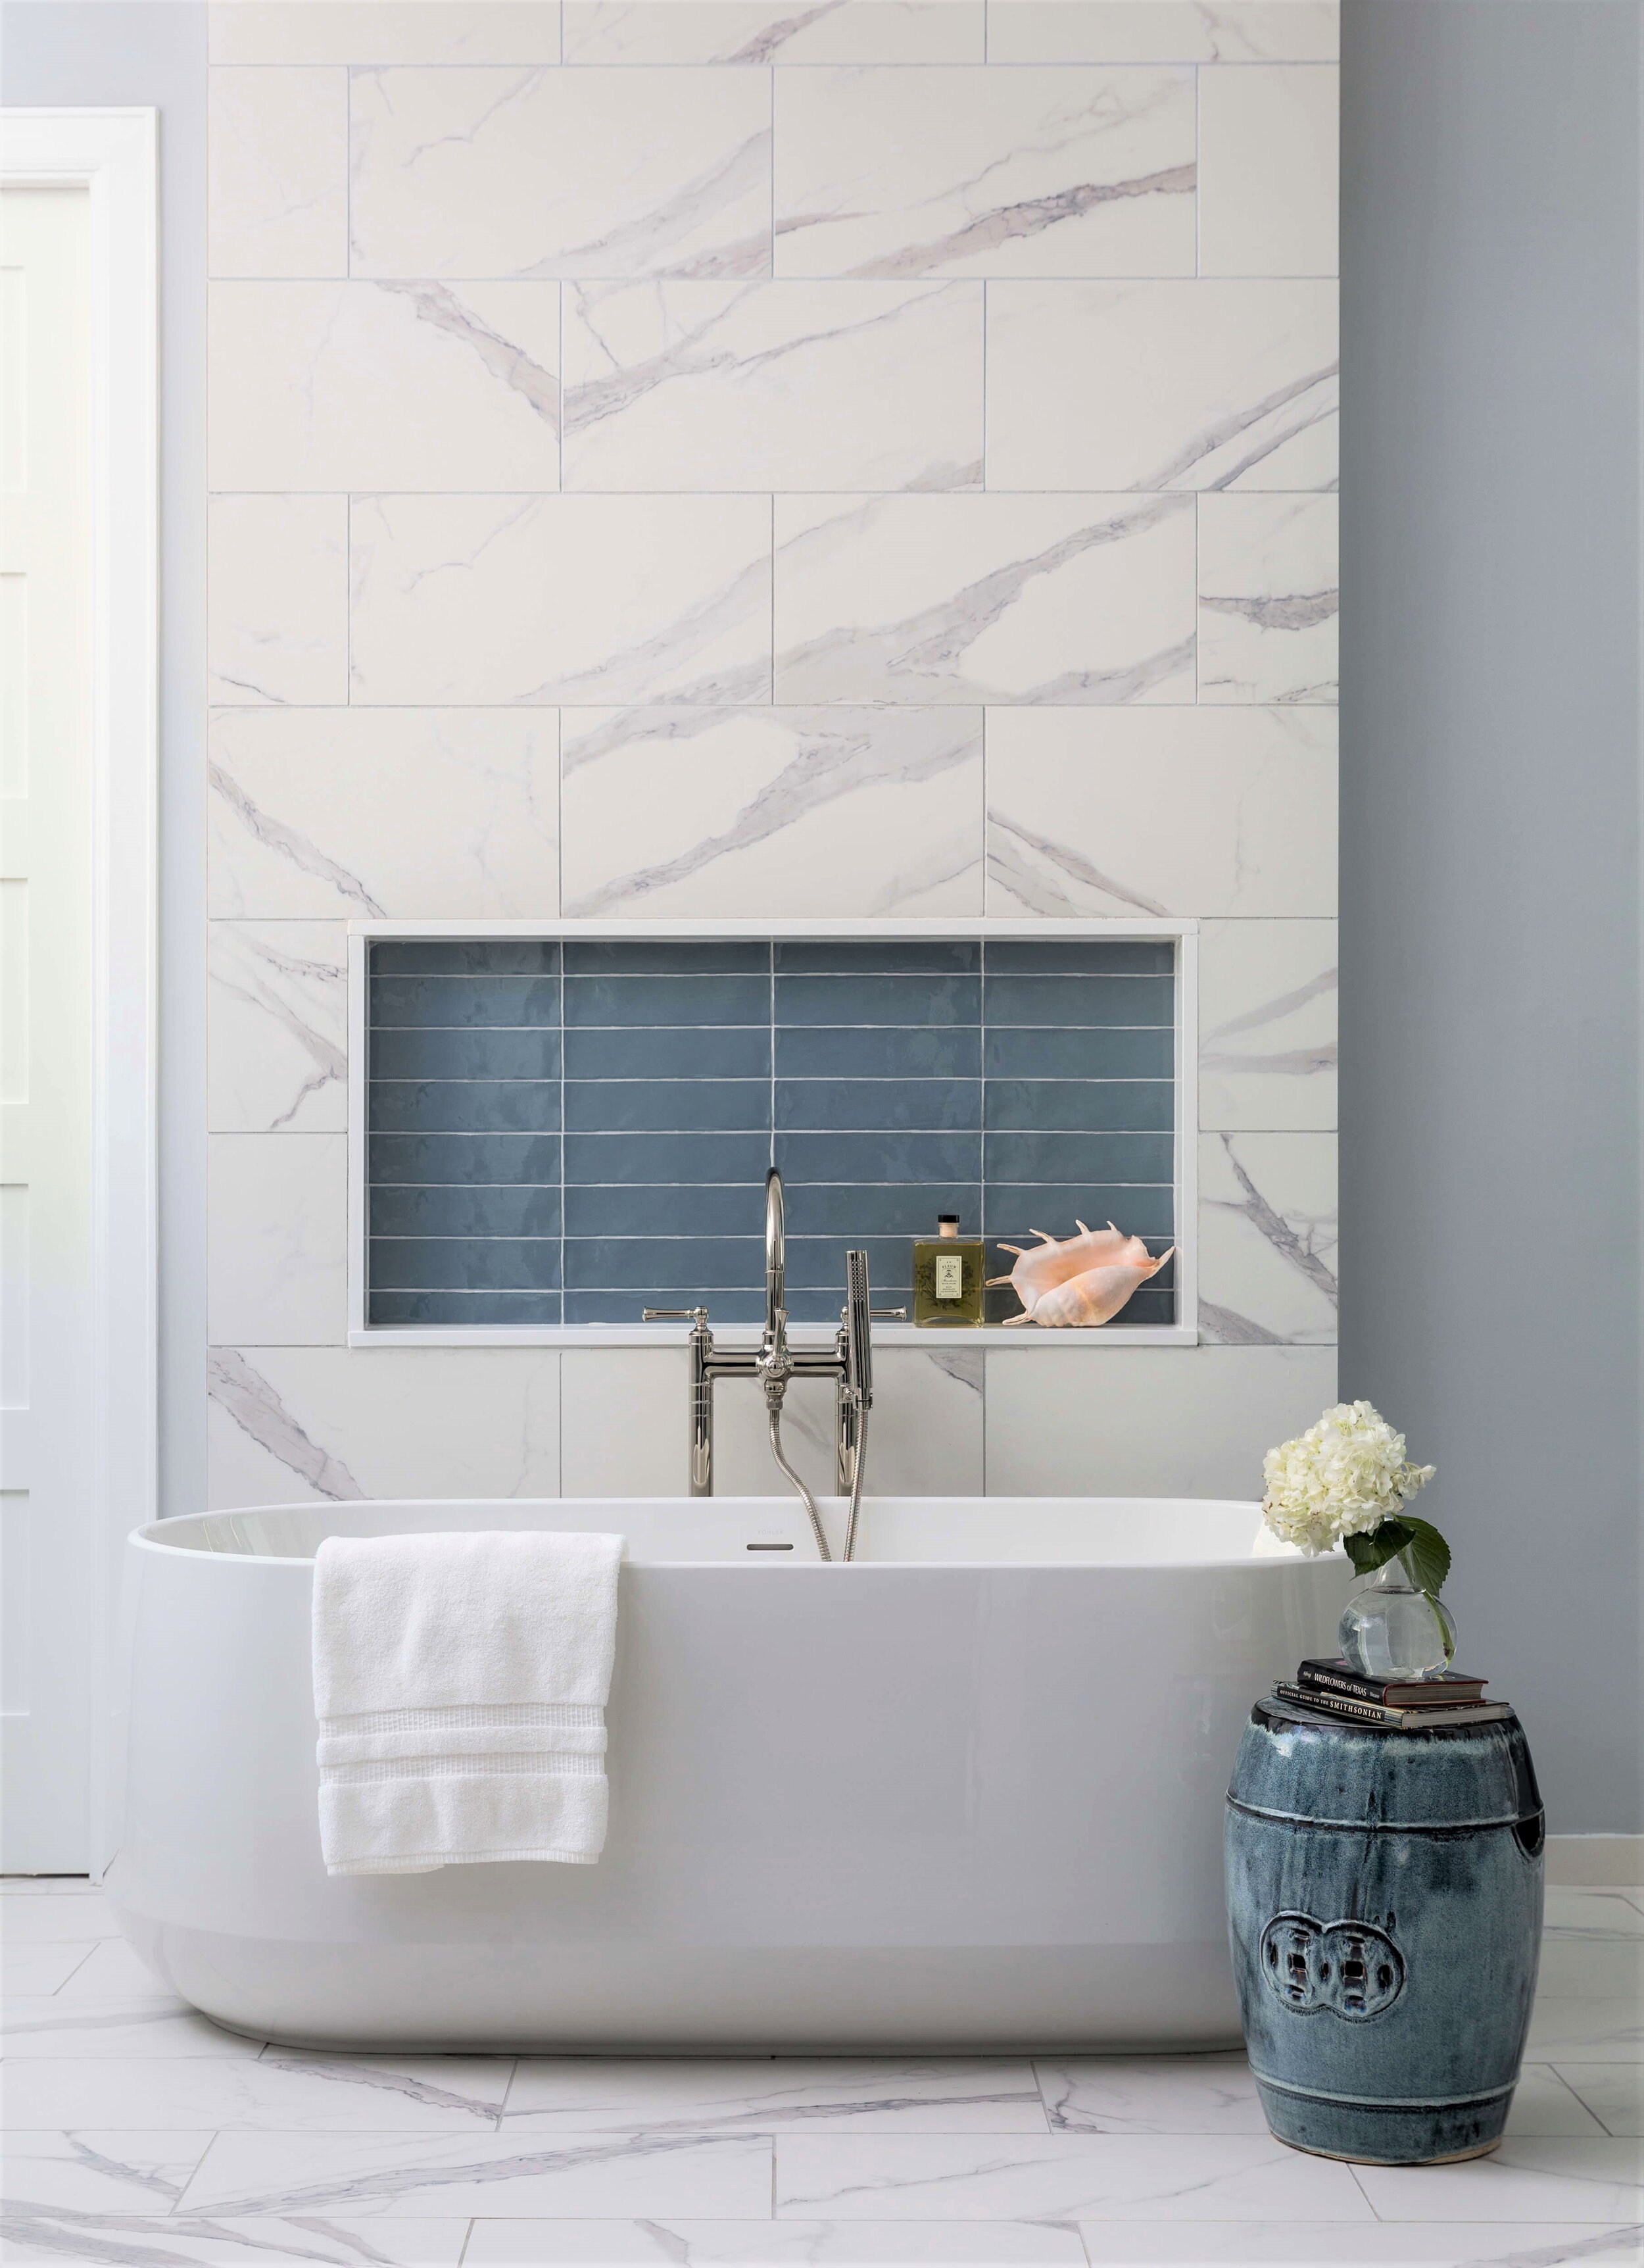
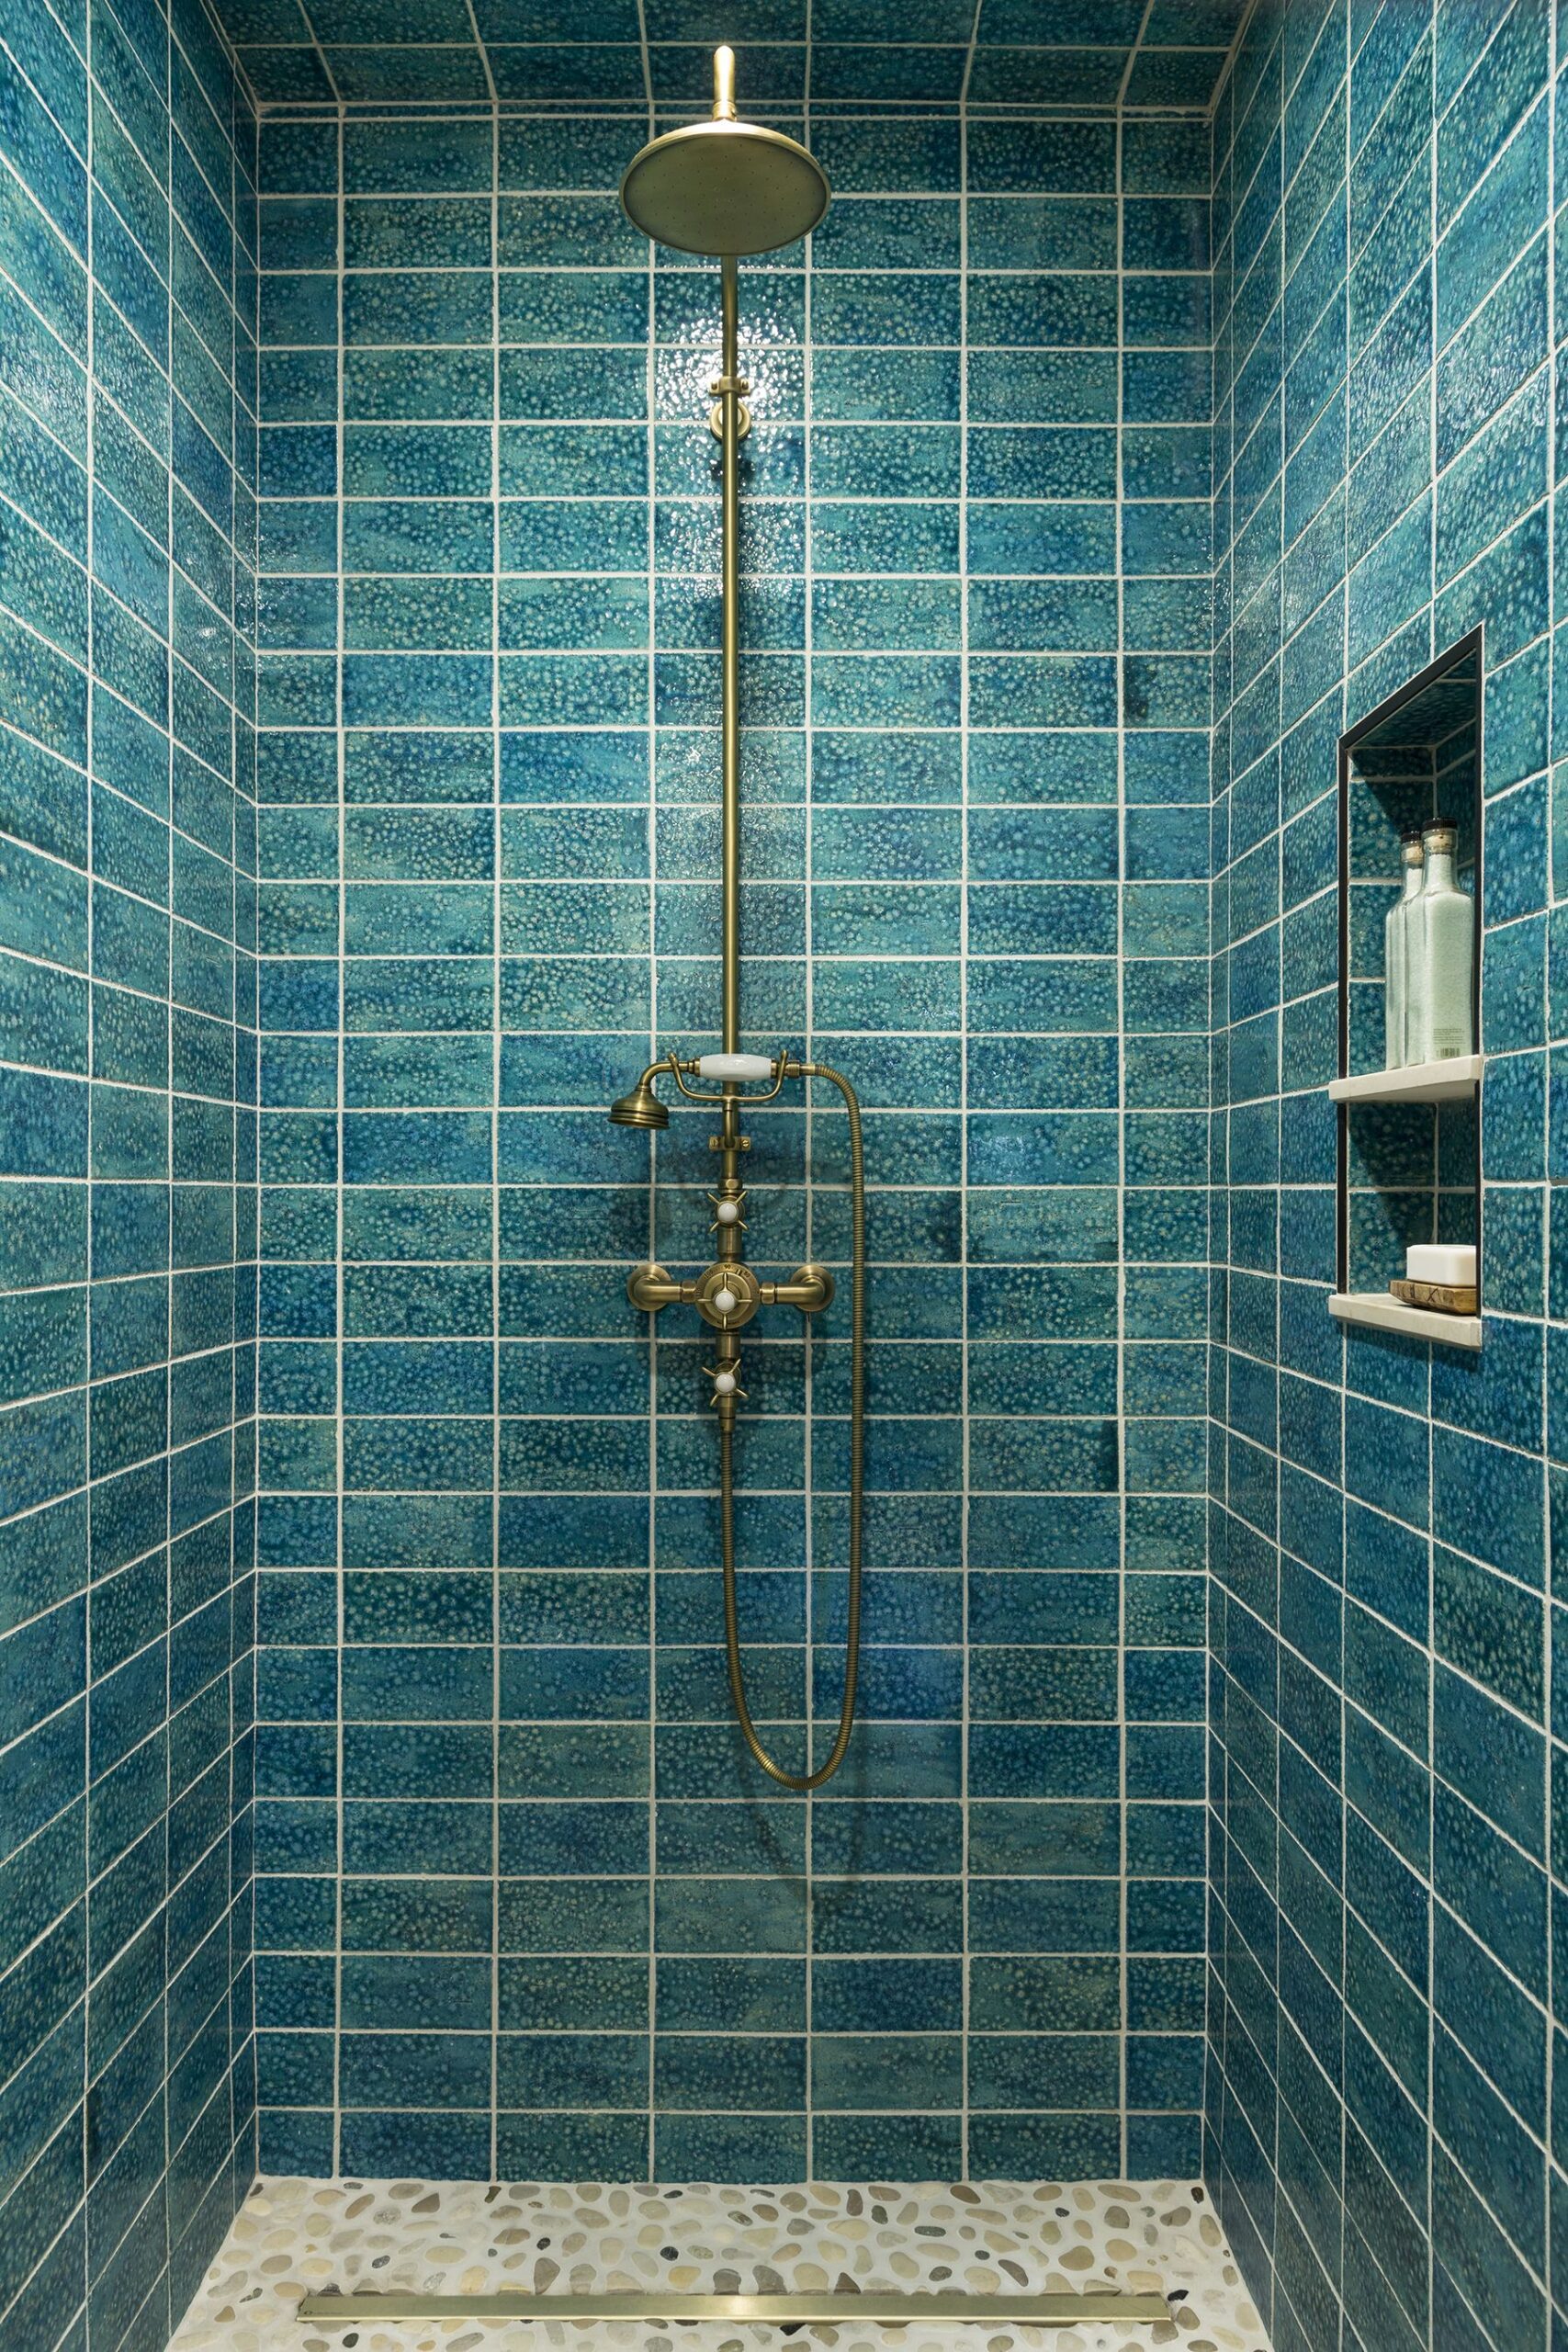
Horizontal Tile Direction: Horizontal tile direction is a classic and timeless choice for bathroom tiles that creates a sense of width and spaciousness in the room. This pattern involves laying tiles parallel to the floor or horizontally along the walls, drawing the eye outward and making the space feel larger. Horizontal subway tiles are a popular choice for achieving this look, offering a clean and streamlined aesthetic that complements a wide range of bathroom styles, from traditional to contemporary.
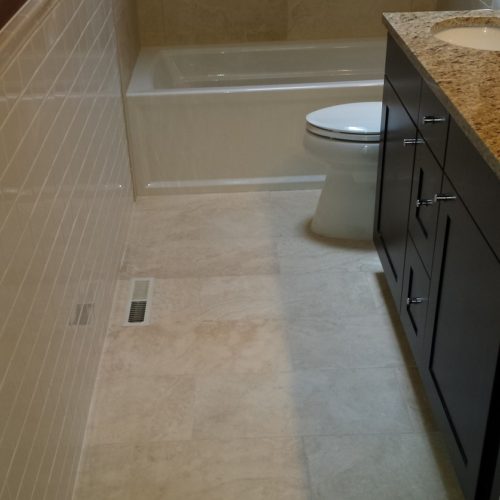
Vertical Tile Direction: Vertical tile direction is another popular option for bathroom tiles that creates a sense of height and elegance in the room. This pattern involves laying tiles perpendicular to the floor or vertically along the walls, drawing the eye upward and making the ceiling appear taller. Vertical subway tiles are a stylish choice for achieving this look, adding a sense of sophistication and grandeur to the bathroom design. This pattern is especially effective in bathrooms with low ceilings or cramped proportions, where creating a sense of verticality is key to opening up the space.
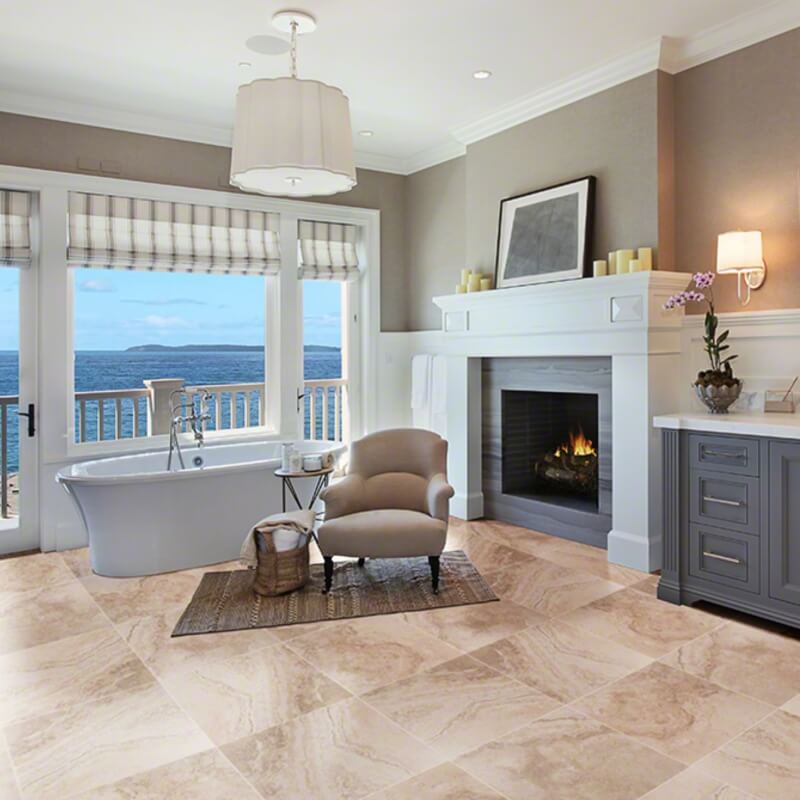
Diagonal Tile Direction: Diagonal tile direction is a dynamic and eye-catching option for bathroom tiles that adds visual interest and texture to the space. This pattern involves laying tiles at a 45-degree angle to the walls, creating a diamond or chevron pattern that adds depth and dimension to the design. Diagonal tiles can be used on both walls and floors to create a bold and modern look that enhances the overall aesthetic of the bathroom. This pattern is ideal for homeowners looking to make a statement with their tile direction and create a unique and stylish space.
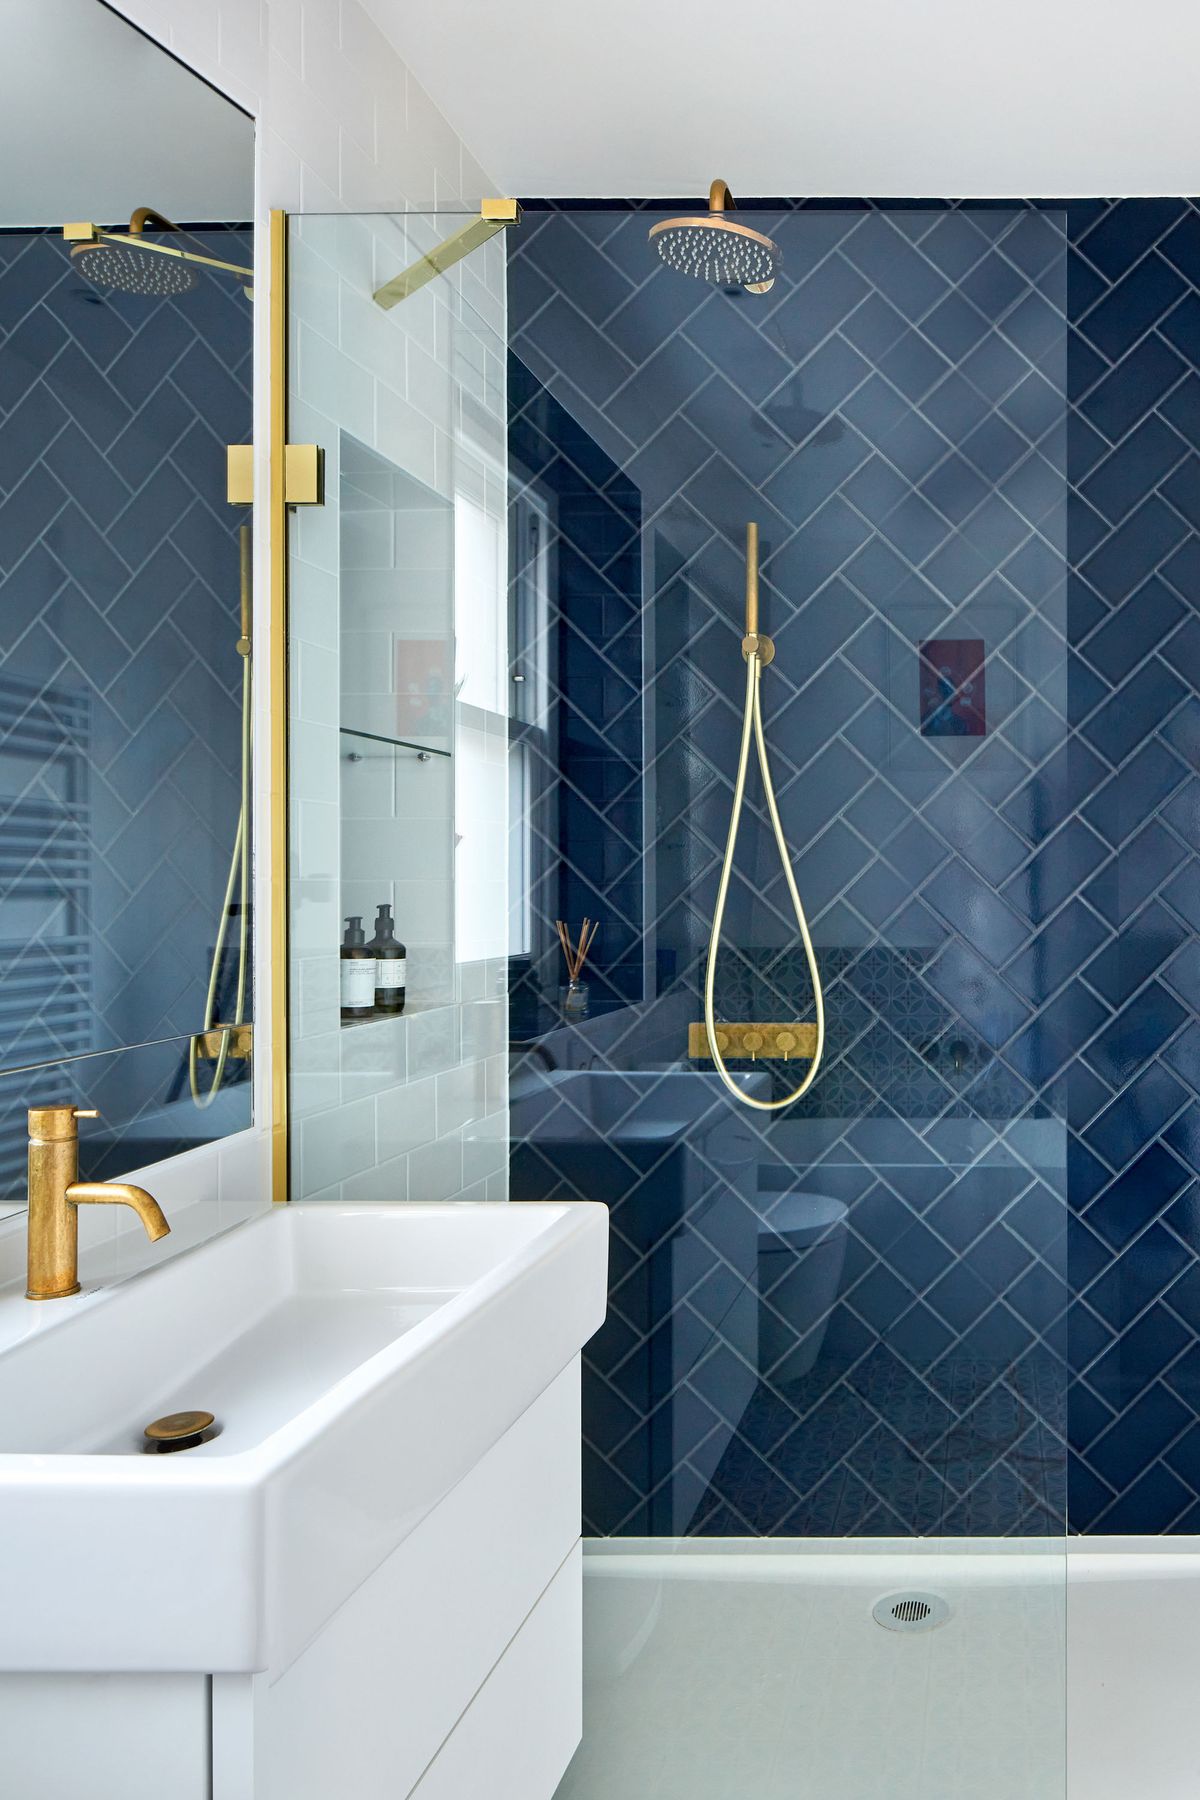
Herringbone Tile Direction: Herringbone tile direction is a classic and sophisticated option for bathroom tiles that adds timeless charm and elegance to the space. This pattern involves laying tiles in a zigzag or chevron pattern, with each tile overlapping the next at a 90-degree angle. Herringbone tiles can be laid horizontally or vertically on walls or floors to create a striking visual effect that enhances the overall design of the bathroom. This pattern is particularly popular in vintage and farmhouse-style bathrooms, where it adds a touch of rustic charm and character to the space.
Basketweave Tile Direction: Basketweave tile direction is a traditional and intricate option for bathroom tiles that adds texture and visual interest to the space. This pattern involves laying tiles in a woven or basket-like pattern, with each tile interlocking with the next to create a seamless and intricate design. Basketweave tiles can be laid horizontally or vertically on walls or floors to create a classic and timeless look that complements a wide range of bathroom styles. This pattern is perfect for homeowners looking to add a touch of elegance and sophistication to their bathroom design.
Installing Bathroom Tiles in Different Directions
Installing bathroom tiles in different directions can add visual interest and dimension to your bathroom design, creating a unique and personalized space. Whether you’re a seasoned DIY enthusiast or a novice homeowner embarking on your first tile installation project, it’s essential to understand the proper techniques and considerations for installing tiles in various directions. Below we provide DIY tips for installing bathroom tiles in different directions to help you achieve professional-looking results and create a stunning bathroom design.
Prepare the Surface: Before installing tiles in any direction, it’s crucial to properly prepare the surface to ensure a smooth and durable installation. Start by cleaning the walls or floors to remove any dirt, debris, or grease that may prevent the tiles from adhering properly. Repair any cracks, holes, or uneven areas in the surface using a suitable patching compound or filler. Additionally, apply a primer or sealer to the surface to improve adhesion and prevent moisture absorption.
Layout Planning: When installing tiles in different directions, careful layout planning is essential to ensure a cohesive and visually appealing design. Begin by determining the desired tile direction and pattern, taking into account factors such as the size and shape of the tiles, the dimensions of the room, and any architectural features or fixtures that may impact the layout. Use a chalk line or laser level to create reference lines on the surface to guide the tile installation process and ensure straight and even rows.
Cutting Tiles: Depending on the chosen tile direction and pattern, you may need to cut tiles to fit around corners, edges, or obstacles in the room. Use a tile cutter or wet saw to make precise cuts, following the layout plan and reference lines to ensure accurate sizing and alignment. For curved cuts or irregular shapes, use a tile nipper or tile file to carefully shape the tiles as needed. Remember to wear appropriate safety gear, such as goggles and gloves, when cutting tiles to protect yourself from flying debris.
Adhesive Application: Apply tile adhesive or mortar to the surface using a notched trowel, following the manufacturer’s instructions for proper coverage and thickness. Work in small sections to prevent the adhesive from drying out before laying the tiles. When installing tiles in different directions, be mindful of the orientation and spacing of the tiles to achieve the desired pattern and alignment. Press each tile firmly into the adhesive, using spacers to maintain consistent grout lines and ensure uniform spacing between tiles.
Grouting and Sealing: Once the tiles are installed and the adhesive has cured, it’s time to grout the joints to secure the tiles in place and create a finished look. Mix grout according to the manufacturer’s instructions and apply it to the joints using a grout float, working at a 45-degree angle to ensure full coverage. After allowing the grout to set for a specified time, remove any excess grout from the surface using a damp sponge or cloth. Finally, seal the grout lines with a grout sealer to protect against stains and moisture infiltration, ensuring long-lasting durability and performance.
Finishing Touches: After completing the tile installation and grouting process, take the time to inspect the finished surface for any imperfections or inconsistencies. Use a grout haze remover to clean any residual grout haze from the tiles and polish the surface to a smooth and uniform finish. Install trim pieces or transition strips as needed to create a clean and seamless transition between different tile directions and surfaces. Finally, step back and admire your handiwork, knowing that you’ve successfully installed bathroom tiles in different directions to create a stunning and personalized space.
Direction Ottimo Ceramics
Advice for tile orientation in bathroom remodel
Which Direction Should You Run Your Tile Flooring? Well u2014 DESIGNED
Which Direction Should You Run Your Tile Flooring?
How to Tile a Small Bathroom Floor DIY Bath Remodel
Tips for Deciding Which Direction to Align Backsplash Tiles
Which direction should I lay tile?
Popular Tile Installation Patterns: Where They Work Best
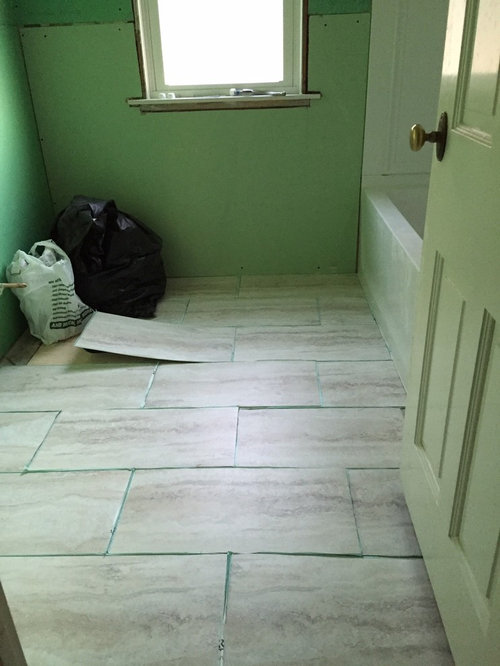
Which direction should I lay the 12×24 vinyl tiles in our bathroom?
Related Posts:
