The Importance of Choosing the Right Bathroom Tile Grout Filler
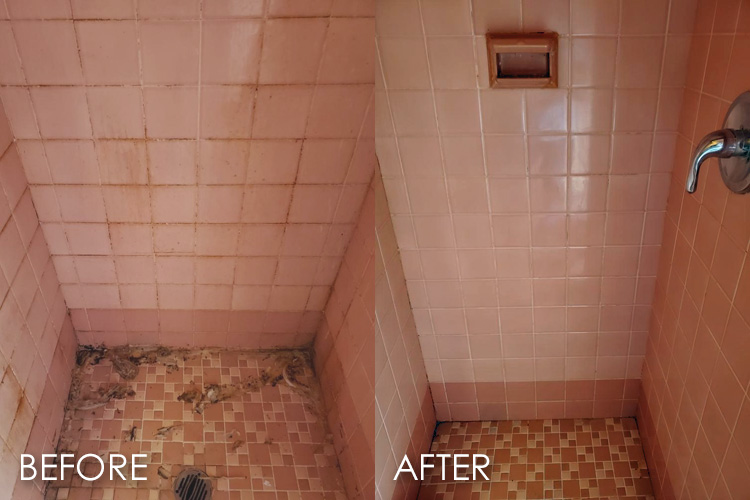
When it comes to bathroom tile installation, the importance of choosing the right grout filler cannot be overstated. Grout not only holds tiles in place but also seals the gaps between them, preventing water damage, mold growth, and other issues. Here’s why selecting the correct bathroom tile grout filler is crucial:
- Waterproofing: Bathrooms are high-moisture areas, making waterproofing a top priority. The right grout filler ensures that water doesn’t seep into the spaces between tiles, which can lead to mold, mildew, and structural damage over time. By choosing a waterproof grout filler, you can protect your bathroom tiles and extend their lifespan.
- Aesthetic Appeal: Grout color can significantly impact the overall look of your bathroom tiles. Choosing the right grout color can enhance the beauty of your tiles, create visual interest, and complement your bathroom décor. Whether you opt for a matching or contrasting grout color, selecting the perfect shade is essential for achieving the desired aesthetic appeal.
- Durability: The durability of your bathroom tile grout filler is crucial for maintaining the integrity of your tile installation. Low-quality or improperly applied grout can crack, crumble, or discolor over time, compromising the structural stability of your tiles. By choosing a high-quality grout filler and following proper installation techniques, you can ensure that your bathroom tiles stand the test of time.
- Ease of Maintenance: Properly sealed grout is easier to clean and maintain than unsealed or poorly sealed grout. The right grout filler creates a smooth, non-porous surface that repels dirt, grime, and stains, making it easier to wipe clean with a damp cloth or mild cleaning solution. This reduces the time and effort required to keep your bathroom tiles looking their best.
- Health and Safety: Mold and mildew growth in bathroom grout can pose serious health risks to you and your family. Choosing a mold-resistant grout filler helps prevent the growth of harmful bacteria, allergens, and pathogens, creating a safer and healthier environment for everyone in your home.

Types of Bathroom Tile Grout Fillers
When it comes to bathroom tile grout fillers, there are several options to choose from, each with its own set of advantages and disadvantages. Here’s a comparison of the most common types of bathroom tile grout fillers:
Cement-Based Grout: Cement-based grout is the most traditional and widely used option for bathroom tile installations. It consists of a mixture of cement, sand, and water, which is applied between tiles and allowed to dry. Cement-based grout is affordable, easy to work with, and available in a wide range of colors. However, it can be prone to cracking, staining, and water absorption if not properly sealed and maintained.
Epoxy Grout: Epoxy grout is a durable and waterproof alternative to cement-based grout. It consists of epoxy resin and hardener, which are mixed to create a strong, adhesive-like substance. Epoxy grout is highly resistant to stains, chemicals, and water damage, making it ideal for use in bathrooms, kitchens, and other high-moisture areas. However, epoxy grout is more expensive and challenging to work with than cement-based grout, requiring precise mixing and application techniques.
Silicone Grout: Silicone grout is a flexible and mold-resistant option for sealing bathroom tiles. It is made from silicone polymer, which forms a waterproof seal between tiles that prevents water penetration and mold growth. Silicone grout is easy to apply, requires minimal maintenance, and comes in a variety of colors to match your tiles. However, silicone grout is not as durable as epoxy grout and may need to be replaced more frequently, especially in high-traffic areas.
Premixed Grout: Premixed grout is a convenient option for DIYers who want to avoid the hassle of mixing grout from scratch. It comes ready to use in tubs or tubes and requires no additional water or additives. Premixed grout is easy to apply and clean up, making it ideal for small-scale tile projects or repairs. However, premixed grout may not offer the same level of durability or customization as traditional cement-based or epoxy grouts.
Stain-Resistant Grout: Stain-resistant grout is specially formulated to repel dirt, grime, and stains, keeping your bathroom tiles looking clean and pristine for longer. It is available in both cement-based and epoxy formulations and can be a valuable investment for homeowners who want to minimize maintenance and upkeep. However, stain-resistant grout may be more expensive than standard grout options, so it’s essential to weigh the cost against the benefits.
Factors to Consider When Selecting Bathroom Tile Grout Filler
Choosing the right bathroom tile grout filler involves considering several factors to ensure that you achieve the desired results. Here are some key considerations to keep in mind when selecting grout filler for your bathroom tiles:
Tile Material: The type of tile you’re using will influence your choice of grout filler. Porous materials like natural stone or unglazed ceramic tiles require a waterproof and stain-resistant grout filler to prevent moisture absorption and staining. Non-porous materials like glazed ceramic or porcelain tiles may be more forgiving but still benefit from a durable and waterproof grout filler.
Grout Width: The width of the gaps between your tiles, also known as grout joints, will determine the type of grout filler you need. Narrow grout joints (less than 1/8 inch) are typically filled with unsanded grout, while wider joints (1/8 inch or more) require sanded grout for added strength and stability. Epoxy grout may be necessary for very narrow or tight joints to ensure proper adhesion and waterproofing.
Bathroom Usage: Consider how your bathroom will be used daily when selecting grout filler. High-traffic areas like showers, tub surrounds, and bathroom floors require durable and waterproof grout fillers that can withstand frequent use and exposure to water. Low-traffic areas like backsplashes or decorative accents may allow for more flexibility in terms of grout selection.
Color and Aesthetic: Grout color can significantly impact the overall look of your bathroom tiles. Consider whether you want your grout to blend in seamlessly with your tiles for a subtle, cohesive look or contrast with them for added visual interest and dimension. Keep in mind that light-colored grout may show stains and discoloration more easily than darker grout, so choose a shade that complements your tiles and meets your maintenance preferences.
Maintenance Requirements: Different types of grout fillers have varying maintenance requirements in terms of cleaning, sealing, and reapplication. Consider how much time and effort you’re willing to invest in maintaining your grout and choose an option that aligns with your lifestyle and preferences. Stain-resistant grouts may require less frequent cleaning and sealing than standard grouts but may come with a higher upfront cost.
Budget: Lastly, consider your budget when selecting grout filler for your bathroom tiles. While epoxy grout may offer superior durability and waterproofing, it also tends to be more expensive than traditional cement-based grout. Silicone grout and premixed grout may offer a more budget-friendly alternative without compromising on quality or performance. Evaluate the cost of different grout options against their benefits to find the best value for your needs.
Tips for Applying and Maintaining Bathroom Tile Grout Filler
Proper application and maintenance of bathroom tile grout filler are essential for ensuring a successful tile installation that stands the test of time. Here are some tips to help you achieve professional results and keep your grout looking its best:
Prepare the Surface: Before applying grout filler, ensure that the tile surface is clean, dry, and free of debris. Use a damp sponge or cloth to remove any dust, dirt, or residue from the tiles and allow them to dry completely before proceeding.
Choose the Right Grout: Select a grout filler that is appropriate for your tile material, grout width, and bathroom usage. Refer to the manufacturer’s recommendations and follow any specific instructions for mixing and application.
Mix Grout Properly: If using a powdered grout filler, follow the manufacturer’s instructions for mixing to achieve the correct consistency. Use clean water and mix the grout thoroughly to ensure uniform color and texture.
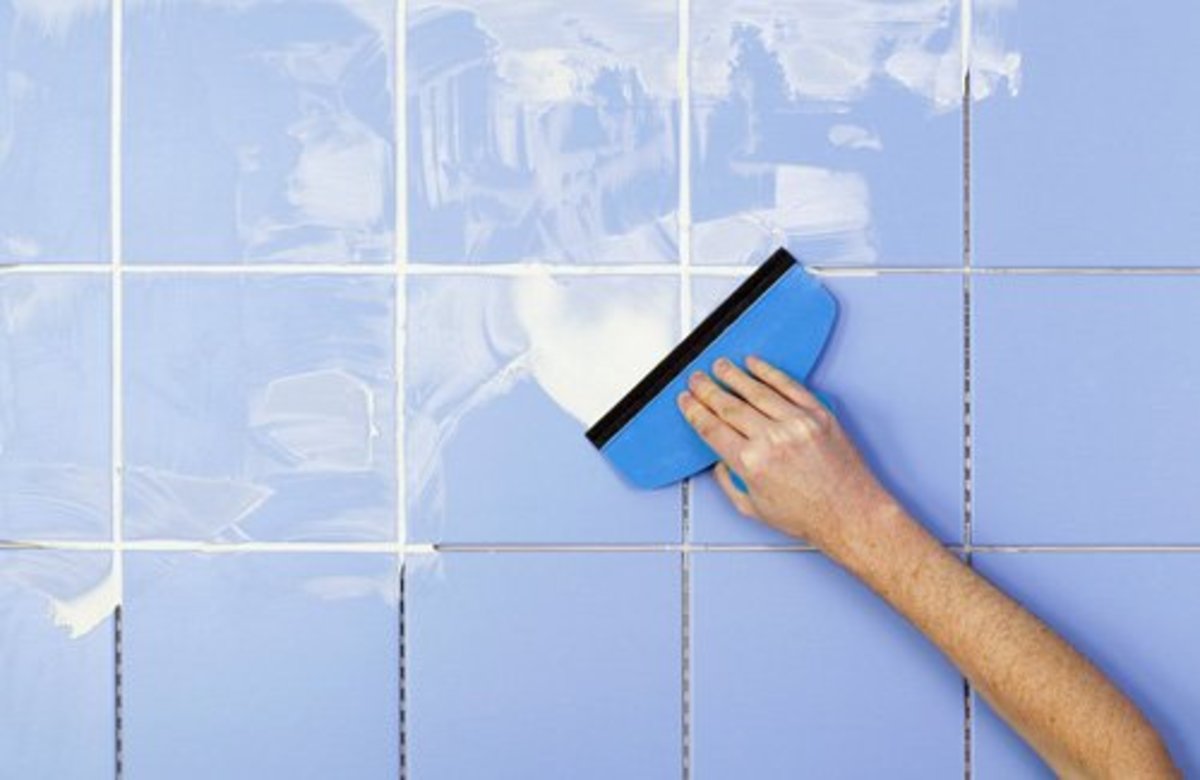
Apply Grout Evenly: Use a grout float or rubber grout applicator to spread the grout filler evenly over the tile surface, pressing it into the joints and smoothing it out to fill any gaps or voids. Work in small sections and remove any excess grout from the tile surface before it dries.
Clean Grout Haze Promptly: After applying the grout filler, use a damp sponge or cloth to remove any excess grout haze from the tile surface. Rinse the sponge or cloth frequently and change the water as needed to prevent streaking or smudging.
Seal Grout Properly: Once the grout filler has dried completely, apply a high-quality grout sealer to protect it from moisture, stains, and discoloration. Follow the manufacturer’s instructions for sealing and allow the sealer to dry completely before using the bathroom.
Regular Maintenance: To keep your bathroom tile grout filler looking its best, clean it regularly with a mild cleaning solution and a soft brush or sponge. Avoid using abrasive cleaners or harsh chemicals that can damage the grout or tile surface. Reapply grout sealer as needed to maintain protection and prevent water penetration.
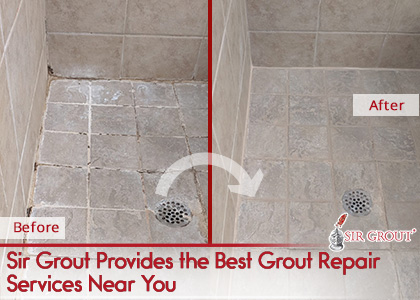
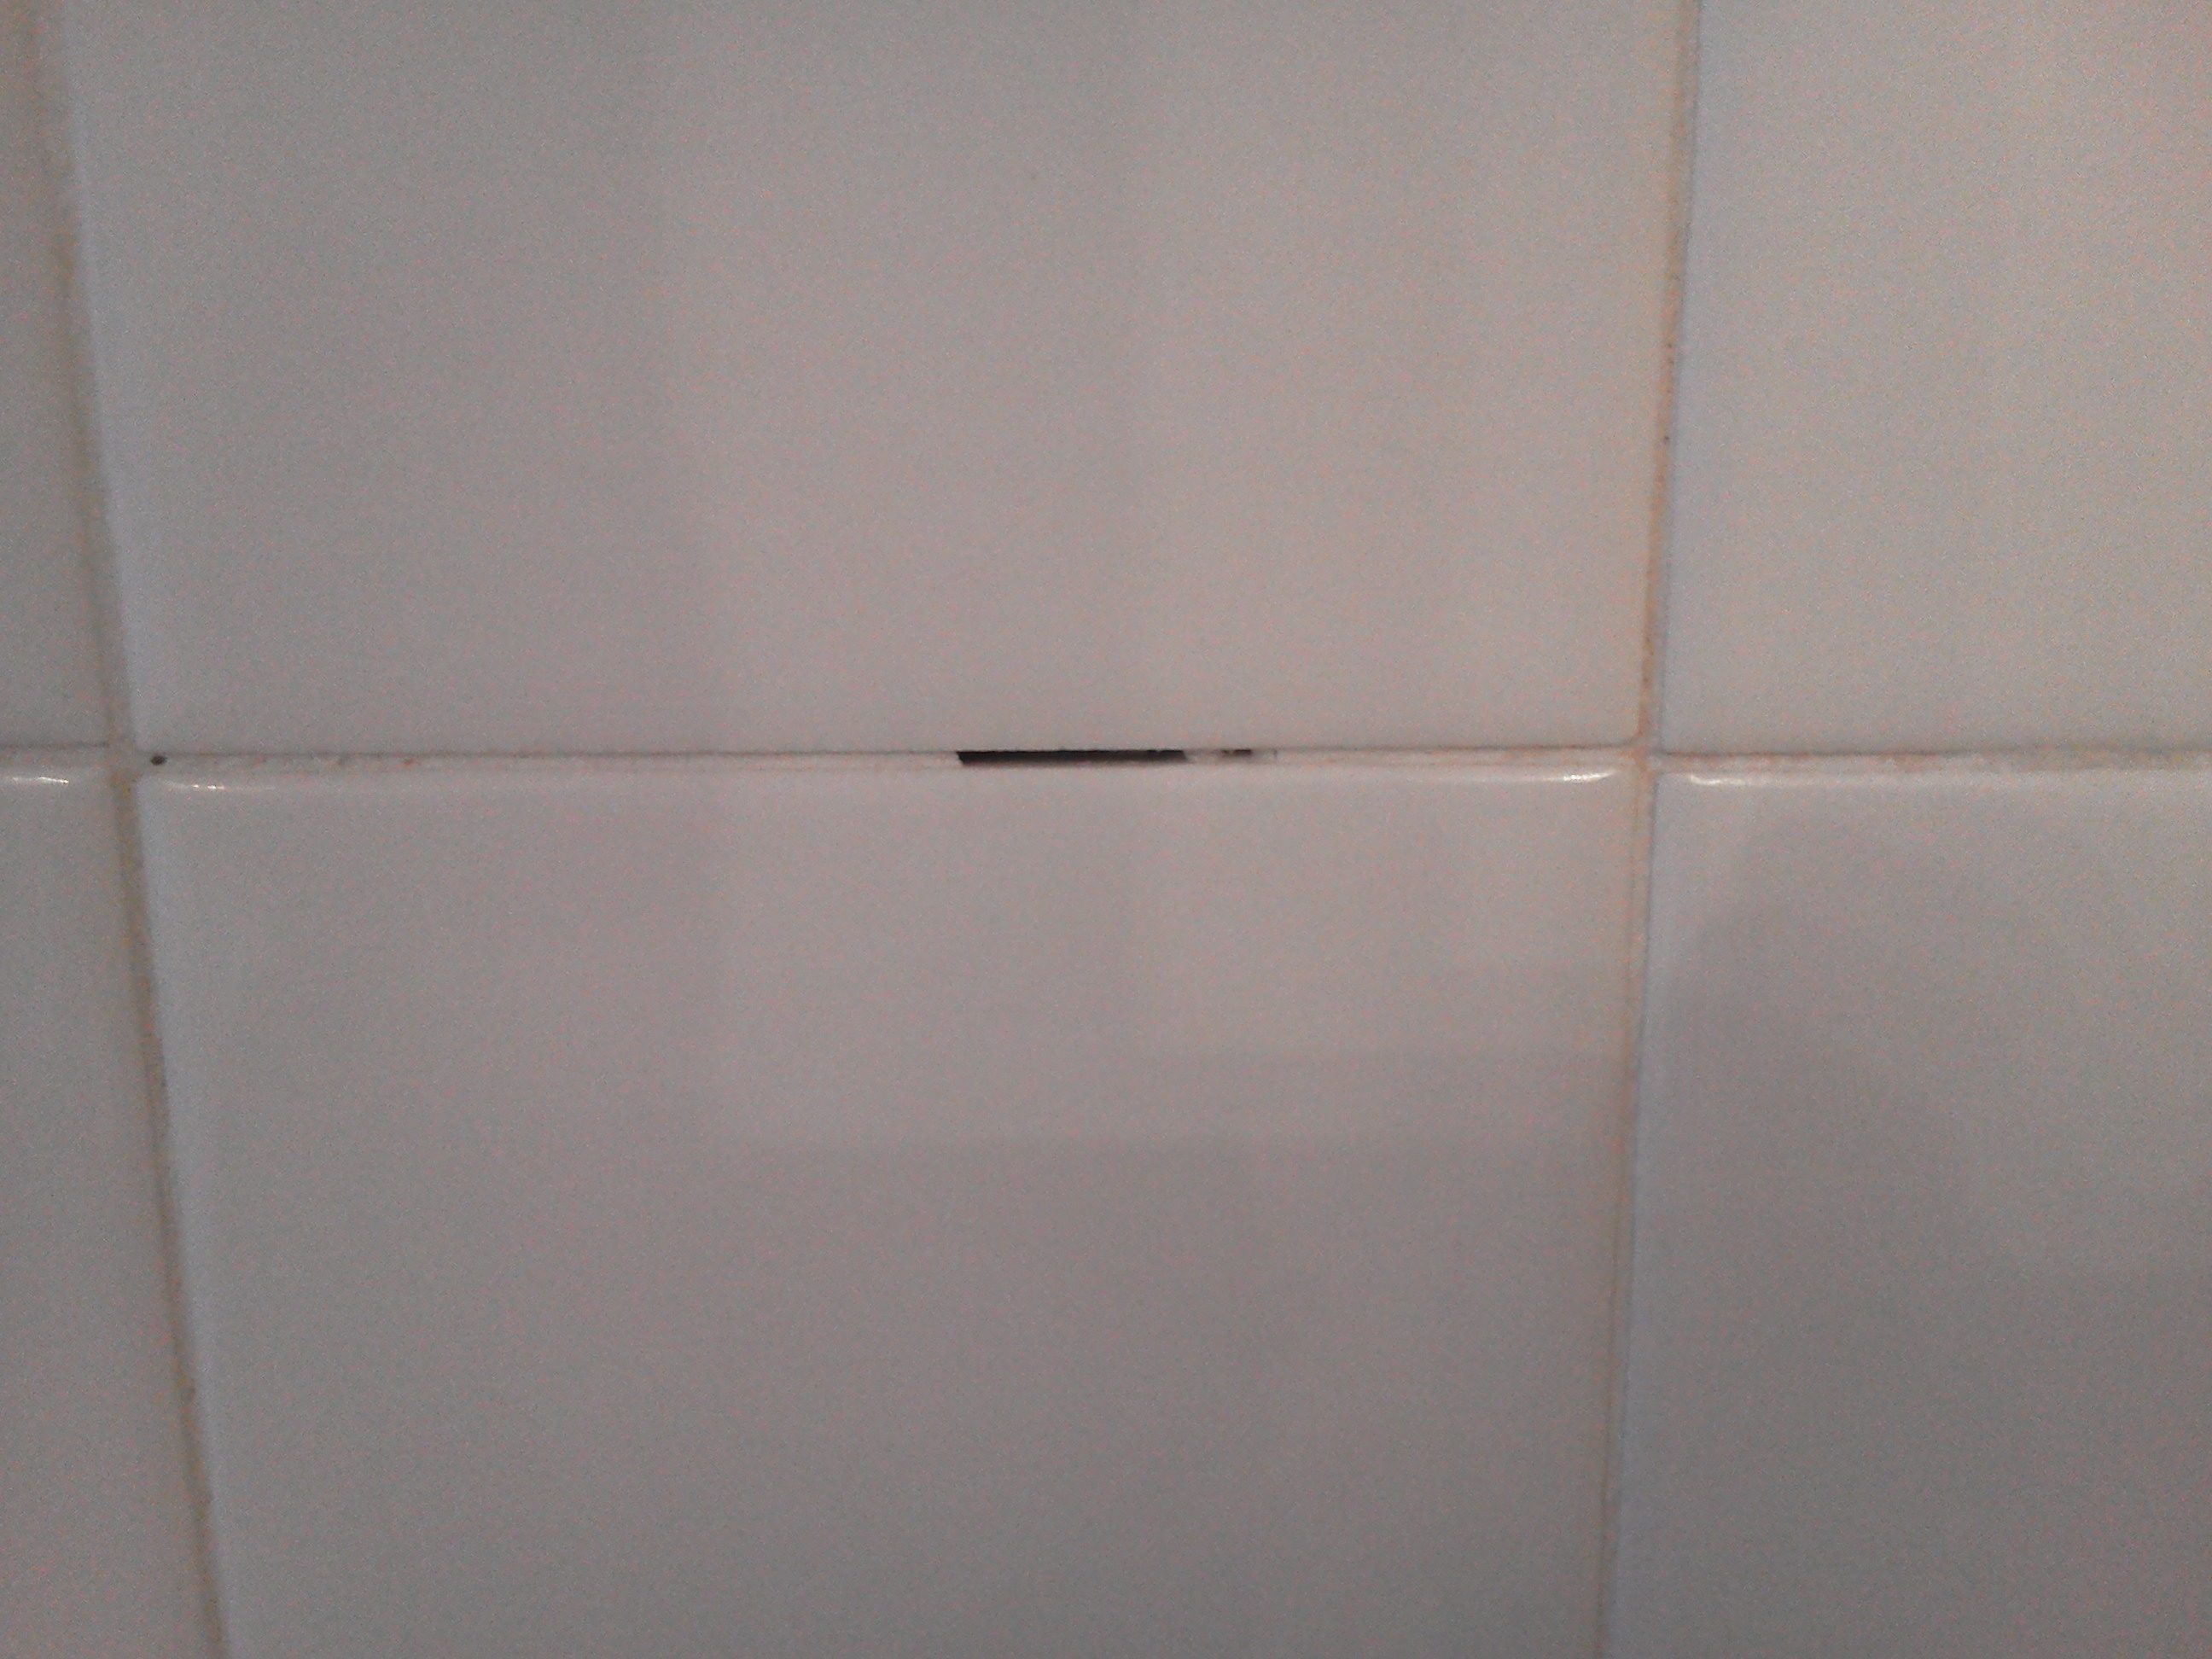
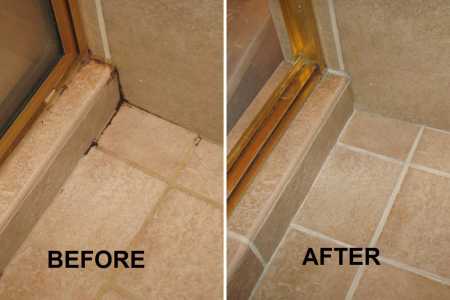
Address Repairs Promptly: If you notice any cracks, chips, or deterioration in your grout filler, address them promptly to prevent further damage and maintain the integrity of your tile installation. Remove any damaged grout and replace it with fresh grout filler, following the same application and sealing process.
Budget-Friendly Alternatives
If you’re working within a tight budget or prefer a more hands-on approach to home improvement projects, there are plenty of budget-friendly alternatives to traditional bathroom tile grout fillers. Here are some DIY and cost-effective options to consider:
Polymer Modified Grout: Polymer modified grout is a budget-friendly alternative to epoxy grout that offers enhanced durability and flexibility. It consists of cement-based grout mixed with polymer additives, which improve adhesion, strength, and water resistance. Polymer-modified grout is easier to work with than epoxy grout and typically costs less, making it a popular choice for DIYers on a budget.
Grout Pens: Grout pens are an affordable and convenient option for touching up or recoloring existing grout lines. These markers contain pigmented ink that can be applied directly to grout lines to restore or change the color. Grout pens are available in a variety of colors to match your tiles and can help refresh the appearance of your bathroom grout without the need for regrouting.
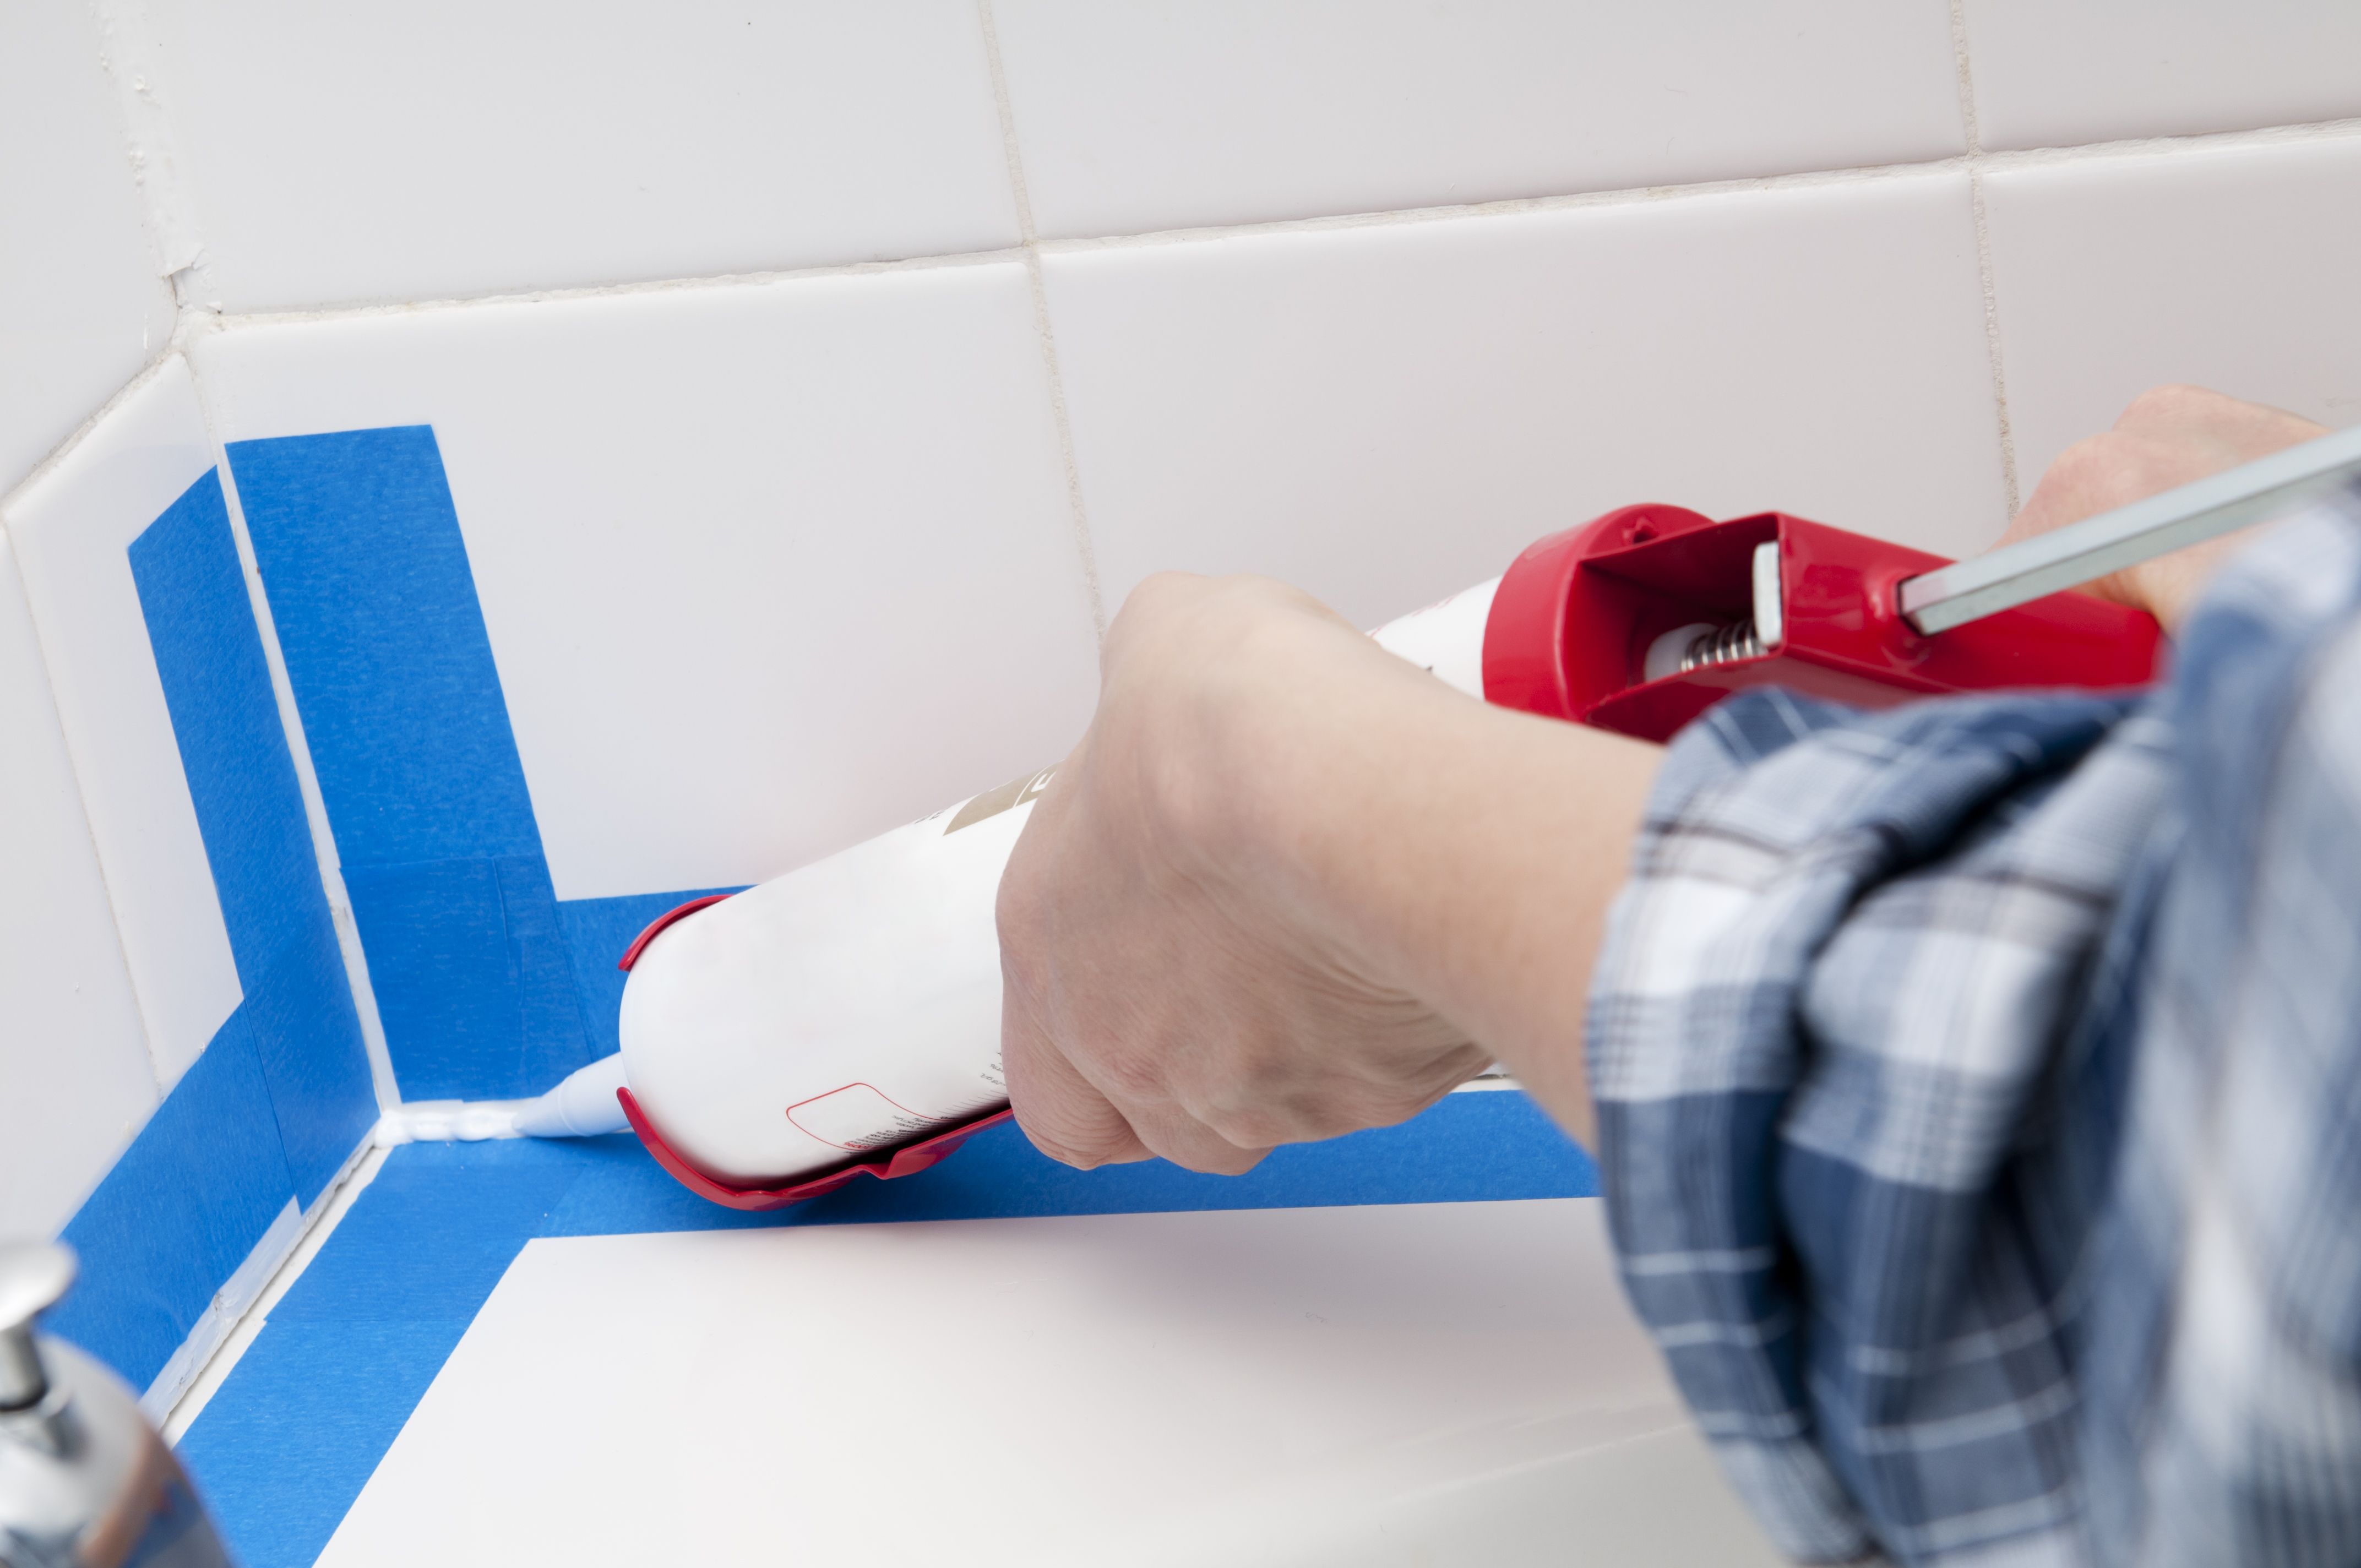
Acrylic Caulk: Acrylic caulk is a versatile and cost-effective option for sealing bathroom tiles and filling small gaps or cracks in grout lines. It comes in tubs or tubes and can be applied with a caulking gun for easy application. Acrylic caulk is water-resistant, paintable, and available in a range of colors to match your tiles. It’s a great option for minor repairs or touch-ups on a budget.
Grout Additives: Grout additives are specially formulated products that can be mixed with traditional cement-based grout to enhance its performance and durability. These additives may include acrylic polymers, latex, or silicone-based compounds that improve flexibility, adhesion, and water resistance. Adding a grout additive to your grout mixture can help increase its longevity and reduce the likelihood of cracking or staining over time.
Homemade Grout Cleaners: If you’re looking to save money on grout maintenance, consider making your own homemade grout cleaners using common household ingredients like baking soda, vinegar, and hydrogen peroxide. These natural cleaners are effective at removing dirt, grime, and stains from grout lines without harsh chemicals or expensive commercial products. Simply mix the ingredients together, apply to the grout lines, and scrub with a brush or sponge to clean and brighten your bathroom grout.
Regrouting Kits: Regrouting kits are affordable and convenient options for repairing or replacing damaged grout in your bathroom. These kits typically contain everything you need to remove old grout, apply new grout, and seal the joints, including grout saws, grout floats, and sealant applicators. Regrouting kits come in various sizes and configurations to suit different project needs and can save you time and money compared to hiring a professional.
Sdoveb Tile Reform, Tile Grout Repair, White Grout Tiling Tile Reviver Repair, Tile Reform Coating, Restore The Look of Tile Grout Lines, Gap Refill
How To Repair Bathroom Grout Step-by-Step DIY Guide
Tile Grout Filler
Quick Fix: Repair Cracked Bathroom Grout
Is cracked grout a problem? – Is grout repair easy? – The Grout Medic
How to Apply Ceramic Tile Grout (Do-It-Yourself)
How to Repair Tile Grout Loweu0027s
How to Repair Cracked Tile Grout: An Easy Guide- The Lived-in Look
Related Posts:
