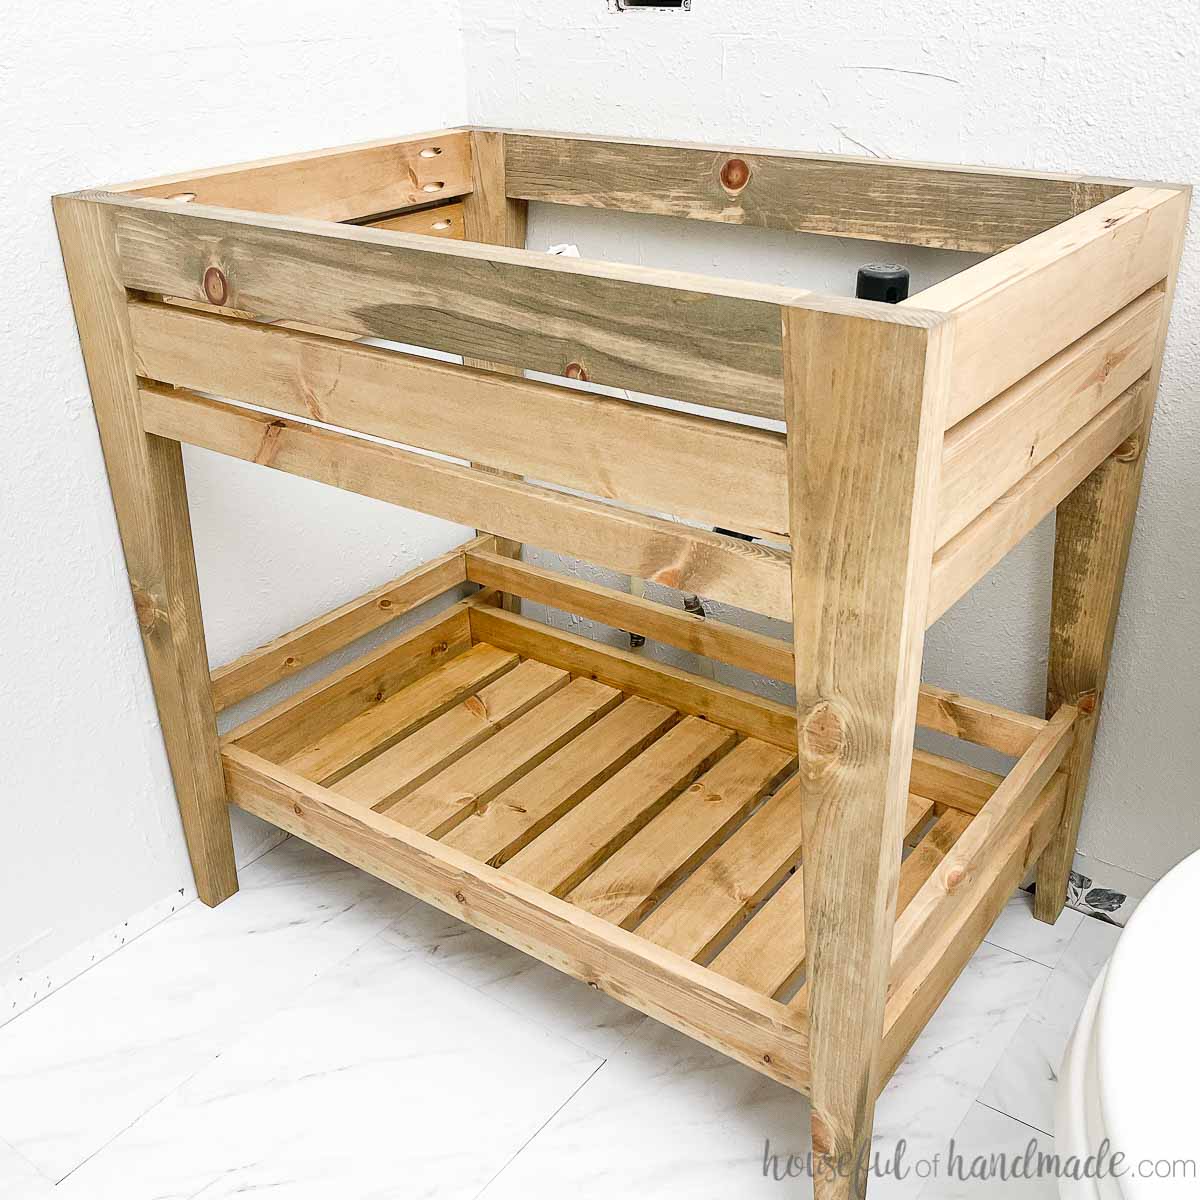
Choosing the Right Wood for Your Bathroom Vanity
When it comes to building a bathroom vanity, choosing the right wood is crucial for both durability and aesthetics. With so many options available, it can be overwhelming to make a decision. We will guide you through the process of selecting the perfect wood for your bathroom vanity.
- Consider the Humidity: Bathrooms are often humid environments, so it’s important to choose a wood that can withstand moisture. Hardwoods such as teak, oak, and walnut are excellent choices as they are naturally resistant to water damage. Avoid softwoods like pine or cedar, as they may warp or rot in a humid bathroom.
- Assess the Durability: Bathroom vanities are subjected to daily use, which means they should be durable enough to withstand wear and tear. Hardwoods like maple, cherry, and mahogany are known for their strength and durability. They can withstand the weight of bathroom essentials and resist scratches and dents.
- Consider the Style: The type of wood you choose will greatly impact the overall look of your bathroom vanity. Lighter woods like ash or birch can create a more modern and airy feel, while darker woods like walnut or mahogany can add a touch of elegance and sophistication. Consider the existing decor and color scheme of your bathroom when selecting the wood.
- Finishing Options: Some woods, like oak or maple, have a natural beauty that can be enhanced by a simple clear coat finish. Others, like pine or birch, may require staining to achieve the desired look. Consider the maintenance required for different finishes and choose a wood that aligns with your preferences.
- Budget Considerations: Last, consider your budget when selecting the wood for your bathroom vanity. Some woods, like walnut or teak, can be more expensive than others. However, there are also affordable options like oak or birch that can still provide a beautiful and durable vanity.
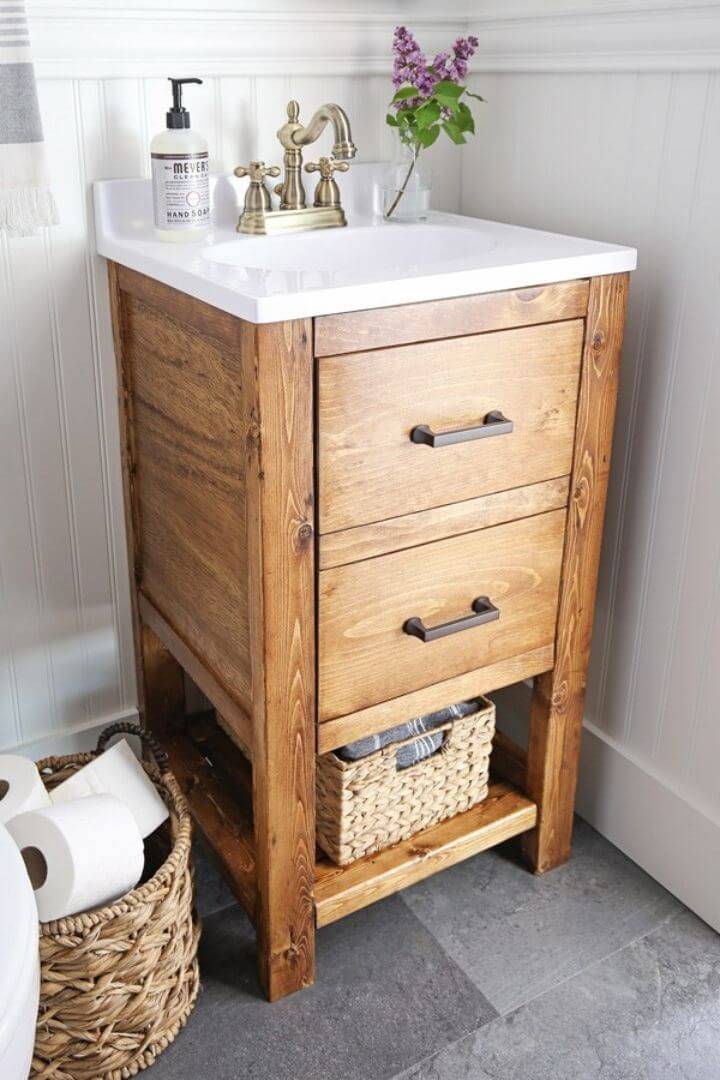
Building a Beautiful Bathroom Vanity from Scratch
Are you ready to take your woodworking skills to the next level and build a beautiful bathroom vanity from scratch? We will provide you with step-by-step instructions to guide you through the process.
Gather Your Materials: Before you begin, gather all the necessary materials and tools. This may include the wood of your choice, screws, wood glue, a saw, drill, sandpaper, and a measuring tape. Make sure you have everything you need to avoid any interruptions during the building process.
Design and Measurements: Start by designing your bathroom vanity and taking accurate measurements. Consider the size and layout of your bathroom, as well as any specific storage needs you may have. Sketch out your design and create a cutting list to ensure you have the right amount of wood.
Cut and Assemble the Frame: Begin by cutting the wood according to your measurements. Assemble the frame using wood glue and screws, making sure it is sturdy and level. Use clamps to hold the pieces together while the glue dries. Double-check your measurements and make any necessary adjustments.
Build the Doors and Drawers: If your design includes doors or drawers, build them separately. Use precise measurements and ensure they fit within the frame perfectly. Attach hinges and handles as needed. Test the doors and drawers to ensure they open and close smoothly.
Sand and Finish: Once the main structure is complete, sand all surfaces to create a smooth finish. Start with coarse sandpaper and gradually move to finer grits for a polished look. Remove any dust and apply the desired finish, whether it’s a stain, paint, or clear coat. Allow sufficient drying time between coats.
Install the Vanity: Finally, install your newly built bathroom vanity in its designated spot. Ensure it is level and secure, using additional screws if necessary. Connect the plumbing fixtures and test for any leaks. Admire your handiwork and enjoy your custom-made bathroom vanity.
Tips and Tricks for Creating a Functional and Stylish Piece
A custom-designed bathroom vanity can be the perfect addition to your bathroom, adding both functionality and style. Below we share some tips and tricks to help you design a custom bathroom vanity that meets your specific needs and reflects your style.
Assess Your Needs: Before diving into the design process, assess your needs. Consider how much storage space you require, whether you prefer drawers or cabinets, and if you need additional features like a built-in laundry hamper or electrical outlets. Understanding your needs will guide the design process.
Measure the Space: Take accurate measurements of the available space in your bathroom. Consider the height, width, and depth limitations to ensure your custom vanity fits perfectly. Take into account any existing plumbing fixtures and electrical outlets that may impact the design.
Sketch Your Design: Sketch out your design, taking into consideration your measurements and storage needs. Consider the layout of the bathroom and how the vanity will fit within the overall space. Experiment with different styles, shapes, and materials to find a design that suits your taste.
Choose the Right Materials: Selecting the right materials is crucial for both durability and aesthetics. Consider the type of wood, countertop material, and hardware that will complement your design. Choose materials that are resistant to water damage, easy to clean, and align with your overall vision.
Incorporate Smart Storage Solutions: Maximize the functionality of your bathroom vanity by incorporating smart storage solutions. Consider pull-out drawers, adjustable shelves, and organizers to keep your bathroom essentials organized and easily accessible. Think about your daily routine and how the vanity can streamline your tasks.
Add Personal Touches: Don’t be afraid to add personal touches to your custom bathroom vanity. Consider unique hardware, decorative accents, or even a custom paint color. These details will make your vanity truly one-of-a-kind and reflect your style.
Enhancing Your Woodworking Bathroom Vanity with Stains, Paints, and Hardware
Once you have built your woodworking bathroom vanity, it’s time to add the finishing touches that will truly make it shine. Below are different options for enhancing your vanity with stains, paints, and hardware.
Stain Options: Staining your wood can enhance its natural beauty and add depth to the overall finish. There are various stain options available, ranging from light to dark tones. Test different stains on a small, inconspicuous area of your vanity to see how they interact with the wood. Choose a stain that complements the existing decor and color scheme of your bathroom.
Paint Choices: If you prefer a painted finish, consider using high-quality paint designed for furniture and cabinets. Opt for a paint color that complements the overall style of your bathroom. Lighter colors can create a fresh and airy feel, while darker shades add a touch of elegance. Apply multiple coats for a smooth and durable finish.
Hardware Selection: The hardware you choose can greatly impact the overall look of your bathroom vanity. Consider the style and finish that best complements your chosen wood and paint/stain color. From sleek and modern to vintage and ornate, there are countless hardware options available. Ensure the hardware is functional and durable, as it will be subjected to daily use.
Applying the Finish: Before applying any stains, paints, or hardware, ensure the surfaces of your vanity are clean and smooth. Sand the wood to remove any imperfections and ensure proper adhesion of the finish. Follow the manufacturer’s instructions for applying stains or paints, and allow sufficient drying time between coats. For hardware installation, use a measuring tape and level to ensure proper alignment.
Protecting the Finish: Once the finish is applied, it’s important to protect it for long-lasting beauty. Apply a clear coat or protective sealant to the stained or painted surfaces. This will help protect against moisture damage, scratches, and fading. Follow the manufacturer’s instructions for application and maintenance.
Troubleshooting Common Woodworking Challenges
Woodworking projects can sometimes present challenges, and building a bathroom vanity is no exception. We will address some common woodworking challenges you may encounter during your bathroom vanity project and provide tips on how to overcome them.
Warping Wood: Wood can warp due to changes in humidity or improper storage. To prevent warping, ensure your wood is properly dried before using it for your vanity. Store your wood in a dry environment and acclimate it to the room’s humidity before beginning your project. If you notice any warping during the building process, try clamping the affected areas and allowing them to straighten out naturally.
Uneven Cuts: Uneven cuts can happen if your saw blade is not properly aligned or if you rush through the cutting process. To ensure clean and straight cuts, make sure your saw is properly calibrated and use a guide to keep the saw on track. Take your time and make slow, deliberate cuts, ensuring that the blade stays perpendicular to the wood. If you do end up with uneven cuts, you can use sandpaper or a plane to smooth out the edges.
Joinery Issues: Joinery is an important aspect of woodworking, but it can sometimes be challenging to achieve tight and sturdy joints. One common issue is gapping or misalignment in the joints. To prevent this, ensure that your measurements and cuts are precise. Use clamps to hold the pieces together tightly while gluing or screwing them in place. If you do end up with gaps, you can use wood filler or putty to fill them before sanding and finishing.
Finishing Problems: Finishing can be a tricky process, as it requires attention to detail and proper technique. Common finishing problems include uneven application, drips, or brush strokes. To avoid these issues, make sure to properly prepare the wood surface by sanding it smooth. Follow the manufacturer’s instructions for your chosen finish, whether it’s a stain, paint, or clear coat. Apply thin and even coats, allowing sufficient drying time between each coat. If you do end up with imperfections, you can sand them out and reapply the finish as needed.
Plumbing and Installation Challenges: Installing a bathroom vanity involves connecting plumbing fixtures, which can sometimes be challenging if you’re not familiar with plumbing. If you’re unsure, it’s best to consult a professional plumber to ensure proper installation and prevent leaks. Additionally, ensure that your vanity is level and securely attached to the wall to prevent any wobbling or instability.
Lack of Experience: Lack of experience can be a challenge when taking on a woodworking project like building a bathroom vanity. If you’re new to woodworking, start with simpler projects to build your skills and confidence. Take the time to research and educate yourself on woodworking techniques, joinery methods, and finishing processes. Consider taking a woodworking class or seeking guidance from experienced woodworkers to learn from their expertise.
DIY Bathroom Vanity Plans You Can Build Today
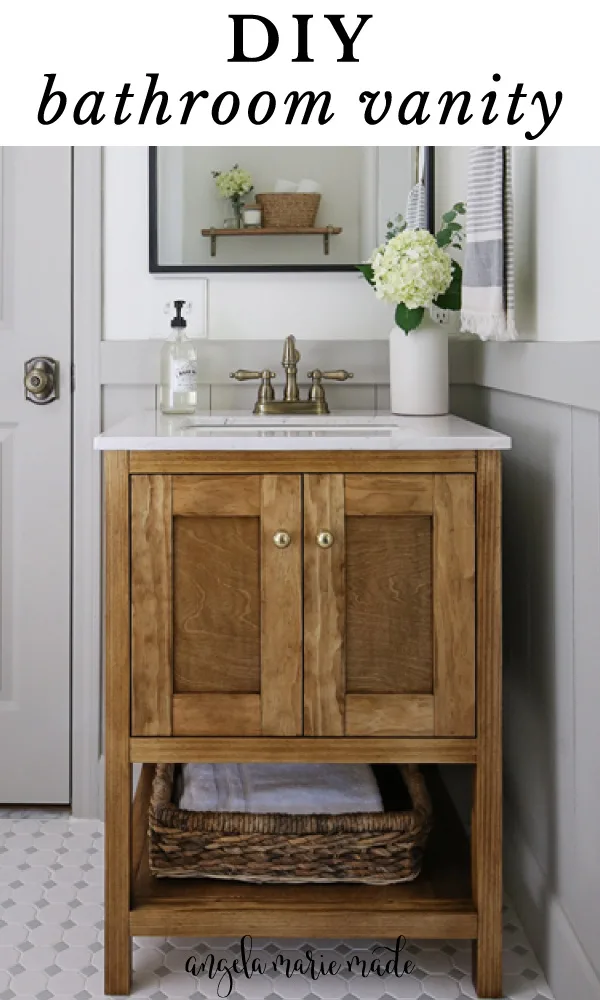
How to Build a DIY Bathroom Vanity – Angela Marie Made
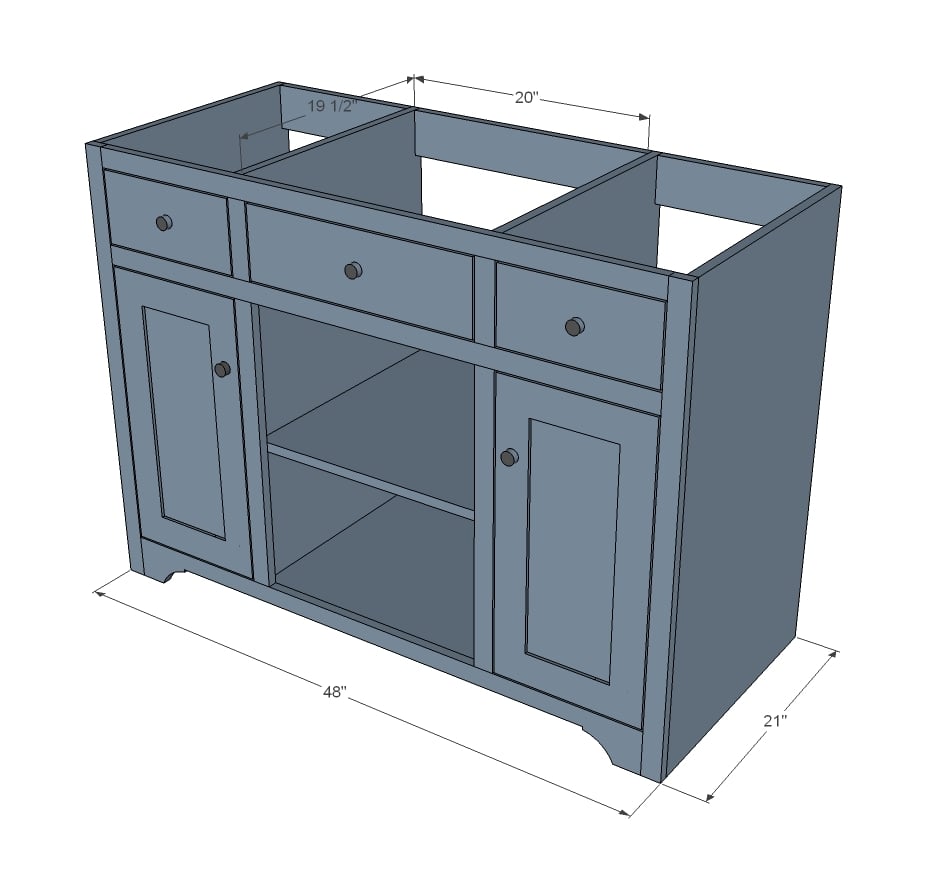
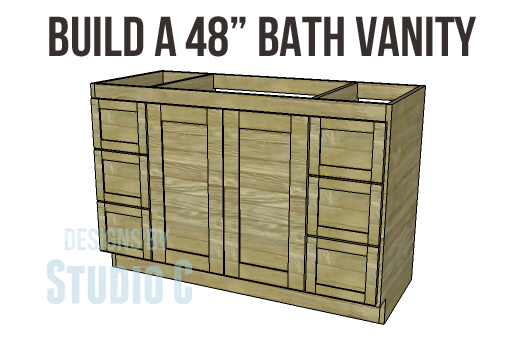
DIY Woodworking Plans to Build a 48″ Bath Vanity Designs
DIY Bathroom Vanity Ideas
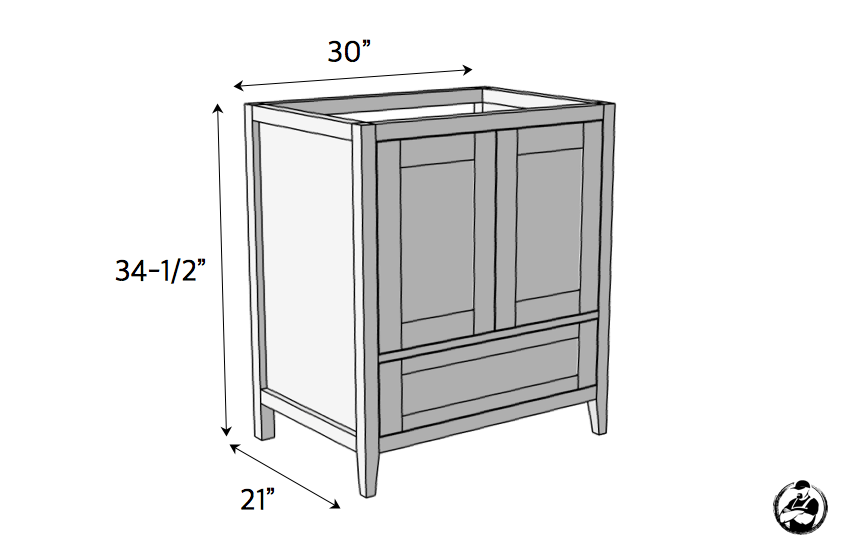
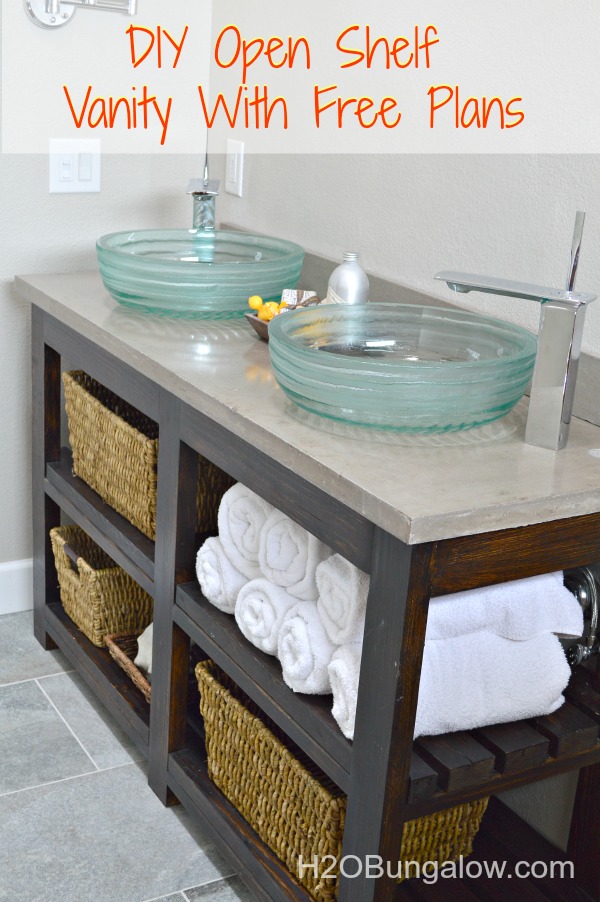
DIY Open Shelf Vanity With Free Plans
Effortless DIY Bathroom Vanity Plans ideas for bathroom
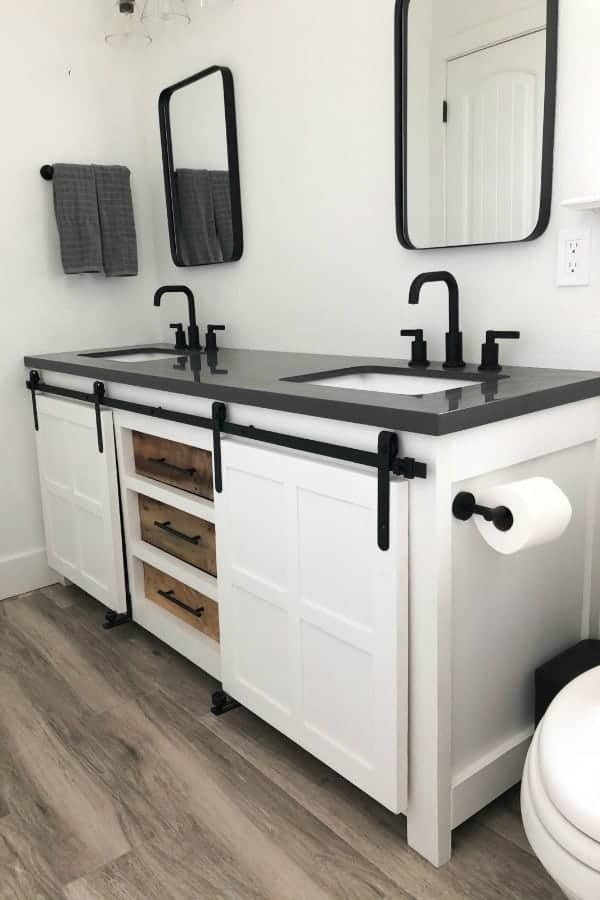
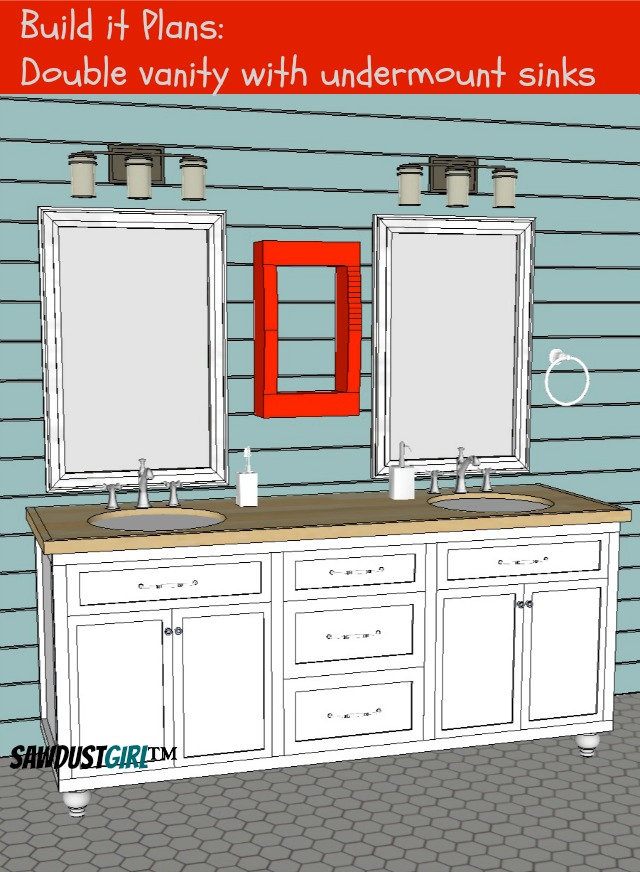
Double Vanity with Center Drawers – Free Plans – Sawdust Girl®
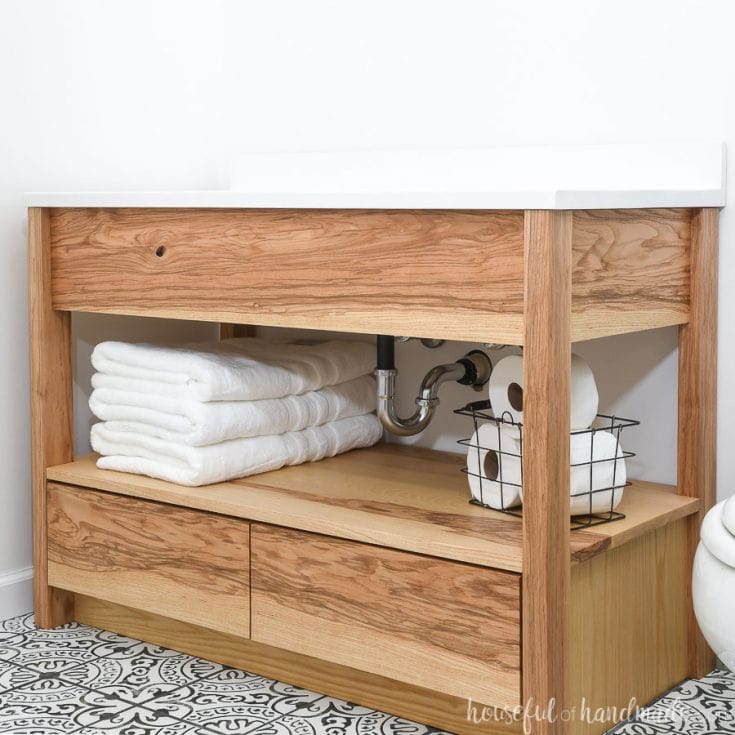
Cheap DIY Bathroom Vanity Plans – Houseful of Handmade
Homemade Bathroom Vanity/Cabinet Plans You Can DIY Easily
Related Posts:
