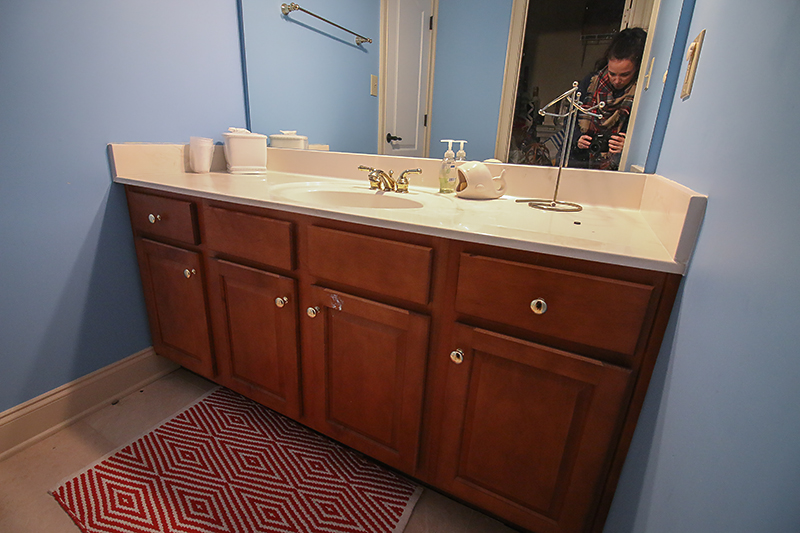
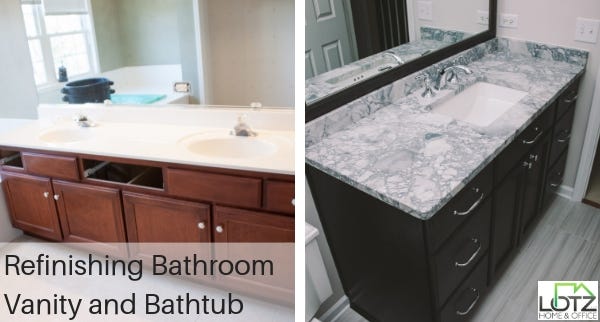
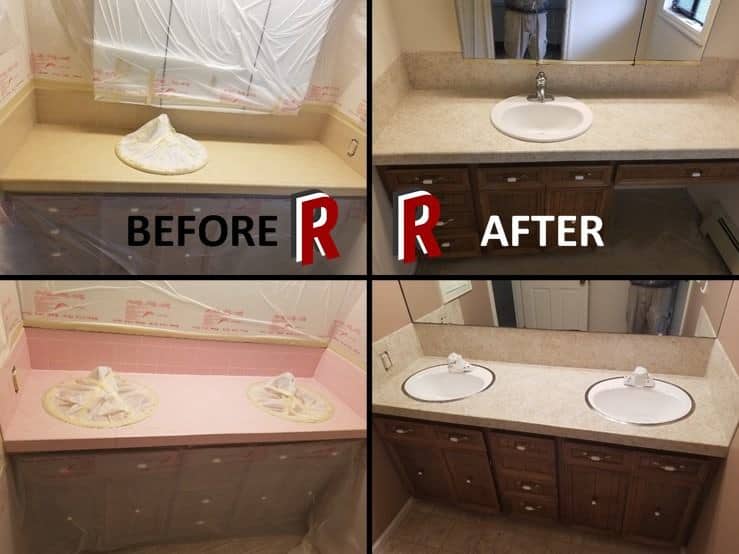
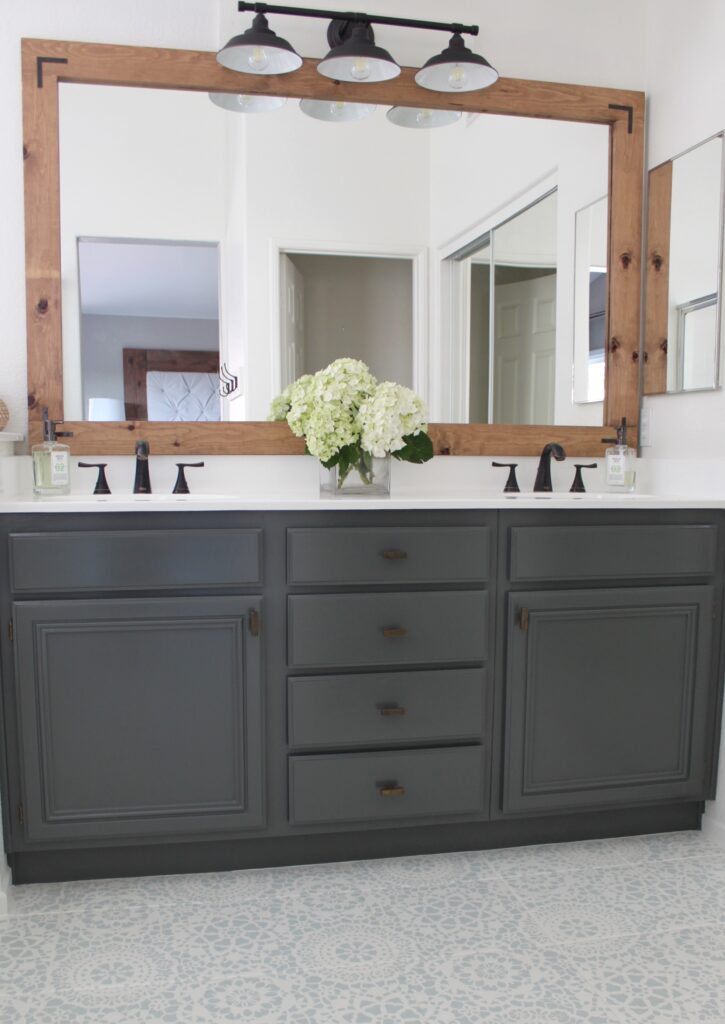
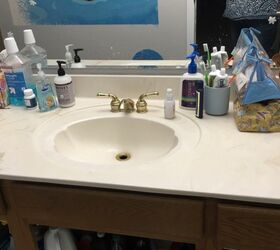
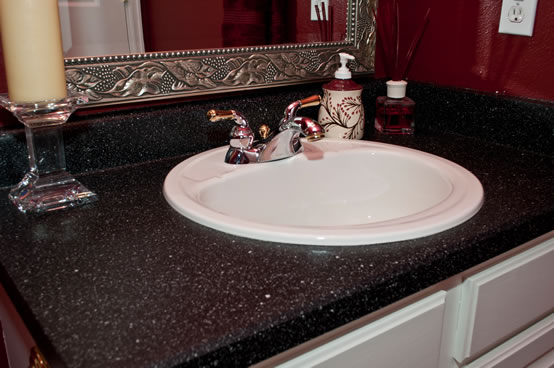
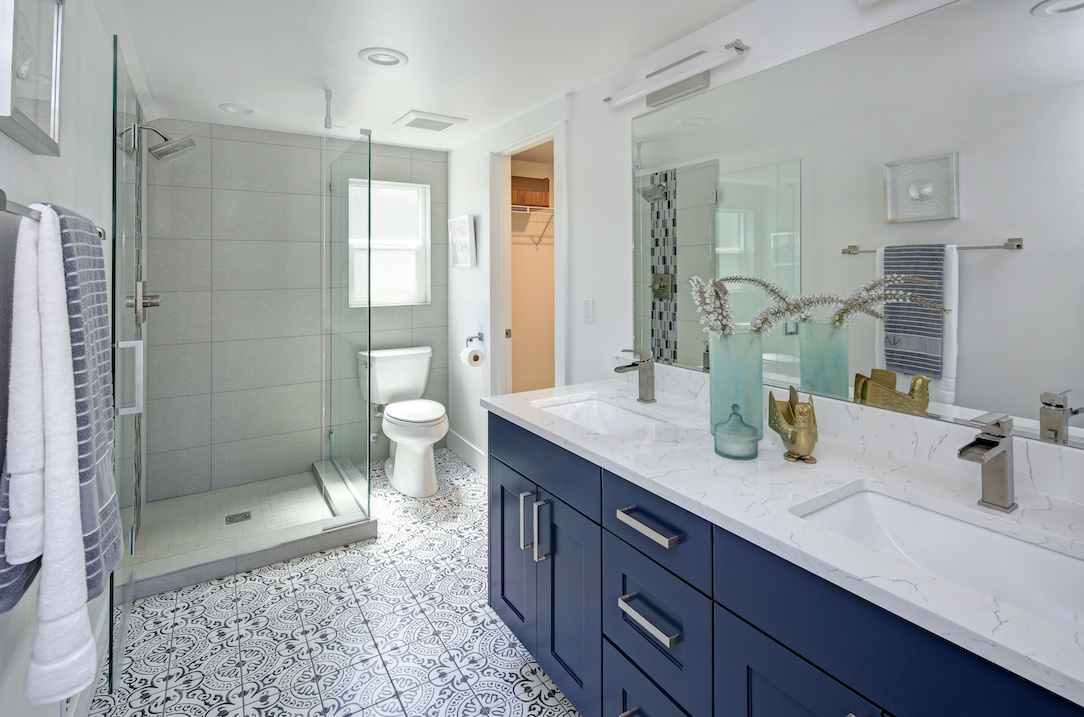
As a homeowner who recently underwent a bathroom renovation, I discovered the incredible transformation bathroom vanity resurfacing can bring to a space. Resurfacing your bathroom vanity offers a cost-effective and efficient way to give your bathroom a fresh new look without the need for a full replacement. In this article, I will share my experience and guide you through bathroom vanity resurfacing.
Step 1: Evaluate Your Vanity
Before beginning the resurfacing process, carefully assess the condition of your existing bathroom vanity. Look for any signs of damage, such as cracks, chips, or water stains. Ensure that the structure of the vanity is sturdy and in good condition. Resurfacing works best when the underlying vanity is solid and free from major defects.
Step 2: Prepare the Surface
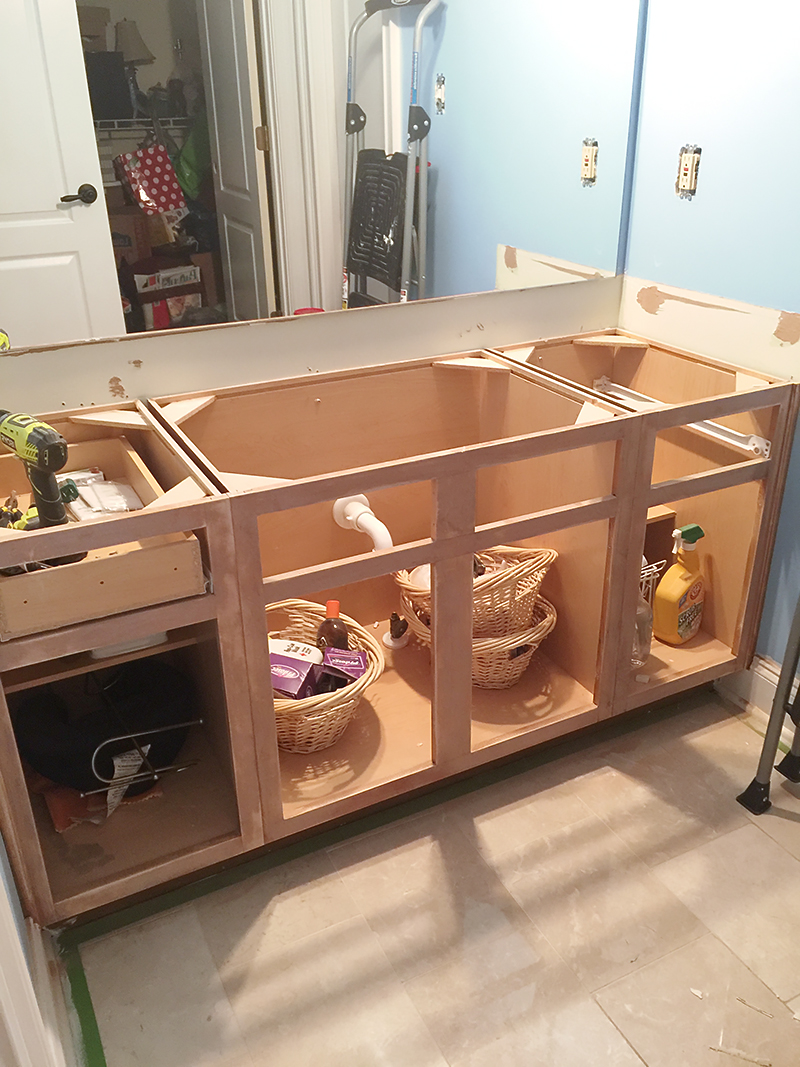
To achieve a successful resurfacing outcome, thorough surface preparation is crucial. Start by removing all hardware, including knobs, handles, and hinges. Clean the vanity thoroughly, removing any dirt, grime, or residue. If there are any imperfections on the surface, fill them with wood filler or putty, and sand the entire vanity to create a smooth and even base.
Step 3: Choose Your Resurfacing Method
Various resurfacing methods are available, each with unique advantages and considerations. Two popular options are painting and refinishing. Painting involves applying a fresh coat of paint to the vanity, while refinishing involves using a specialized product or kit to restore the surface. Research different methods and choose the one best suits your preferences and skill level.
Step 4: Follow the Resurfacing Process
Regardless of the method chosen, it is essential to follow the specific instructions provided with the chosen product or kit. This typically involves applying a primer or bonding agent to the vanity surface, followed by multiple coats of paint or refinishing solution. Take your time during this step, ensuring even application and allowing sufficient drying time between coats.
Step 5: Reinstall and Refresh
Reinstall the hardware onto the vanity once the resurfacing process is complete and the surface is fully dry. Consider replacing outdated or worn-out hardware with new ones to enhance the refreshed look further. Additionally, take the opportunity to update other elements of your bathroom, such as faucets, lighting, or mirrors, to complement the new appearance of your vanity.
Step 6: Maintain and Enjoy
Proper maintenance is key to prolonging the lifespan of your resurfaced bathroom vanity. Use gentle cleaning products and avoid abrasive materials or harsh chemicals that may damage the surface. Regularly wipe down the vanity and promptly handle any spills or stains to keep it looking its best. With proper care, your resurfaced vanity will continue bringing beauty and functionality to your bathroom for years.
Bathroom vanity resurfacing offers a budget-friendly and eco-friendly alternative to replacing your entire vanity. By following these steps, you can transform the look and feel of your bathroom without the hassle and expense of a complete renovation. Embrace the opportunity to breathe new life into your space and enjoy the satisfaction of a beautifully resurfaced bathroom vanity.
Bathroom Vanity Resurfacing

Bathroom Countertop Refinishing – A budget friendly bathroom update
How to Refinish a Bathroom Vanity – Bower Power
Restoring Bathroom Vanities And Bathtubs by Mark Lotz Medium
DIY Bathroom Vanity and Countertop Makeover
Bathtub, Shower u0026 Countertop Resurfacing Redrock Resurfacing
How to Refinish a Bathroom Vanity – Bower Power
How To Refinish Bathroom Cabinets DIY Domestic Blonde
Cabinet Refinishing u0026 Vanity Resurfacing Donu0027t replace
How to resurface an acrylic bathroom counter top? Hometalk
Bathroom Sink Refinishing – Miracle Method
Refinishing Your Bathroom Vanity
How to Refinish Bathroom Vanity Top with DIY Epoxy Resin – TheDIYPlan
Related Posts:
- Unique Bathroom Vanities For Small Spaces
- Quality Bathroom Vanity Units
- Mirrored Bathroom Vanity With Sink
- Bathroom Vanities 32 Inches Wide
- Modern Floating Bathroom Vanity
- Bathroom Vanity Sink Faucet
- Open Bottom Bathroom Vanity
- Bathroom Vanity Ideas Small Bathroom
- Foremost Bathroom Vanity
- Bathroom Vanity Cabinets With Legs

