A Step-by-Step Guide to Build a Bathroom Vanity
Designing and building your own bathroom vanity can be a rewarding and cost-effective project. However, with a plethora of design options available, it can be overwhelming to choose the perfect design for your space. We will guide you through the process of selecting the ideal design for your bathroom vanity, ensuring that it not only fits your aesthetic preferences but also meets your functional needs.
- Assessing Your Space: Before delving into the world of bathroom vanity designs, it’s crucial to evaluate the available space in your bathroom. Consider the dimensions, layout, and existing fixtures. Take accurate measurements of the area where you plan to install the vanity. This will help you determine the appropriate size, shape, and style for your design.
- Determining Your Style: Next, consider your personal style and the overall theme of your bathroom. Are you aiming for a modern, minimalist look or a rustic, farmhouse vibe? Browse through magazines, websites, and social media platforms for inspiration. Create a mood board or save images that resonate with your taste. This will help you narrow down your options and identify the design elements you prefer.
- Considering Storage Needs: One of the primary functions of a bathroom vanity is to provide storage space for toiletries, towels, and other essentials. Evaluate your storage requirements and choose a design that offers adequate compartments, drawers, or shelves. Consider additional features like built-in organizers or hidden storage solutions to maximize functionality.
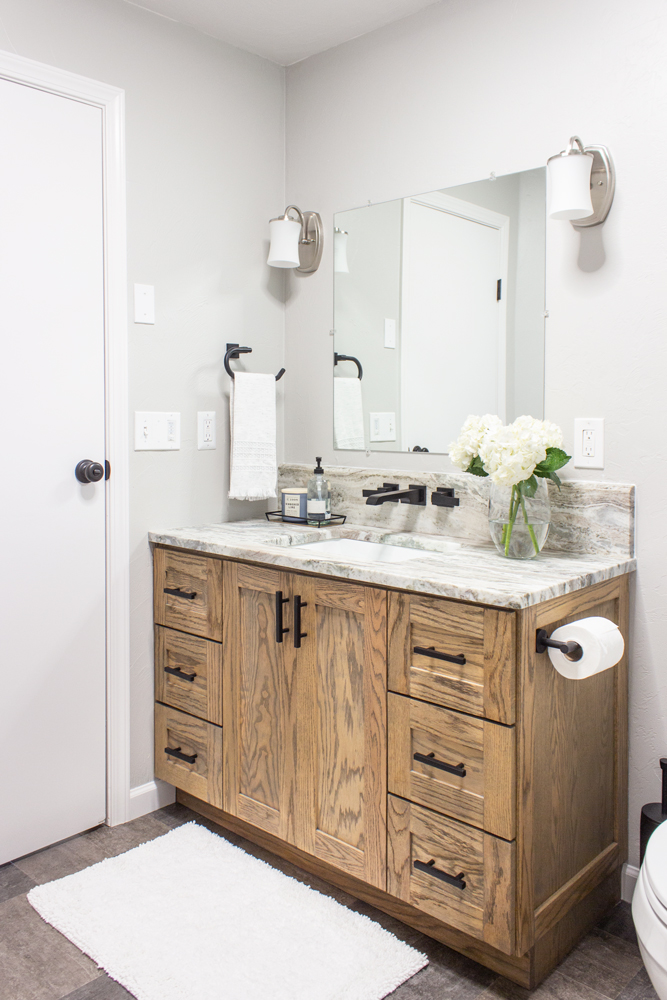
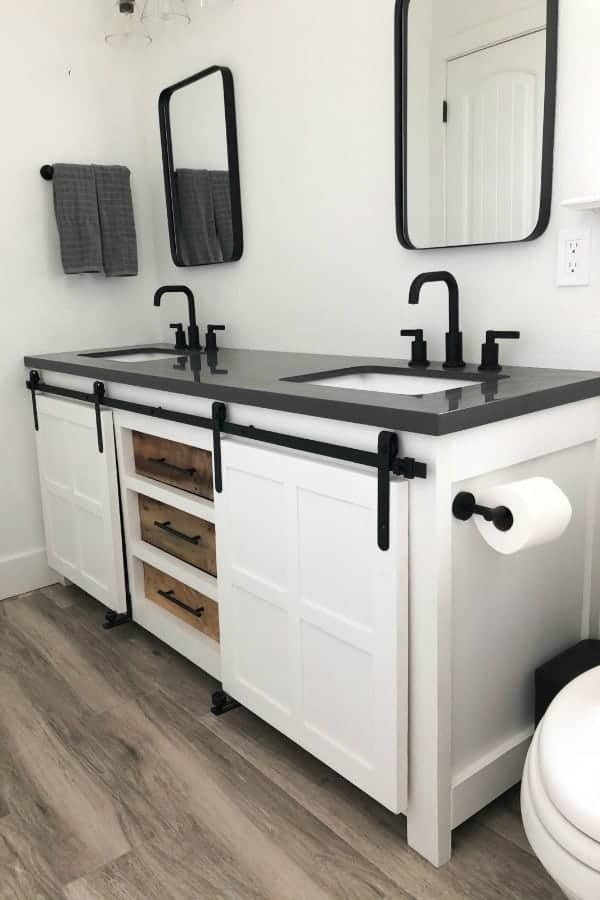
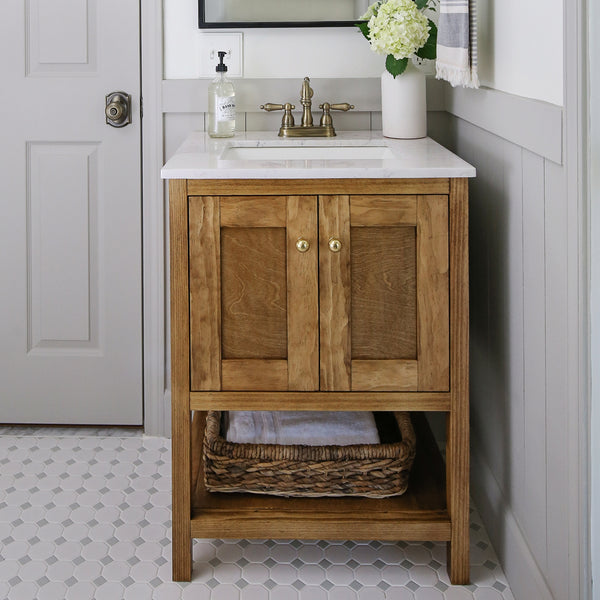
- Evaluating Material Options: The choice of materials can significantly impact the overall appearance and durability of your bathroom vanity. Common options include wood, laminate, or even repurposed furniture pieces. Consider the pros and cons of each material, such as moisture resistance, maintenance requirements, and cost. Opt for materials that are suitable for bathroom environments and align with your design vision.
- Customizing Your Design: Now that you have a clearer idea of the size, style, and materials, it’s time to customize your bathroom vanity design. Explore various design elements, such as countertop options, sink styles, and hardware finishes. Experiment with different combinations to create a unique and personalized piece. Don’t forget to factor in practical elements, such as faucet placement and accessibility.

Essential Tools and Materials for DIY Bathroom Vanity Construction
Embarking on a DIY bathroom vanity construction project requires the right tools and materials to ensure a successful outcome. We will provide you with a comprehensive list of essential tools and materials that will help you tackle your project with confidence. From measuring and cutting to assembly and installation, having the right equipment at your disposal will make the construction process smoother and more efficient.
Measuring Tools: Accurate measurements are crucial when building a bathroom vanity. Invest in a good quality tape measure to measure the dimensions of your space, as well as the materials you’ll be working with. A combination square is also handy for checking angles and ensuring precise cuts. Additionally, a level will help you ensure that your vanity is properly aligned during installation.
Cutting Tools: To cut the materials for your vanity, you’ll need a few essential cutting tools. A circular saw or a table saw is essential for cutting large pieces of wood or other materials. A jigsaw comes in handy for making curved cuts or intricate designs. A miter saw is useful for making precise angle cuts, especially for trim pieces. Lastly, a coping saw can be used for detailed and intricate cuts.
Joinery Tools: Joinery is an important aspect of building a sturdy and durable bathroom vanity. A drill with various drill bits is necessary for making holes for screws or dowels. A pocket hole jig is a great tool for creating strong joints by hiding screws. A chisel and hammer are essential for trimming and shaping wood joints. Additionally, clamps are vital for holding pieces together while the glue dries or when securing joints.
Finishing Tools: To give your bathroom vanity a polished look, you’ll need a few finishing tools. Sandpaper in various grits is essential for smoothing out rough edges and achieving a smooth surface. A paintbrush or a paint sprayer is necessary for applying paint or stain to your vanity. A putty knife is useful for filling in any gaps or holes with wood filler or putty. Lastly, a caulk gun is needed for applying caulk around the edges for a finished appearance.
Materials: In addition to the tools, you’ll need the right materials to construct your bathroom vanity. This includes the main structure, such as plywood or solid wood for the cabinet frame and doors. You’ll also need materials for the countertop, such as quartz, granite, or laminate. Don’t forget about the sink, faucet, and hardware, which should be selected based on your design preferences. Additionally, gather the necessary screws, nails, glue, and other fasteners to assemble your vanity.
Tips and Tricks for Measuring and Cutting Wood for Your Bathroom Vanity
Accurate measurements and precise cuts are essential for building a bathroom vanity that fits perfectly in your space. We will share some helpful tips and tricks to ensure that your measurements are precise and your wood cuts are clean and accurate. By following these guidelines, you’ll be able to confidently measure and cut wood for your bathroom vanity project.
Measure Twice, Cut Once: Before making any cuts, it’s crucial to double-check your measurements. Measure the space where your vanity will be installed, ensuring you consider any plumbing or electrical fixtures. Take precise measurements of the materials you’ll be working with, such as the plywood for the cabinet frame and doors. By measuring twice, you minimize the risk of making costly mistakes.
Use a Straight Edge Guide: To ensure straight and accurate cuts, utilize a straight edge guide. A straight edge guide can be a long piece of wood or a metal ruler that you can clamp onto your workpiece. This guide will act as a guide for your saw, allowing you to make clean, straight cuts. It helps prevent the saw from wandering off course and ensures precise results.
Mark Your Cuts: Before making any cuts, mark the measurements directly on your wood. Use a pencil or a marking knife to create a clear and visible line. For longer cuts, use a straightedge to guide your marking. This will help you maintain accuracy and prevent any confusion while cutting.
Consider Kerf Width: When cutting wood with a saw, it’s important to account for the width of the blade, known as the kerf. The kerf width can vary depending on the type of saw and blade you’re using. To ensure accurate measurements, subtract the kerf width from your desired measurement before making the cut. This compensates for the material that will be removed during the cutting process.
Practice Proper Saw Techniques: Using the correct technique when cutting wood is essential for achieving clean and accurate cuts. Make sure to use a steady and controlled motion, applying even pressure as you guide the saw through the wood. Keep your eye on the marked line and allow the saw to do the work. Avoid forcing the saw or rushing the cut, as this can lead to uneven or jagged edges.
Sand to Perfection: After making your cuts, it’s important to sand the edges to achieve a smooth finish. Use sandpaper with a medium grit to start and gradually move to a finer grit for a polished result. Sanding not only removes any rough edges but also helps ensure a tight fit when assembling your vanity.
How to Put Together Your Custom Bathroom Vanity
Now that you have measured, cut, and prepared all the necessary components for your custom bathroom vanity, it’s time to put everything together. We will guide you through the assembly process, providing helpful tips to ensure a smooth and successful construction. By following these steps, you will be able to assemble your custom bathroom vanity with ease and confidence.
Organize Your Components: Before starting the assembly, take some time to organize all the components of your bathroom vanity. Lay out the cabinet frame, doors, shelves, and any other parts in a clear and organized manner. This will help you visualize the process and ensure that you have all the necessary pieces before beginning.
Follow the Instructions: If you are using a pre-designed plan or following a set of instructions, make sure to read and understand them thoroughly before starting the assembly. Pay close attention to any specific steps or techniques mentioned. If you are working without a plan, create a step-by-step outline of the assembly process to follow along.
Start with the Cabinet Frame: Begin the assembly process by working on the cabinet frame. Attach the sides, top, and bottom pieces of the frame according to your design. Use screws, nails, or dowels to secure the joints, ensuring a sturdy and stable structure. Check the measurements and alignments as you go to ensure accuracy.
Install Shelves and Dividers: If your vanity design includes shelves or dividers, install them next. Measure and mark the desired locations for the shelves and ensure they are level. Attach the shelves securely to the sides of the cabinet frame using screws or brackets. This will provide additional storage space and structural support.
Attach Doors and Hardware: Once the main structure is assembled, it’s time to attach the doors and hardware. Install the hinges on the cabinet frame and attach the doors, ensuring they are aligned properly and swing smoothly. Install any knobs, handles, or pulls according to your design preferences. Take your time to adjust and tighten all the hardware to ensure a proper fit.
Test and Adjust: After completing the assembly, take a moment to test the functionality of your bathroom vanity. Open and close the doors, check for any misalignments or sticking points, and make any necessary adjustments. This will ensure that your vanity operates smoothly and meets your expectations.
Finishing Touches for a Stunning Bathroom Vanity
Once you have assembled your bathroom vanity, it’s time to add the finishing touches that will enhance its appearance and make it truly unique. Let’s discuss the final steps of the construction process, including painting or staining the wood and installing the hardware. By paying attention to these details, you can create a stunning bathroom vanity that perfectly complements your space.
Prepare the Surface: Before applying any paint or stain, it’s important to prepare the surface of your bathroom vanity. Sand the entire vanity with fine-grit sandpaper to create a smooth and even surface. Remove any dust or debris with a clean cloth or tack cloth. This will ensure that your paint or stain adheres properly and provides a professional finish.
Choose Your Finish: Decide whether you want to paint or stain your bathroom vanity. Paint gives you the option to choose from a wide range of colors, while stain enhances the natural beauty of the wood grain. Consider the overall aesthetic of your bathroom and choose a finish that complements your style. Test your chosen finish on a small area of the vanity to ensure you are happy with the result before proceeding.
Apply the Paint or Stain: If you choose to paint, apply a coat of primer first to create a smooth base. Once the primer is dry, apply the paint using a brush or roller, following the grain of the wood. Apply multiple thin coats, allowing each coat to dry completely before applying the next. If you choose to stain, apply the stain using a brush or cloth, again following the grain of the wood. Wipe off any excess stain and allow it to dry according to the manufacturer’s instructions.
Seal the Wood: To protect the painted or stained surface and ensure longevity, it’s important to seal the wood. Apply a clear coat of polyurethane or a similar sealer to protect the finish from moisture and wear. Follow the instructions provided by the manufacturer, and apply multiple coats if necessary, allowing each coat to dry thoroughly.
Install the Hardware: The final step is to install the hardware on your bathroom vanity. This includes knobs, handles, pulls, or any other decorative elements you have chosen. Measure and mark the desired locations for each piece of hardware, ensuring they are evenly spaced and aligned. Use a drill or screwdriver to attach the hardware securely to the doors and drawers.
Final Touches and Cleanup: After installing the hardware, take a moment to inspect your bathroom vanity for any touch-ups or adjustments. Use touch-up paint or stain to fix any small imperfections. Clean up any paint or stain spills or drips and ensure that the surrounding area is tidy and clean.
DIY Bathroom Vanity – Shanty 2 Chic
Homemade Bathroom Vanity/Cabinet Plans You Can DIY Easily
DIY 72″ Bathroom Vanity Cabinet FREE Downloadable Plans Mr. Fix
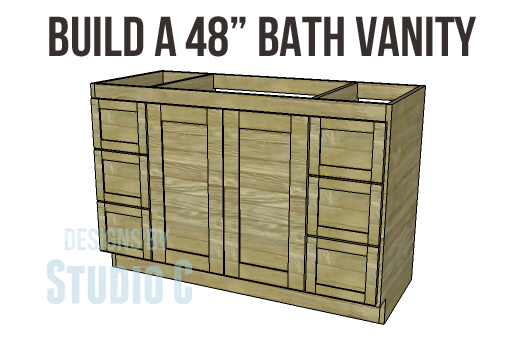
DIY Woodworking Plans to Build a 48″ Bath Vanity Designs by Studio C
DIY Bathroom Vanity with Doors Build Plans u2013 shopangelamariemade
Related Posts:


