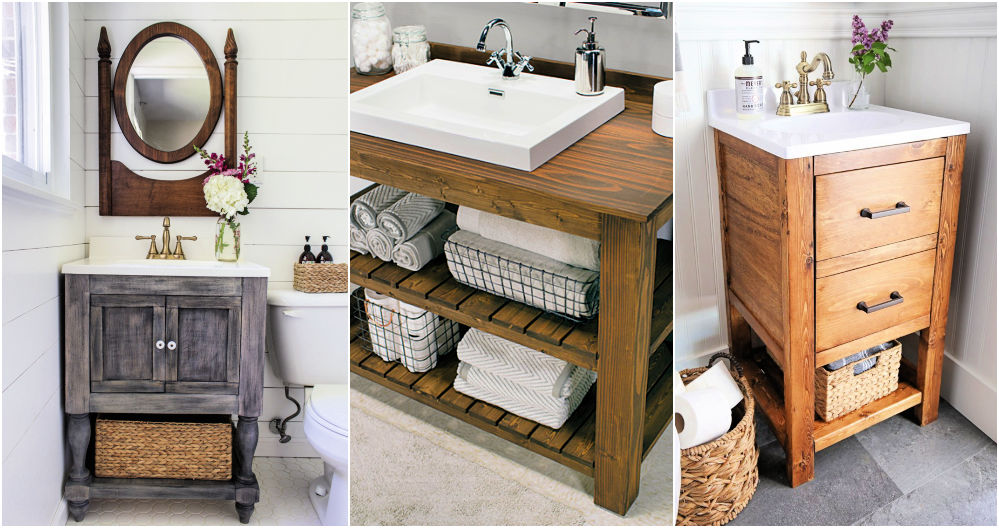
Selecting Perfect Wood for Your DIY Bathroom Vanity
When it comes to building your bathroom vanity, one of the most critical decisions you’ll need to make is selecting the right wood. The type of wood you choose will not only determine the aesthetic appeal of your vanity but also its durability. Here are some essential tips to help you make the right choice:
- Consider moisture resistance: Bathrooms are high-moisture areas, so it’s crucial to select wood that can withstand these conditions. Opt for hardwoods like oak, maple, or walnut, as they have natural moisture-resistant properties. Avoid using softwoods like pine or cedar, which are prone to warping and water damage.
- Consider durability: Since bathroom vanities endure daily use, it’s essential to choose a wood that is durable and can withstand the test of time. Look for woods with a higher Janka hardness rating, such as teak or mahogany, which are known for their strength and resistance to wear and tear.
- Consider your style: The type of wood you choose should also align with your desired style and aesthetic. If you prefer a modern and sleek look, consider using a wood like birch or cherry. For a rustic or farmhouse vibe, reclaimed wood can add a unique and charming touch to your vanity.
- Budget considerations: Keep in mind that different types of wood come with varying price tags. Exotic woods like teak or mahogany tend to be more expensive, while domestic hardwoods like oak or maple offer a more affordable option without compromising on quality. Set a budget and choose a wood that fits within your financial constraints.
- Sustainability: If eco-friendliness is a priority for you, consider using reclaimed or salvaged wood for your bathroom vanity. This not only adds character to your piece but also reduces the demand for new timber, making it a more sustainable choice.
- Test before you buy: Lastly, before committing to a specific wood, it’s a good idea to request a sample or visit a local supplier to see and feel the wood in person. This will give you a better idea of its color, texture, and overall quality.

Tips and Tricks for Creating a Functional and Stylish Piece
Building your bathroom vanity allows you to customize every aspect of the piece, from its size and storage options to its overall design. To ensure you create a functional and stylish vanity that meets your specific needs, here are some essential tips and tricks to keep in mind:
Measure twice, cut once: Accurate measurements are vital when building any piece of furniture, and bathroom vanity is no exception. Take precise measurements of your bathroom space and consider any existing plumbing or electrical fixtures that may affect the vanity’s design and placement. Double-check your measurements before making any cuts or purchasing materials.
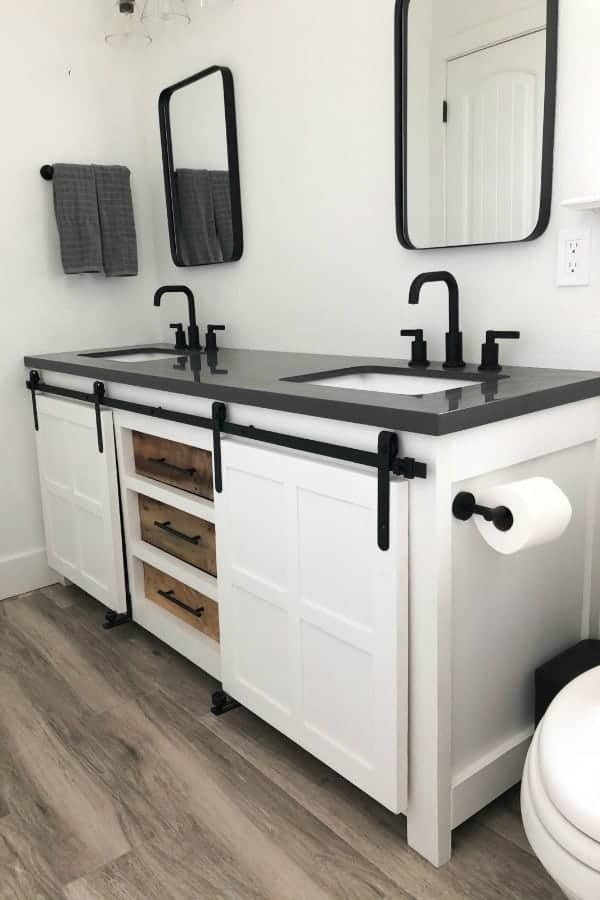
Optimize storage space: Bathrooms often lack sufficient storage, so take advantage of your DIY vanity project to incorporate ample storage options. Consider adding drawers, shelves, or cabinets to keep your bathroom essentials organized and easily accessible. Additionally, think about installing open shelving or towel racks for added functionality.
Focus on ergonomics: A bathroom vanity should not only look good but also be comfortable to use daily. Pay attention to the height and depth of the countertop, ensuring it is ergonomically suited for your needs. Consider factors such as your height, preferred sink type, and any specific requirements for accessibility.
Select the right hardware: The hardware you choose can greatly enhance the overall style and functionality of your bathroom vanity. Opt for high-quality drawer slides and hinges that will endure frequent use. Additionally, select knobs or handles that complement the design aesthetic you’re aiming for, whether it’s modern, vintage, or rustic.
Incorporate proper lighting: Good lighting is essential in any bathroom, so don’t forget to plan for adequate illumination around your vanity. Consider installing sconces or pendant lights on either side of the mirror to minimize shadows and provide even lighting for your daily grooming routines.
Add personal touches: Don’t be afraid to infuse your personality into your DIY bathroom vanity. Consider adding decorative elements like carved details, unique hardware, or a custom color finish. These personal touches will make your vanity stand out and reflect your style.
The Building Process for Your Bathroom Vanity
Building your bathroom vanity may seem like a daunting task, but with the right tools and guidance, it can be a rewarding DIY project. Here’s a detailed breakdown of the building process to help you get started:
Planning and Design: Begin by sketching out your desired vanity design, taking into account the measurements of your bathroom space. Consider the number of sinks, storage options, and any specific features you want to incorporate. This step is crucial in visualizing the final product and ensuring your design meets your needs.
Material Selection: Select the wood and other materials you’ll need for the construction of your vanity, based on your design and personal preferences. Remember to choose wood that is suitable for bathroom use, as discussed in the previous section.
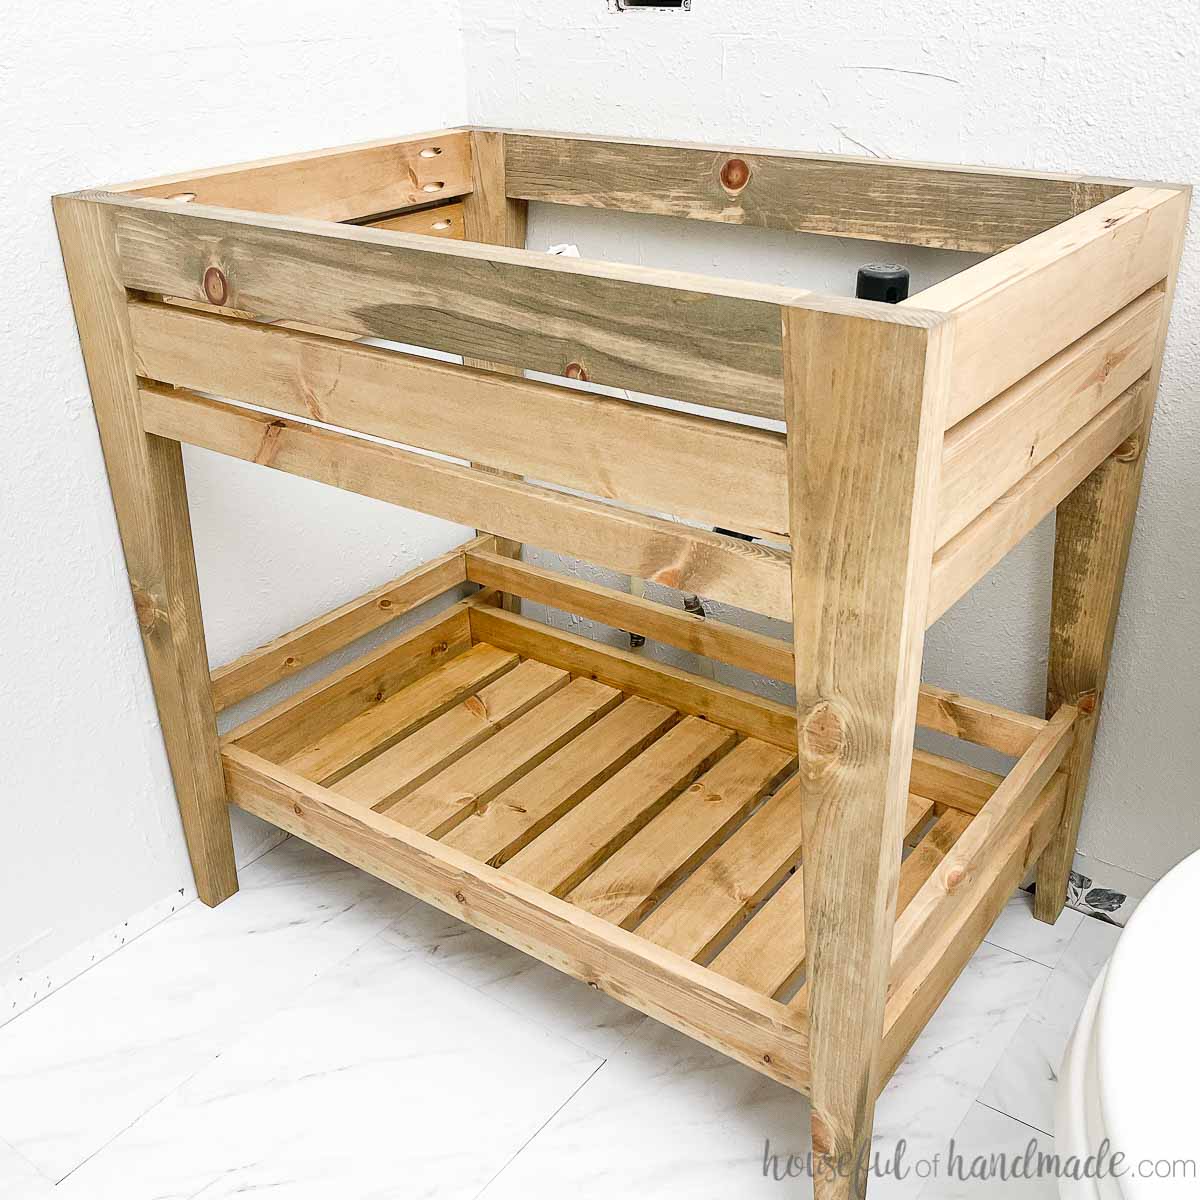
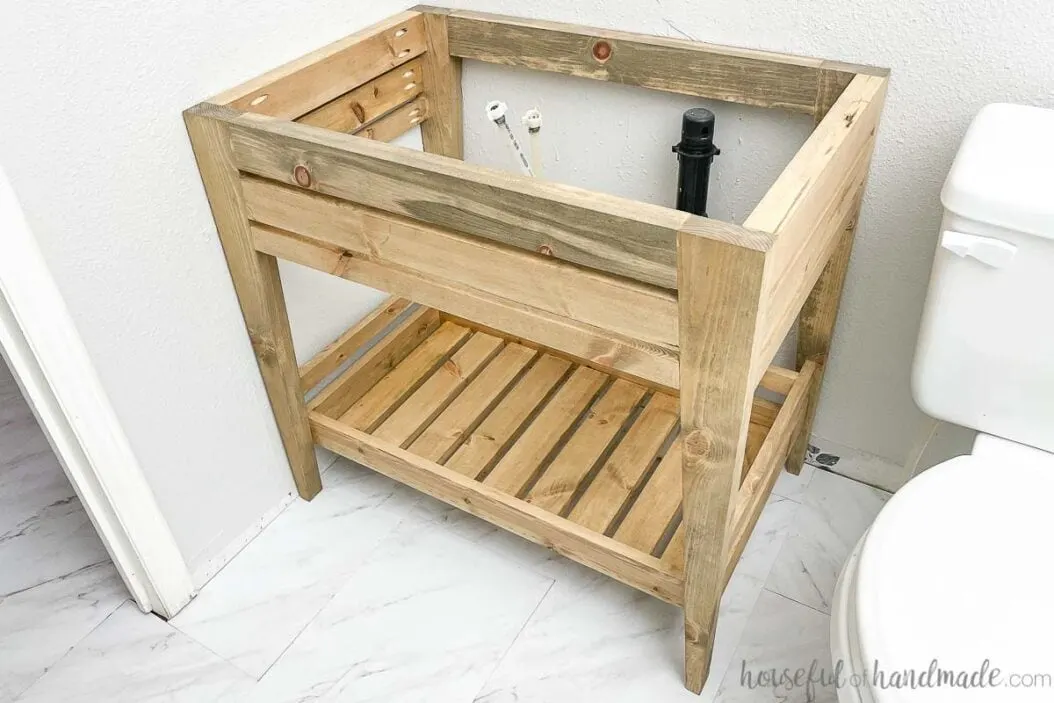
Cut and Assemble the Frame: Start by cutting the pieces for the main frame of your vanity, including the sides, top, and bottom. Use a circular saw or a table saw to make precise cuts. Assemble the frame using wood glue and screws, ensuring everything is square and level.
Build and Install Drawers: If you plan to have drawers in your vanity, construct them next. Cut the pieces for the drawer fronts, backs, sides, and bottoms. Assemble the drawers using dovetail joints or other suitable methods. Install the drawer slides according to the manufacturer’s instructions.
Construct the Cabinet Doors: Depending on your design, you may have cabinet doors instead of or in addition to drawers. Cut the pieces for the doors, including the stiles, rails, and panels. Assemble the doors using mortise and tenon joints or other appropriate joinery methods.
Install the Countertop: Measure and cut the countertop material to fit your vanity. Depending on the material you choose, you may need to use a circular saw or a jigsaw. Attach the countertop securely to the frame using screws or adhesive, ensuring a level surface.
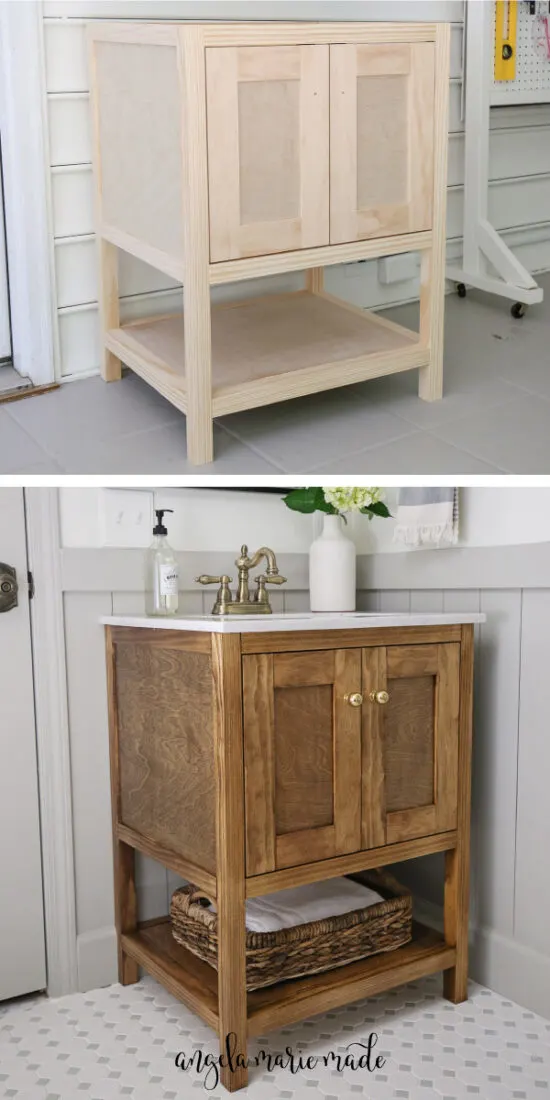
Add Finishing Touches: Sand the entire vanity to smooth out any rough edges or imperfections. Apply a stain or paint of your choice, following the manufacturer’s instructions. Once dry, add any desired hardware, such as knobs or handles, to complete the look.
Installation: Carefully position your completed vanity in its designated spot in the bathroom. Make any necessary adjustments to ensure it is level and secure. Connect the plumbing fixtures, such as the sink and faucet, following the appropriate plumbing codes and guidelines.
Adding Personal Touches to Make Your Vanity Truly Unique
One of the most rewarding aspects of building your bathroom vanity is the ability to add personal touches that make it truly unique. Here are some creative ideas to infuse your personality into your vanity:
Custom Carvings or Engravings: Consider adding intricate carvings or engravings to the wood surfaces of your vanity. This could include floral motifs, geometric patterns, or even personalized initials or dates. Carving tools or a wood-burning kit can help you achieve the desired effect.
Unique Hardware: Upgrade your vanity’s appearance by choosing distinctive knobs, handles, or pulls. Look for vintage or antique options to add a touch of nostalgia. Alternatively, consider repurposing unconventional items, such as vintage doorknobs or drawer pulls, to create a one-of-a-kind look.
Decorative Legs or Feet: Instead of using standard legs or a simple base, consider adding decorative legs or feet to your vanity. Intricately carved or turned legs can elevate the overall design and create a focal point in your bathroom.
Stained Glass Inserts: If your vanity design includes doors or cabinet panels, consider incorporating stained glass inserts. Stained glass can add a beautiful and colorful element to your vanity, creating a striking visual impact.
Personalized Color Finishes: Experiment with different color finishes to create a unique look. Consider using bold or unexpected colors that complement your bathroom’s overall color scheme. Distressing techniques or layering multiple colors can also add depth and character to the wood.
Integrated Lighting: Incorporate built-in lighting into your vanity for added functionality and ambiance. LED strips or puck lights can be installed underneath the countertop or inside open shelves, providing a soft and warm glow.
How to Properly Stain and Seal Your DIY Bathroom Vanity for Long-lasting Beauty
Staining and sealing your DIY bathroom vanity is an essential step to protect the wood and enhance its natural beauty. Here’s a step-by-step guide on how to properly stain and seal your vanity for long-lasting beauty:
Preparation: Start by ensuring that the wood surface is clean and free from any dust, dirt, or debris. Use a damp cloth or a mild wood cleaner to wipe down the entire vanity, including all the nooks and crannies. Allow the wood to dry completely before proceeding to the next step.
Sanding: Lightly sand the surface of the wood to create a smooth and even surface. Use a fine-grit sandpaper or sanding block and sand in the direction of the wood grain. This will help the stain to penetrate evenly and create a uniform finish. Remove any sanding dust with a tack cloth.
Choosing the Stain: Select a stain color that complements the overall design and style of your bathroom. Test the stain on a small, inconspicuous area of the wood to ensure you achieve the desired color. Stir the stain thoroughly before applying.
Applying the Stain: Use a clean, lint-free cloth or a brush to apply the stain evenly to the wood surface. Work in small sections, following the direction of the wood grain. Allow the stain to penetrate for the recommended time specified by the manufacturer. Wipe off any excess stain with a clean cloth.
Drying: Allow the stain to dry completely before applying the sealant. The drying time can vary depending on the type of stain and environmental conditions. Follow the manufacturer’s instructions for the recommended drying time.
Selecting the Sealant: Choose a high-quality wood sealant or finish that is suitable for bathroom use. Look for a sealant that provides water resistance and protection against moisture, stains, and UV damage. Consider a polyurethane or a marine-grade varnish for enhanced durability.
Applying the Sealant: Use a clean brush or a foam applicator to apply the sealant evenly to the stained wood surface. Work in small sections and follow the direction of the wood grain. Allow the sealant to dry according to the manufacturer’s instructions. Apply additional coats if desired, sanding lightly between coats for a smooth finish.
Curing: After applying the final coat of sealant, allow the vanity to cure fully before using it. Curing time can vary depending on the type of sealant and environmental conditions. Follow the manufacturer’s instructions for the recommended curing time.
Maintenance: To maintain the beauty and longevity of your stained and sealed vanity, regularly clean the wood surface with a mild wood cleaner or a damp cloth. Avoid using harsh chemicals or abrasive cleaners that can damage the finish. Reapply a fresh coat of sealant as needed to protect the wood over time.
Cheap DIY Bathroom Vanity Plans – Houseful of Handmade
DIY Farmhouse Bathroom Vanity with Plans u2014 731 Woodworks
Homemade Bathroom Vanity/Cabinet Plans You Can DIY Easily
Small Bathroom Vanity My Love 2 Create
Free Plans to Build a DIY Bathroom Vanity from Scratch
Related Posts:
