Why Choose a DIY Bathroom Faucet Installation?
Undertaking a DIY bathroom faucet installation can be a rewarding and cost-effective project. Whether you’re looking to save money, gain a sense of accomplishment, or simply enjoy the process of home improvement, here are some compelling reasons to choose a DIY approach.
- Cost Savings: One of the most significant benefits of DIY faucet installation is the cost savings. Hiring a professional plumber can be expensive, and by doing the job yourself, you can save a considerable amount of money. The only costs involved are the faucet itself and any necessary tools or materials, making it an affordable home improvement project.
- Sense of Accomplishment: Completing a DIY project like installing a bathroom faucet can provide a great sense of accomplishment. Knowing that you have the skills and ability to tackle home improvement tasks boosts confidence and provides a rewarding feeling of self-sufficiency. It’s a practical skill that can be applied to future projects around the home.
- Flexibility and Convenience: When you choose to install your bathroom faucet yourself, you have the flexibility to complete the project on your schedule. There’s no need to coordinate with a professional’s availability, and you can work at your own pace. This convenience is particularly valuable for busy homeowners who need to fit home improvement projects into their hectic lives.
- Personalization and Customization: DIY installation allows for greater personalization and customization. You can choose the exact faucet that fits your style and preferences without worrying about additional labor costs. Whether you prefer a modern, sleek design or a more traditional look, you have complete control over the selection and installation process.
- Learning and Skill Development: Tackling a DIY bathroom faucet installation is an excellent opportunity to learn and develop new skills. Home improvement projects like this one can teach valuable lessons in plumbing, problem-solving, and project management. These skills can be beneficial for future home repairs and improvements, potentially saving you even more money in the long run.
- Immediate Results: Another advantage of DIY faucet installation is the immediate results. Once you’ve gathered your tools and materials, you can start and complete the project without waiting for a professional to become available. This instant gratification can be especially satisfying and motivate you to take on more DIY projects.

Tools and Materials You’ll Need for the Job
Installing a bathroom faucet yourself requires some basic tools and materials. Gathering everything beforehand will make the process smoother and more efficient. Here’s a list of what you’ll need to get started.
1. Adjustable Wrench
An adjustable wrench is essential for loosening and tightening nuts and bolts. It’s a versatile tool that can be adjusted to fit various sizes of fasteners, making it ideal for plumbing tasks like faucet installation.
2. Basin Wrench
A basin wrench is specifically designed for working in tight spaces under sinks. Its long handle and pivoting jaw make it easier to reach and tighten or loosen the mounting nuts that secure the faucet to the sink.
3. Plumber’s Putty or Silicone Caulk
You’ll need plumber’s putty or silicone caulk to create a watertight seal around the base of the faucet. Plumber’s putty is pliable and easy to work with, while silicone caulk is more durable and provides a stronger seal.
4. Screwdrivers
Both flathead and Phillips screwdrivers are necessary for removing and installing screws. These tools are commonly used for securing mounting brackets and other components of the faucet assembly.
5. Plumber’s Tape (Teflon Tape)
Plumber’s tape, also known as Teflon tape, is used to seal threaded connections and prevent leaks. It’s wrapped around the threads of the supply lines before connecting them to the faucet and shut-off valves.
6. Bucket and Towels
A bucket and towels are essential for catching and cleaning up any water that may spill during the installation process. Place the bucket under the sink to catch any water that drips when you disconnect the supply lines.
7. New Faucet and Supply Lines
Of course, you’ll need your new faucet and any accompanying supply lines. Make sure to check the packaging to ensure all necessary components are included, such as mounting hardware, gaskets, and instructions.
8. Tape Measure
A tape measure is useful for ensuring accurate measurements, especially if you need to drill additional holes or modify the sink or countertop. Proper measurements help ensure a seamless and secure installation.
9. Cleaning Supplies
Before installing the new faucet, it’s important to clean the area around the sink. Have some cleaning supplies on hand, such as a sponge, cleaning solution, and a cloth, to remove any debris or old sealant.
10. Flashlight or Work Light
Good lighting is crucial when working under the sink. A flashlight or work light will help you see clearly and work more efficiently, especially in dimly lit areas.
Step-by-Step Guide to Removing Your Old Faucet
Before you can install your new bathroom faucet, you’ll need to remove the old one. Here’s a step-by-step guide to help you through the process, ensuring it’s done safely and efficiently.
1. Turn Off the Water Supply
Start by turning off the water supply to the sink. Locate the shut-off valves under the sink and turn them clockwise to close them. If your sink doesn’t have shut-off valves, you’ll need to turn off the main water supply to your home. Once the water is off, turn on the faucet to drain any remaining water from the lines.
2. Disconnect the Supply Lines
Place a bucket under the sink to catch any water that may spill when you disconnect the supply lines. Use an adjustable wrench to loosen the nuts connecting the supply lines to the faucet. Once the nuts are loose, carefully disconnect the supply lines and let any remaining water drain into the bucket.
3. Remove the Mounting Nuts
Next, you’ll need to remove the mounting nuts that secure the faucet to the sink. Use a basin wrench to reach the nuts located under the sink. Turn the nuts counterclockwise to loosen them. Depending on your faucet, there may be one or multiple mounting nuts to remove.
4. Disconnect the Faucet
Once the mounting nuts are removed, you can disconnect the faucet from the sink. Gently lift the faucet off the sink, being careful not to damage any surrounding fixtures or surfaces. If the faucet is stuck due to old plumber’s putty or caulk, you may need to gently pry it loose with a flathead screwdriver.
5. Clean the Sink Surface
With the old faucet removed, take the time to clean the surface of the sink where the new faucet will be installed. Use a sponge, cleaning solution, and a cloth to remove any debris, old plumber’s putty, or caulk. Ensuring a clean surface will help create a watertight seal when you install the new faucet.
6. Inspect the Sink and Plumbing
Before installing the new faucet, inspect the sink and plumbing for any signs of damage or wear. Check the condition of the supply lines and shut-off valves, and replace them if necessary. Ensuring everything is in good condition will help prevent leaks and other issues after the new faucet is installed.
Installing Your New Bathroom Faucet: A Detailed Walkthrough
Once you’ve removed the old faucet and prepared the sink, it’s time to install your new bathroom faucet. Here’s a detailed walkthrough to guide you through the installation process.
1. Position the Faucet
Start by positioning the new faucet on the sink. Place the faucet’s base plate or gasket over the mounting holes in the sink. Make sure the faucet is centered and aligned properly. If your faucet has an integrated base plate, ensure it covers all the mounting holes.
2. Secure the Faucet
With the faucet in position, secure it to the sink using the provided mounting hardware. From underneath the sink, use a basin wrench to tighten the mounting nuts or screws that hold the faucet in place. Make sure the faucet is firmly secured but avoid over-tightening, which could damage the sink or faucet.
3. Connect the Supply Lines
Next, connect the supply lines to the faucet. Apply a few wraps of plumber’s tape (Teflon tape) to the threads of the faucet’s inlet ports. Then, connect the supply lines to the corresponding hot and cold water inlets on the faucet. Use an adjustable wrench to tighten the connections, ensuring they are snug but not overly tight.
4. Attach the Drain Assembly (If Applicable)
If your new faucet includes a drain assembly, follow the manufacturer’s instructions to install it. Typically, this involves inserting the drain body into the sink’s drain hole, applying plumber’s putty or silicone caulk around the flange, and securing it with a locknut from underneath the sink. Connect the drainpipe to the P-trap and ensure all connections are tight.
5. Check for Leaks
Before turning on the water supply, double-check all connections to ensure they are secure. Turn on the water supply valves and check for any leaks around the supply lines, faucet base, and drain assembly. If you notice any leaks, tighten the connections as needed or apply additional plumber’s tape.
6. Test the Faucet
Once you’ve checked for leaks, turn on the faucet to test its operation. Let the water run for a few minutes to ensure both hot and cold water flow smoothly and there are no leaks. Check the faucet handles for smooth operation and make any necessary adjustments.
7. Apply Silicone Caulk
To create a watertight seal around the base of the faucet, apply a thin bead of silicone caulk around the edges where the faucet meets the sink. Use a damp cloth to smooth out the caulk and remove any excess. Allow the caulk to dry according to the manufacturer’s instructions before using the faucet.
Common Mistakes to Avoid During a DIY Faucet Installation
Installing a bathroom faucet yourself can be a straightforward project, but there are some common mistakes to watch out for. Avoiding these pitfalls will help ensure a smooth and successful installation.
1. Not Turning Off the Water Supply
One of the most common mistakes is forgetting to turn off the water supply before starting the installation. Failing to do so can result in a messy and potentially damaging situation with water spraying everywhere. Always turn off the water supply valves under the sink or the main water supply to your home before beginning the installation.
2. Over-Tightening Connections
While it’s important to ensure connections are secure, over-tightening can cause damage to the faucet, supply lines, or plumbing fixtures. Over-tightened connections can strip threads, crack fittings, or cause leaks. Tighten connections until they are snug, but avoid using excessive force.
3. Skipping Plumber’s Tape
Plumber’s tape (Teflon tape) is essential for creating a watertight seal on threaded connections. Skipping this step can lead to leaks around the supply line connections. Always apply plumber’s tape to the threads of the faucet’s inlet ports before connecting the supply lines.
4. Improperly Aligning the Faucet
Ensuring the faucet is properly aligned and centered on the sink is crucial for both functionality and aesthetics. An improperly aligned faucet can cause water to splash out of the sink or create an uneven appearance. Take the time to position the faucet correctly and double-check its alignment before securing it in place.
5. Ignoring the Manufacturer’s Instructions
Each faucet model may have specific installation instructions provided by the manufacturer. Ignoring these instructions or assuming all faucets are installed the same way can lead to mistakes. Always read and follow the manufacturer’s instructions carefully to ensure a proper installation.
6. Neglecting to Check for Leaks
After installing the faucet, it’s essential to check for leaks before considering the job complete. Neglecting to do so can result in water damage over time. Turn on the water supply and carefully inspect all connections, including the supply lines, faucet base, and drain assembly, for any signs of leaks.
7. Failing to Clean the Sink Surface
A clean sink surface is necessary for creating a watertight seal between the faucet and the sink. Failing to clean the surface can prevent the gasket or plumber’s putty from adhering properly, leading to leaks. Always clean the sink surface thoroughly before installing the new faucet.
Tips for Maintaining Your New Bathroom Faucet
Maintaining your new bathroom faucet is crucial for ensuring its longevity and optimal performance. Here are some tips to help you keep your faucet in top condition.
1. Regular Cleaning
Regular cleaning is essential to prevent the buildup of dirt, grime, and mineral deposits on your faucet. Use a mild soap and water solution to clean the faucet surfaces, and avoid abrasive cleaners or scrubbers that can scratch the finish. Dry the faucet with a soft cloth to prevent water spots and mineral deposits.
2. Check for Leaks
Periodically check your faucet for any signs of leaks around the base, handles, and supply lines. Catching and addressing leaks early can prevent water damage and prolong the life of your faucet. Tighten any loose connections and replace worn-out washers or O-rings as needed.
3. Prevent Mineral Buildup
If you live in an area with hard water, mineral buildup can be a common issue. To prevent this, wipe down the faucet with a vinegar solution regularly. Vinegar helps dissolve mineral deposits and keeps your faucet looking clean and functioning smoothly.
4. Maintain the Aerator
The aerator is the small screen at the end of the faucet spout that mixes air with the water to create a smooth flow. Over time, the aerator can become clogged with mineral deposits and debris. Remove the aerator periodically and soak it in vinegar to clean it. Rinse it thoroughly before reattaching it to the faucet.
5. Handle with Care
Avoid using excessive force when operating the faucet handles. Gentle and consistent use will prevent wear and tear on the internal components. Teach household members to handle the faucet with care to ensure its longevity.
6. Address Issues Promptly
If you notice any issues with your faucet, such as reduced water flow, unusual noises, or loose handles, address them promptly. Ignoring problems can lead to more significant issues and costly repairs. Consult the manufacturer’s troubleshooting guide or contact a professional if needed.
7. Follow Manufacturer’s Maintenance Recommendations
Each faucet may have specific maintenance recommendations provided by the manufacturer. Follow these guidelines to ensure proper care and maintenance of your faucet. This may include periodic inspections, cleaning methods, and recommended products.
Tips to Install a Bathroom Faucet The DIY Playbook
Easy DIY Optimum Size Bathroom Faucet with Optional Deck Plate 4 Inch Centerset Brushed Nickel Bathroom Sink Faucet Presents A Cleaner Look to
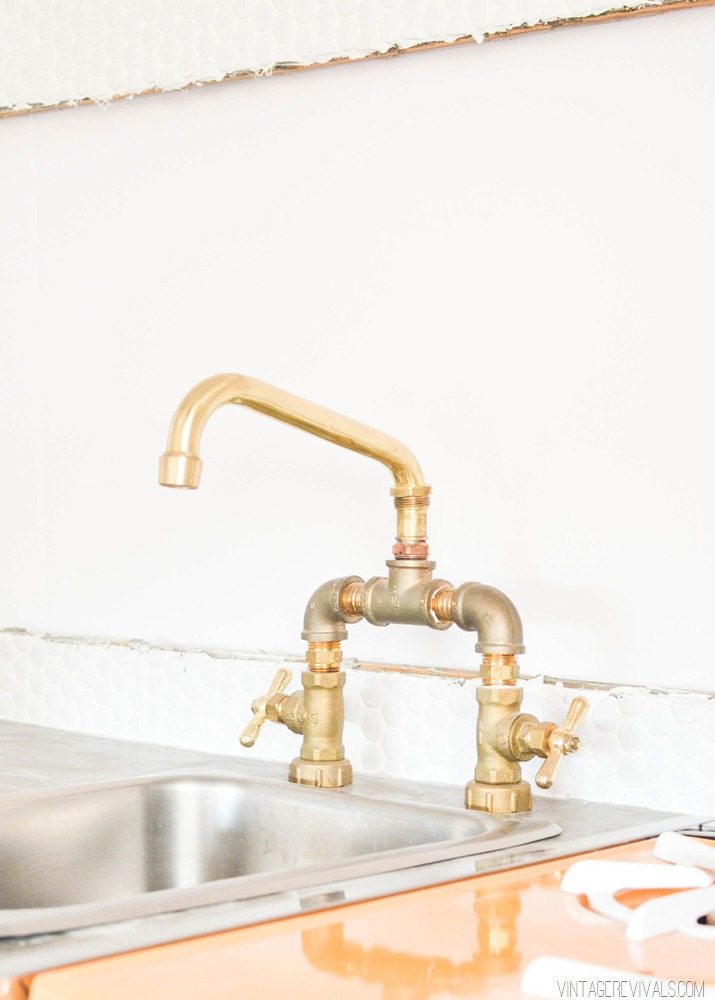
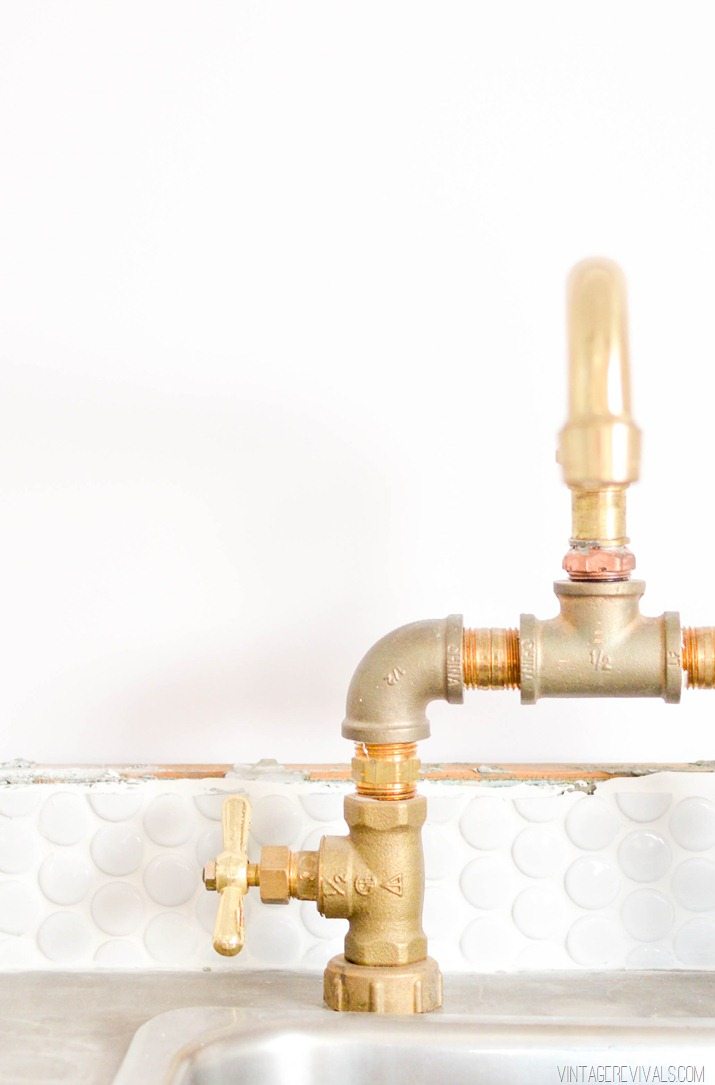
DIY Brass Bridge Faucet – Vintage Revivals
3 Hole Bathroom Sink Faucet DIY Widespread Spout Basin Mixer Tap Easy Install eBay
How to Install a Bathroom Faucet – Simple Practical Beautiful
How to Replace a Bathroom Faucet DIY NEVER SKIP BRUNCH by Cara
Fittings for a diy copper faucet Hometalk
How to Install a Bathroom Faucet HomeTips
Related Posts:
- Delta Cassidy Widespread Bathroom Faucet
- Bathroom Faucet Diagram
- Contemporary Bathroom Faucets Sale
- Kohler Chrome Bathroom Faucets
- Delta Lahara 4 In 2 Handle Bathroom Faucet In Stainless
- Kent Bathroom Faucets
- Delta Modern Bathroom Faucets
- Replacing Seats And Springs In A Delta Bathroom Faucet
- Buy Bathroom Faucet
- All Metal Bathroom Faucets


