Common Bathroom Faucet Issues and How to Fix Them
Bathroom faucets are an essential component of any bathroom, providing both functionality and style. However, like any other mechanical device, they can encounter issues over time, causing inconvenience and frustration. Here are some common bathroom faucet issues and provide solutions to fix them, empowering you to tackle these problems yourself and save money on professional repairs.
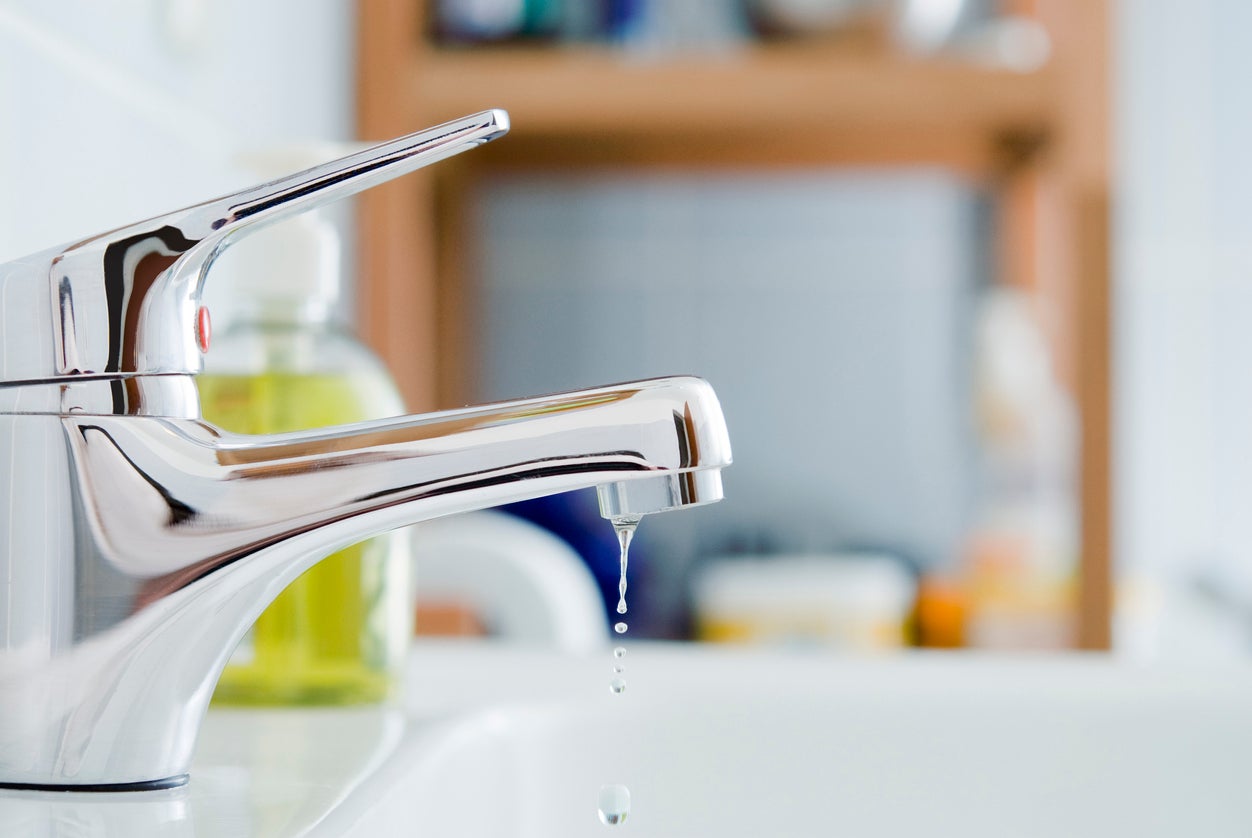
- Dripping Faucet: A dripping faucet is one of the most common issues homeowners face. Not only does it waste water and increase your utility bill, but the constant dripping noise can also be annoying. To fix this issue, start by turning off the water supply to the faucet. Next, dismantle the faucet handle and replace the worn-out rubber washer or O-ring. Reassemble the faucet, turn on the water supply, and voila, no more dripping!
- Leaky Handle: A leaky handle is another common problem that can occur due to a faulty cartridge or valve stem. Begin by turning off the water supply and removing the handle. Inspect the cartridge or valve stem for any signs of damage or wear. If necessary, replace the faulty component and reassemble the handle. Turn on the water supply to test if the leak has been resolved.
- Low Water Pressure: If you’re experiencing low water pressure from your bathroom faucet, there are a few potential causes to consider. Start by checking the aerator, a small screen located at the end of the faucet spout. Mineral deposits and debris can clog the aerator, reducing water flow. Remove the aerator and clean it thoroughly, removing any buildup. If the problem persists, check the water supply valves to ensure they are fully open. Additionally, inspect the faucet’s cartridge or valve stem for any obstructions or damage.
- No Hot Water: If your bathroom faucet isn’t producing hot water, it could indicate a problem with the water heater or the faucet itself. First, check other faucets in your home to determine if the issue is isolated to the bathroom faucet. If the problem is specific to the bathroom faucet, start by inspecting the faucet’s hot water supply valve to ensure it is fully open. If the valve is open and there is still no hot water, it may be necessary to replace the faucet’s cartridge or valve stem.
- Rusty or Discolored Water: Discovering rusty or discolored water flowing from your bathroom faucet can be concerning. This issue is commonly caused by corroded pipes or a buildup of sediment within the plumbing system. To address this problem, start by running the faucet for several minutes to flush out any trapped sediment. If the issue persists, it is recommended to contact a professional plumber to inspect and potentially replace corroded pipes.
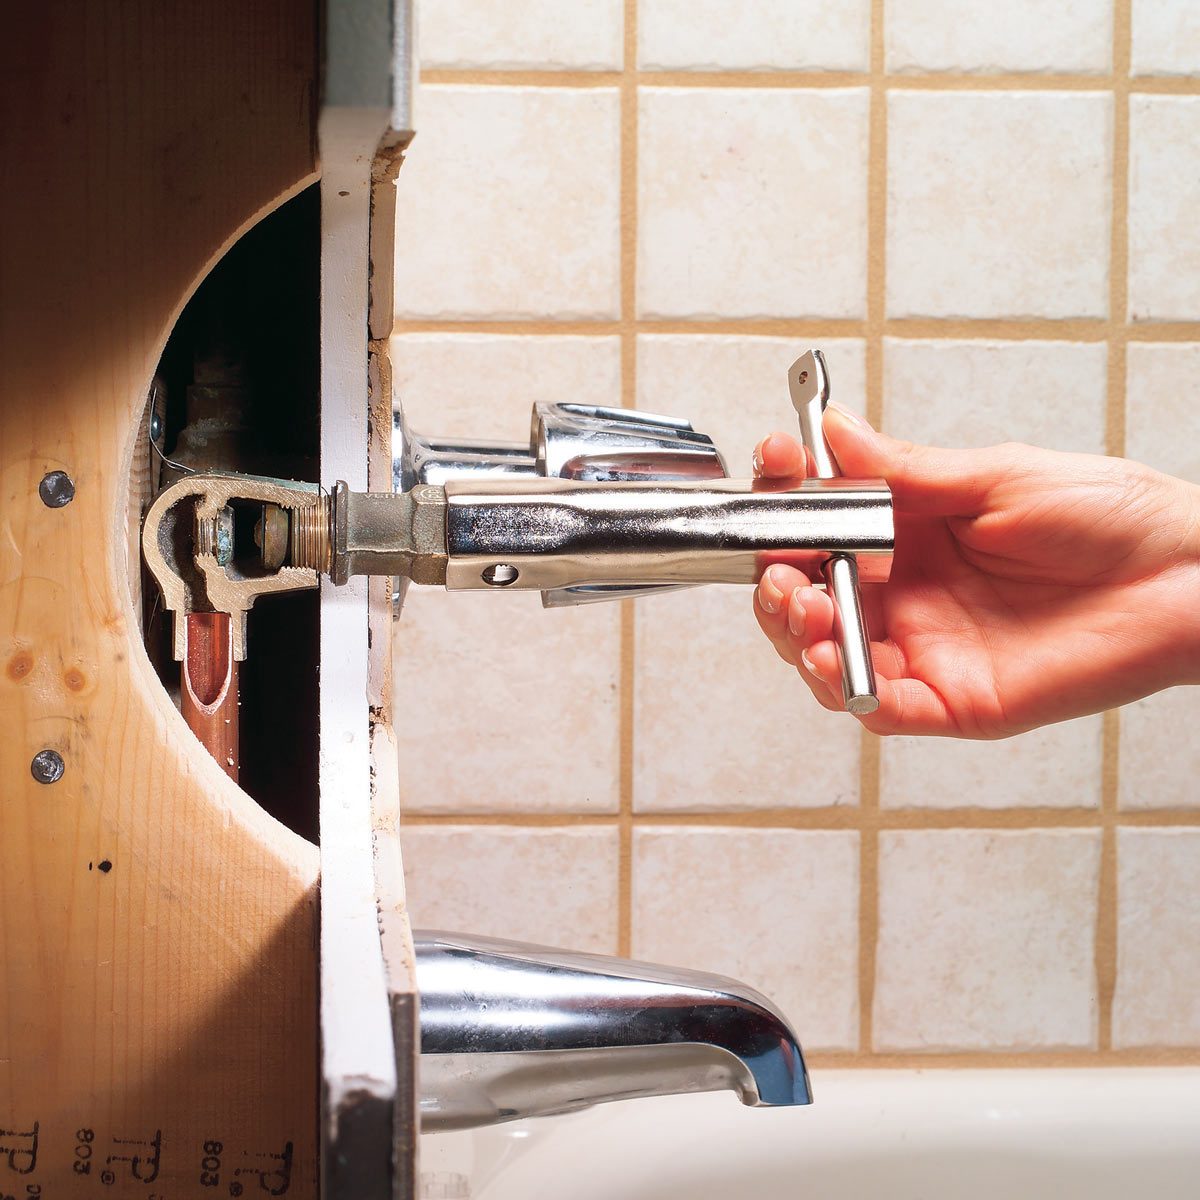
Tools and Materials Needed for DIY Bathroom Faucet Repair
Repairing a bathroom faucet yourself can be a rewarding and cost-effective solution. However, before you embark on this DIY project, it’s essential to have the right tools and materials on hand. We will outline the necessary tools and materials needed for repairing a bathroom faucet, ensuring you have everything you need to tackle the task successfully.
Adjustable Wrench: An adjustable wrench is a versatile tool that allows you to tighten or loosen various components of the faucet. It is essential for removing and installing nuts and bolts, as well as adjusting supply lines. Choose an adjustable wrench that fits comfortably in your hand and has a wide opening range to accommodate different sizes of nuts and bolts.
Screwdrivers: Having both a flathead and a Phillips head screwdriver is crucial for faucet repair. These tools will come in handy when removing screws, dismantling handles, and accessing various parts of the faucet. Ensure that your screwdrivers have a comfortable grip and durable tips to prevent slippage and damage to the screws.
Plumber’s Tape: Also known as Teflon tape, a plumber’s tape is a thin, white tape used to create a watertight seal between threaded plumbing connections. It is commonly used when reinstalling faucet handles, supply lines, and other connections. Wrap a few layers of plumber’s tape around the threaded ends to prevent leaks and ensure a secure connection.
Replacement Parts: Depending on the specific issue with your bathroom faucet, you may need to replace certain components. Common replacement parts include rubber washers, O-rings, cartridges, valve stems, and aerators. It’s crucial to identify the make and model of your faucet before purchasing replacement parts to ensure compatibility.
Cleaning Supplies: Before reassembling your faucet, it’s essential to clean all the components thoroughly. You may need cleaning supplies such as white vinegar, a soft-bristle brush, and a cloth. White vinegar is particularly effective at removing mineral deposits and other buildup that can affect the faucet’s performance.
Safety Equipment: While not directly related to the repair process, it is always essential to prioritize safety. Keep a pair of gloves on hand to protect your hands from sharp edges and potential exposure to harmful chemicals. Safety glasses or goggles are recommended to protect your eyes from debris or accidental splashes.
Step-by-Step Guide: Repairing a Leaky Bathroom Faucet
A leaky bathroom faucet can be a persistent annoyance, wasting water and potentially causing damage to your fixtures. Fortunately, repairing a leaky faucet is a relatively straightforward DIY task that can be accomplished with a few basic tools. We will provide a step-by-step guide to help you repair a leaky bathroom faucet and restore its functionality.
Turn Off the Water Supply: Before beginning any repairs, it is vital to turn off the water supply to the faucet. Locate the shut-off valves under the sink and turn them clockwise to shut off the water flow. If there are no individual shut-off valves, you may need to turn off the main water supply to your home.
Dismantle the Faucet Handle: Using a screwdriver, remove any screws or caps that secure the faucet handle. Once the handle is exposed, gently pry it off, taking care not to damage any surrounding components. Depending on the type of faucet, you may need to use a wrench or pliers to remove the handle.
Inspect and Replace the Cartridge or Valve Stem: With the handle removed, you will have access to the cartridge or valve stem, which is often the culprit behind a leaky faucet. Carefully inspect the cartridge or valve stem for any signs of damage or wear. If necessary, remove the faulty component and replace it with a new one, ensuring a proper fit.
Replace Washers or O-Rings: While you have the faucet disassembled, it is a good idea to inspect and replace any worn-out washers or O-rings. These small rubber components can deteriorate over time and contribute to leaks. Remove the old washers or O-rings and replace them with new ones of the same size and shape.
Reassemble the Faucet: Once you have replaced any faulty components, carefully reassemble the faucet in the reverse order of disassembly. Make sure all connections are secure and tight, but avoid over-tightening, as this can damage the faucet. Use a wrench or pliers if necessary, but be cautious not to overtighten and risk cracking any parts.
Turn On the Water Supply and Test: With the faucet reassembled, turn on the water supply slowly and check for any leaks. If you notice any leaks, ensure that all connections are properly tightened. If the leaks persist, disassemble the faucet again and double-check that all components are correctly installed.
Troubleshooting: Fixing Low Water Pressure in Your Bathroom Faucet
Low water pressure in your bathroom faucet can be frustrating, affecting the overall functionality and convenience of your daily routines. However, before you call a plumber, there are several troubleshooting steps you can take to identify and fix the problem. We will guide you through the process of troubleshooting and fixing low water pressure in your bathroom faucet, enabling you to resolve the issue yourself.
Check the Aerator: Start by inspecting the aerator, a small screen located at the end of the faucet spout. Sediment, debris, or mineral deposits can accumulate and clog the aerator, restricting water flow. Unscrew the aerator from the faucet using pliers or your hands, depending on how tightly it is attached. Rinse the aerator under water, scrubbing gently to remove any buildup. Reattach the aerator and test the water pressure.
Clean or Replace the Cartridge or Valve Stem: If the aerator is not the cause of low water pressure, the issue may lie within the faucet’s cartridge or valve stem. Turn off the water supply to the faucet and dismantle the handle. Once you have access to the cartridge or valve stem, carefully remove it from the faucet. Inspect it for any signs of blockage or damage. If you notice any buildup or debris, clean the cartridge or valve stem thoroughly using a brush and vinegar or a commercial faucet cleaner.
Check Water Supply Valves: Another possible cause of low water pressure is partially closed water supply valves. Locate the shut-off valves under the sink and ensure that they are fully open. Turn them counterclockwise to open the valves completely and allow water to flow freely. If the valves are already fully open, try turning them off and on a few times to dislodge any debris that may be causing a blockage.
Examine Water Supply Lines: Inspect the water supply lines that connect to your bathroom faucet. Look for any kinks, bends, or damage that may be restricting water flow. If you notice any issues, straighten the lines or replace them if necessary. Additionally, check for any obstructions or sediment buildup within the supply lines. If you find any blockages, disconnect the lines and flush them out with water before reconnecting them.
Consider Overall Water Pressure: If you have low water pressure in multiple faucets throughout your home, the issue may be related to the overall water pressure from your water supply. Contact your water utility provider to inquire about any known issues or maintenance activities that may affect water pressure in your area. They may be able to provide guidance or schedule a visit to assess and adjust the water pressure.
Consult a Professional: If you have exhausted all troubleshooting steps and are still experiencing low water pressure in your bathroom faucet, it may be time to seek the assistance of a professional plumber. They have the expertise and specialized tools to diagnose and address complex plumbing issues. They can also assess the overall plumbing system in your home to identify any underlying causes of low water pressure.
Upgrading Your Bathroom Faucet: DIY Installation Tips and Tricks
Upgrading your bathroom faucet can completely transform the look and functionality of your bathroom. Whether you’re replacing an old, worn-out faucet or simply want to update the style, installing a new faucet is a rewarding DIY project. We will provide you with step-by-step instructions and valuable tips to ensure a successful and hassle-free installation of your new bathroom faucet.
Choose the Right Faucet: Before you begin the installation process, it’s crucial to select the right faucet for your bathroom. Consider factors such as the style, finish, and features that will best complement your existing decor and meet your needs. Measure the existing faucet’s hole spacing (usually 4 inches or 8 inches) to ensure that the new faucet will fit properly. Additionally, check if your sink has one or three holes and choose a faucet that matches the hole configuration.
Gather the Necessary Tools and Materials: To install your new bathroom faucet, you will need a few basic tools and materials. These may include an adjustable wrench, a basin wrench, a plumber’s tape, a screwdriver, and silicone sealant. Ensure that you have all the necessary tools and materials on hand before you begin the installation process.
Shut Off the Water Supply: Before removing the old faucet, it’s essential to turn off the water supply. Locate the shut-off valves under the sink and turn them clockwise to shut off the water flow. Once the water supply is turned off, turn on the faucet to release any remaining water in the lines and relieve any pressure.
Remove the Old Faucet: Using a basin wrench or adjustable wrench, disconnect the water supply lines from the old faucet. If there is a pop-up drain assembly, disconnect it as well. Remove any nuts or mounting hardware that secure the faucet to the sink. Once the faucet is loose, lift it off the sink and clean the area thoroughly.
Prepare the New Faucet: Before installing the new faucet, read the manufacturer’s instructions carefully. Familiarize yourself with the components and ensure that you have all the necessary parts. Apply the plumber’s tape to the threaded ends of the water supply lines to create a watertight seal. If the faucet includes a gasket or rubber seal, place it on the sink to prevent water leakage.
Install the New Faucet: Position the new faucet over the mounting holes in the sink and align it properly. From under the sink, secure the faucet in place using the provided nuts or mounting hardware. Use a basin wrench or adjustable wrench to tighten the nuts, ensuring that the faucet is stable and level. Connect the water supply lines to the corresponding hot and cold water valves, tightening them securely.
Test and Adjust: Once the faucet is securely installed, turn on the water supply slowly and check for any leaks. If you notice any leaks, tighten the connections further. If necessary, use the plumber’s tape to create a better seal. Test the functionality of the faucet, ensuring that the hot and cold water handles operate smoothly and the water flows properly from the spout.
Apply Silicone Sealant: To prevent water seepage and ensure a watertight seal, apply a thin bead of silicone sealant around the base of the faucet where it meets the sink. Smooth the sealant using your finger or a putty knife, removing any excess. Allow the sealant to dry completely before using the faucet.
How to Fix a Bathroom Faucet: 14 Steps (with Pictures) – wikiHow
How to Fix a Shower Diverter Pull-up? (5 Easy Ways)
How to Fix a Leaky Shower Faucet (DIY) Family Handyman
How To Replace A Bathtub Spout
How to Fix a Leaky Faucet u2014 Step-by-Step Guides for Both
How To Fix A Leaking Bathtub Faucet Quick And Easy
How to Fix a Bathroom Faucet: 14 Steps (with Pictures)
Related Posts:
- Chaud Froid Bathroom Faucet
- Separate Hot And Cold Bathroom Faucets
- Cascade Bathroom Faucets
- Chrome And Polished Brass Bathroom Faucets
- Danze Parma Bathroom Faucet
- Bathroom Faucets With White Porcelain Handles
- Moen Stainless Steel Bathroom Faucets
- German Bathroom Faucet Brands
- Bronze Finish Bathroom Faucets
- Kraus Single Hole Bathroom Faucets

