Materials and Tools Needed
Creating a DIY bathroom storage rack can be a fun and rewarding project that not only enhances the functionality of your bathroom but also adds a personal touch to your space. To get started, you’ll need a variety of materials and tools. Here, we’ll outline everything you need to gather before you begin your project.
-
Wood and Woodworking Supplies
- Plywood or Solid Wood Boards: Choose high-quality wood that suits the style and durability you desire. Plywood is a cost-effective option, while solid wood offers a more robust and classic look.
- Wood Stain or Paint: Decide whether you want to paint or stain your wood. Staining can highlight the natural grain, while paint allows for more color flexibility.
- Sandpaper: To smooth out the wood surfaces and edges before finishing.
- Wood Glue: Essential for securing joints and adding stability.
-
Fasteners and Hardware
- Screws and Nails: Depending on the design, you’ll need a variety of screws and nails. Ensure you have enough for assembling the frame and attaching shelves.
- Brackets and Mounting Hardware: Metal brackets can provide extra support for shelves and the entire rack. Mounting hardware is needed to secure the rack to the wall.
- Handles or Knobs: If your design includes drawers or doors, choose handles or knobs that match your bathroom’s decor.
-
Tools for Cutting and Assembly
- Saw: A circular saw or miter saw is ideal for cutting wood to size. If you don’t own one, many hardware stores offer cutting services.
- Drill and Drill Bits: For making pilot holes and driving screws.
- Screwdriver: Both manual and electric screwdrivers can be useful.
- Measuring Tape and Square: To ensure precise measurements and right angles.
-
Finishing Supplies
- Paintbrushes or Rollers: For applying paint or stain.
- Rags and Drop Cloths: To protect your work area and clean up spills.
- Varnish or Sealant: To protect the finished wood from moisture and wear.
-
Optional Decorative Elements
- Hooks and Hangers: For added functionality, such as hanging towels or accessories.
- Baskets and Bins: These can be incorporated into the design for organized storage.
- Decorative Trim: To add a decorative touch to the edges and corners of your rack.
-
Safety Equipment
- Safety Glasses: To protect your eyes from dust and debris.
- Gloves: For handling wood and using tools.
- Dust Mask: To avoid inhaling sawdust during cutting and sanding.

Step-by-Step Instructions
Building your own bathroom storage rack can be a straightforward project if you follow a clear, step-by-step process. Here’s a detailed guide to help you create a practical and stylish rack for your bathroom.
-
Planning and Designing
- Measure Your Space: Start by measuring the area where you plan to install the rack. This will help you determine the dimensions of your project.
- Sketch Your Design: Draw a simple sketch of your rack, including dimensions and the number of shelves. Consider the height, width, and depth to ensure it fits well in your bathroom.
- Choose Your Style: Decide whether you want a freestanding unit, a wall-mounted rack, or a combination of both.
-
Cutting the Wood
- Mark Your Measurements: Using a measuring tape and square, mark the wood according to your design. Double-check your measurements for accuracy.
- Cut the Wood: Use a saw to cut the wood pieces. You’ll need pieces for the sides, shelves, and back panel (if included). Sand the edges smooth after cutting.
-
Assembling the Frame
- Build the Sides: Start by assembling the side panels. Attach the vertical supports to the horizontal pieces using wood glue and screws. Ensure the structure is square.
- Attach the Shelves: Secure the shelves to the side panels. Use brackets for added support if necessary. Make sure each shelf is level before securing it.
- Add the Back Panel: If your design includes a back panel, attach it to the frame using nails or screws. This will add stability to the structure.
-
Finishing the Wood
- Sand the Entire Piece: Smooth all surfaces and edges with sandpaper to prepare for staining or painting.
- Apply Stain or Paint: Using a brush or roller, apply your chosen finish. Allow it to dry according to the manufacturer’s instructions. Apply a second coat if needed.
- Seal the Wood: Once the paint or stain is dry, apply a coat of varnish or sealant to protect the wood from moisture and wear.
-
Installing Hardware
- Add Handles or Knobs: If your design includes drawers or doors, attach the handles or knobs. Measure and mark their positions carefully before drilling holes.
- Attach Mounting Hardware: If the rack will be wall-mounted, install the mounting brackets on the back of the rack. Follow the manufacturer’s instructions for secure installation.
-
Mounting the Rack
- Find the Studs: Use a stud finder to locate studs in your wall. Mark their positions.
- Drill Pilot Holes: Drill pilot holes into the wall at the marked stud locations.
- Mount the Rack: Secure the rack to the wall using screws. Ensure it is level and securely fastened.
Creative Design Ideas
When it comes to designing a DIY bathroom storage rack, creativity knows no bounds. Here are some inventive ideas to inspire your project, helping you create a unique and functional piece that perfectly complements your bathroom decor.
-
Rustic Charm
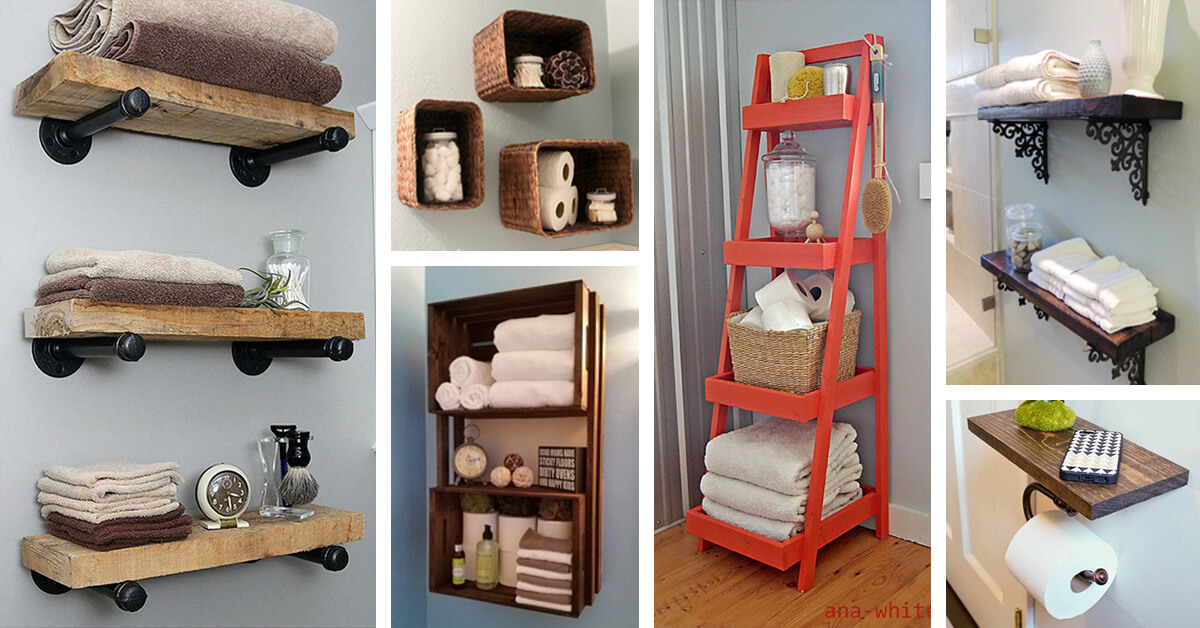
- Reclaimed Wood: Use reclaimed wood for a rustic, eco-friendly look. The weathered texture and natural imperfections add character and warmth to your bathroom.
- Mason Jar Organizers: Attach mason jars to the sides or bottom of the rack to hold smaller items like cotton balls, Q-tips, or makeup brushes.
- Metal Accents: Incorporate metal brackets or handles to enhance the rustic aesthetic and provide durability.
-
Modern Minimalism
- Sleek Lines: Opt for a design with clean, straight lines and minimal embellishments. Use high-quality plywood or MDF for a smooth finish.
- Neutral Colors: Paint the rack in neutral tones like white, black, or gray to achieve a modern, minimalist look.
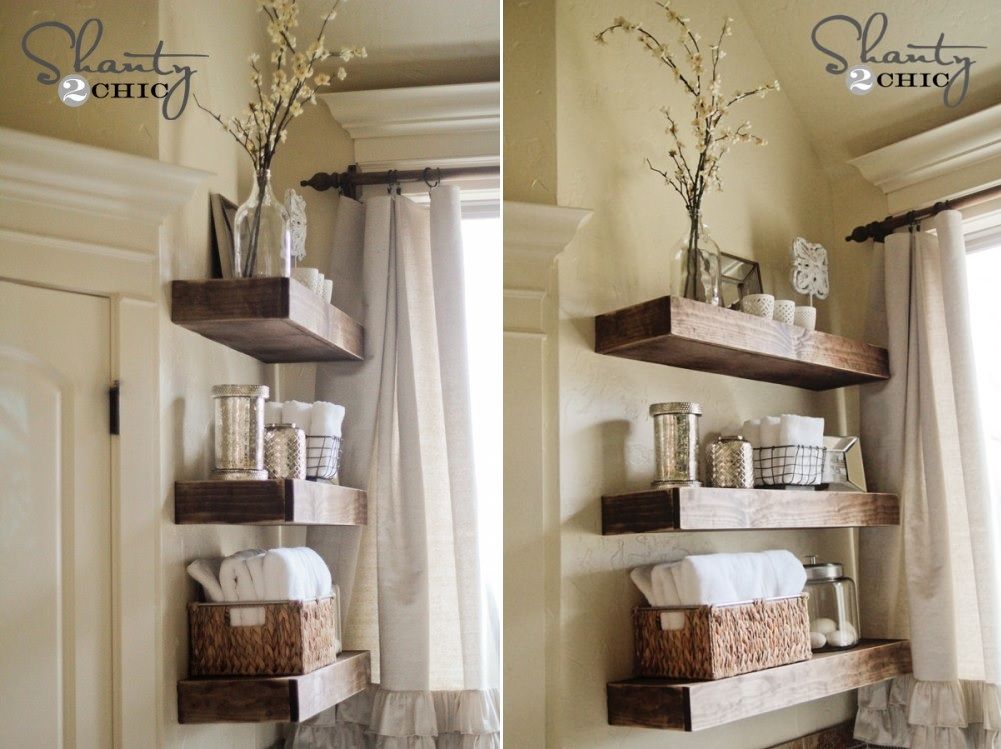
- Floating Shelves: Create floating shelves instead of a full rack. These can be mounted at varying heights for a contemporary and airy feel.
-
Vintage Elegance
- Ornate Details: Add decorative trim and moldings to give your rack a vintage, elegant appearance. Look for inspiration in antique furniture designs.
- Distressed Finish: Use a distressed painting technique to give the wood an aged look. This involves sanding the edges and applying multiple layers of paint.
- Glass Knobs: Choose vintage-style glass knobs or handles for an authentic touch.
-
Compact Solutions
- Corner Rack: Design a corner rack to maximize space in small bathrooms. This type of rack fits snugly into a corner, providing storage without taking up much floor space.
- Over-the-Toilet Storage: Build a rack that fits over the toilet. This design utilizes vertical space efficiently and keeps essential items within easy reach.
- Pull-Out Drawers: Incorporate pull-out drawers for hidden storage. This is especially useful for storing toiletries and cleaning supplies discreetly.
-
Multi-Functional Designs
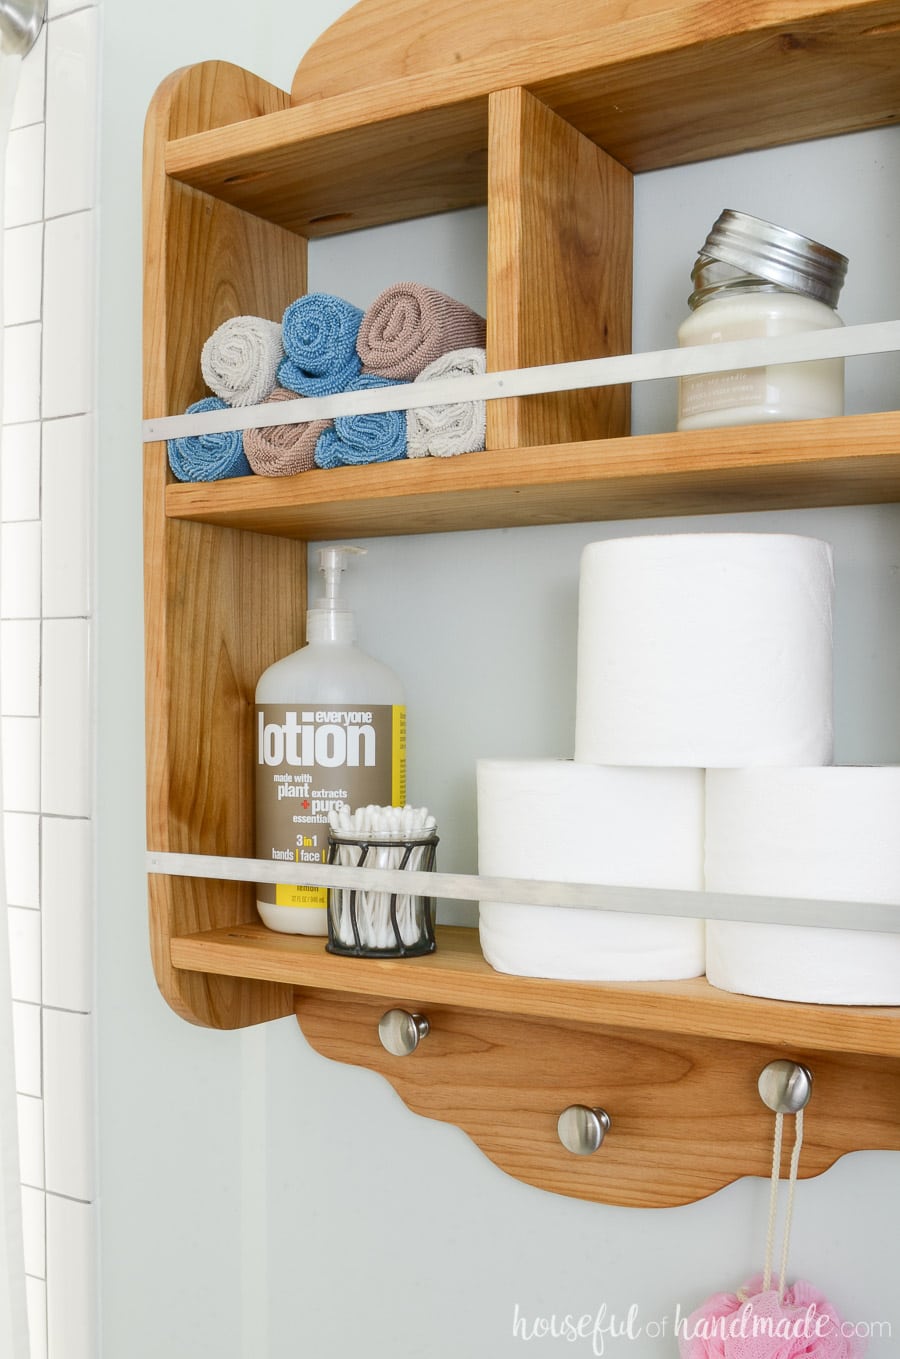
- Towel Rack Combo: Combine your storage rack with a towel rack. Add bars or hooks for hanging towels, creating a dual-purpose piece.
- Mirror Integration: Integrate a mirror into the design of your rack. This not only saves space but also adds functionality and visual appeal.
- Plant Holders: Add small shelves or hooks to hold potted plants. This brings a touch of nature into your bathroom and can improve air quality.
-
Personalized Touches
- Customized Labels: Use chalkboard paint on certain sections of the rack to create writable surfaces. This is perfect for labeling drawers or jotting down notes.
- Family-Friendly Features: If you have kids, incorporate lower shelves or bins for their toiletries and bath toys, making them easily accessible.
- Artwork Display: Add small picture frames or artwork to personalize your rack. This turns it into a decorative feature as well as a storage solution.
Safety Tips and Best Practices
Building a DIY bathroom storage rack can be an enjoyable project, but safety should always be a top priority. Here are some essential safety tips and best practices to ensure your project is completed safely and effectively.
-
Preparation and Planning
- Read Instructions: Before starting, read all instructions for your tools and materials. Understanding how to use them correctly can prevent accidents.
- Clear Workspace: Ensure your workspace is clean and organized. Remove any obstacles that could cause tripping or interference with your tools.
- Proper Lighting: Good lighting is crucial for visibility, especially when using power tools. Ensure your workspace is well-lit.
-
Personal Protective Equipment (PPE)
- Safety Glasses: Always wear safety glasses to protect your eyes from dust, debris, and potential projectiles.
- Gloves: Wear gloves to protect your hands from splinters, sharp edges, and harmful chemicals.
- Dust Mask: Use a dust mask to avoid inhaling sawdust and fumes from paint or varnish.
-
Tool Safety
- Check Your Tools: Inspect all tools before use to ensure they are in good working condition. Look for any signs of damage or wear.
- Use the Right Tool for the Job: Make sure you are using the appropriate tool for each task. Using the wrong tool can lead to accidents and poor results.
- Follow Manufacturer Guidelines: Always follow the manufacturer’s instructions for operating tools. This includes proper handling, maintenance, and storage.
-
Cutting and Drilling
- Secure the Wood: Use clamps to secure the wood when cutting or drilling. This prevents the wood from moving and ensures accurate cuts.
- Mark Your Cuts: Clearly mark where you need to cut or drill. Double-check measurements to avoid mistakes.
- Cut Away from Your Body: Always cut away from your body and keep your hands clear of the cutting line.
-
Assembly and Installation
- Stable Surface: Assemble your rack on a stable, flat surface to prevent it from tipping over during construction.
- Leveling and Squaring: Use a level and square to ensure your rack is properly aligned. This not only makes your project look professional but also adds stability.
- Wall Mounting: When mounting your rack to the wall, locate the studs and use appropriate anchors. This ensures the rack is securely attached and can support the weight.
-
Finishing and Maintenance
- Ventilation: Ensure your workspace is well-ventilated when painting or staining. Fumes from these products can be harmful if inhaled in large quantities.
- Proper Drying Time: Allow sufficient drying time for paint, stain, and sealant. Rushing this process can compromise the finish and durability.
- Regular Inspections: Periodically check your rack for any signs of wear or damage. Tighten screws and replace any worn parts as needed.
Maintenance and Upkeep
Maintaining your DIY bathroom storage rack is essential to ensure its longevity and keep it looking its best. Regular upkeep not only preserves the appearance of your rack but also maintains its functionality. Here are some practical tips for maintaining and caring for your bathroom storage rack.
-
Regular Cleaning
- Dusting: Dust your rack regularly using a soft cloth or a feather duster. Dust can accumulate quickly in bathrooms, especially in corners and on shelves.
- Wiping Down Surfaces: Use a damp cloth to wipe down surfaces and remove any stains or water spots. For a deeper clean, use a mild soap solution.
- Avoid Harsh Chemicals: Steer clear of harsh chemicals and abrasive cleaners that can damage the finish of your rack. Opt for gentle, non-toxic cleaning products.
-
Protecting the Finish
- Reapply Sealant: If your rack is made of wood and has been sealed, consider reapplying a sealant periodically to protect it from moisture and humidity.
- Touch-Up Paint: Keep a small amount of matching paint or stain on hand for touch-ups. This is useful for covering up scratches or chips.
- Use Coasters and Liners: Place coasters or liners under items that are prone to leaking or staining, such as toiletries and cleaning supplies.
-
Addressing Wear and Tear
- Tighten Screws and Brackets: Periodically check and tighten any screws, brackets, or other hardware. This helps maintain the structural integrity of your rack.
- Replace Damaged Parts: If any part of the rack becomes damaged, such as a shelf or handle, replace it promptly to prevent further issues.
- Monitor for Moisture Damage: Bathrooms are prone to high humidity. Keep an eye out for signs of moisture damage, such as warping or mold, and address them immediately.
-
Organizing and Decluttering
- Reorganize Regularly: Take time to reorganize the items on your rack. This prevents clutter and makes it easier to find what you need.
- Declutter: Remove items that you no longer use or need. A clutter-free rack not only looks better but is also easier to maintain.
- Use Storage Bins: Utilize storage bins or baskets to keep smaller items organized and prevent them from falling off the shelves.
-
Preventative Measures
- Ventilation: Ensure your bathroom is well-ventilated to reduce moisture levels. Use exhaust fans or open windows to allow air circulation.
- Avoid Overloading: Do not overload your rack with too many heavy items. This can strain the structure and lead to damage over time.
- Use Non-Slip Pads: If your rack is freestanding, place non-slip pads under the legs to prevent it from sliding and to protect your bathroom floor.
-
Seasonal Maintenance
- Deep Cleaning: Perform a deep clean of your rack seasonally. Remove all items, clean every surface thoroughly, and inspect for any needed repairs.
- Check for Insects: In humid environments, insects such as silverfish can be a problem. Check for signs of insects and treat your bathroom if necessary.
- Refresh Decor: Consider refreshing the decor on your rack seasonally. This can involve changing out items, adding new accessories, or simply rearranging for a fresh look.
Benefits of DIY Bathroom Storage Racks
Creating your own bathroom storage rack comes with a multitude of benefits. From customization to cost savings, DIY bathroom storage racks can enhance both the functionality and aesthetics of your bathroom. Here are some key advantages of embarking on this DIY project.
-
Customization
- Tailored to Your Needs: When you build your own rack, you can design it to fit your specific storage needs. Whether you need extra space for toiletries, towels, or cleaning supplies, you can create a rack that perfectly accommodates your items.
- Personalized Design: DIY allows you to choose the materials, colors, and finishes that match your bathroom decor. This level of customization ensures that your rack complements your style.
- Unique Features: You can incorporate unique features such as built-in bins, hooks, or even a combination of open and closed storage. This flexibility allows you to create a piece that is both functional and aesthetically pleasing.
-
Cost Savings
- Budget-Friendly: Building your own storage rack is often more cost-effective than purchasing a pre-made one. You can save money on materials and labor by doing it yourself.
- Repurposing Materials: Use reclaimed wood or leftover materials from other projects to reduce costs further. This eco-friendly approach also adds a unique touch to your rack.
- Avoid Markup: Store-bought furniture often includes a significant markup. By building your own, you avoid these additional costs and get more value for your money.
-
Quality Control
- High-Quality Materials: When you select your own materials, you have control over the quality. Choose durable, high-quality wood and hardware to ensure your rack lasts.
- Attention to Detail: As the builder, you can ensure that every aspect of the construction meets your standards. This level of detail often results in a higher-quality finished product.
- Durability: DIY projects allow you to reinforce and secure the structure more thoroughly than some mass-produced options, leading to a more durable and long-lasting piece.
-
Sense of Accomplishment
- Pride in Craftsmanship: Completing a DIY project brings a sense of pride and accomplishment. Seeing your hard work and creativity come to life in your bathroom is incredibly rewarding.
- Skill Development: Building your own storage rack helps you develop and refine valuable skills such as measuring, cutting, assembling, and finishing wood.
- Personal Achievement: Every time you use your rack, you’ll be reminded of the effort and skill you invested, enhancing your appreciation of the piece.
-
Environmental Benefits
- Sustainable Practices: By using reclaimed or eco-friendly materials, you can reduce your environmental footprint. DIY projects often generate less waste compared to mass-produced items.
- Longevity: A well-built DIY rack can outlast many store-bought options, reducing the need for replacements and contributing to a more sustainable lifestyle.
- Minimal Packaging: DIY projects typically involve less packaging waste than buying pre-made furniture, further reducing your environmental impact.
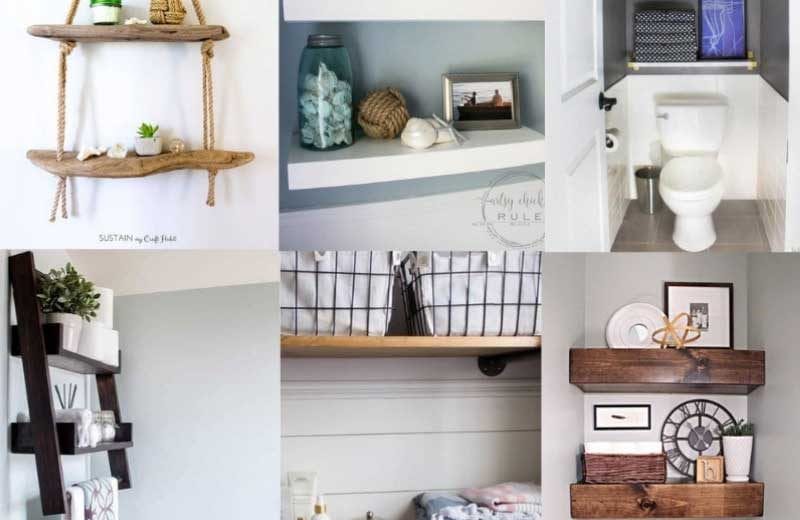
Creative DIY Bathroom Shelf Ideas – The Handymanu0027s Daughter
DIY bathroom storage shelf BURKATRON
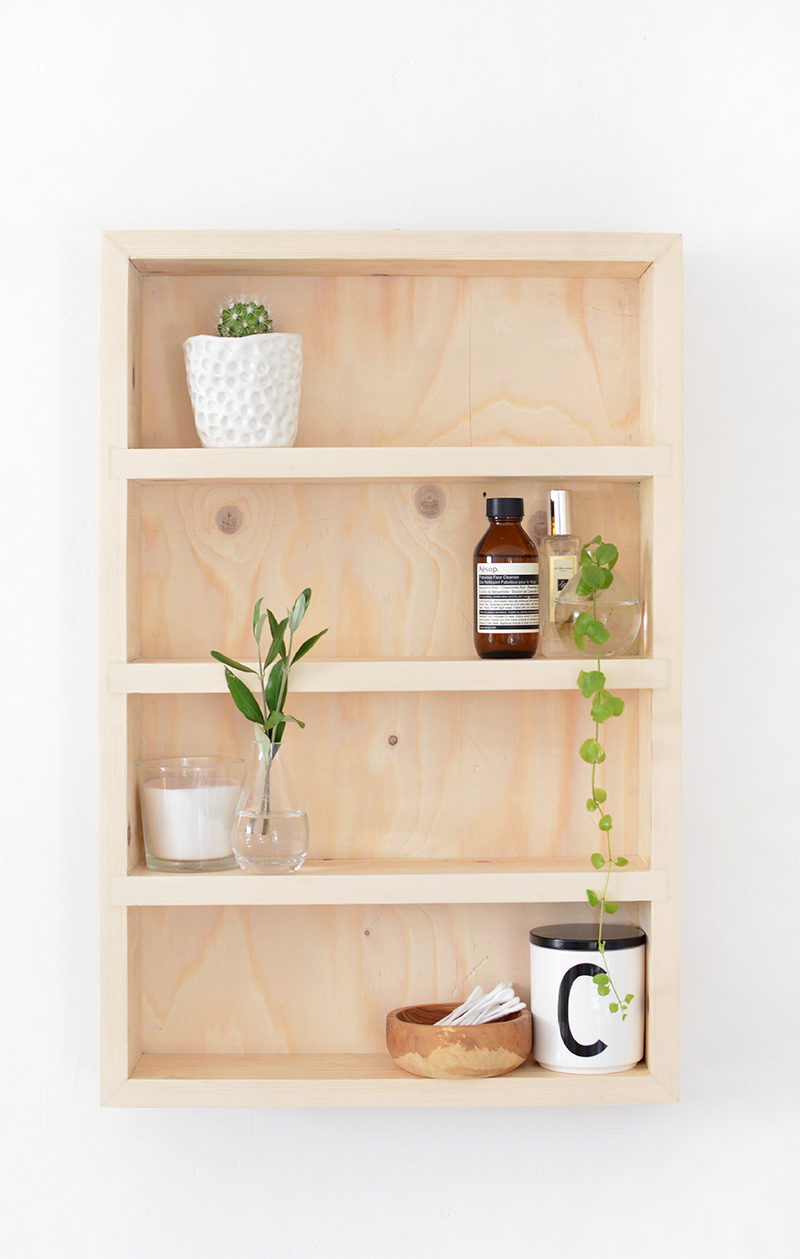
DIY Bathroom Mirror Storage Case
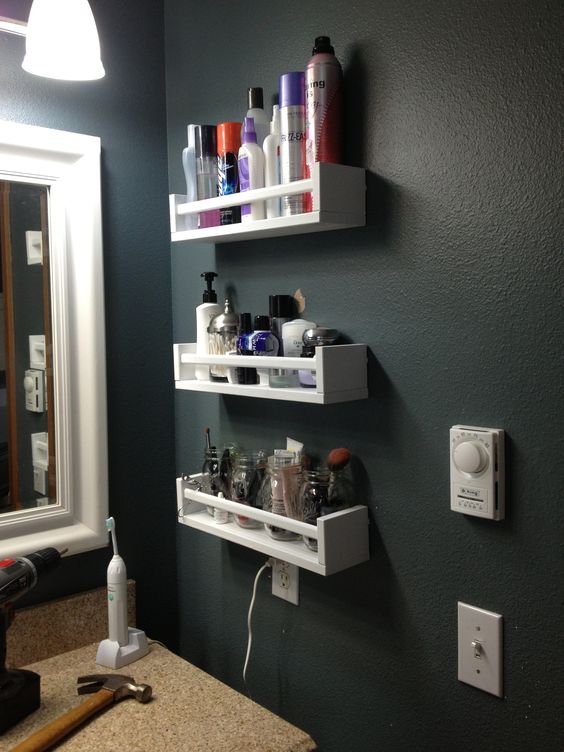
DIY Bathroom Shelves Offer Stylish Storage For Tight Spaces
Ingenious Ideas – DIYs for Bathroom Organization
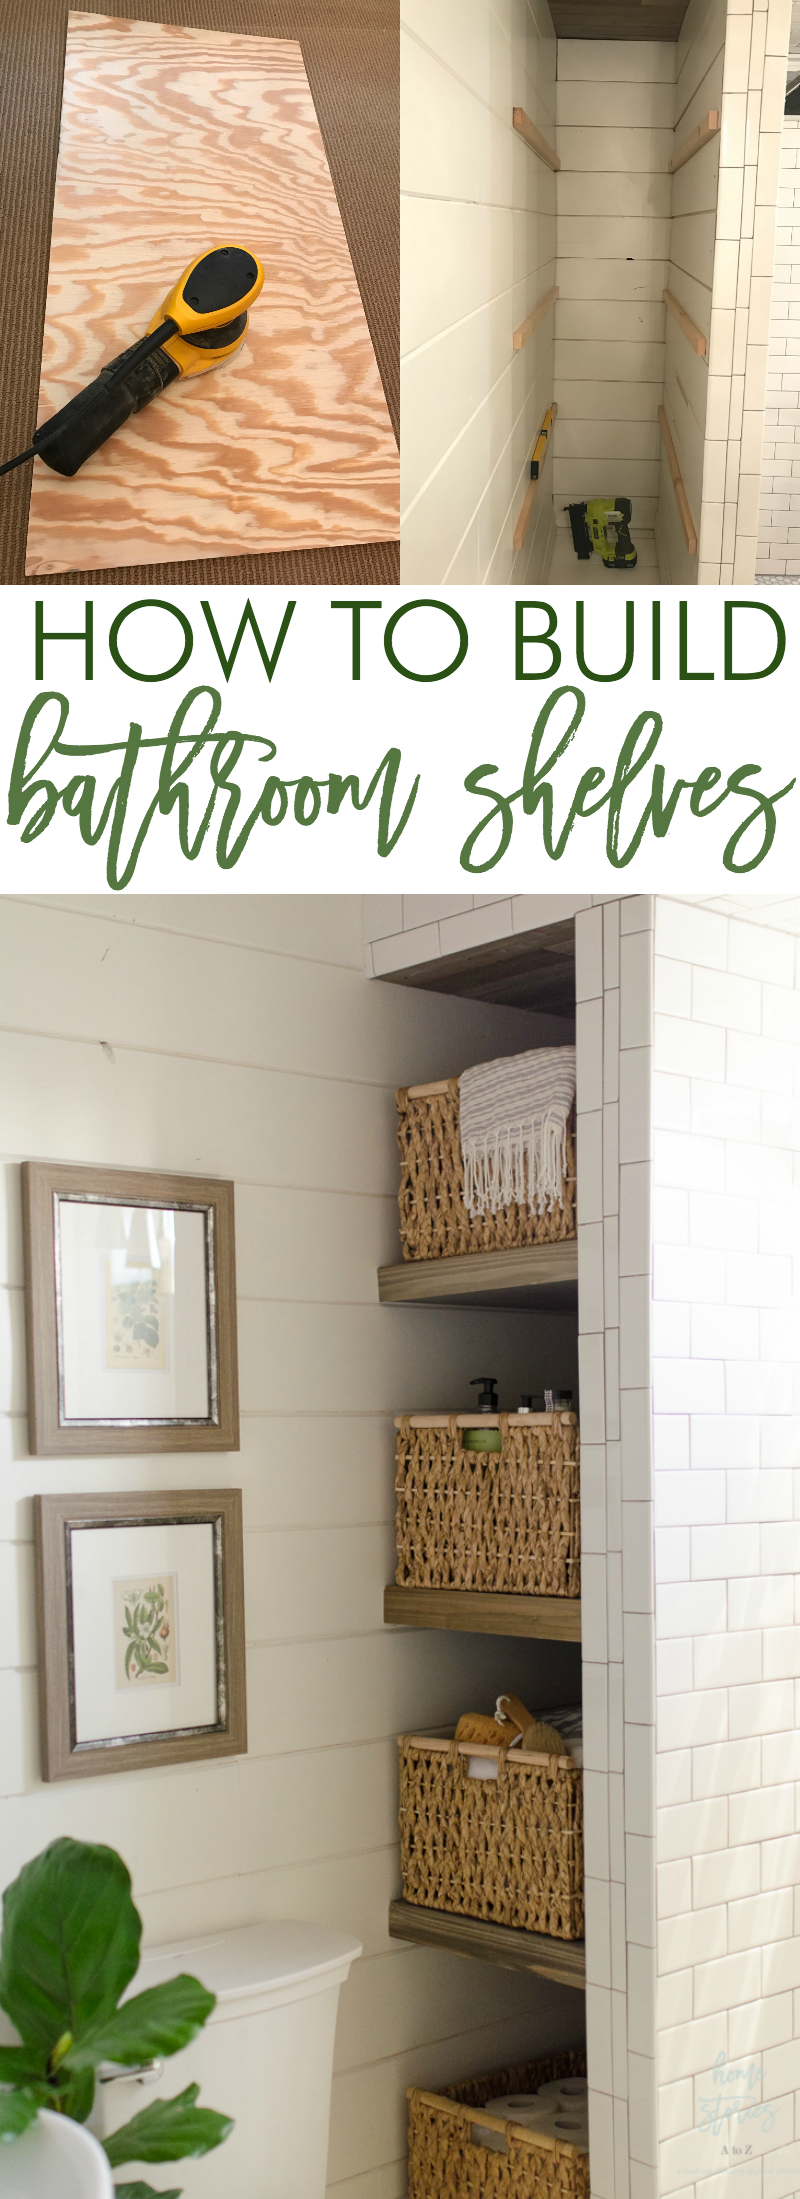
How to Build Bathroom Shelves Next to Shower
DIY Bathroom Shelves Offer Stylish Storage For Tight Spaces
Bathroom Shelf Ideas: 15 Clever DIY Bathroom Shelves for Bathroom
Related Posts:
