Materials Needed for DIY Floating Bathroom Mirror
Before embarking on your DIY project to build a floating bathroom mirror, it’s essential to gather all the necessary materials. Having everything you need on hand will streamline the construction process and ensure a successful outcome. Here’s a list of materials required for your DIY floating bathroom mirror:
- Mirror: Choose a mirror that fits the desired dimensions for your bathroom space. You can opt for a standard rectangular mirror or explore other shapes like round or oval for added visual interest.
- Wood or MDF Board: Select a sturdy wood or medium-density fiberboard (MDF) board to serve as the backing for your mirror. The board should be cut to the same size as the mirror or slightly larger to create the floating effect.
- Mirror Adhesive: Use a strong mirror adhesive to attach the mirror to the backing board securely. Ensure that the adhesive is suitable for use in high-moisture environments like the bathroom.
- Wood Screws: Secure the backing board to the wall using wood screws. Choose screws that are long enough to anchor the board firmly to the wall without causing damage.
- L-brackets: Install L-brackets on the back of the backing board to provide additional support and stability. Position the brackets strategically to distribute the weight of the mirror evenly and prevent sagging.
- Wall Anchors: If you’re attaching the mirror to drywall or plaster, use wall anchors to ensure a secure installation. Wall anchors provide extra support and prevent the mirror from coming loose over time.
- Paint or Stain (Optional): If desired, you can paint or stain the wood backing board to match your bathroom decor. Choose a paint or stain that is suitable for use in high-moisture environments and allow it to dry completely before installing the mirror.

Step-by-Step Guide to Building a Floating Bathroom Mirror
Building a floating bathroom mirror is a rewarding DIY project that can add style and functionality to your bathroom space. With the right tools and techniques, you can create a custom mirror that complements your decor and reflects your style. Follow this step-by-step guide to build your own floating bathroom mirror:
Measure and Cut the Backing Board: Start by measuring the dimensions of your mirror and marking them on the wood or MDF board. Use a saw to cut the board to the desired size, ensuring that it’s slightly larger than the mirror to create the floating effect.
Attach L-brackets to the Backing Board: Position L-brackets along the back edge of the backing board, spacing them evenly to provide support for the mirror. Use screws to secure the brackets in place, ensuring they’re flush with the edge of the board.
Prepare the Wall: Locate the desired location for your floating mirror on the bathroom wall and mark the position of the mounting screws. Use a stud finder to locate wall studs and ensure a secure installation. If no studs are available, use wall anchors to support the weight of the mirror.
Attach the Backing Board to the Wall: Use a level to ensure the backing board is positioned straight on the wall, then drill pilot holes through the board and into the wall studs or anchors. Secure the board to the wall using wood screws, ensuring it’s firmly anchored in place.
Apply Mirror Adhesive: Apply a generous amount of mirror adhesive to the back of the mirror, ensuring complete coverage along the edges and center. Carefully position the mirror onto the backing board, pressing firmly to ensure a strong bond.
Allow the Adhesive to Cure: Allow the mirror adhesive to cure according to the manufacturer’s instructions before removing any support brackets or hardware. This typically takes 24 to 48 hours, depending on the product used.
Remove Excess Adhesive and Clean the Mirror: Once the adhesive has cured, carefully remove any excess adhesive that may have squeezed out around the edges of the mirror. Use a razor blade or scraper to gently scrape away the excess, then clean the mirror surface with glass cleaner and a soft cloth.
Tips for Choosing the Right Size and Style for Your DIY Floating Mirror
Choosing the right size and style for your DIY floating mirror is crucial to achieving the desired aesthetic and functionality in your bathroom space. Whether you’re looking to make a bold statement or create a subtle focal point, consider these tips to help you select the perfect mirror for your bathroom:
Measure Your Space: Before choosing a mirror, measure the available wall space in your bathroom to determine the maximum size and shape that will fit comfortably. Consider the dimensions of the vanity or sink area where the mirror will be installed, as well as any surrounding fixtures or decor.
Consider the Room’s Style: Take cues from the overall style and decor of your bathroom when choosing a mirror. For modern or minimalist spaces, opt for sleek, frameless mirrors with clean lines. For traditional or rustic bathrooms, choose mirrors with decorative frames or vintage-inspired details.
Reflect Natural Light: Mirrors can help amplify natural light in the bathroom, making the space feel brighter and more spacious. Consider positioning your mirror opposite a window or source of natural light to maximize its reflective properties.
Choose the Right Shape: Mirrors come in a variety of shapes, including rectangular, round, oval, and geometric. Choose a shape that complements the style of your bathroom and fits the available wall space. Rectangular mirrors are classic and versatile, while round or oval mirrors add a touch of elegance and whimsy.
Opt for a Floating Design: Floating mirrors create a modern and streamlined look by appearing to hover against the wall. Consider building or purchasing a floating mirror for a contemporary twist on a traditional bathroom fixture.
Customize with Lighting: Consider adding integrated lighting to your floating mirror for added functionality and style. LED lights along the edges or behind the mirror can provide soft, diffused illumination for grooming and styling tasks.
Creative Ways to Customize Your DIY Floating Bathroom Mirror
Customizing your DIY floating bathroom mirror allows you to add personal flair and style to your space while maximizing functionality. From adding decorative accents to incorporating built-in storage, there are plenty of creative ways to customize your mirror to suit your needs and preferences. Here are some ideas to inspire your customization efforts:
Frameless Design: Embrace a minimalist aesthetic with a frameless floating mirror that creates a sleek and modern look in your bathroom. Frameless mirrors are versatile and timeless, making them suitable for a wide range of design styles.
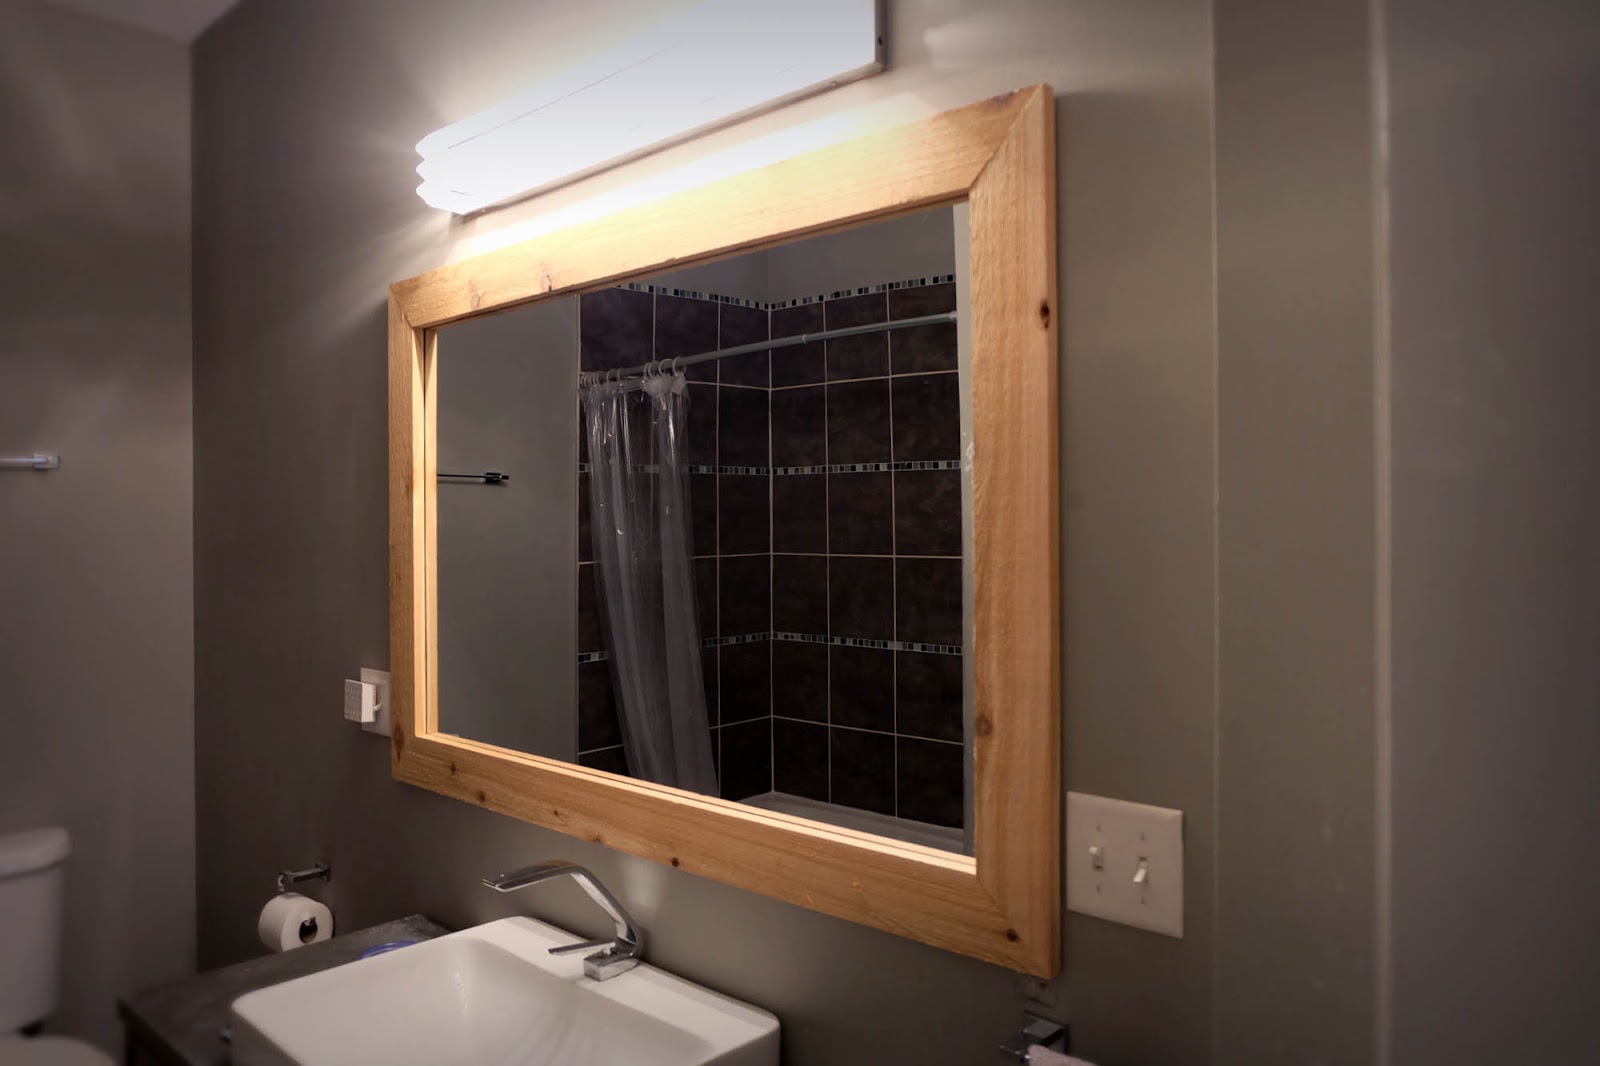
Wood Frame: Add warmth and texture to your bathroom with a wooden frame around your floating mirror. Choose a wood species and finish that complements your bathroom decor, whether it’s rustic reclaimed wood or sleek, contemporary hardwood.
LED Lighting: Incorporate LED lighting into your floating mirror for added functionality and ambiance. LED lights along the edges or behind the mirror provide soft, diffused illumination for grooming and styling tasks while creating a spa-like atmosphere in the bathroom.
Built-In Storage: Maximize space and functionality by incorporating built-in storage into your floating mirror design. Consider adding shelves, cubbies, or hidden compartments behind the mirror to store toiletries, grooming essentials, or decorative accents.
Decorative Accents: Personalize your floating mirror with decorative accents like etched designs, frosted patterns, or decorative overlays. These embellishments add visual interest and personality to the mirror while enhancing its aesthetic appeal.
Custom Size and Shape: Customize the size and shape of your floating mirror to fit your specific space and design preferences. Whether you prefer a large rectangular mirror or a small round mirror, tailor the dimensions to suit your needs and enhance the overall look of your bathroom.
Benefits of Installing a Floating Mirror in Your Bathroom
Installing a floating mirror in your bathroom offers numerous benefits beyond just enhancing the aesthetics of the space. From creating the illusion of more space to adding practical functionality, floating mirrors are a versatile and stylish addition to any bathroom. Here are some key benefits of installing a floating mirror:
Space-Saving Design: Floating mirrors create the illusion of more space in the bathroom by appearing to hover against the wall. This space-saving design is perfect for small bathrooms or powder rooms where floor space is limited.
Sleek and Modern Look: Floating mirrors have a sleek and modern appearance that adds a touch of sophistication to any bathroom. Their minimalist design and clean lines make them versatile enough to complement a wide range of decor styles.
Easy to Clean: Unlike traditional framed mirrors, floating mirrors have no frame or edges to collect dust or debris. This makes them easy to clean and maintain, requiring only a quick wipe with a soft cloth and glass cleaner to keep them looking their best.
Versatile Installation: Floating mirrors can be installed at any height on the wall, allowing you to customize the placement to suit your needs and preferences. Whether you prefer a mirror mounted above the sink or centered on the wall, floating mirrors offer installation flexibility.
Enhanced Lighting: Floating mirrors can be paired with integrated lighting options like LED strips or backlit panels to provide additional illumination in the bathroom. This not only enhances visibility for grooming and styling tasks but also creates a soft, diffused glow that adds ambiance to the space.
Customization Options: Floating mirrors offer endless customization options, allowing you to tailor the design to fit your specific needs and preferences. From choosing the size and shape of the mirror to adding decorative accents or built-in storage, you can create a mirror that reflects your style and enhances the overall look of your bathroom.
DIY LED “Framed” Mirror Modern Builds EP. 74
Remodelaholic How to Make a Modern “Sunrise” Floating Mirror + Shelf
How to make a floating mirror? Hometalk
How to make a floating mirror? Hometalk
How to DIY Vanity Mirror with LED Strip Lights
How to Backlight a Mirror: 14 Steps (with Pictures) – wikiHow
How to DIY: Frame a Wall Mounted Mirror that has Clips. – Flipping
Floating Mirror The Glass Shoppe A Division of Builders Glass of
How to Build a DIY Modern Floating Vanity or TV Console
Give an inexpensive basic round mirror a modern update with this
Related Posts:


