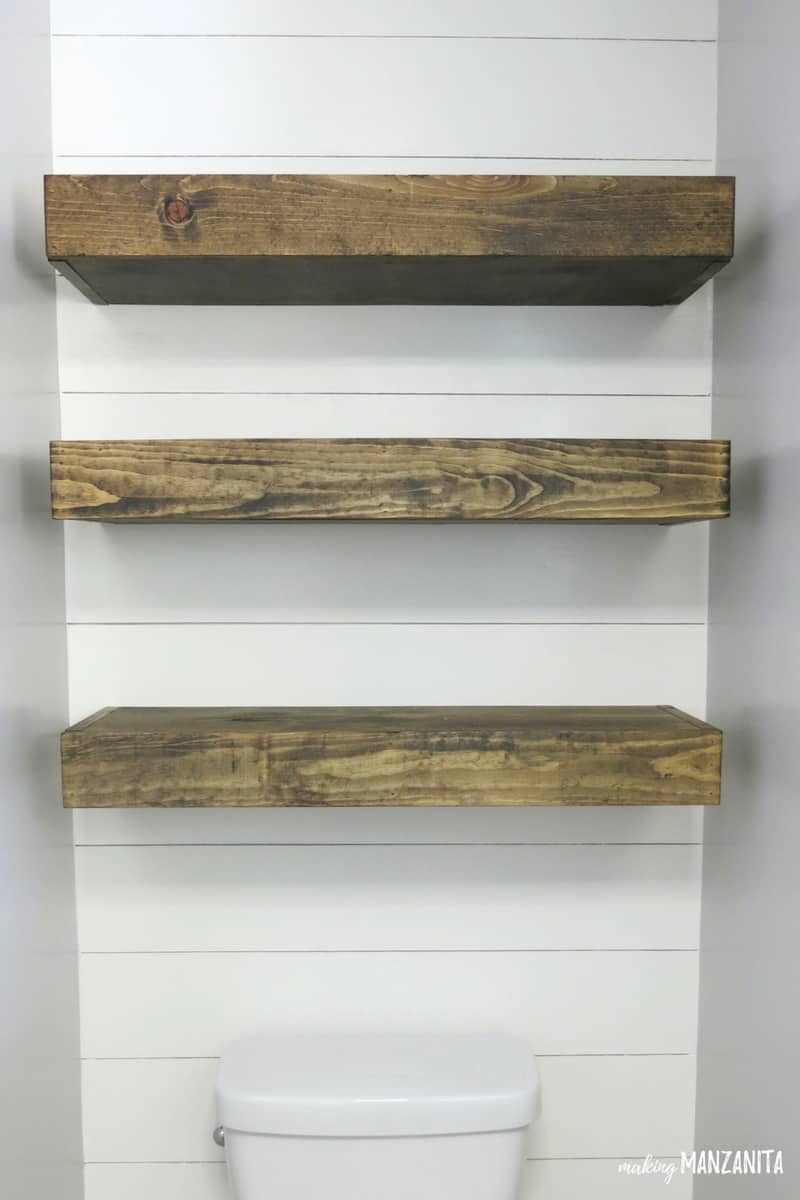
DIY Floating Shelves: A Perfect Bathroom Addition
Floating shelves have become a popular choice for bathroom storage and decor. They offer a sleek, modern look while maximizing space, which is often at a premium in bathrooms. Unlike traditional shelves with visible brackets, floating shelves are mounted on hidden supports, giving them a “floating” appearance. This style not only looks contemporary but also creates an illusion of more space, making them an excellent choice for smaller bathrooms.
- Maximizing Space Efficiency: One of the main advantages of floating shelves is their ability to save space. Bathrooms, especially in urban homes, are often small and require smart storage solutions. Floating shelves provide storage without taking up floor space, making them ideal for holding toiletries, towels, and decorative items.
- Aesthetic Appeal: The minimalist design of floating shelves adds a modern touch to any bathroom. They can be customized to match the bathroom’s decor, whether it’s a sleek, contemporary style or a more rustic, natural look. The clean lines and open design also help to declutter the space, making the bathroom feel more open and airy.
- Versatility in Design: Floating shelves come in various shapes, sizes, and materials, allowing for a high degree of customization. Whether you prefer wood, glass, metal, or a combination, there’s a floating shelf design that can complement your bathroom. You can also choose the number of shelves and their arrangement, tailoring the setup to fit your needs and aesthetic preferences.
- Easy Installation: Installing floating shelves is typically straightforward and can often be done as a weekend DIY project. With basic tools and a little patience, you can mount these shelves securely. Many floating shelves come with easy-to-follow instructions, making them accessible even to those with limited DIY experience.
- Cost-Effective Solution: Compared to built-in cabinetry or other storage solutions, floating shelves are often more affordable. They provide a budget-friendly way to add storage and style to your bathroom without extensive renovations. Plus, because they are easy to install, you can save on labor costs by doing it yourself.
- Adding Value to Your Home: A well-organized and stylish bathroom can add to the overall value of your home. Floating shelves not only enhance the functionality of the bathroom but also make it more attractive to potential buyers. They are a simple yet effective way to modernize your space and make it more appealing.

Materials Needed: Essential Supplies for Building Floating Shelves
Building your floating shelves is a rewarding project that allows for customization and creativity. Before you start, it’s essential to gather all the necessary materials and tools. Proper preparation ensures a smooth and efficient building process, and the right materials will ensure the durability and longevity of your shelves.
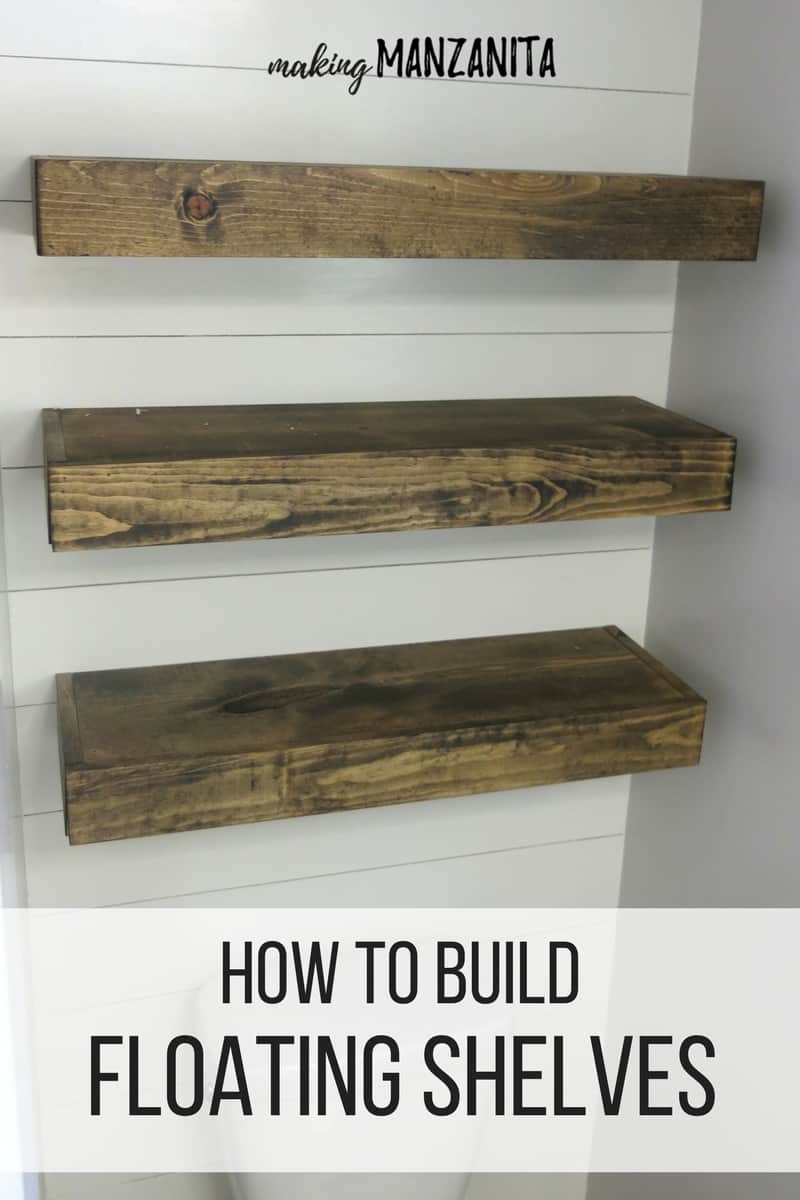
Wood Selection: The choice of wood is crucial for the look and stability of your floating shelves. Common options include pine, oak, maple, and walnut. Pine is affordable and easy to work with, while hardwoods like oak and maple offer more durability and a polished finish. Your choice will depend on your budget, the desired aesthetic, and the weight the shelves need to support.
Brackets and Supports: The hidden brackets or supports are what give floating shelves their distinctive look. These can be purchased from hardware stores or online retailers. Look for sturdy, well-reviewed options that can support the weight you plan to place on the shelves. Some brackets come with built-in leveling features, making installation easier.
Fasteners and Anchors: High-quality screws and wall anchors are essential for securely mounting the shelves. The type of fastener will depend on the wall material—drywall, plaster, brick, or tile. For drywall, use anchors that expand behind the wall to prevent the shelves from pulling out. For heavier loads, toggle bolts may be necessary.
Finishing Materials: To give your shelves a polished look, you’ll need sandpaper, wood filler, primer, and paint or stain. Sandpaper smooths the wood surface, and wood filler helps to fill any gaps or imperfections. A primer prepares the surface for paint or stain, ensuring an even application. Choose a finish that complements your bathroom’s decor.
Tools for the Job: Basic tools for this project include a saw (a circular saw or a miter saw works well), a drill with various bits, a level, a measuring tape, and a stud finder. If you’re cutting your own wood, a table saw can provide precise cuts. A drill and level are crucial for properly aligning and securing the brackets and shelves.
Safety Gear: Don’t forget safety equipment such as safety goggles, ear protection, and a dust mask, especially when cutting wood or drilling. Safety gear protects you from potential injuries, ensuring that your DIY project is not only successful but also safe.
Choosing the Right Design: Styles and Sizes for Every Bathroom
Selecting the right design for your floating shelves is a crucial step in creating a functional and aesthetically pleasing bathroom space. The design you choose should complement the overall decor, suit the available space, and meet your storage needs. Here are some factors to consider when deciding on the style and size of your floating shelves.
Assessing Your Space: Before choosing a design, assess the available space in your bathroom. Consider the wall space where the shelves will be mounted, and measure the area to determine the maximum shelf size. It’s also essential to consider the depth of the shelves, ensuring they don’t protrude too far into the room, especially in narrow spaces.
Material and Finish: The material and finish of the shelves significantly impact the bathroom’s overall look. Wood is a popular choice for its warmth and versatility, with finishes ranging from natural stains to painted colors. Glass shelves offer a sleek, modern look and are easy to clean. Metal shelves, such as those made of stainless steel or brass, add an industrial touch and are durable.
Number and Arrangement of Shelves: Decide on the number of shelves you want to install and how they will be arranged. A single long shelf can provide a minimalist look, while multiple shorter shelves can create a more dynamic, layered effect. The arrangement should also consider practicality—think about what you will store on the shelves and ensure easy access.
Style Considerations: The style of your shelves should harmonize with the bathroom’s overall decor. For a modern bathroom, opt for sleek, simple lines and minimalist hardware. In contrast, a rustic or farmhouse bathroom might benefit from reclaimed wood shelves with visible grain and texture. Floating shelves can also be customized with decorative brackets or trim for added flair.
Functionality and Weight Capacity: Consider what items you plan to store on the shelves. Heavier items like large towels or glass containers require sturdy shelves with a higher weight capacity. Ensure that the shelves and brackets you choose can support the intended load. If you’re unsure, consult with a hardware specialist or opt for more robust materials and brackets.
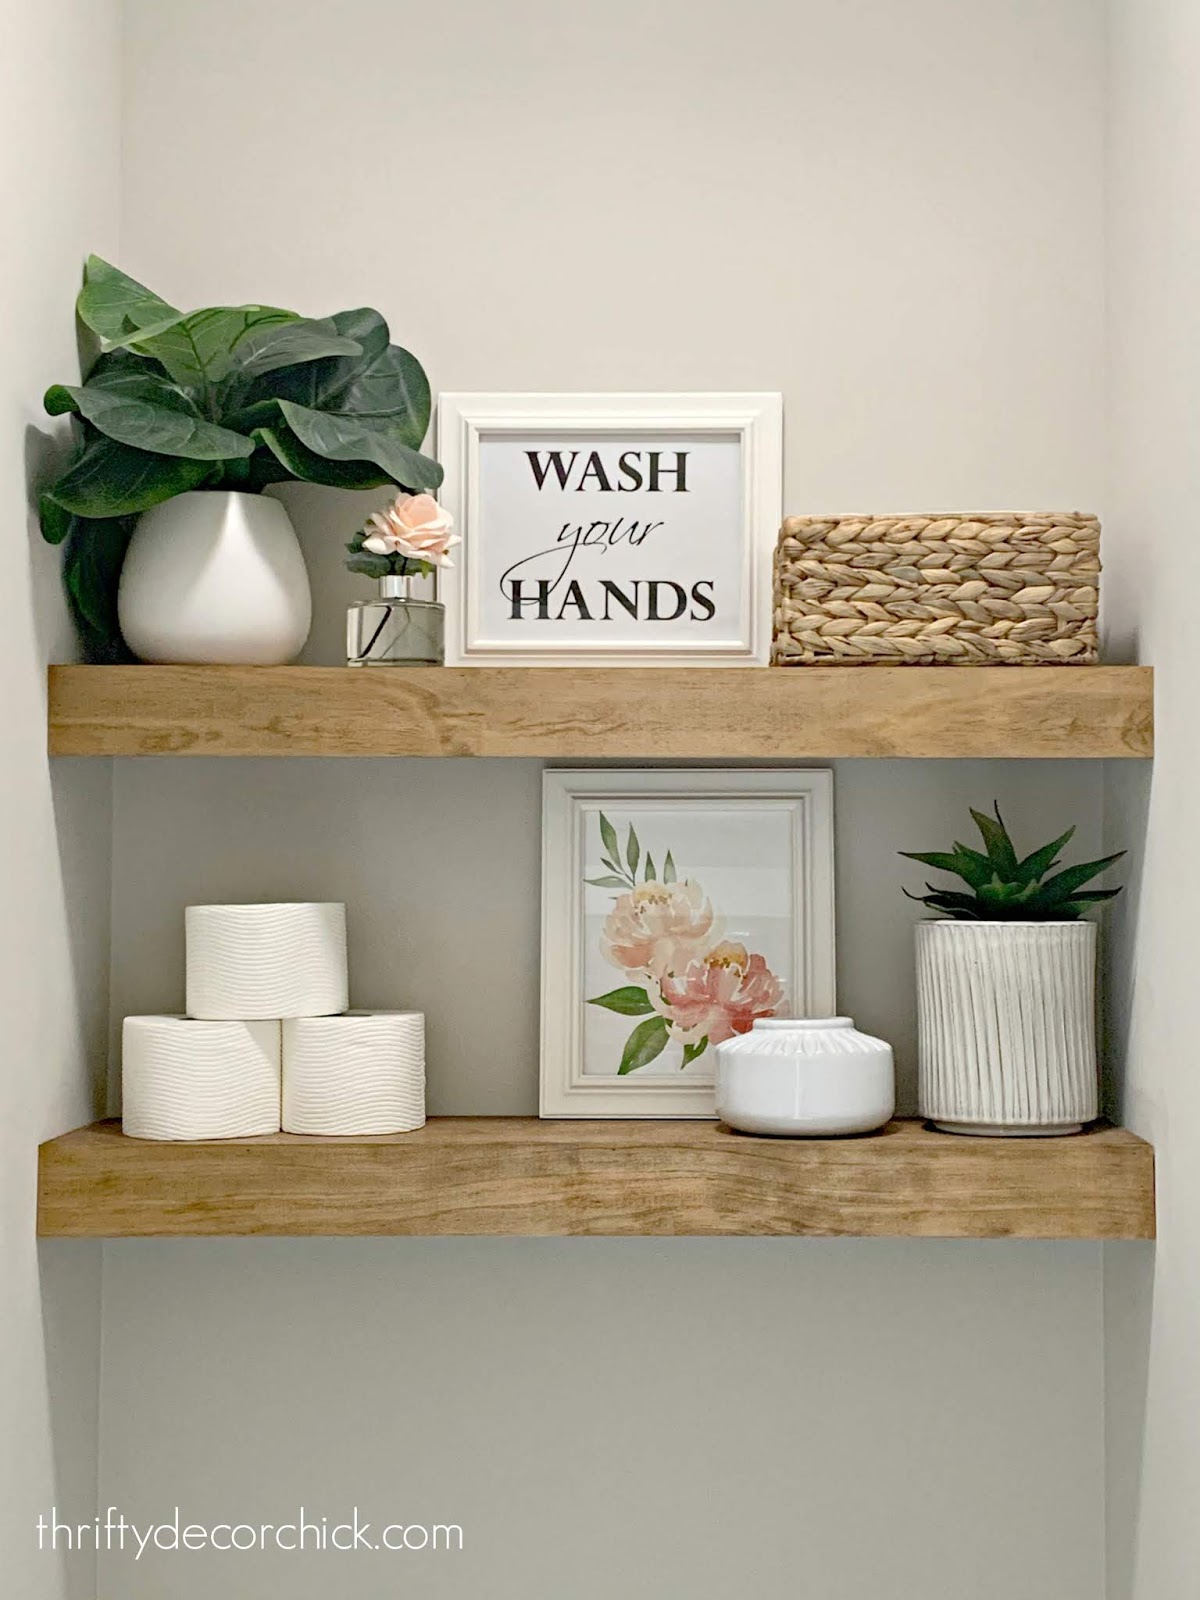
Personalization and Decor: Personalize your shelves with decor that reflects your style. Incorporate elements like candles, small potted plants, or decorative jars to add character to the bathroom. The items you display can also serve practical purposes, such as organizing toiletries or displaying beautiful bath products.
Step-by-Step Guide: How to Build Your Own Floating Shelves
Building your floating shelves can be a rewarding DIY project, offering both practical storage and a personal touch to your bathroom decor. Here’s a comprehensive step-by-step guide to help you create and install floating shelves.
Planning and Measuring: Start by deciding where you want to install the shelves. Measure the wall space to determine the size of the shelves, considering the width, depth, and height. Mark the desired locations on the wall with a pencil, using a level to ensure they are straight. It’s also helpful to use a stud finder to locate studs for mounting, as they provide the most secure attachment points.
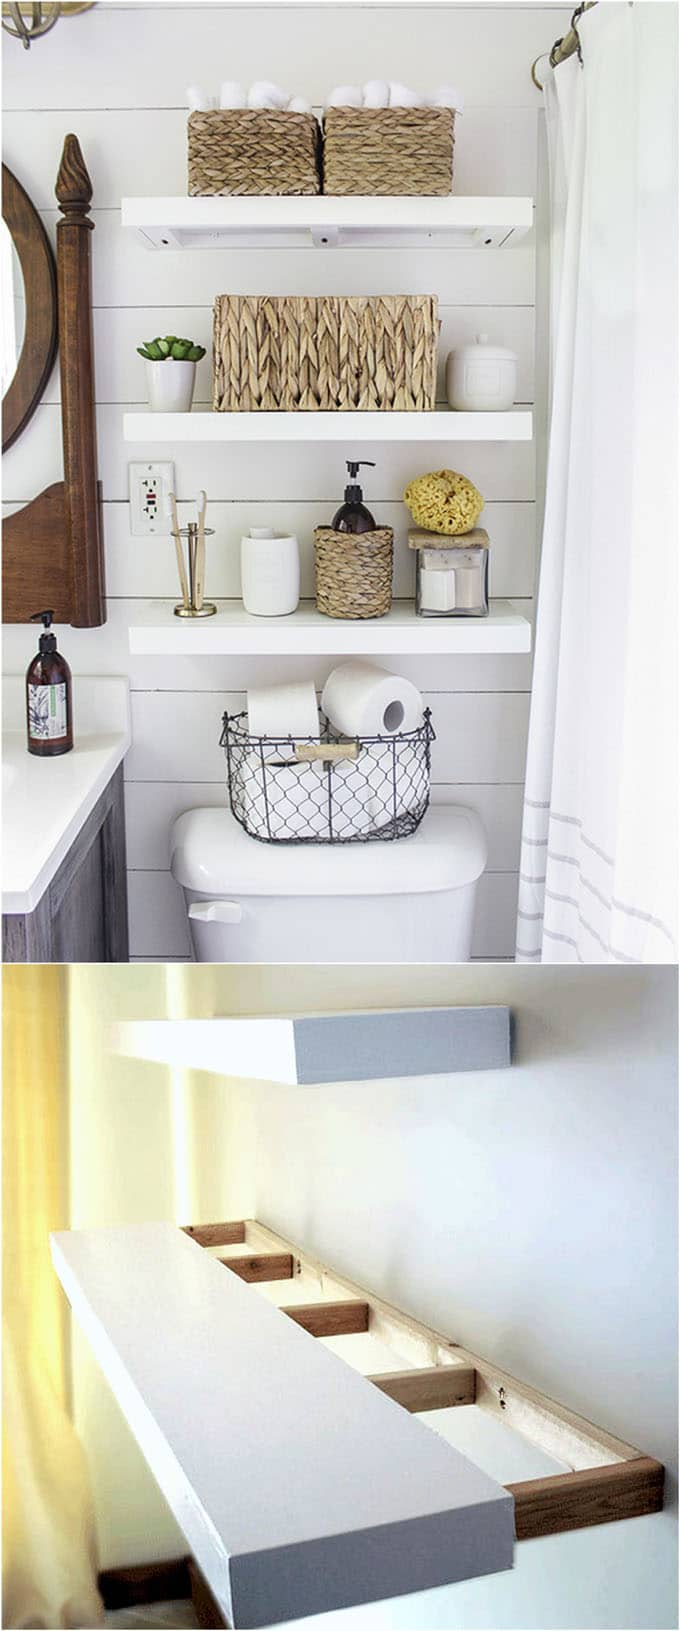
Cutting the Wood: Once you have your measurements, cut the wood to size. If you don’t have the tools or experience to do this yourself, many home improvement stores offer cutting services. For a simple shelf, you’ll need one piece for the top and bottom and two shorter pieces for the sides. If you’re making a thicker shelf, you may also need a back piece for extra support.
Assembling the Shelves: Sand the cut pieces to smooth any rough edges. Assemble the shelf by attaching the sides to the top and bottom pieces, creating a rectangular box. Use wood glue and screws to secure the joints, ensuring they are flush and even. If you’re adding a back piece, attach it now for additional stability.
Finishing the Shelves: Once the shelves are assembled, sand them again to ensure a smooth finish. Fill any gaps or holes with wood filler, then sand again once it’s dry. Apply a coat of primer, followed by paint or stain, depending on your preference. Allow each coat to dry completely before applying the next. Finish with a sealant if needed, especially if the shelves will be exposed to moisture.
Installing the Brackets: While the shelves are drying, install the hidden brackets or supports on the wall. Use a level to ensure they are straight and aligned with the marks you made earlier. If you’re mounting the shelves on drywall, use wall anchors to secure the brackets, ensuring they can support the shelf’s weight and its contents.
Mounting the Shelves: Once the brackets are securely in place, slide the shelves onto the supports. Check that the shelves are level and make any necessary adjustments. If your shelves are designed to be attached to the brackets, do so now, using screws or other fasteners as instructed. Finally, step back and admire your handiwork, making any final adjustments to the alignment and positioning.
Installation Tips: Ensuring Secure and Safe Shelving
Proper installation of floating shelves is crucial to ensure they are secure and safe, especially in a bathroom where they may be exposed to moisture and varying temperatures. Here are some essential tips to guide you through the installation process and help you avoid common pitfalls.
Finding the Right Wall Anchors: The type of wall anchor you use will depend on your wall material. For drywall, use toggle bolts or plastic anchors rated for the weight of your shelves and their contents. For plaster walls, consider using masonry screws with anchors. If you’re lucky enough to find a stud, screw directly into it for maximum stability. Using the correct anchors prevents the shelves from sagging or falling.
Leveling and Alignment: A level is an indispensable tool when installing floating shelves. Even slight misalignments can be noticeable and may affect the functionality of the shelves. Use a level to ensure both the brackets and the shelves themselves are straight. Mark your drilling points accurately and double-check measurements before proceeding.
Proper Screw Placement: When attaching brackets to the wall, ensure the screws are properly spaced and driven in securely. The screws should be long enough to penetrate the wall and anchor firmly into the wall anchors or studs. Avoid placing screws too close to the edges of the brackets or the shelves, as this can weaken the structure.
Weight Distribution and Capacity: Be mindful of the weight capacity of your shelves, including both the shelves themselves and the brackets. Overloading the shelves can cause them to fail. Distribute weight evenly, especially with heavy items like ceramic containers or large toiletries. If in doubt, opt for stronger brackets and use more screws to distribute the load.
Dealing with Tile or Other Hard Surfaces: Installing shelves on tile requires special considerations. Use a carbide-tipped masonry bit to drill into the tile, and proceed slowly to avoid cracking. If drilling into natural stone or ceramic, consider consulting a professional to avoid damaging the material. Remember to use appropriate anchors for these surfaces.
Final Checks and Adjustments: After installing the shelves, perform a final check to ensure everything is secure. Gently tug on the shelves and brackets to test their stability. Make sure the shelves are level and adjust as needed. It’s also wise to periodically check the shelves over time, especially if they bear a significant amount of weight.
Decorating Your Floating Shelves: Ideas for a Stylish Touch
Once your floating shelves are installed, it’s time to decorate them to enhance the overall look of your bathroom. The right decor can transform simple shelves into a stylish focal point. Here are some creative ideas for decorating your floating shelves.
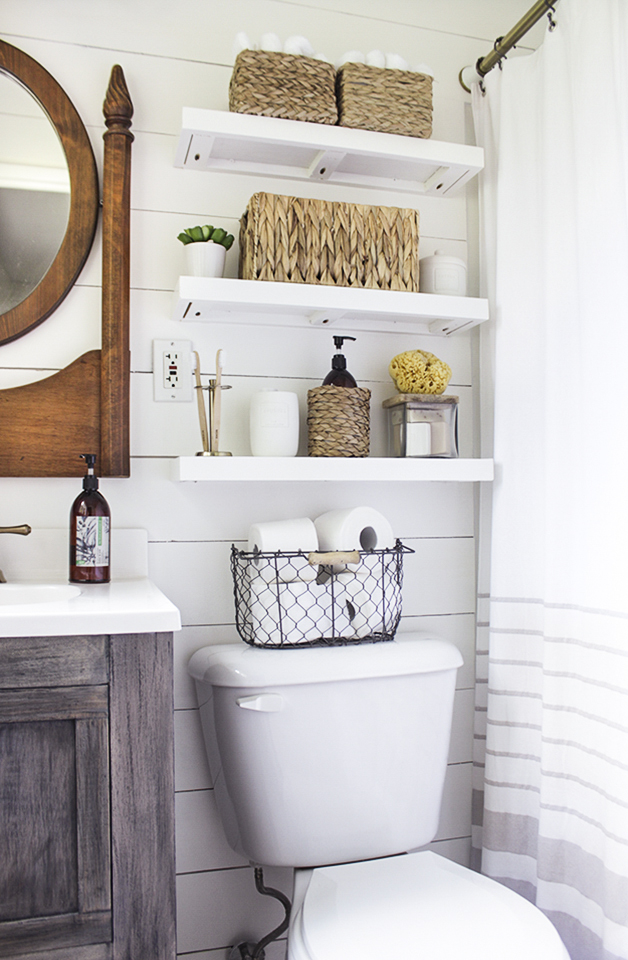
Functional Decor: Combine functionality with aesthetics by using the shelves to store everyday items in a visually pleasing way. For example, neatly roll towels and stack them on the shelves, or place toiletries in decorative containers. This approach keeps essentials within easy reach while adding to the decor.
Greenery and Plants: Adding plants to your bathroom shelves can bring a fresh and lively vibe. Choose plants that thrive in high-humidity environments, such as ferns, spider plants, or pothos. Small potted plants or hanging planters can add a touch of nature and soften the look of the shelves. Just make sure the plants receive adequate light and water.
Artwork and Photographs: Incorporating artwork or photographs can personalize your bathroom. Consider small framed prints, mirrors, or inspirational quotes. Be mindful of the moisture level in the bathroom and choose frames that can withstand humidity. Leaning a few framed pieces against the wall or layering them can create an interesting, layered look.
Candles and Fragrance: Candles are a great addition to bathroom shelves, adding both visual appeal and a pleasant aroma. Choose candles in various sizes and shapes, and consider using scented candles or diffusers to add a relaxing fragrance. Be cautious with open flames and place candles on sturdy holders or trays.
Organizational Baskets and Containers: Use baskets or containers to organize smaller items like makeup, skincare products, or hair accessories. Choose containers that match your bathroom’s color scheme and style. Clear containers can help you easily find items, while woven baskets add a natural, textured element.
Seasonal Decor: Update your shelves seasonally to keep the decor fresh and exciting. For example, during the spring, add floral elements and pastel colors. In the winter, incorporate cozy touches like faux fur or seasonal scents. This allows you to enjoy a dynamic and ever-changing bathroom aesthetic.
Maintenance and Care: Keeping Your Floating Shelves Looking Great
To ensure your floating shelves remain a beautiful and functional part of your bathroom, regular maintenance and care are essential. Proper upkeep not only preserves the appearance of the shelves but also ensures their durability and safety.
Regular Dusting and Cleaning: Dust and clean your shelves regularly to keep them looking fresh. Use a soft, damp cloth to wipe down wooden shelves, followed by a dry cloth to remove any moisture. For metal or glass shelves, use appropriate cleaning products to avoid streaks. Regular cleaning prevents dust buildup and keeps the shelves looking polished.
Checking for Stability: Periodically check the stability of your shelves, especially if they support heavy items. Ensure that the brackets and screws are secure and haven’t loosened over time. Tighten any loose screws and replace any hardware that appears worn or damaged. This is particularly important in a bathroom environment where moisture can affect materials.
Protecting Against Moisture: Bathrooms are naturally humid environments, which can affect the materials of your shelves. For wooden shelves, ensure they are properly sealed with a waterproof finish to prevent warping or cracking. For metal shelves, check for any signs of rust and treat them with a rust-resistant coating if necessary. Consider using a dehumidifier if your bathroom is particularly damp.
Avoiding Overloading: Be mindful not to overload your shelves with too many or too heavy items. Overloading can not only damage the shelves but also pose a safety risk. Regularly assess the items on your shelves and remove any that are not necessary. Distribute the weight evenly across the shelves to prevent sagging.
Refreshing the Finish: Over time, the finish on your shelves may begin to show signs of wear, such as scratches, chips, or fading. Refresh the finish by lightly sanding the surface and applying a new coat of paint, stain, or varnish. This not only restores the appearance but also protects the material underneath.
Seasonal Adjustments: Just as you might change the decor seasonally, consider adjusting the contents of your shelves. Remove items that may not hold up well in changing temperatures or humidity levels. For example, certain candles or skincare products may need to be stored in a cooler environment during warmer months.
Easy and Stylish DIY Floating Shelves & Wall Shelves
How To Build Bathroom Floating Shelves for Extra Storage
DIY Floating Ladder Shelf – with Plans
How to Build a DIY Bathroom Floating Shelf – TheDIYPlan
Thrifty and Chic – DIY Projects and Home Decor
Related Posts:
- How Long Should Shelves Be Above Toilet
- Bathroom Wall Shelves Over Sink
- Under Bathroom Sink Shelf Organizer
- Bathroom Shelf Unit With Hamper
- Wall Mounted Metal Bathroom Shelves
- Bathroom Shelf Unit Wood
- Bath Glass Shelf With Towel Bar
- Espresso Bathroom Shelves
- Black Bathroom Shelves Over Toilet
- Bathroom Shelf Unit Bamboo

