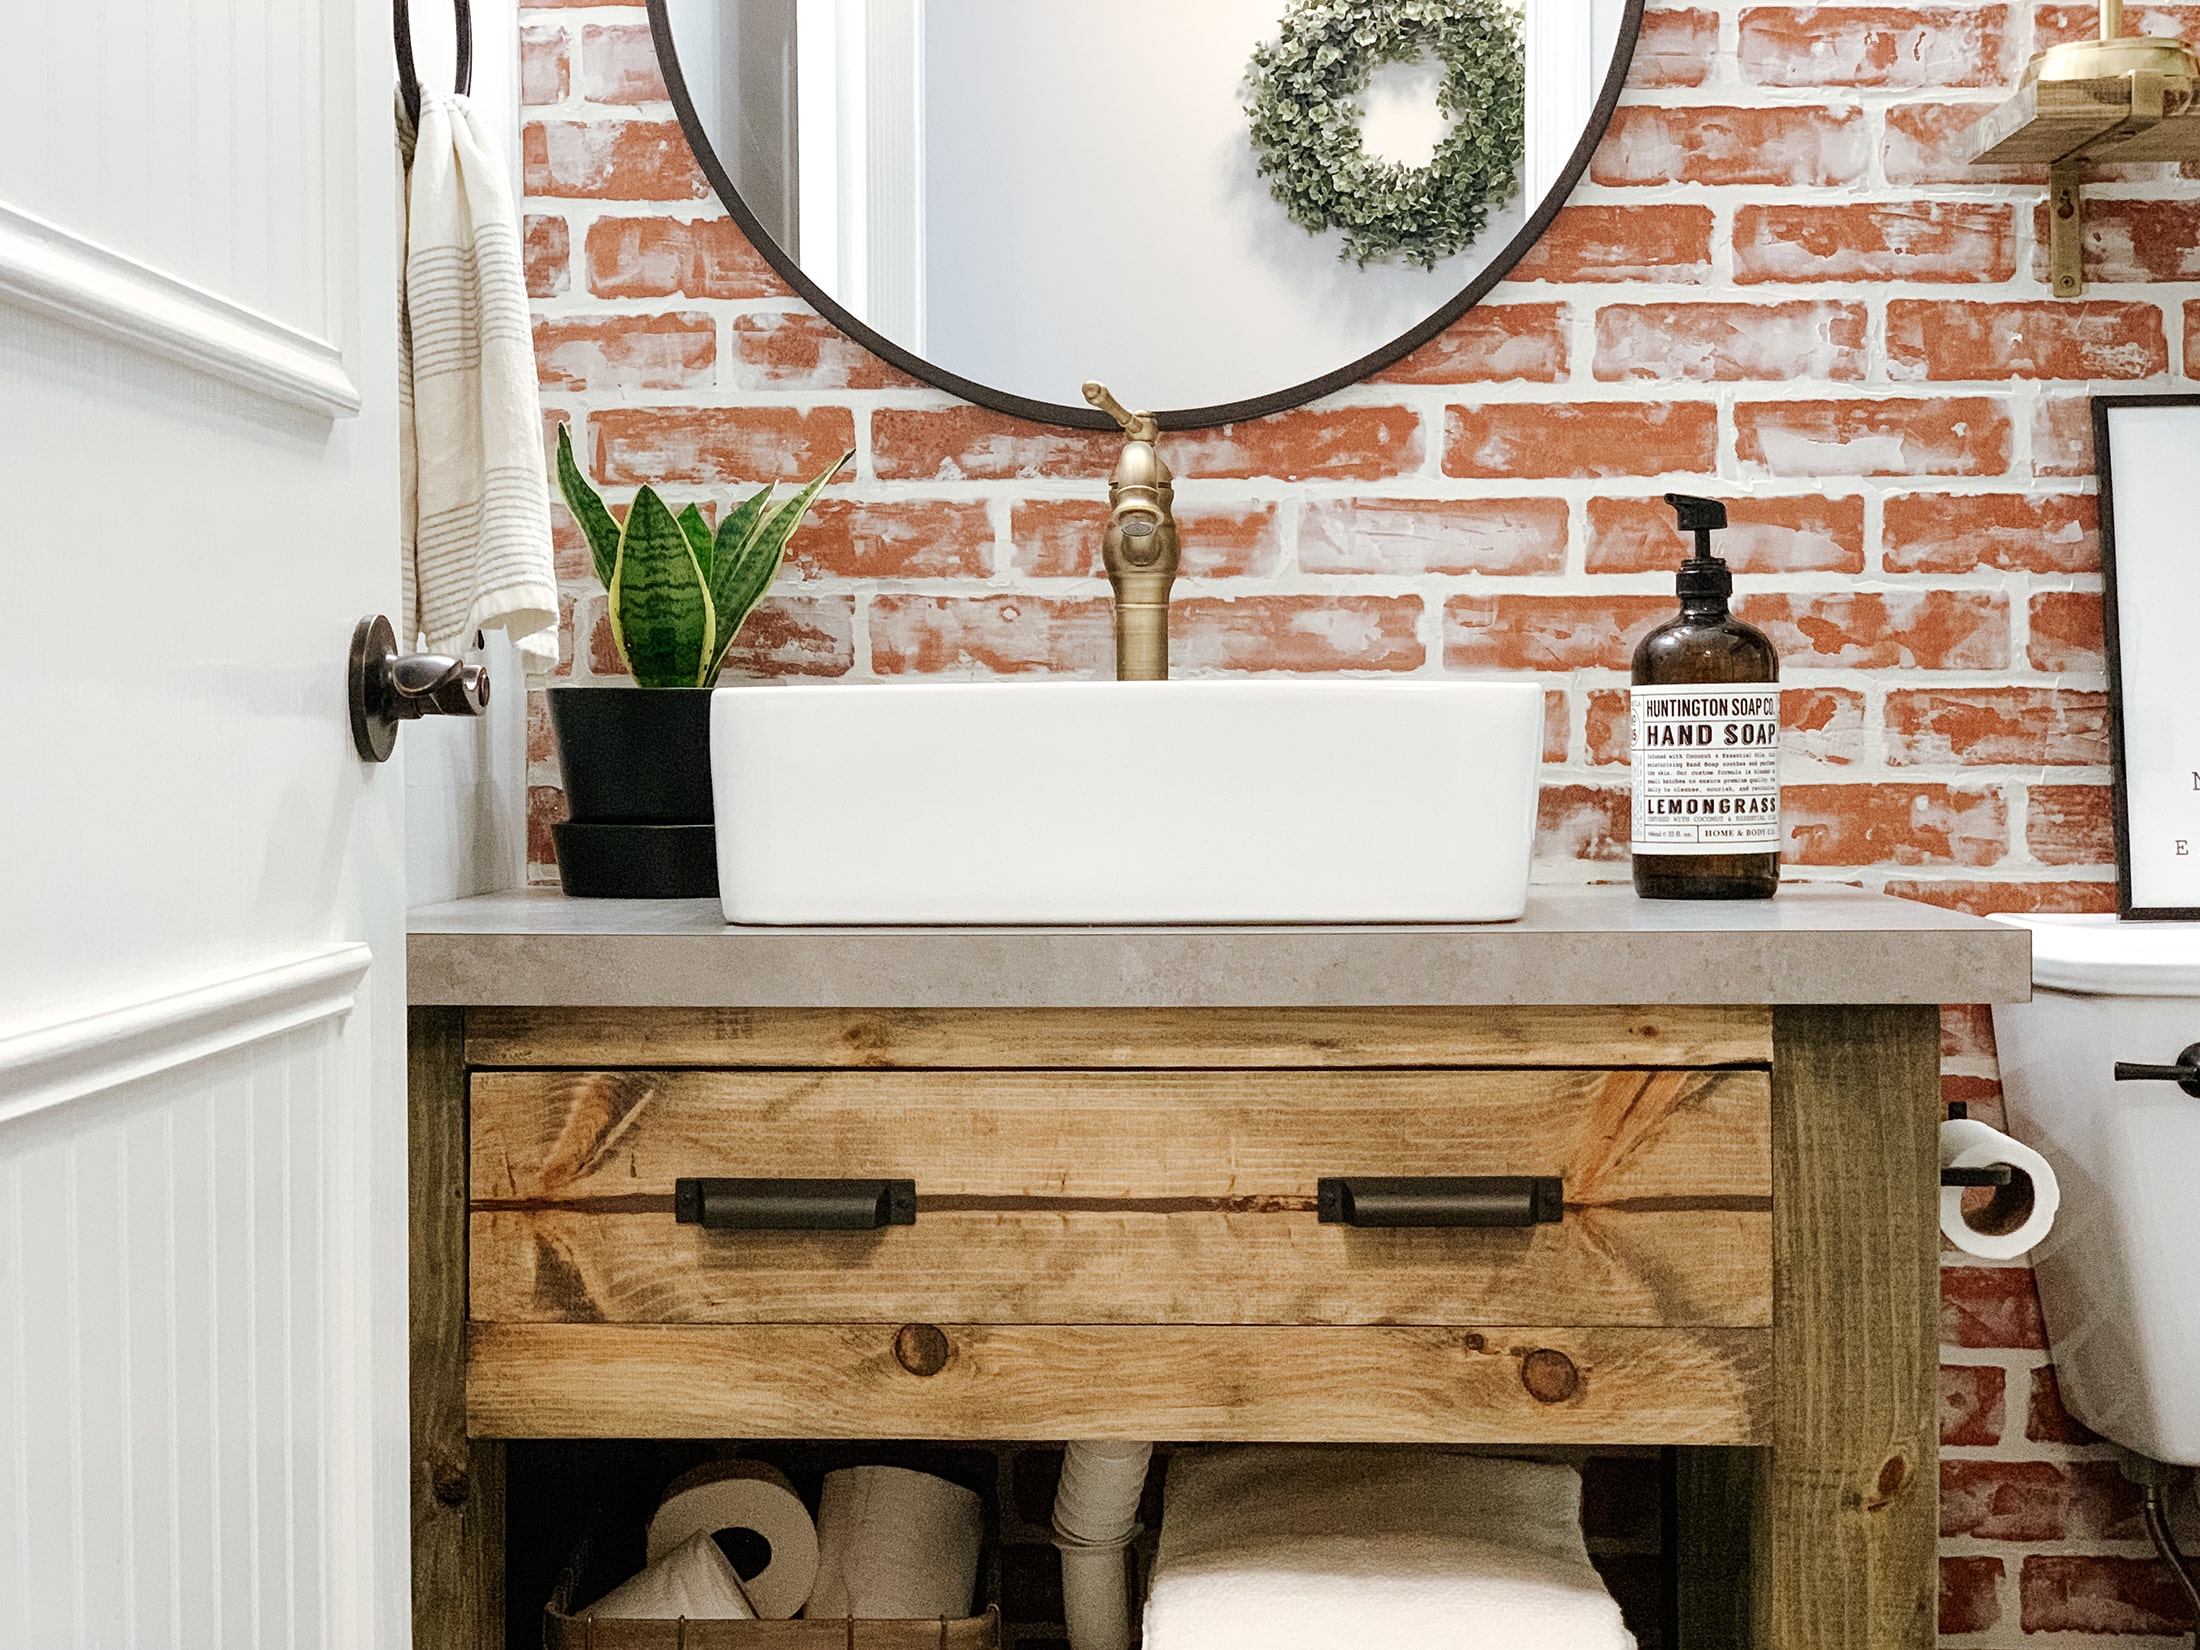
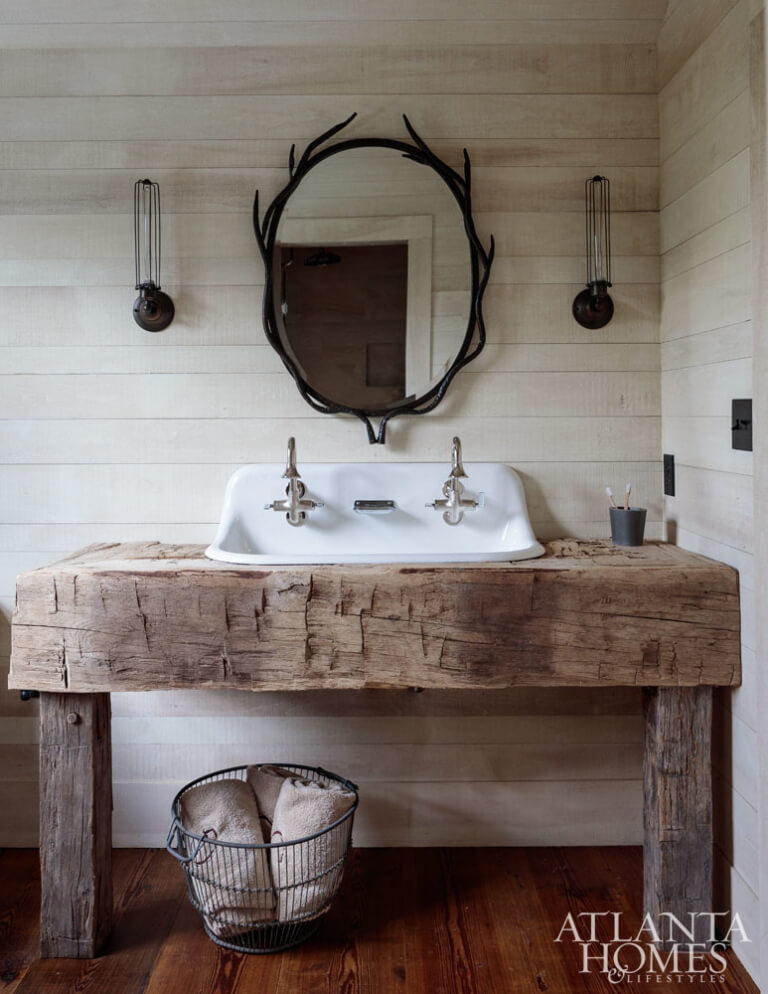
Benefits of Building Your Own Rustic Bathroom Vanity
When I decided to give my bathroom a makeover, building a rustic bathroom vanity was at the top of my list. There’s something incredibly rewarding about creating a piece that’s functional and beautiful, tailored perfectly to my taste. Here are some of the benefits I discovered along the way:
- Personalization and Creativity: One of the biggest advantages of building your rustic bathroom vanity is the ability to personalize every detail. From the type of wood to the style of hardware, I had complete control over the final look. This allowed me to create a piece that truly reflected my style and fit seamlessly into my bathroom’s design. It was a fun and creative process, allowing me to experiment with different finishes and techniques.
- Cost Savings: Another significant benefit of a DIY rustic vanity is the potential for cost savings. Store-bought vanities, especially those with a rustic aesthetic, can be quite expensive. By sourcing my materials and doing the labor myself, I saved a substantial amount of money. Plus, I could splurge on higher-quality materials since I wasn’t paying for the markup that often comes with pre-made furniture.
- Quality Control: When building my own vanity, I had complete control over the quality of materials and craftsmanship. I could choose solid wood and sturdy hardware, ensuring the final product was built to last. This was particularly important to me, as I wanted a vanity that wouldn’t just look good and stand the test of time.
- Sustainability: Building a rustic vanity also allowed me to make more environmentally conscious choices. I was able to source reclaimed wood and repurpose materials, which not only reduced waste but also added a unique, aged character to the vanity. This focus on sustainability was a big plus for me, as it aligned with my values and helped create a bathroom space I could feel good about.
- Learning Experience: Taking on a DIY project like this was also a fantastic learning experience. I honed my woodworking skills, learned about different types of finishes, and gained a deeper understanding of furniture construction. This hands-on experience was incredibly satisfying and has given me the confidence to tackle even more DIY projects in the future.
- Sense of Accomplishment: Finally, there’s no denying the sense of accomplishment that comes with completing a DIY project. Every time I walk into my bathroom and see the vanity I built, I feel a deep sense of pride. It’s more than just a piece of furniture; it’s a testament to my hard work, creativity, and determination. This emotional connection to the piece makes it even more special.
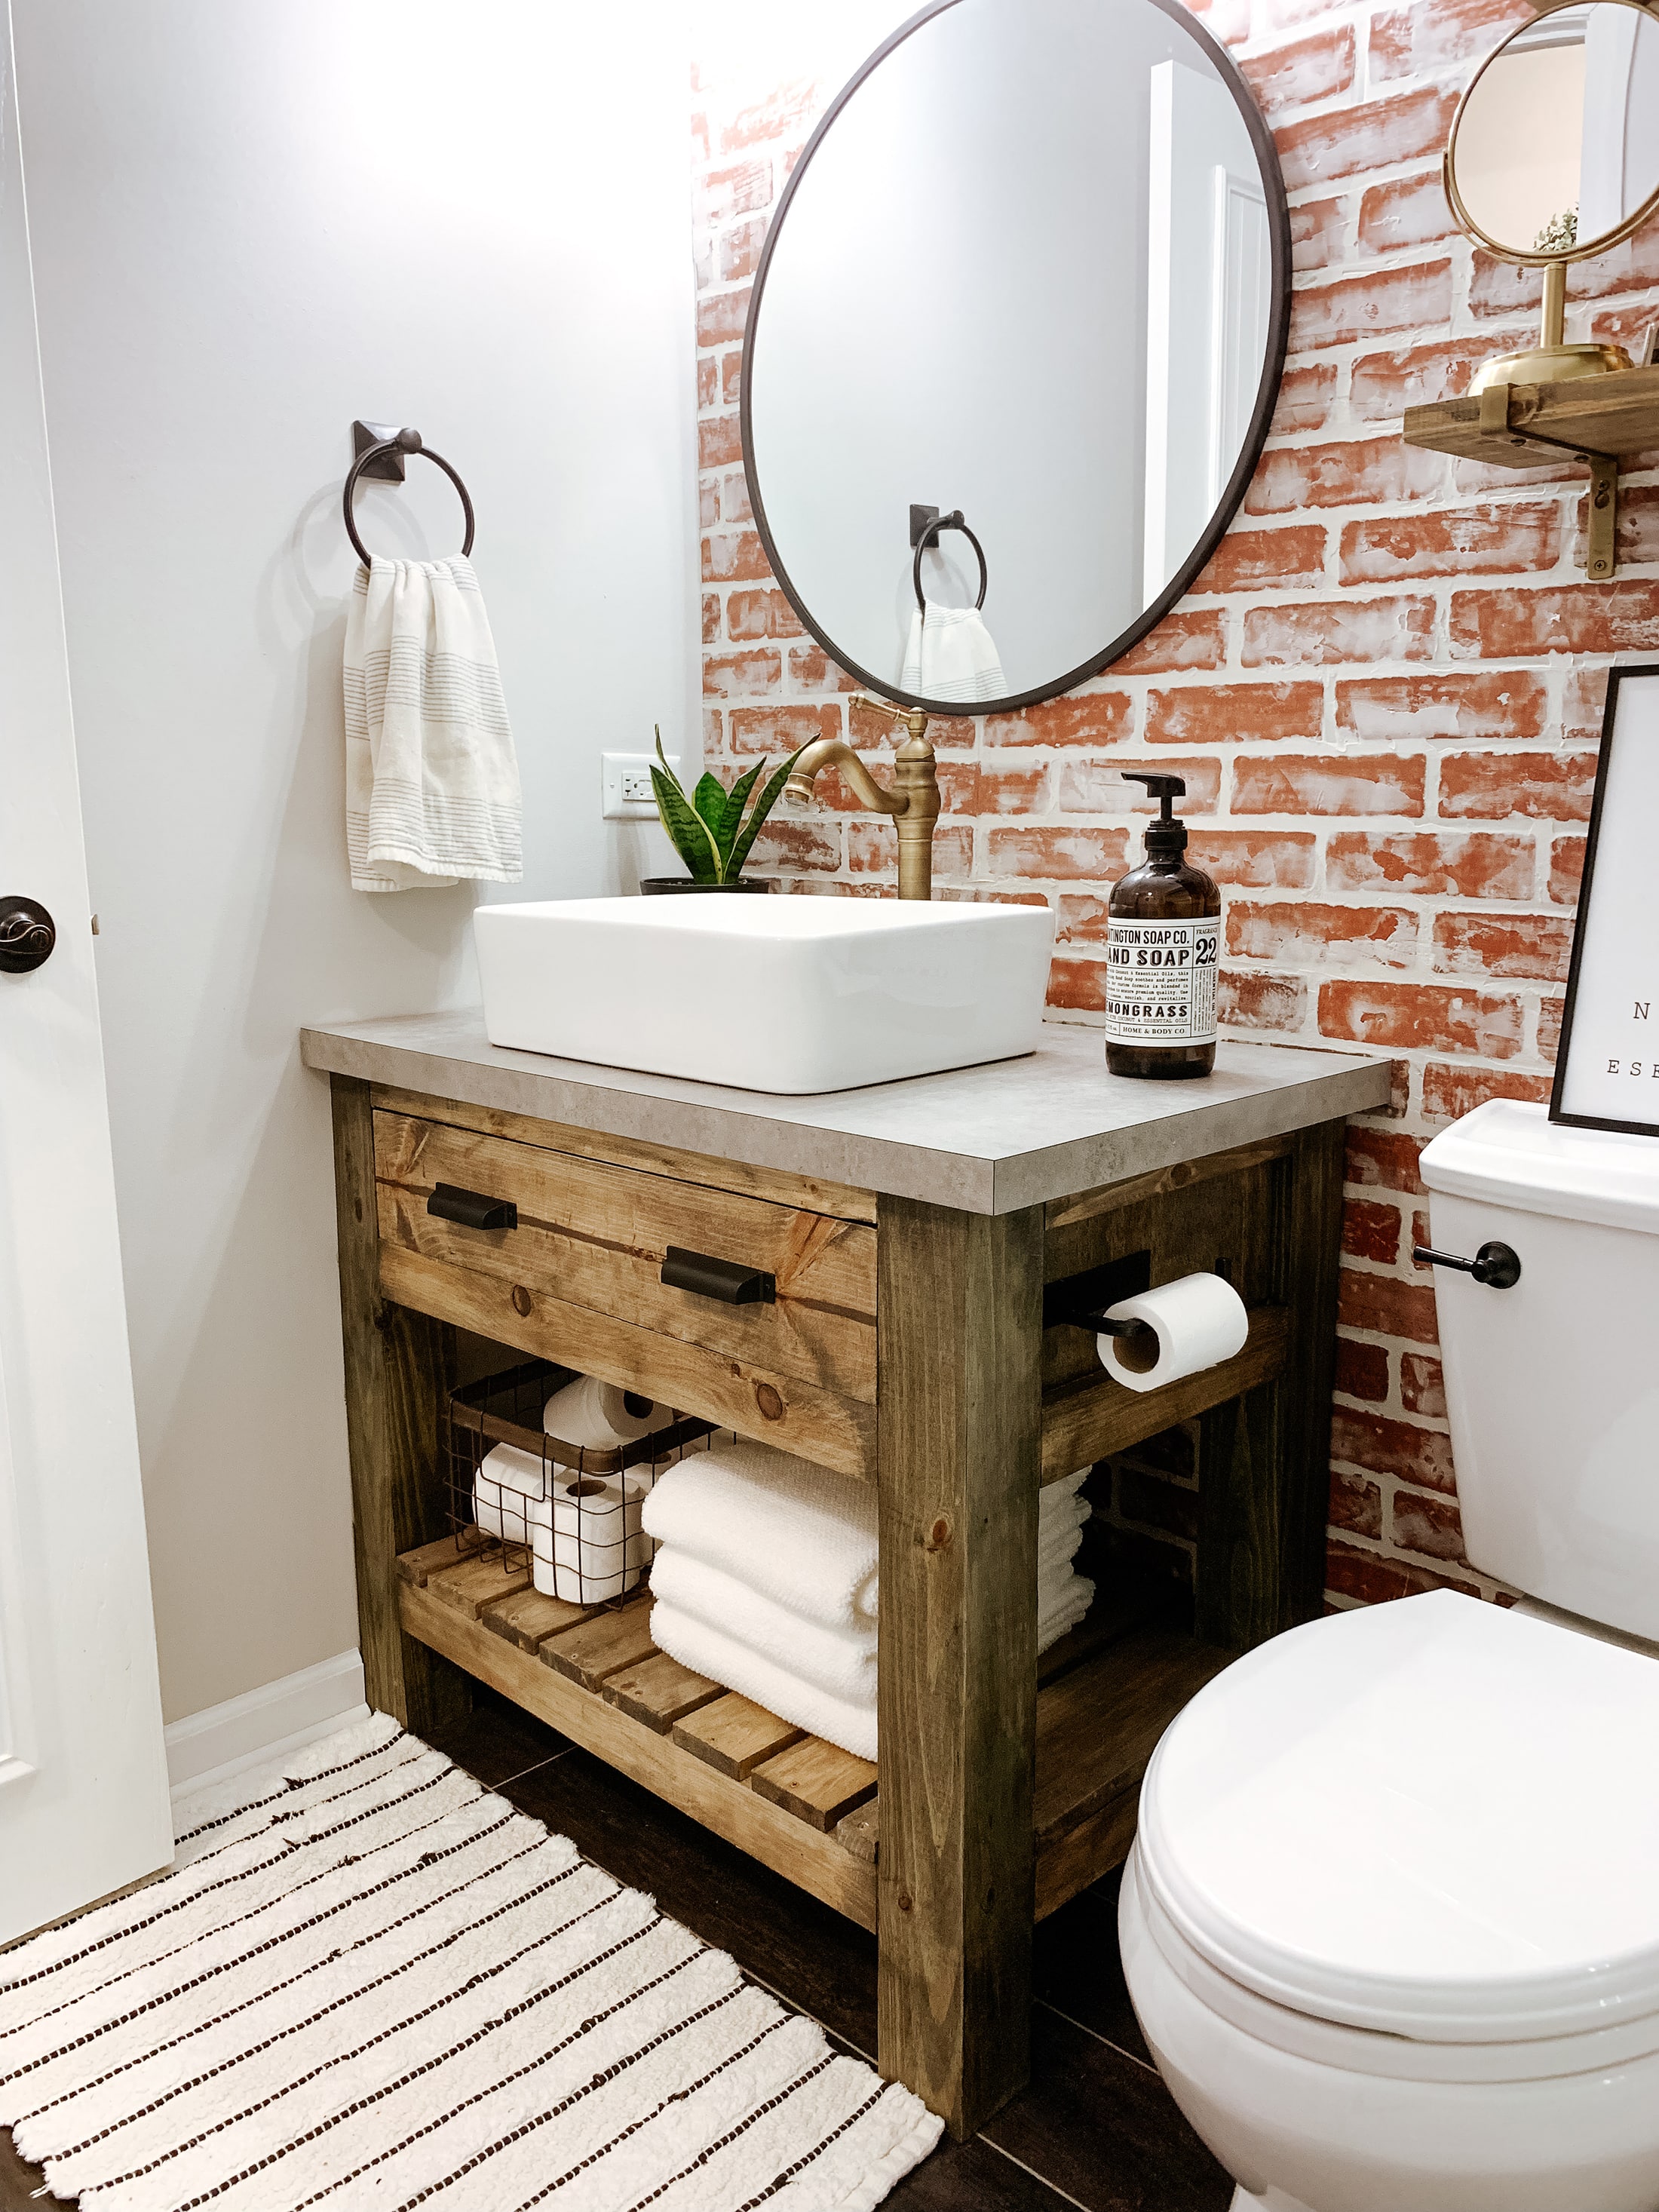
Materials and Tools Needed for a DIY Rustic Vanity
Embarking on a DIY rustic bathroom vanity project requires careful planning, especially when it comes to gathering the right materials and tools. Through trial and error, I figured out exactly what I needed to bring my vision to life. Here’s a rundown of the essentials:
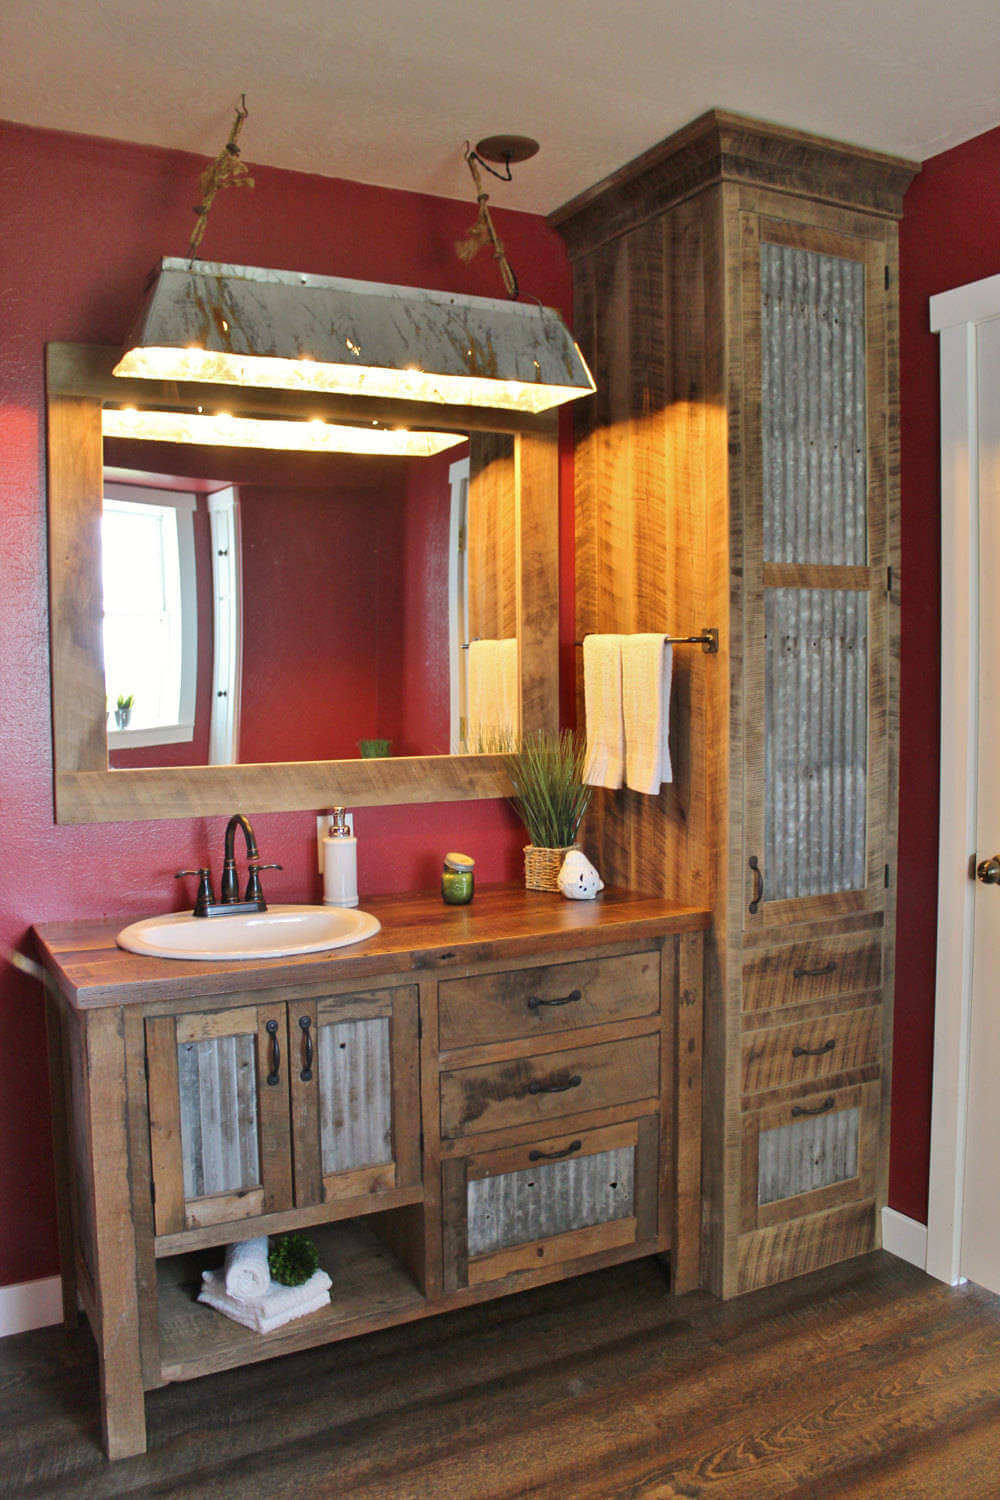
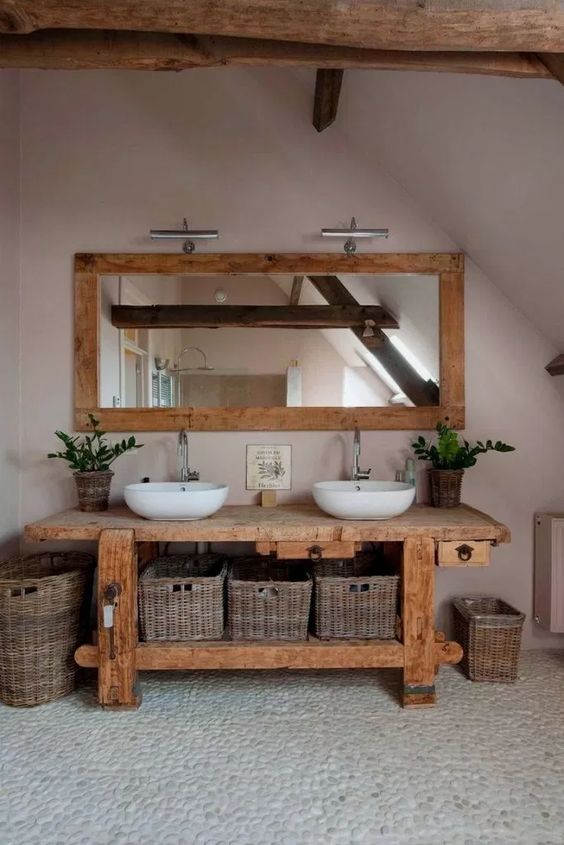
Wood Selection: The foundation of any rustic vanity is wood. I opted for reclaimed wood for its weathered appearance and eco-friendliness. Pine, oak, and maple are popular choices for their durability and availability. The key is to choose wood that has natural imperfections—knots, grain variations, and minor cracks—that add to the rustic charm. If you’re unable to source reclaimed wood, new wood can be aged using techniques like distressing or staining.
Hardware: The hardware is another crucial element that defines the rustic style. I chose wrought iron handles and drawer pulls, which have a rugged, old-world feel. Other options include brass or oil-rubbed bronze hardware, which can also enhance the vintage look. Hinges, drawer slides, and knobs should match the overall aesthetic and be sturdy enough to handle daily use.
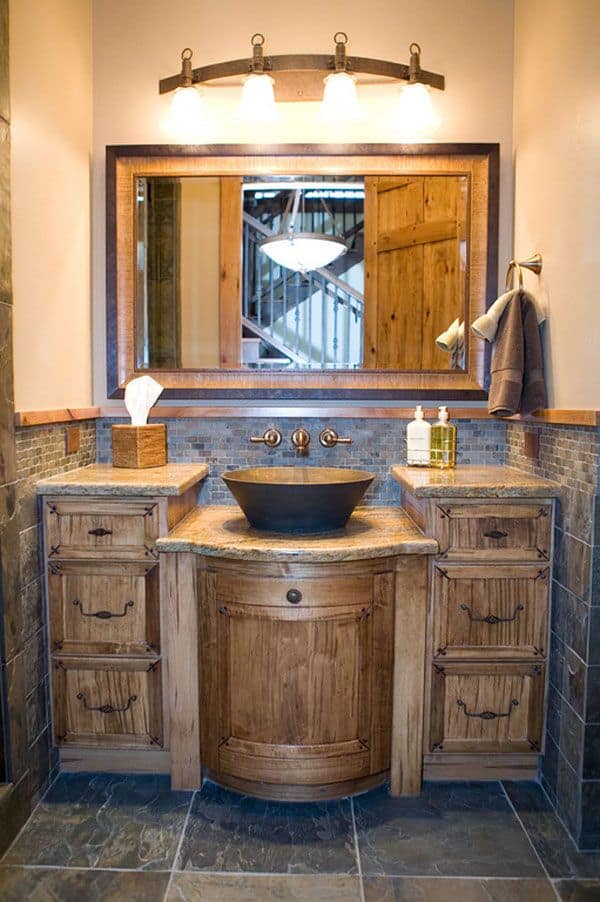
Sink and Faucet: The sink and faucet are essential components of your vanity. For a rustic look, I went with a farmhouse-style sink, which pairs perfectly with a vessel sink for a more traditional look. For the faucet, I chose a matte black finish with a vintage design, which complemented the hardware and added to the rustic vibe. Other suitable options include copper or brushed nickel faucets.
Countertop Materials: Selecting the right countertop material is key to achieving the rustic look. I considered butcher block and natural stone, both of which offer a warm, earthy feel. In the end, I opted for a butcher block countertop, which I sealed to protect against water damage. It’s both practical and aesthetically pleasing, adding to the overall rustic charm of the vanity.
Tools Required: A successful DIY project requires the right tools. Some of the essential tools I used included a miter saw, a jigsaw, a drill, clamps, and a sander. These tools allowed me to cut the wood precisely, assemble the vanity, and achieve a smooth finish. If you don’t already own these tools, consider renting them or borrowing from a friend to keep costs down.
Finishing Supplies: To give the vanity a polished look, finishing supplies are necessary. I used wood stain to enhance the natural grain of the wood and achieve the desired rustic tone. After staining, I applied a clear polyurethane sealant to protect the wood from moisture and wear. Sandpaper, wood filler, and paintbrushes were also essential in ensuring a smooth, professional finish.
Step-by-Step Guide to Building a Rustic Bathroom Vanity
Building a rustic bathroom vanity from scratch might seem daunting, but breaking it down into manageable steps made the process enjoyable and rewarding. Here’s how I approached the project, step by step:
Planning and Measuring: The first step in any DIY project is careful planning. I started by measuring the space where the vanity would go, ensuring I had accurate dimensions for width, depth, and height. This step is crucial because it determines the size of your vanity and helps avoid any fitting issues later on. I also sketched out a basic design, noting the placement of the sink, drawers, and shelves.
Cutting the Wood: With measurements in hand, I moved on to cutting the wood. Using a miter saw, I cut the wood to size for the frame, legs, and shelves. Precision is key here, so I double-checked all measurements before making any cuts. Once the pieces were cut, I used a sander to smooth the edges and surfaces, preparing them for assembly.
Assembling the Frame: Assembling the frame was the next step. I used wood glue and screws to join the pieces, starting with the legs and then attaching the horizontal supports. Clamps helped hold everything in place while the glue dried. This part of the process required patience and attention to detail to ensure the frame was square and sturdy.
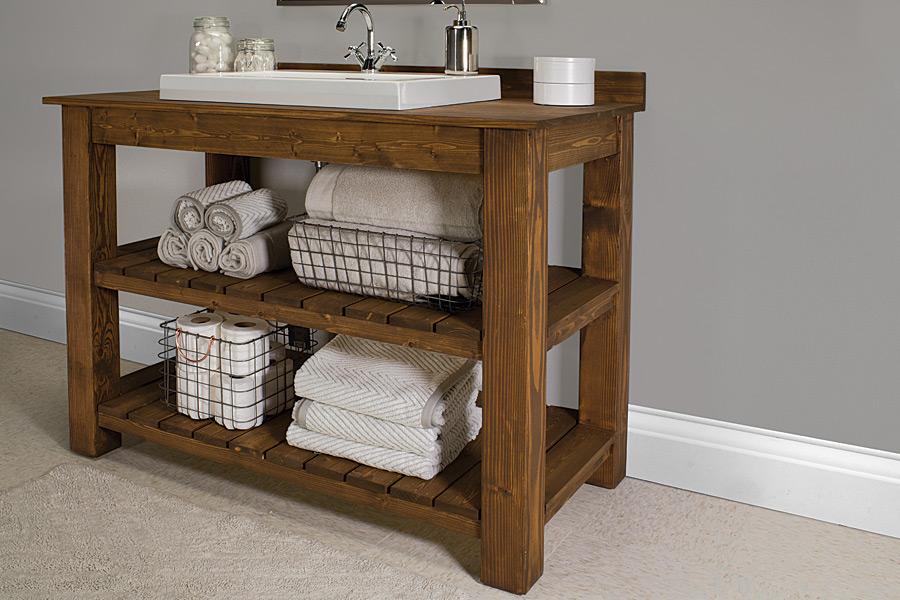
Adding the Shelves and Drawers: After the frame was assembled, I installed the shelves and drawers. For the shelves, I cut additional pieces of wood and attached them to the frame using brackets. The drawers required more precision, as they needed to slide in and out smoothly. I installed drawer slides and attached the drawer fronts, ensuring everything was aligned and functional.
Installing the Countertop: The next step was installing the countertop. I chose a butcher block countertop, which I cut to size and sanded smooth. After applying wood glue to the top of the frame, I carefully positioned the countertop and secured it with screws from underneath. This step required a helper, as the countertop was heavy and needed to be positioned correctly on the first try.
Attaching the Sink and Faucet: The final construction step was attaching the sink and faucet. I cut a hole in the countertop for the sink, following the manufacturer’s template. After positioning the sink, I installed the faucet according to the instructions. Once everything was in place, I connected the plumbing, ensuring there were no leaks and that the water flowed smoothly.
Finishing Touches: Staining, Painting, and Sealing Your Vanity
After the construction and design phases, the finishing touches are what really bring the rustic bathroom vanity to life. Here’s how I added those final details that made my vanity look polished and complete:
Choosing the Right Stain: The first step in finishing my vanity was selecting a stain that would enhance the natural beauty of the wood. I wanted to emphasize the grain and give the wood a rich, warm tone. I tested a few different stains on scrap pieces of wood before settling on a medium brown that perfectly complemented the rustic style. Applying the stain with a clean cloth, I worked in the direction of the grain to ensure even coverage.
Painting for Contrast: While the natural wood was beautiful, I decided to add a bit of contrast by painting the drawers and cabinet doors. I chose a soft, matte black paint that highlighted the wood’s natural warmth while adding a modern touch. To achieve a smooth finish, I sanded between coats of paint, ensuring a flawless look. The combination of stained wood and painted elements gave the vanity a balanced and cohesive appearance.
Distressing the Paint: To maintain the rustic aesthetic, I lightly distressed the painted areas using sandpaper. I focused on edges and corners where natural wear would occur, giving the paint a weathered look. This step added character and made the vanity appear as if it had been in use for years, fitting perfectly with the rustic theme.
Sealing for Protection: Once the staining and painting were complete, it was time to seal the vanity to protect it from moisture and wear. I chose a clear polyurethane sealant that provided a durable, water-resistant finish. Applying multiple thin coats with a brush, I made sure to cover every surface, paying special attention to the countertop. The sealant not only protected the wood but also enhanced its natural beauty, adding a subtle sheen.
Adding Decorative Hardware: With the staining and sealing done, I attached the hardware. The wrought iron handles and drawer pulls I had chosen earlier were the perfect finishing touches. They complemented the rustic style while also providing a functional element to the vanity. Installing the hardware was a simple task, but it made a big impact on the overall look.
Final Inspection and Touch-Ups: Before declaring the project complete, I did a final inspection to ensure everything was just right. I touched up any areas where the paint or stain needed a little extra attention and made sure all the hardware was securely attached. This last step was all about perfecting the details, ensuring that the vanity looked polished and professional.
Tips for Installing and Maintaining Your Rustic Bathroom Vanity
Once the vanity was built and finished, the final step was installing it in the bathroom. Proper installation is crucial for ensuring that the vanity is secure and functional. Here’s how I handled the installation, along with some tips for maintaining the vanity over time:
Preparing the Space: Before installing the vanity, I prepped the bathroom by removing the old vanity and ensuring the floor and walls were clean and level. This step is essential for a smooth installation. I also checked the plumbing to make sure everything was in good condition and positioned correctly for the new vanity. Proper preparation made the installation process much easier.
Positioning the Vanity: With the space prepped, I carefully positioned the vanity in its designated spot. I used a level to ensure it was perfectly straight and made any necessary adjustments to the legs to achieve a balanced fit. This step required patience, as even a slight tilt can affect the functionality and appearance of the vanity.
Securing the Vanity: Once the vanity was in place, I secured it to the wall using screws and brackets. It’s important to anchor the vanity to studs in the wall to ensure it’s stable and secure. I double-checked that all the screws were tight and that the vanity was firmly attached. This step is crucial for safety and durability.
Connecting the Plumbing: After securing the vanity, I connected the plumbing for the sink and faucet. I made sure to follow the manufacturer’s instructions and used the plumber’s tape to prevent leaks. Once everything was connected, I turned on the water to check for any issues. Proper plumbing installation is key to preventing water damage and ensuring the vanity functions as intended.
Maintaining the Vanity: Maintaining a rustic bathroom vanity is relatively simple, but it does require some regular upkeep. I make it a habit to wipe down the countertop and sink after each use to prevent water spots and stains. Every few months, I apply a fresh coat of sealant to the wood to keep it protected from moisture. This routine maintenance helps preserve the beauty and longevity of the vanity.
Dealing with Wear and Tear: Over time, any piece of furniture will show signs of wear and tear. For a rustic vanity, this can actually add to its charm, but it’s still important to address any issues that arise. I keep a small bottle of matching stain and paint on hand for touch-ups and regularly check the hardware to ensure it’s still secure. Addressing minor repairs promptly can prevent more significant problems down the line.
Impressive DIY Rustic Farmhouse Bathroom Vanity Ideas
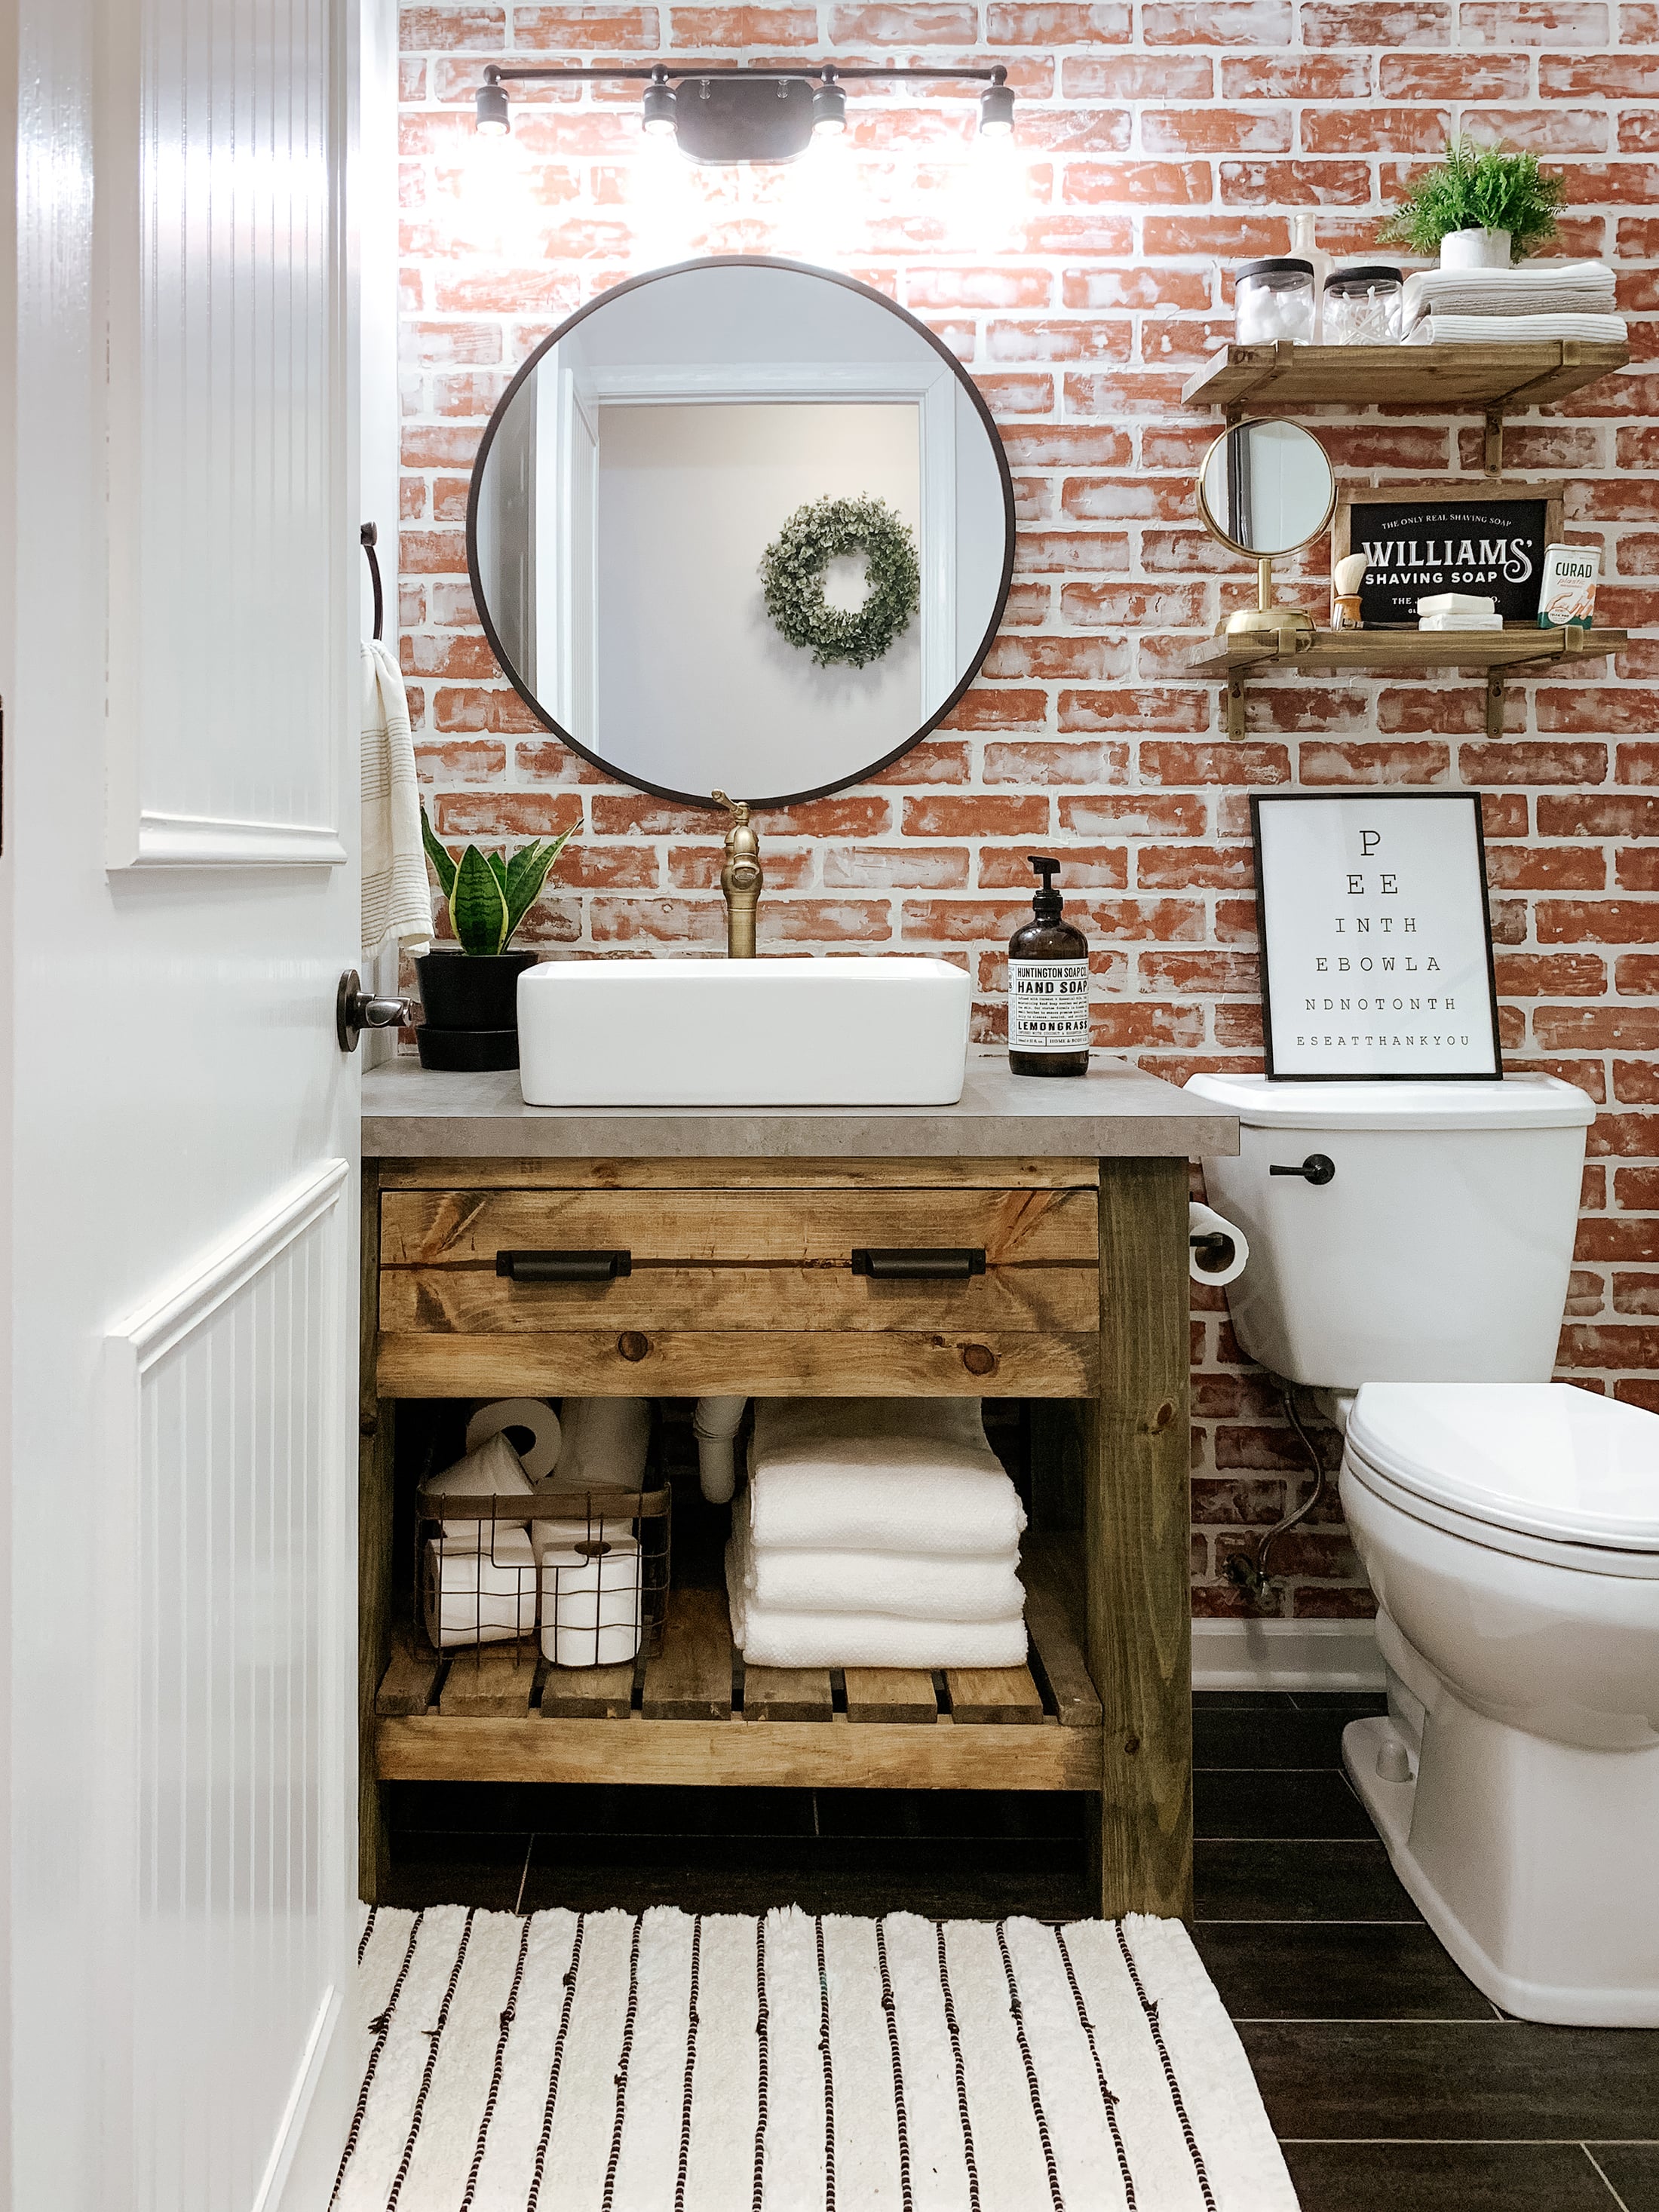
DIY Rustic Bathroom Vanity Sammy On State
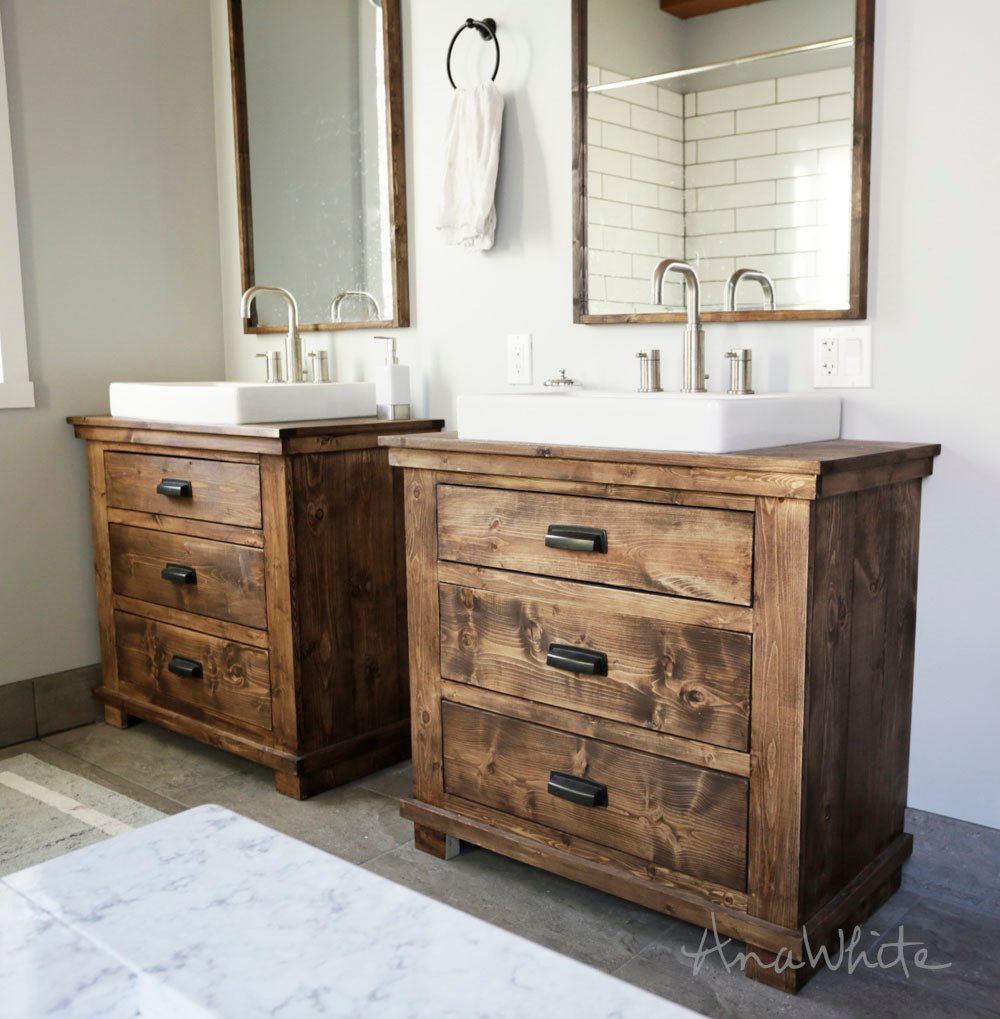
Rustic Bathroom Vanities Ana White
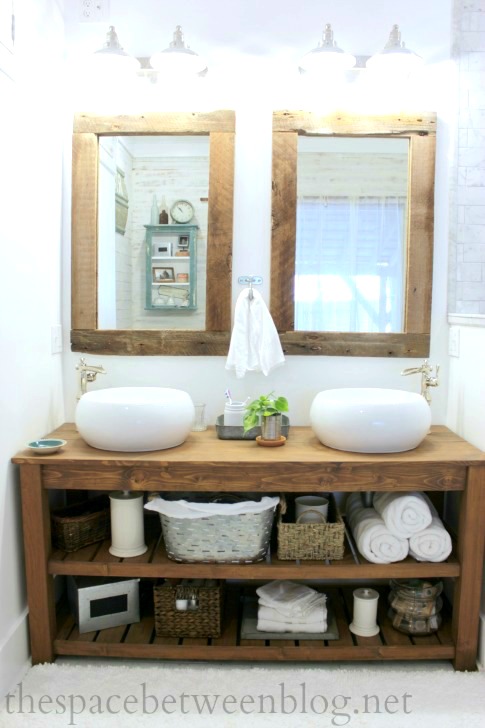
DIY wood vanity in the master bathroom – the space between
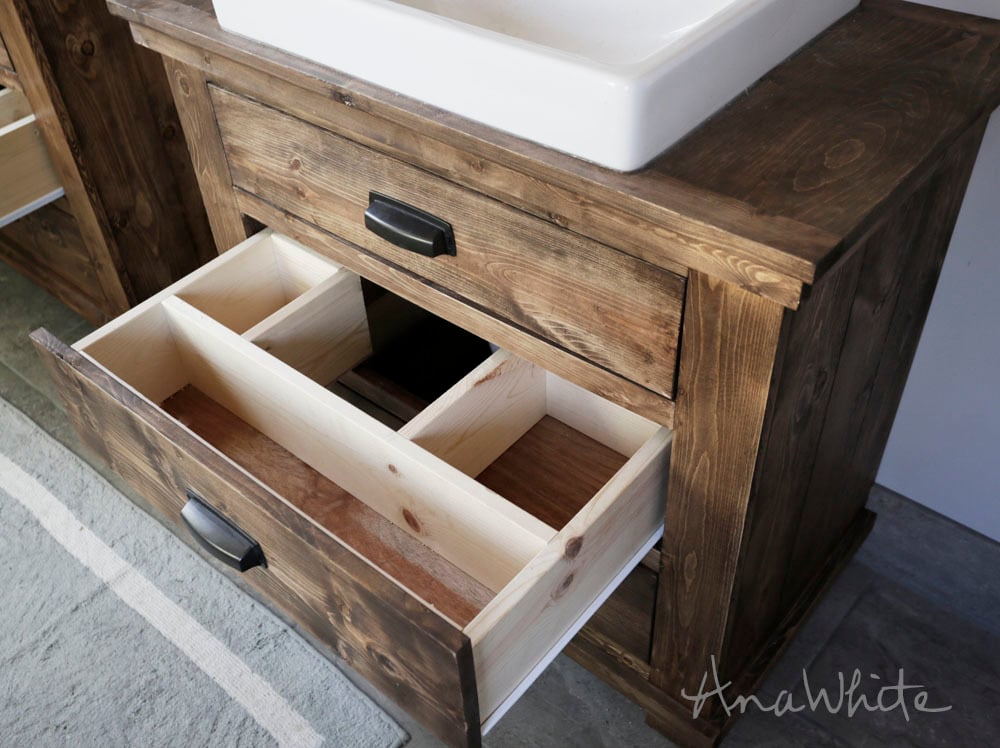
Rustic Bathroom Vanities Ana White
DIY Reclaimed Lumber Bath Vanity
DIY Rustic Bathroom Vanity Sammy On State
Rustic Bathroom Vanity Ideas and Designs
Related Posts:
- 45 Inch Single Sink Bathroom Vanity
- Bathroom Vanity Wall Mirrors
- 16 Inch Deep Bathroom Vanity
- 32 Inch Bathroom Vanity With Sink
- Bathroom Vanity 20 Inch
- Bathroom Vanity Dimensions Depth
- Bathroom Vanity Tops With Integrated Sink
- Custom Bathroom Vanity Cabinets
- Bathroom Vanity And Linen Cabinet Sets
- Bathroom Vanity Replacement Doors

