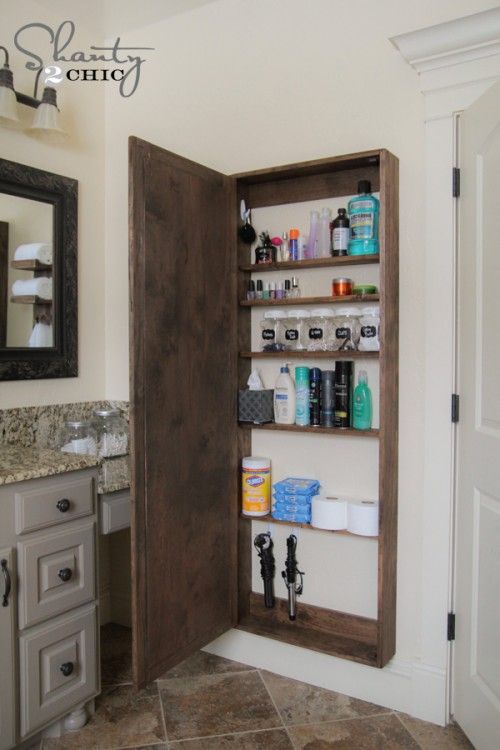
Choosing the Right Materials for Your DIY Bathroom Cabinet
When I decided to build my bathroom cabinet, selecting the right materials was my first step. The materials you choose will determine the durability, functionality, and aesthetic appeal of your cabinet. Here’s how I navigated the process of choosing the best materials for my DIY project.
- Solid Wood for Longevity Solid wood was my top choice for the cabinet structure. It’s durable, easy to work with, and offers a classic look. I opted for maple, which is both sturdy and has a fine grain that finishes beautifully. Solid wood can withstand the humid bathroom environment better than many other materials.
- Plywood for Cost Efficiency For the cabinet’s sides and back, I used high-quality plywood. It’s more affordable than solid wood but still offers good strength and stability. I chose plywood with a hardwood veneer to maintain a cohesive look with the solid wood fronts.
- Moisture-Resistant MDF for Panels I used moisture-resistant MDF (medium-density fiberboard) for the interior panels. MDF is smooth and easy to paint, making it perfect for areas that won’t be as visible. The moisture-resistant variety ensures that the cabinet can handle the bathroom’s damp conditions without warping.
- Selecting the Right Hardware Hardware is just as important as the wood. I selected stainless steel hinges and handles because they’re resistant to rust and corrosion. These materials ensure that the cabinet doors operate smoothly and maintain their appearance over time.
- Choosing the Best Finish I opted for a high-quality, water-resistant finish to protect the wood from moisture and spills. I went with a polyurethane finish, which is durable and creates a beautiful, glossy look. This finish also makes cleaning easier, which is a bonus in a bathroom setting.
- Eco-Friendly Options Being environmentally conscious, I looked into eco-friendly materials. Reclaimed wood is a great option if you’re aiming for a rustic look. Additionally, using low-VOC (volatile organic compounds) paints and finishes helps reduce indoor air pollution, making your bathroom healthier and more sustainable.

Essential Tools for Building a Small Bathroom Cabinet
Embarking on a DIY bathroom cabinet project requires having the right tools. I quickly learned that the success of my project depended on being well-prepared with essential tools. Here’s a list of tools that made my cabinet-building process smoother and more efficient.
Measuring Tools Accurate measurements are crucial in any woodworking project. I relied on a good-quality tape measure and a combination square to ensure precise cuts and alignments. Having these tools on hand helped me avoid mistakes and wasted materials.
Saw for Cutting Wood Cutting the wood to the right dimensions is essential. I used a circular saw for straight cuts and a jigsaw for more intricate shapes. These saws provided the versatility I needed to handle different parts of the cabinet, from the main panels to the smaller, detailed pieces.
Drill and Drill Bits A power drill was indispensable for creating pilot holes, driving screws, and installing hardware. I made sure to have a variety of drill bits for different tasks, including wood bits and countersink bits, to ensure clean and professional-looking holes.
Sanding Tools Sanding is a crucial step in achieving a smooth, professional finish. I used both a power sander for larger surfaces and hand-sanding blocks for finer details. Starting with coarse grit sandpaper and gradually moving to finer grits ensured a flawless surface ready for painting or staining.
Clamps for Stability Clamps were a lifesaver in keeping the wood pieces stable and secure while I worked. I used a variety of clamps, including bar clamps and corner clamps, to hold the pieces together firmly during assembly and drying. This ensured that the cabinet was square and sturdy.
Safety Gear Safety cannot be overlooked. I wore safety glasses to protect my eyes from flying debris, ear protection to guard against loud power tools, and a dust mask to avoid inhaling wood dust. Keeping safety gear on hand and using it consistently kept the project safe and enjoyable.
Step-by-Step Guide to Building a Simple Bathroom Cabinet
Building my bathroom cabinet was an incredibly rewarding experience. It allowed me to customize the design to fit my space perfectly. Here’s a step-by-step guide based on my experience to help you build your simple bathroom cabinet.
Designing the Cabinet I started by sketching out a design that fit the available space in my bathroom. I measured the width, height, and depth, and decided on the number of shelves and drawers I wanted. This planning phase was crucial to ensure the cabinet would meet my storage needs and fit perfectly.
Cutting the Wood With the design finalized, I cut the wood to the required dimensions. I used a circular saw for the larger panels and a jigsaw for any intricate cuts. It’s important to measure twice and cut once to avoid wasting materials and ensure everything fits together properly.
Assembling the Frame I began by assembling the frame of the cabinet. Using wood glue and screws, I attached the side panels to the top and bottom panels. Clamps were very helpful in keeping everything in place while the glue dried. Ensuring the frame was square at this stage is crucial for the cabinet’s stability.
Adding Shelves and Dividers Next, I installed the shelves and any interior dividers. I pre-drilled holes for the shelf supports and used screws to secure them. For adjustable shelves, I used shelf pins, allowing me to change the shelf heights as needed. This flexibility is great for customizing storage.
Attaching the Back Panel The back panel was cut from plywood and attached to the frame with nails. This step added rigidity to the cabinet and ensured it would remain square. I used a nail gun for quick and secure attachment, but a hammer and nails work just as well.
Installing Doors and Hardware Finally, I attached the cabinet doors using stainless steel hinges. I made sure the doors were aligned and opened smoothly. Installing handles or knobs was the finishing touch, adding both functionality and style. I chose a sleek, modern design that complemented the overall look of the bathroom.
Creative Storage Solutions for Small Bathroom Cabinets
Finding creative storage solutions for a small bathroom cabinet can maximize space and keep everything organized. I experimented with several ideas to make the most of my limited bathroom storage. Here are some solutions that worked wonders for me.
Adjustable Shelves One of the best features I included was adjustable shelves. By using shelf pins, I can change the shelf heights to accommodate different items, from tall bottles to smaller toiletries. This flexibility keeps the cabinet versatile and functional.
Pull-Out Drawers Pull-out drawers are a fantastic addition for easy access to items stored at the back. I installed shallow drawers in the lower section of the cabinet, perfect for storing smaller items like makeup, hair accessories, and first-aid supplies. They slide out smoothly, making everything easily reachable.
Door-Mounted Storage Utilizing the inside of the cabinet doors added extra storage space. I attached small baskets and hooks to the doors, perfect for holding items like hair dryers, brushes, and cleaning supplies. This made use of otherwise wasted space and kept frequently used items handy.
Tiered Organizers Tiered organizers helped me maximize vertical space inside the cabinet. I used them for storing smaller items like skincare products and medicines. The tiers make it easy to see and access everything, preventing items from getting lost at the back of the shelf.
Lazy Susans A lazy Susan is a great solution for corners or deep shelves. I placed one on the middle shelf to store bottles and jars. With a simple spin, I can access any item without having to reach and rummage around. It’s a convenient and space-efficient addition.
Under-Shelf Baskets Adding under-shelf baskets created additional storage without taking up more space. These baskets hook onto the shelf above, providing an extra layer of storage underneath. I used them for items like washcloths and small toiletries, keeping the main shelf space free for larger items.
Painting and Finishing Techniques for a Professional Look
Achieving a professional finish on my DIY bathroom cabinet was essential to making it look polished and complete. The painting and finishing process can make a significant difference in the final appearance. Here’s how I achieved a professional look.
Preparing the Surface Proper surface preparation is key. I started by sanding the entire cabinet with medium-grit sandpaper to smooth out any rough spots and ensure the surface was even. After sanding, I wiped down the cabinet with a tack cloth to remove all dust and debris.
Applying Primer Primer is crucial for a smooth, even finish. I applied a high-quality primer suitable for wood surfaces, using a brush for the edges and a roller for larger areas. The primer helps the paint adhere better and provides a consistent base color, especially if you’re painting over darker wood.
Choosing the Right Paint For the bathroom cabinet, I selected a semi-gloss latex paint. Semi-gloss is durable, easy to clean, and resists moisture well, making it ideal for bathroom environments. I chose a color that complemented my bathroom decor, creating a cohesive look.
Applying the Paint I applied the paint in thin, even coats, allowing each coat to dry completely before applying the next. Using a high-quality brush and foam roller helped achieve a smooth finish without visible brush strokes. It’s better to apply multiple thin coats rather than one thick coat to avoid drips and ensure a smooth surface.
Finishing Touches Once the paint was dry, I added a protective topcoat. I used a clear polyurethane finish for added durability and moisture resistance. This topcoat not only protects the paint but also adds a subtle sheen, giving the cabinet a professional, polished appearance.
Detailing and Hardware The final step was to install the hardware and add any decorative details. I chose sleek, modern handles that matched the bathroom’s overall aesthetic. Installing the hardware carefully and ensuring it was aligned correctly made a significant difference in the cabinet’s finished look.
Adding Functional Features to Your DIY Bathroom Cabinet
Adding functional features to my DIY bathroom cabinet enhanced its usability and made it more convenient. Customizing the cabinet to meet specific needs can significantly improve the bathroom experience. Here are some features I included in my cabinet.
Integrated Lighting I added LED strip lights inside the cabinet. These lights illuminate the interior, making it easier to find items, especially in the early morning or late at night. The lights are motion-activated, turning on automatically when the doors are opened, which is a handy feature.
Built-In Outlet Installing a built-in outlet inside the cabinet was a game-changer. It allows me to charge electric toothbrushes, shavers, and other devices without cluttering the countertop with cords. This feature keeps the bathroom looking tidy and organized.
Pull-Out Trash Bin Including a pull-out trash bin was a practical addition. I installed it in the lower section of the cabinet, making it easy to dispose of waste without having a visible trash can in the bathroom. The pull-out mechanism keeps the bin hidden and accessible when needed.
Soft-Close Hinges Soft-close hinges prevent the cabinet doors from slamming shut, reducing noise and preventing damage over time. These hinges add a touch of luxury and ensure that the doors close gently and smoothly every time.
Customizable Dividers I included adjustable dividers in the drawers to organize smaller items like makeup, toiletries, and grooming tools. These dividers can be repositioned as needed, keeping everything neatly organized and easy to find.
Hidden Storage Compartments Hidden storage compartments add an element of surprise and extra functionality. I built a false bottom in one of the drawers to create a secret compartment for valuables or less frequently used items. It’s a clever way to add extra storage without cluttering the visible space.
Maintaining and Upgrading Your DIY Bathroom Cabinet Over Time
Maintaining and upgrading my DIY bathroom cabinet has kept it looking great and functioning well over the years. Regular maintenance and occasional upgrades can extend the life of the cabinet and keep it in top condition. Here’s how I’ve managed to keep my cabinet in excellent shape.
Regular Cleaning Keeping the cabinet clean is essential. I wipe down the surfaces weekly with a mild cleaner to remove dust, soap scum, and other residues. Regular cleaning prevents buildup that can damage the finish and keeps the cabinet looking fresh and new.
Inspecting for Damage Periodic inspections help catch any signs of damage early. I check for loose hinges, drawer slides, and any signs of water damage. Addressing these issues promptly prevents them from worsening and ensures the cabinet remains sturdy and functional.
Re-Sealing the Finish Every couple of years, I re-seal the cabinet’s finish to maintain its moisture resistance. A fresh coat of polyurethane protects the wood and keeps the cabinet looking polished. Re-sealing also helps to cover any minor scratches or wear that may have occurred over time.
Upgrading Hardware Upgrading the hardware is an easy way to refresh the cabinet’s look. I’ve changed the handles and knobs a couple of times to match the updated bathroom decor. New hardware can give the cabinet a modern, updated appearance without requiring a complete overhaul.
Adding New Features Adding new features keeps the cabinet functional and up-to-date. For instance, I recently installed a built-in phone holder and charging station inside the cabinet. Small upgrades like these enhance the cabinet’s functionality and make daily routines more convenient.
Refinishing or Repainting Over time, even the best-maintained cabinets can start to look a bit worn. Refinishing or repainting the cabinet can give it a completely new look. I sanded down the surfaces and applied a fresh coat of paint a few years ago, which made the cabinet look brand new and allowed me to change the color to match new bathroom decor.
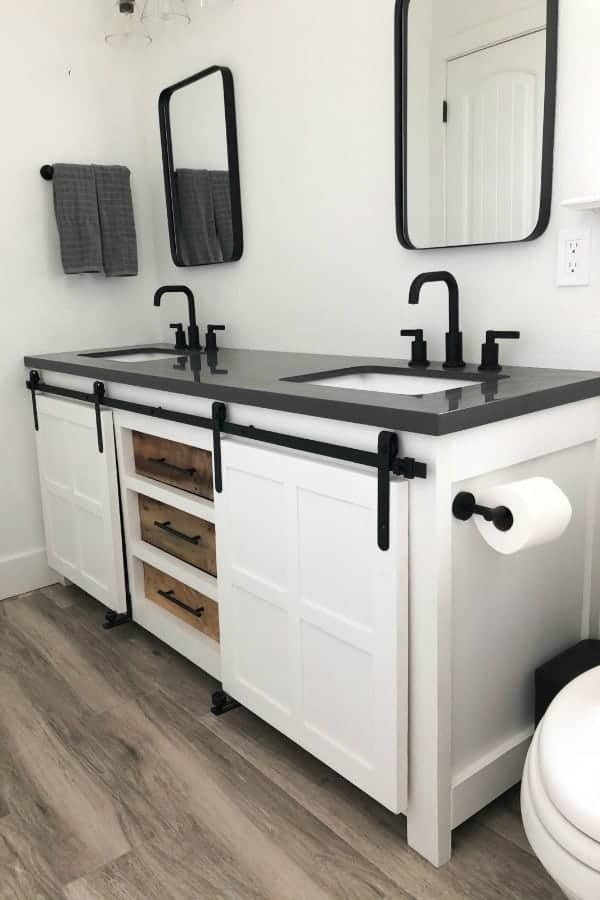
DIY Bathroom Vanity Ideas
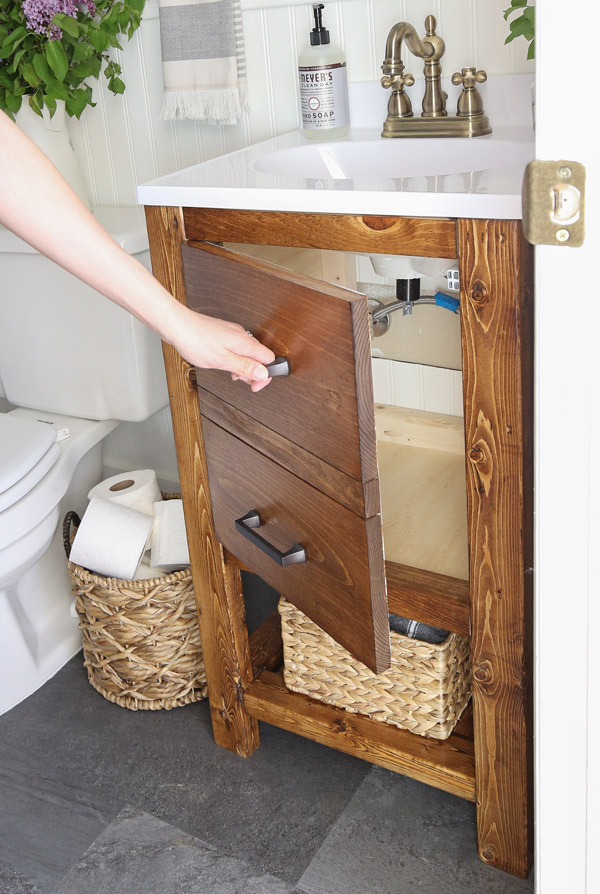
DIY Bathroom Cabinet
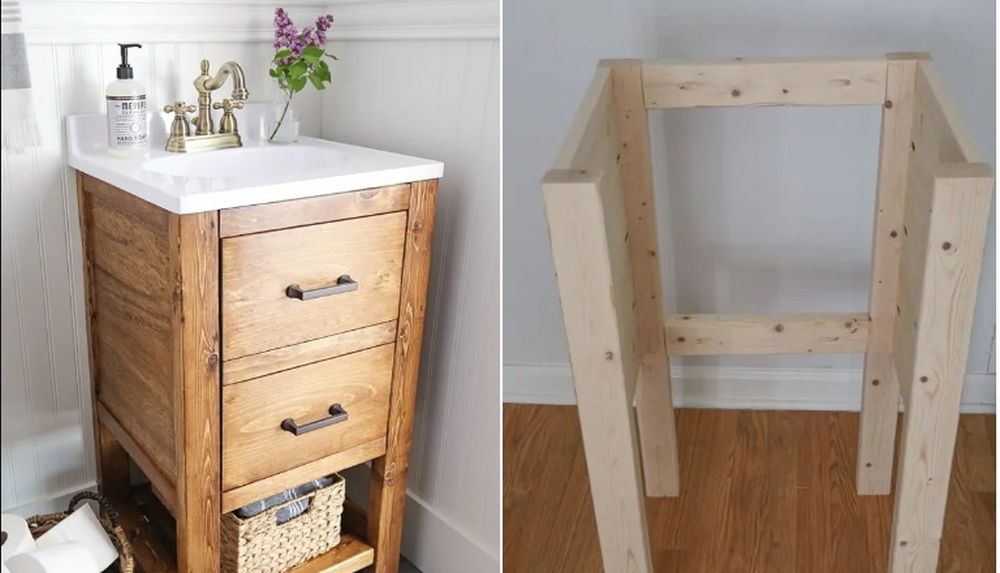
Small Bathroom Vanity My Love 2 Create
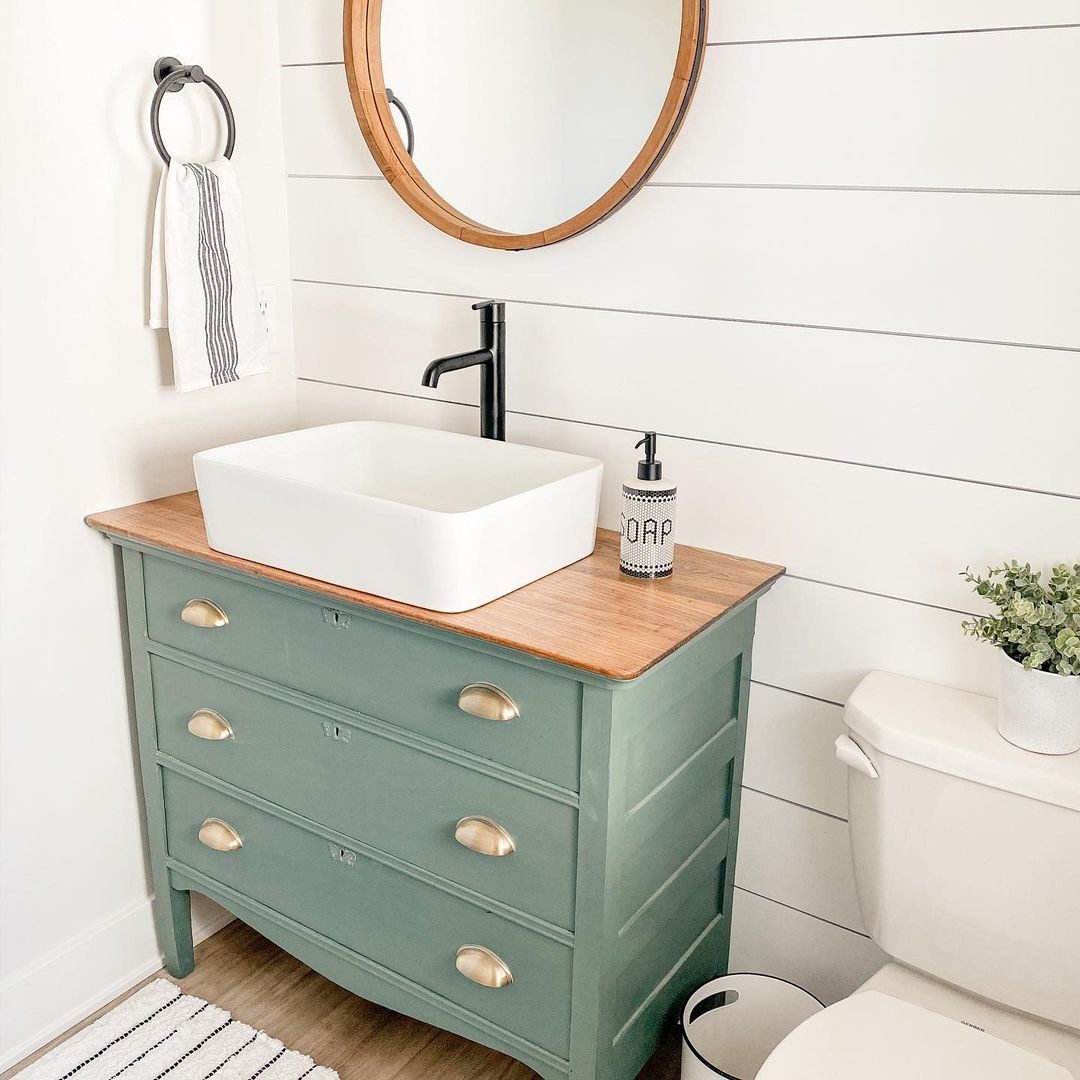
Repurposed furniture as a DIY Bathroom Vanity
Related Posts:
- Bathroom Cabinet Storage Racks
- Custom Order Bathroom Cabinets
- Small Wall Mounted Bathroom Cabinet
- Wood Linen Cabinet Bathroom Cabinets
- Large Stainless Steel Mirrored Bathroom Cabinets
- Zahab Bathroom Cabinet
- Bathroom Cabinet Color Trends
- Bathroom Cabinet Mirror Light Socket
- Type Of Paint For Bathroom Cabinets
- Knobs Or Pulls For Bathroom Cabinets
