While these antique stuff and vanities for bathroom are made the new modern antique bathroom vanities and stuff try to make sure they maintain the old feel while still incorporating contemporary technology and conveniences as well. By checking a few issues this will let you to find a quality bit of bathroom furniture.
Images about Do It Yourself Bathroom Vanity
Although the primary function of a bathroom vanity is to hide the plumbing as well as to provide storage room for bathroom posts, the contemporary styles are usually much really sleek for which. If you are among people who do not understand the difference, you may then land up purchasing the bathroom vanity for the bedroom.
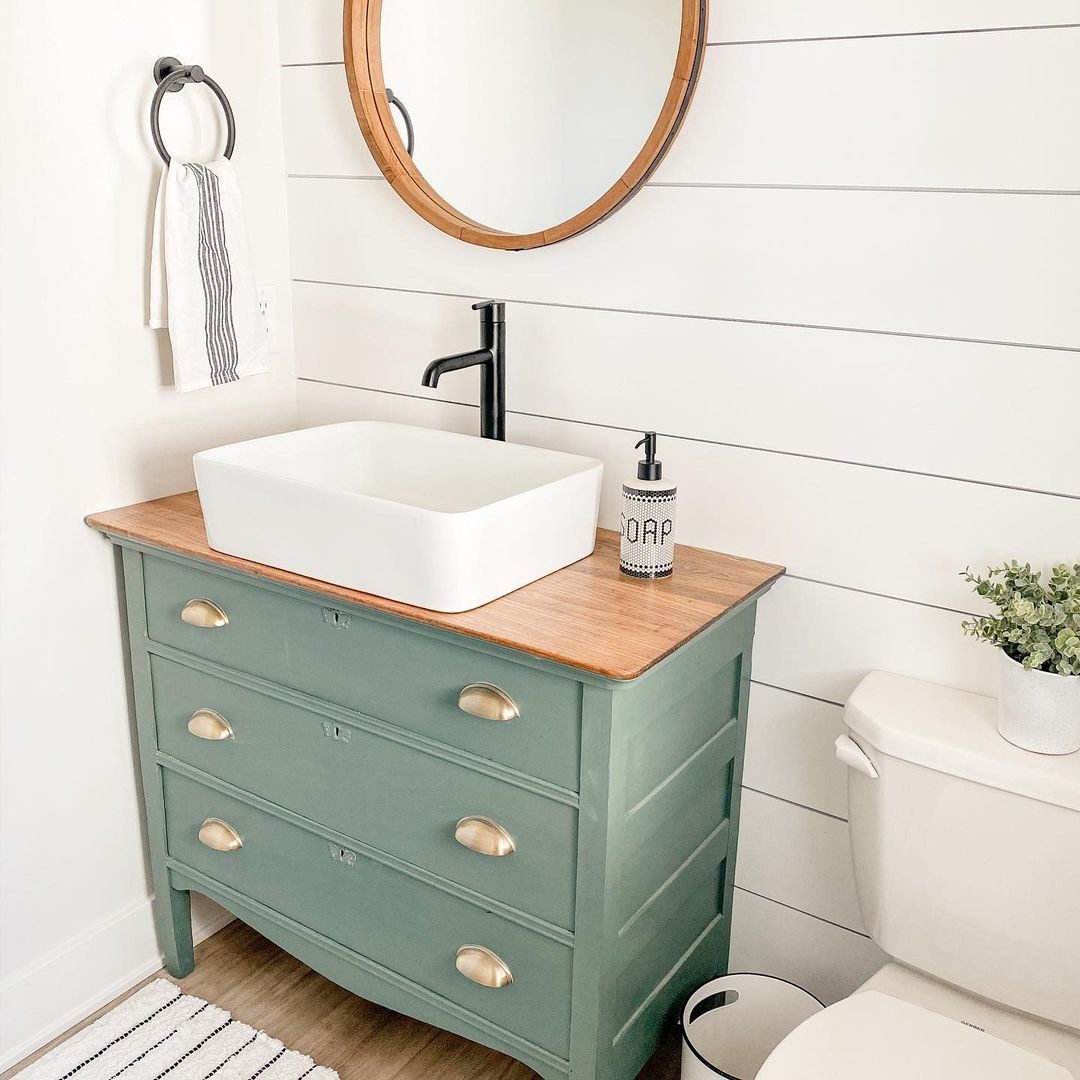
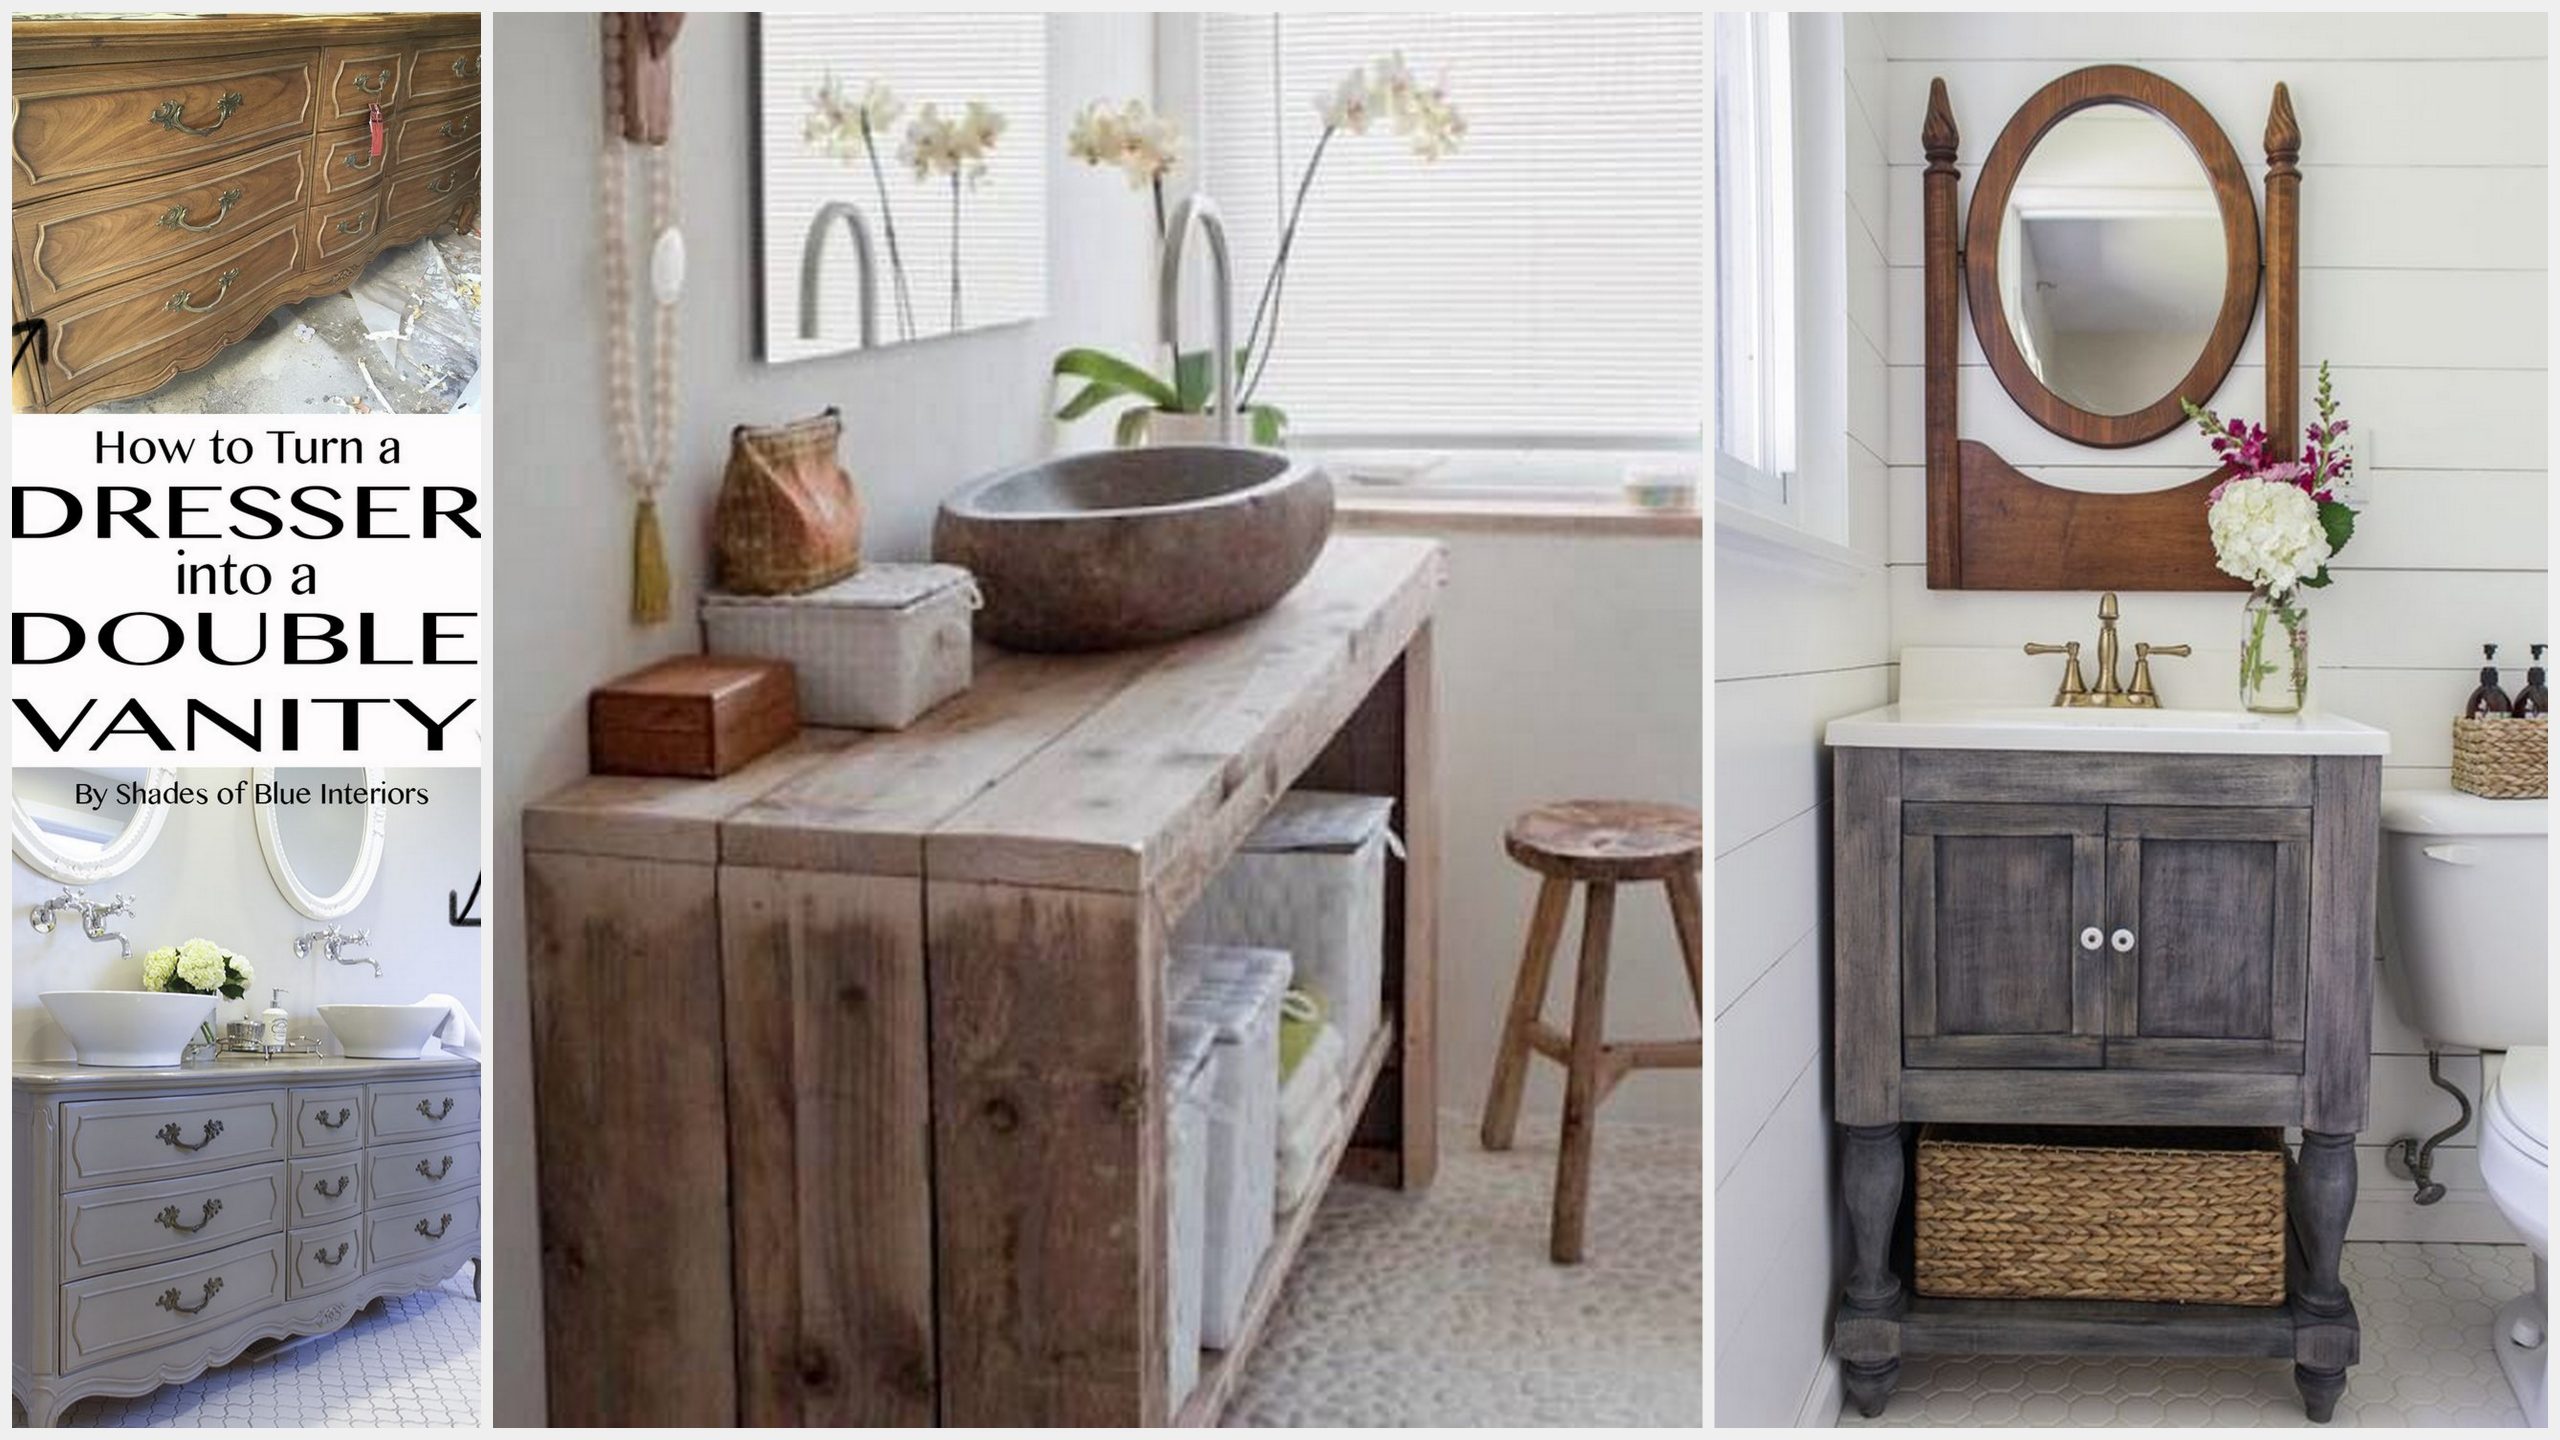
DIY Bathroom Vanity Ideas Perfect For Repurposers

Since the project isn't a lot difficult, you won't be charged unreasonably from the plumber. Of course, these statements & differentiations won't mean much to help you unless you can see the difference with your personal eyes. Many men and women don't know the difference in between the bathroom vanities as well as the bedroom vanities.
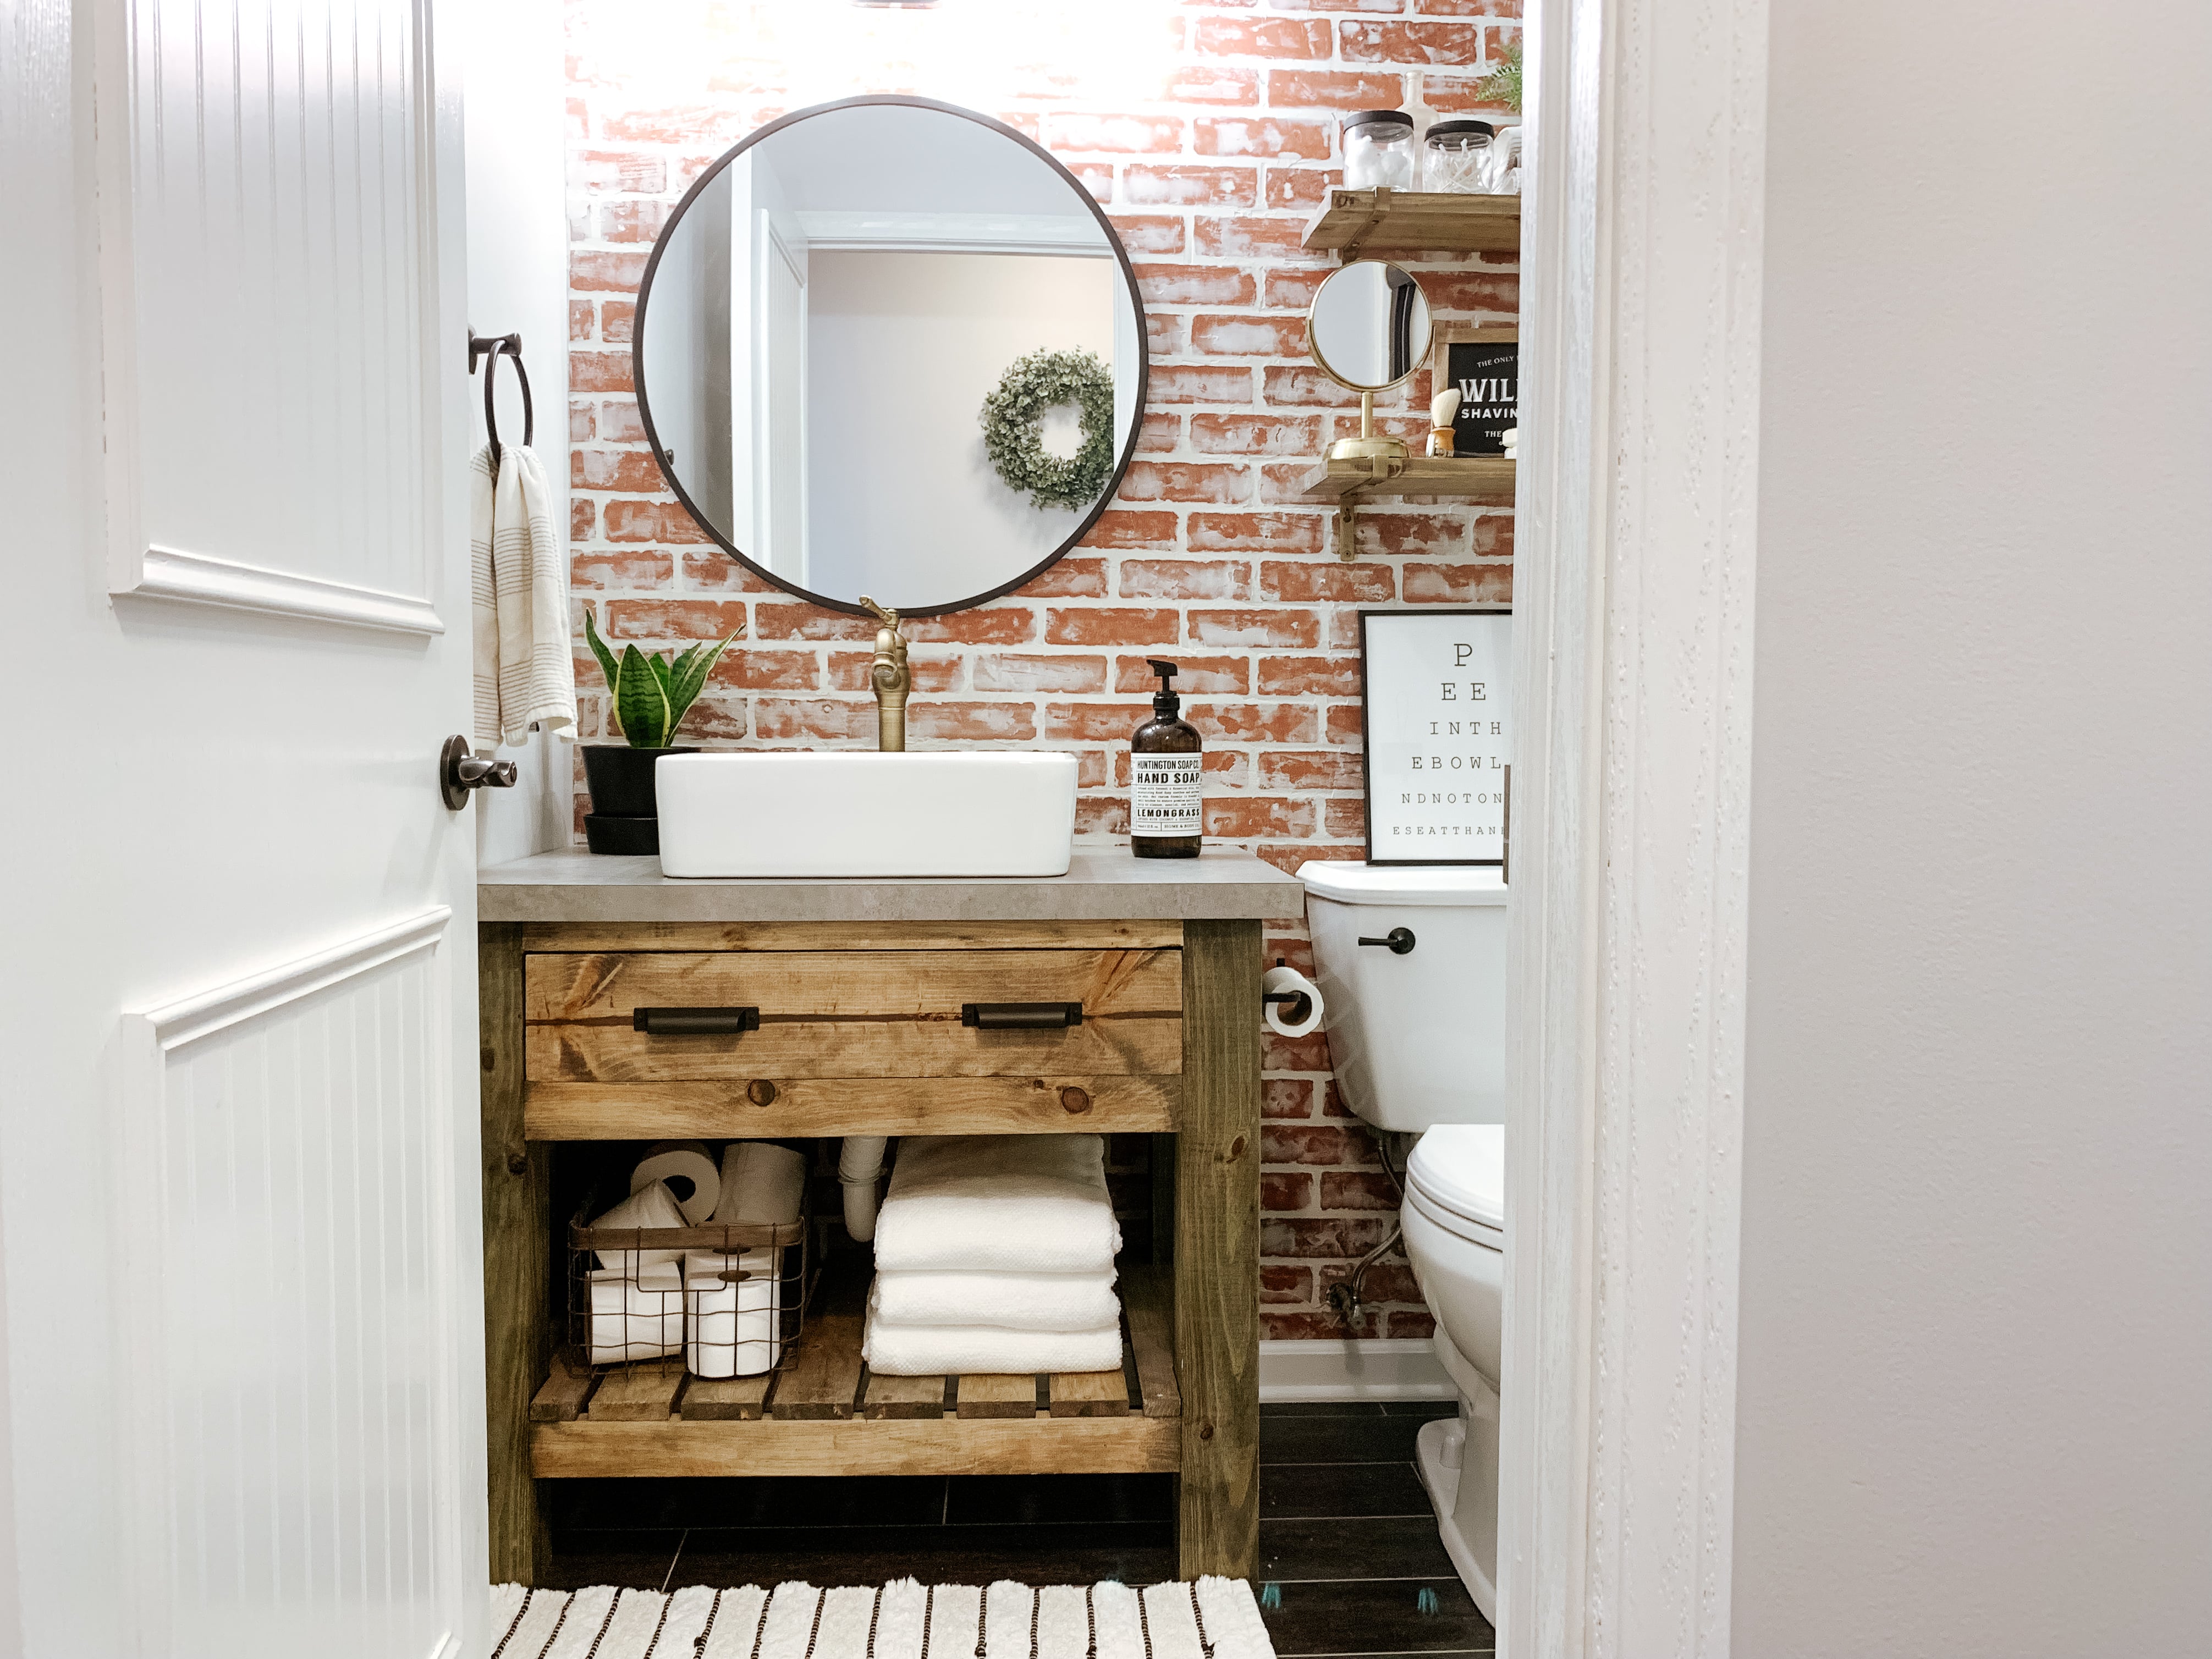
DIY Rustic Bathroom Vanity Sammy On State
When you have not remodeled your bathroom in a several years you may be surprised by the brand new contemporary bathroom vanities available today on the market. If perhaps you've a smaller room within the bathroom, you may be required to settle down for that one off vanity. To illustrate, an extremely popular vanity design today is owning the sink bowl sit along with the vanity.
DIY Bathroom Vanity Ideas Perfect For Repurposers

27 Homemade Bathroom Vanity/Cabinet Plans You Can DIY Easily
DIY Bathroom Vanity – 12 Bathroom Rehabs – Bob Vila

Budget Friendly DIY Bathroom Vanity How to Build a Bathroom Vanity

Build This Bathroom Vanity for $120 – Crafted by the Hunts

10 DIY Bathroom Vanity Ideas The Family Handyman

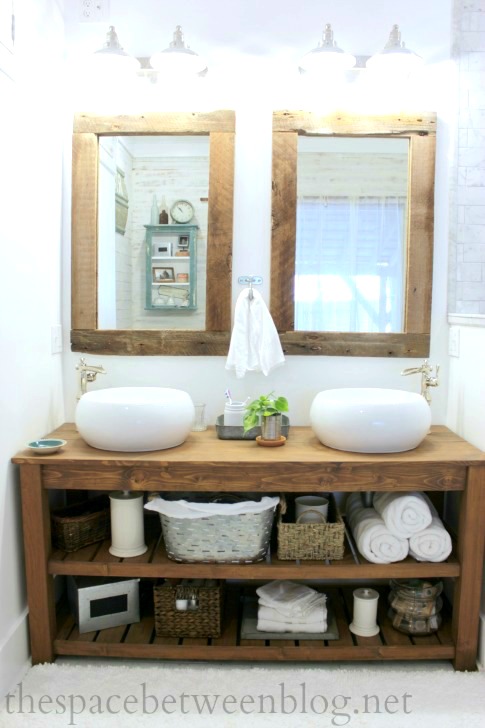
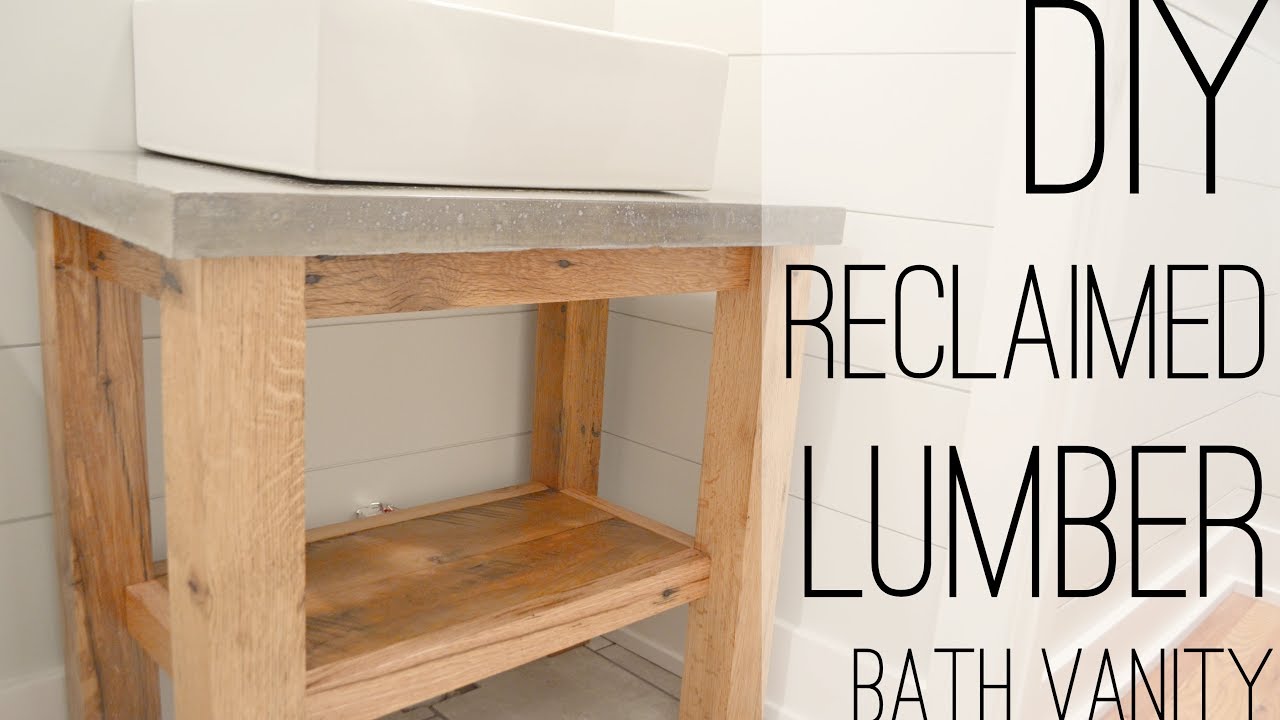
DIY wood vanity in the master bathroom – the space between
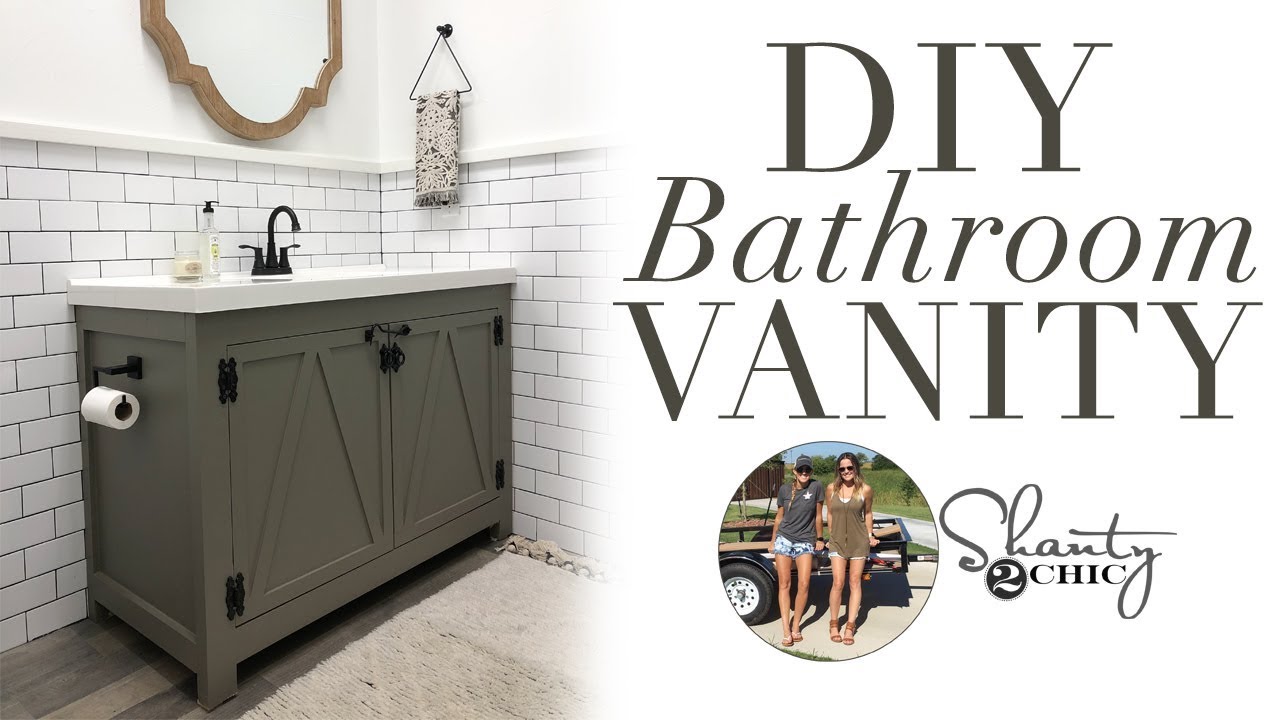
DIY Bathroom Vanity
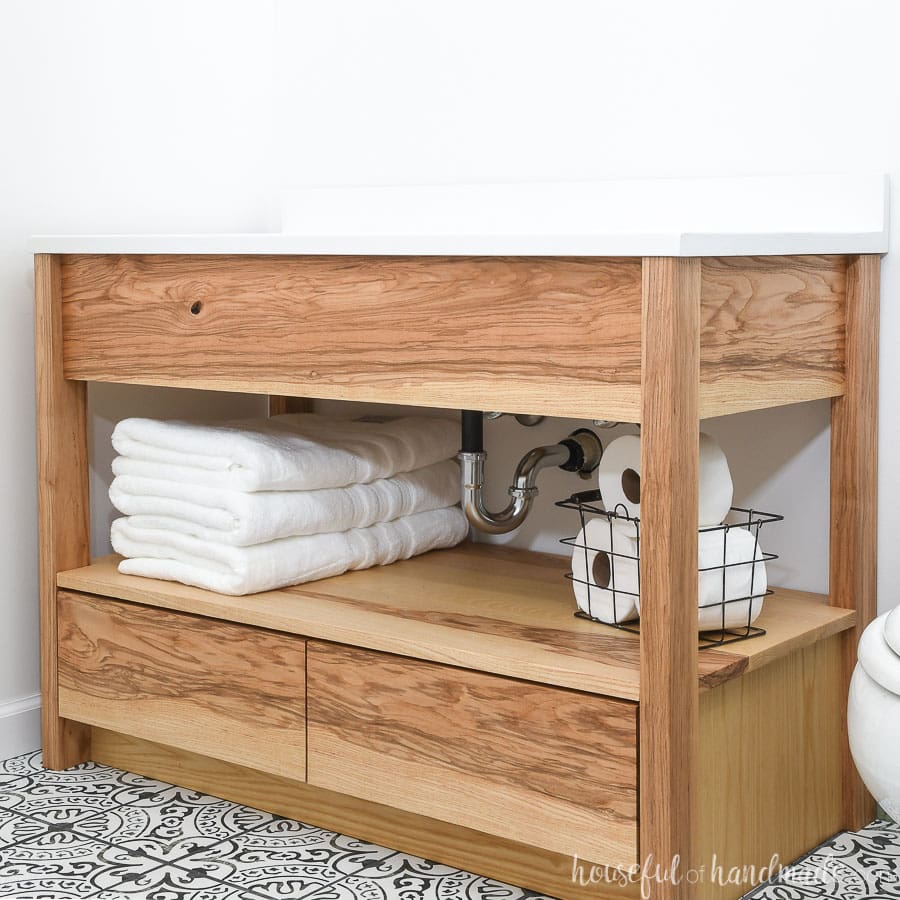
DIY Bathroom Vanity with Bottom Drawers – Houseful of Handmade
27 Homemade Bathroom Vanity/Cabinet Plans You Can DIY Easily
15 DIY Bathroom Vanity Ideas On A Budget – Useful DIY Projects
Related Posts:
- Curved Front Bathroom Vanity
- Cambria Quartz Bathroom Vanity Tops
- Narrow Bathroom Vanity And Sink
- 48 Inch Rustic Bathroom Vanity
- Bathroom Vanity Decor Ideas
- Single Sink Bathroom Vanity Set
- Bathroom Vanity Linen Cabinet Combo
- Cedar Bathroom Vanity
- Bathroom Vanity Light Height
- Bathroom Vanity Timber Top