Identifying the Source of the Bathroom Sink Leak
Whenever I notice water pooling around my bathroom sink, the first step is always to identify where the leak is coming from. A small drip can escalate into a bigger issue if left unchecked, so figuring out the source quickly is crucial. I’ve learned through experience that there are a few common areas where leaks occur, and finding the source takes a bit of inspection and patience.
- Check Around the Faucet One of the most obvious spots to check is around the faucet itself. If I notice water dripping or pooling where the faucet meets the sink, it’s usually a sign that the leak is coming from the faucet seals. I’ll run my fingers around the base to feel for any moisture or water buildup, which helps confirm the source. Sometimes, I also notice that water sprays out from around the handles, signaling an internal issue.
- Inspect the Sink Drain Another spot I always check is the sink drain. If water is leaking from underneath the sink, the culprit might be the drain assembly. I’ll check the pipes leading to the drain for any signs of moisture, particularly where the pipes connect. If the area is damp or there’s visible dripping, the drain is likely the issue.
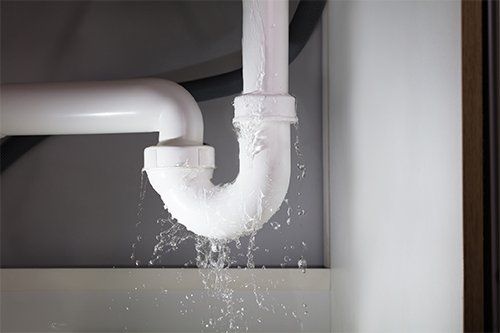
- Examine the P-Trap The P-trap is the curved pipe under the sink, and it’s another common place where leaks can occur. I’ll inspect the joints and connections on the P-trap for any signs of water. If it’s leaking, I often notice a slow drip under the sink. This is one of the easier areas to check and fix if the leak is coming from here.
- Look for Water Behind the Sink Sometimes, the leak isn’t directly from the faucet or pipes but rather from the countertop or backsplash area. I’ve seen water seep through small gaps between the sink and the wall or countertop, especially if the caulking has worn away. If I notice water pooling behind the sink, it’s likely a caulking issue that needs addressing.
- Test the Water Supply Lines Another potential source of a leak is the water supply lines connected to the faucet. These lines can develop cracks or become loose over time, leading to slow leaks. I always check the connections under the sink and gently feel along the lines for any moisture. If they’re wet, I know I’ve found the problem.
- Observe When the Leak Occurs Lastly, I pay attention to when the leak happens. Does it occur only when I’m using the faucet, or is it constant? If it’s constant, the leak might be from the water supply lines. If it only happens when the faucet is running, the issue is likely with the faucet or drain. Understanding the timing of the leak helps me pinpoint the source more accurately.

Common Causes of Bathroom Sink Leaks
Over the years, I’ve encountered quite a few bathroom sink leaks, and while each situation can feel different, I’ve noticed some common causes that pop up again and again. Identifying these causes has helped me troubleshoot leaks faster and prevent them from happening in the first place.
Worn-Out Faucet Seals One of the most common causes of a leak is worn-out faucet seals. The seals inside the faucet can degrade over time, causing water to seep out. I’ve had to replace these seals a few times when I noticed water pooling around the base of the faucet. It’s a quick fix, but it’s a good reminder to keep an eye on the condition of the seals.
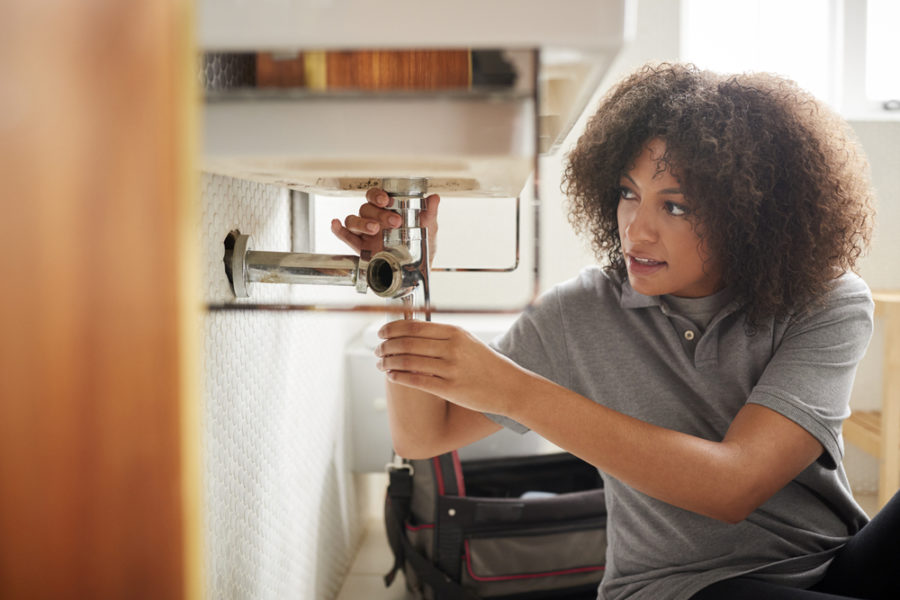
Loose Connections in the Plumbing Plumbing connections under the sink can become loose over time, especially if the sink has been used for several years. I’ve had experiences where a simple tightening of the nuts and bolts around the P-trap or supply lines was enough to stop the leak. It’s always worth checking these connections if I notice a drip under the sink.
Cracked Water Supply Lines Another cause I’ve encountered is cracked water supply lines. These lines are usually made of plastic or metal, and while they’re durable, they can develop small cracks or wear over time. I had a small, persistent leak that I couldn’t figure out for weeks, only to discover a hairline crack in the supply line. Replacing it fixed the issue instantly.
Corroded Pipes In older homes, corroded pipes are another common cause of leaks. I once had an issue where the pipes under the sink had rusted through, causing a slow drip. Corrosion weakens the metal, making it prone to leaks, and in cases like this, the only solution is to replace the damaged section of the pipe.
Improper Installation I’ve also seen leaks happen because of improper installation, either in the faucet itself or the pipes below the sink. If connections aren’t sealed properly during installation, it’s only a matter of time before a leak develops. When I replaced a faucet myself, I made sure to follow the instructions closely to avoid creating gaps where water could escape.
Clogged Drain Causing Water Backup A less obvious cause of leaks is a clogged drain, which can lead to water backing up and spilling over the sink’s edge. This happened to me once when the drain was partially blocked, and water couldn’t flow through fast enough. The leak wasn’t from the plumbing but rather from water escaping over the sink and down onto the floor.
Tools You’ll Need to Fix a Bathroom Sink Leak
Whenever I set out to fix a bathroom sink leak, having the right tools on hand makes the process so much easier. I’ve gathered a few essential tools over the years, and they’ve saved me from running back and forth to the hardware store in the middle of a repair. Here’s what I always keep handy when dealing with a leak.
Adjustable Wrench One of the most versatile tools in my kit is an adjustable wrench. I use it to tighten or loosen nuts and bolts around the plumbing, especially when dealing with the P-trap or water supply lines. It’s a must-have for any plumbing job, and I always make sure it’s nearby when I’m working under the sink.
Plumber’s Tape Also known as Teflon tape, a plumber’s tape is essential for sealing threaded connections in the plumbing. I wrap it around the threads of the pipes or connections before screwing them together to ensure a watertight seal. I’ve found that using this tape can prevent leaks from loose connections, saving me a lot of hassle in the long run.
Pipe Wrench For bigger jobs or when I need extra leverage, I reach for my pipe wrench. It’s especially useful for removing or tightening larger pipes, like the ones in the drain assembly. While it’s bulkier than an adjustable wrench, it gives me the grip I need for tougher jobs.
Bucket Whenever I’m working on a sink leak, I always keep a bucket under the sink to catch any water that spills out when I disconnect the pipes. It might seem like a no-brainer, but I’ve forgotten it in the past and ended up with a wet mess. Now, it’s one of the first things I grab before starting any repair.
Plumber’s Putty Plumber’s putty is another tool I keep in my arsenal, especially for sealing the area around the drain. I apply it around the base of the sink drain before tightening the drain assembly, which helps create a waterproof seal. It’s easy to work with, and I’ve found it to be very effective in preventing leaks.
Pliers Pliers come in handy for gripping small parts or turning screws in tight spaces. I use them when I need a little extra control, especially when working in the cramped area under the sink. They’re also great for holding onto nuts and bolts while I use a wrench to tighten or loosen them.
Step-by-Step Guide to Fixing a Leaky Bathroom Faucet
Fixing a leaky faucet isn’t as intimidating as it seems, and I’ve done it myself a few times with great success. The key is knowing where the leak is coming from and taking things step by step. Here’s my guide to fixing a leaky bathroom faucet.
Turn Off the Water Supply Before anything else, I always make sure to turn off the water supply to the sink. This is a crucial step, as I don’t want water spraying everywhere when I start taking things apart. There should be shut-off valves under the sink—one for hot water and one for cold. I turn them both off before proceeding.
Disassemble the Faucet Once the water is off, I start by disassembling the faucet. This typically involves removing the handles, which can be done by unscrewing the screws that hold them in place. After that, I’ll remove the faucet cap and any other parts that need to come off to access the cartridge or washer inside.
Inspect the O-Ring and Cartridge With the faucet disassembled, I inspect the O-ring and cartridge for any signs of wear or damage. In most cases, a leaky faucet is caused by a worn-out O-ring or cartridge, and replacing these parts is usually the solution. I’ve had success finding replacement parts at my local hardware store, and swapping them out is a fairly simple process.
Replace Worn Parts If I find any worn parts, I replace them with new ones. This might include the O-ring, washer, or cartridge, depending on the type of faucet I have. It’s important to get the exact match for the parts, so I often take the old ones with me to the store to compare. Once I have the new parts, I carefully install them in the faucet.
Reassemble the Faucet After replacing the worn parts, I reassemble the faucet by reversing the steps I took to disassemble it. I make sure all screws are tightened and the handles are securely in place. At this point, the faucet should be ready for a test run.
Turn the Water Back On and Test Finally, I turn the water supply back on and test the faucet to see if the leak is fixed. I slowly open the shut-off valves and let the water run for a few minutes to make sure there are no drips or leaks. If everything looks good, I’ve successfully fixed the leaky faucet!
How to Fix a Leaking Bathroom Sink Drain
A leaking bathroom sink drain is another common issue I’ve dealt with, and it usually comes down to a loose connection or worn-out seal. Here’s how I tackle the problem step by step.
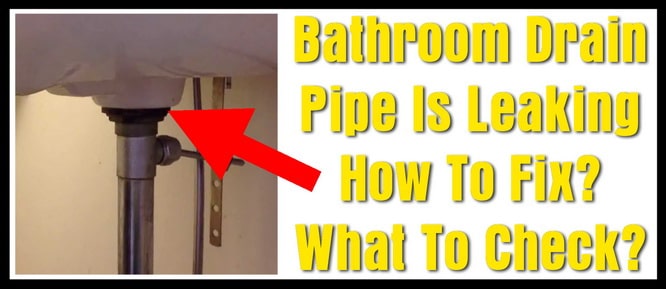
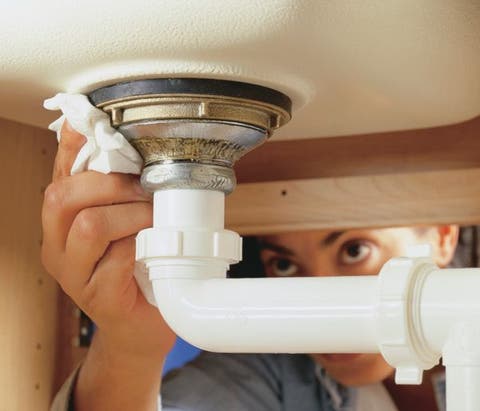
Inspect the Drain Assembly The first thing I do is inspect the drain assembly under the sink. I check the connections where the drain meets the P-trap and look for any signs of moisture or dripping. If I notice any water around these areas, it’s a sign that the leak is coming from the drain.
Tighten the Connections If the leak is coming from a loose connection, tightening the nuts and bolts around the drain assembly is usually enough to fix it. I use an adjustable wrench to carefully tighten everything, making sure not to overtighten and cause damage. I’ve had situations where simply tightening the connections stopped the leak.
Replace the Drain Gasket In some cases, the gasket inside the drain assembly may be worn out, causing water to leak through. If tightening the connections doesn’t work, I’ll remove the drain assembly and replace the gasket. It’s a simple fix that often solves the problem.
Apply Plumber’s Putty I also use plumber’s putty around the base of the drain to create a watertight seal. I apply a small amount of putty around the edge of the drain before reassembling it. This helps prevent water from seeping through and causing a leak.
Reassemble the Drain After replacing the gasket and applying the plumber’s putty, I reassemble the drain and tighten all the connections. I make sure everything is secure and that there are no gaps where water can escape.
Test the Drain Once everything is back in place, I run water through the sink to test for any leaks. I let the water run for a few minutes and check underneath the sink for any signs of moisture. If the area stays dry, I know the leak is fixed.
Preventing Future Leaks: Maintenance Tips for Your Bathroom Sink
I’ve learned that preventing leaks is just as important as fixing them, and with regular maintenance, I’ve been able to keep my bathroom sink leak-free for longer periods. Here are a few simple tips I follow to prevent future leaks.
Regularly Check for Loose Connections One of the easiest ways to prevent leaks is by regularly checking the plumbing connections under the sink. I make it a habit to inspect the P-trap and water supply lines for any signs of looseness. Tightening these connections before they become a problem has saved me from dealing with leaks in the past.
Replace Worn-Out Seals Seals and gaskets inside the faucet and drain assembly can wear out over time, so I keep an eye on their condition. If I notice any signs of wear, like cracking or stiffness, I replace them before they start causing leaks. It’s a small maintenance step that goes a long way in preventing bigger issues down the road.
Keep the Drain Clear A clogged drain can lead to water backing up and spilling over the sink, so I make sure to keep the drain clear of debris. I use a drain cleaner or a simple mixture of baking soda and vinegar to clean the drain every few months. This helps prevent blockages that could lead to leaks.
Use Plumber’s Tape on Threads Anytime I need to disconnect and reconnect plumbing under the sink, I use plumber’s tape on the threaded connections. This creates a watertight seal and prevents leaks from developing at these joints. It’s an easy step that I’ve found very effective.
Don’t Overtighten Connections While it’s important to keep plumbing connections tight, I’ve learned not to overtighten them. Overtightening can damage the threads or seals, leading to leaks. I tighten everything just enough to create a secure seal without applying too much force.
Schedule Regular Inspections Every few months, I take a few minutes to inspect the sink and plumbing for any signs of wear or potential issues. By catching small problems early, I can address them before they turn into bigger, more expensive repairs.
When to Call a Professional for a Bathroom Sink Leak
While I’ve been able to handle most bathroom sink leaks on my own, there have been a few situations where calling a professional was the best option. Here are a few signs I look for when deciding whether to tackle the repair myself or bring in an expert.
Major Water Damage If I notice significant water damage, such as warped cabinets or flooring, it’s usually a sign that the leak has been going on for a while. In these cases, I prefer to call a professional plumber who can assess the extent of the damage and repair any underlying issues. It’s important to address the problem quickly to avoid further damage.
Leaks Inside the Wall If the leak appears to be coming from inside the wall, it’s definitely time to call a professional. I’ve learned that trying to fix hidden leaks myself can lead to more problems, especially if it involves cutting into drywall or accessing hard-to-reach pipes. A plumber has the tools and expertise to locate and fix the leak without causing unnecessary damage.
Persistent Leaks There have been times when I thought I fixed a leak, only to have it reappear a few days later. If I can’t seem to get the leak under control after a couple of attempts, I call in a professional. They can often spot issues that I might have missed and provide a long-term solution.
Complicated Plumbing Systems Some bathroom sink setups are more complex than others, especially if they involve multiple sinks or intricate plumbing arrangements. If I feel like the plumbing system is beyond my skill level, I don’t hesitate to bring in a professional. They have the experience to handle more complicated systems without causing further issues.
Unclear Source of the Leak There have been times when I simply couldn’t figure out where the leak was coming from. In these cases, a professional plumber can use specialized equipment to pinpoint the exact source of the leak. This saves me from wasting time and effort trying to guess where the problem lies.
Safety Concerns If I ever feel like the repair could be unsafe, either because of electrical components near the leak or the risk of damaging other parts of the home, I call a professional. It’s always better to err on the side of caution and let an expert handle the job.
How to fix a leak under your sink
Ways to Fix a Bathroom Sink Leaking Underneath
How To Fix Bathroom Sink Drain Leaks Underneath Gasket
Bathroom sink drain leak – not sure how to fix
Common Sink Leaks You Could Probably Fix Yourself
Related Posts:


