Don't you would like to have a big mirror within the bathroom or will you need small practical mirrors? You will probably be surprised to learn that mirrors create an illusion of space! Your bath space looks better and bigger than its genuine size. The height of the bottom part of the mirror is going to be from the vanity.
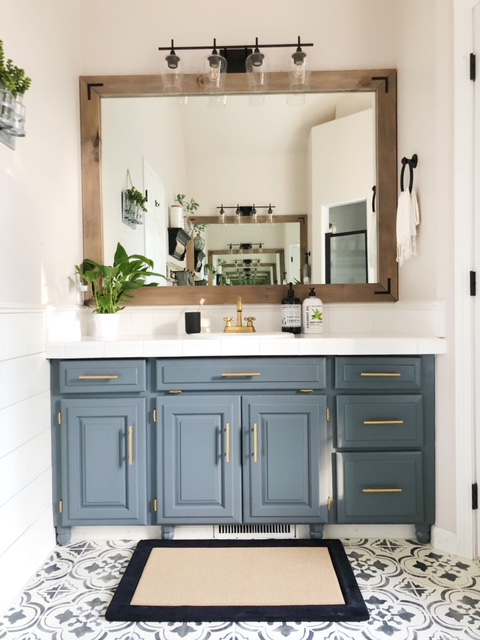
Images about Frame Old Bathroom Mirror

This particular essential feature makes these kinds of products surpass additional products available in the market since a potential buyer is effectually within search for a solution that is going to provide them lifetime guarantee and keeps them away from all sorts of problems which are normally caused in changing them using a bathroom.
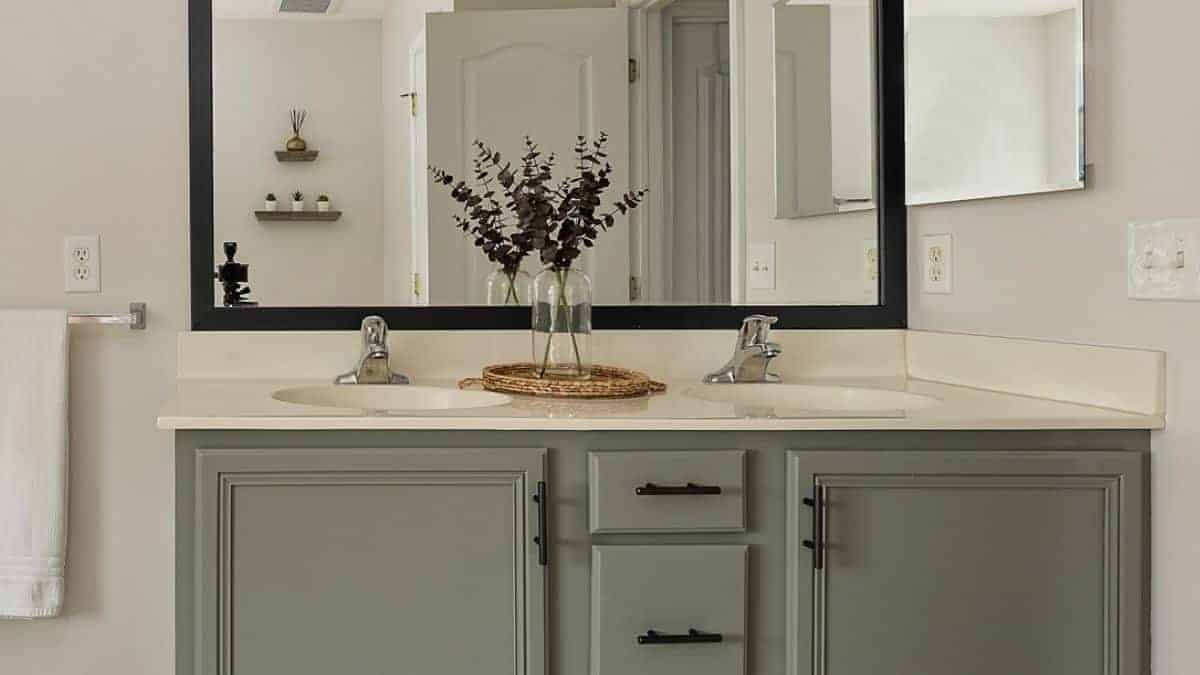
DIY Bathroom Mirror Frame for Under $10, Hello Hayley Blog

The the next time you've guests over who visit the washroom of yours, you will hear a lot of compliments for the way your bathroom is presented. The washroom is often one of the smaller rooms that you have in your home. bathroom mirrors are one of the essential components of every bathroom. The lights are vibrant, low power, very light and very long lasting.
DIY Framed Bathroom Mirrors – Living with Lady
Selecting a country design mirror for any contemporary designed bathroom will destroy it's over all appearance. Apart from that, these cultural products offer much performance to a user. Thus, bathroom mirror is an important element of your bathroom design. And furthermore, you don't want to purchase a little one if you have a massive area.
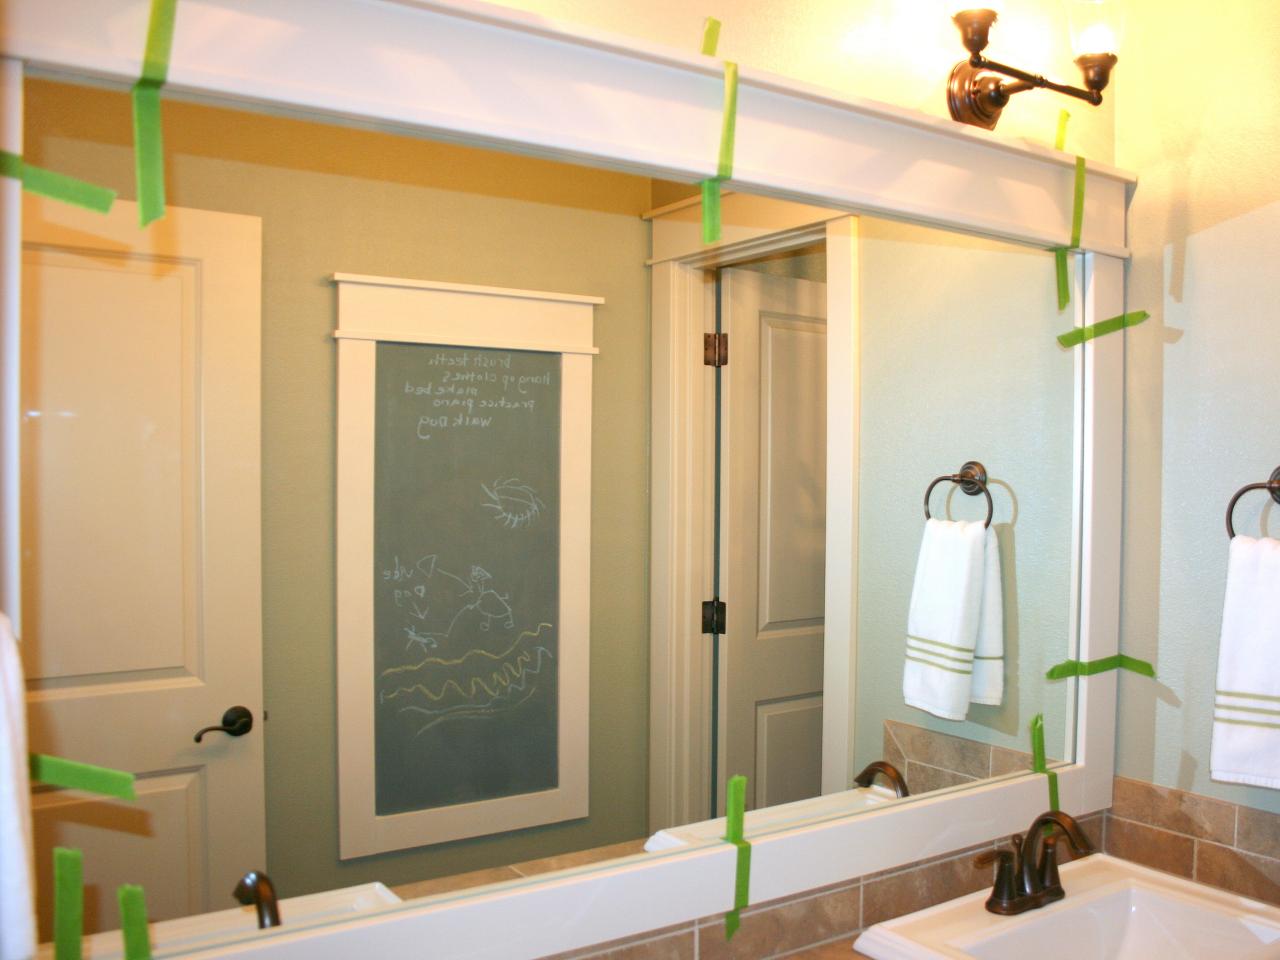
How to frame out that builder basic bathroom mirror (for $20 or less!)

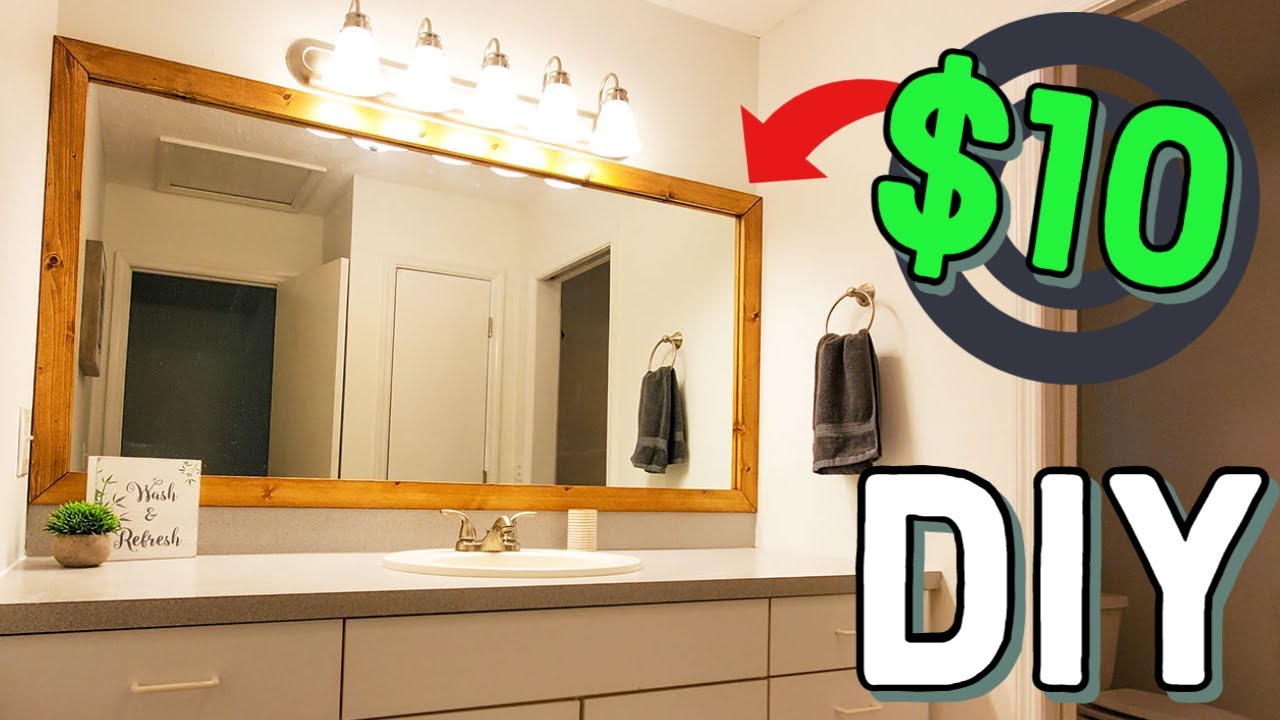
How to Frame a Bathroom Mirror for Just $10 !!
DIY Bathroom Mirror Frame for Under $10, Hello Hayley Blog

How to Frame a Bathroom Mirror

How to Make a DIY Bathroom Mirror Frame – TheDIYPlan

DIY Stick-On Mirror Frame – Sawdust Sisters

Bathroom mirror frames – 2 easy-to-install sources + a DIY
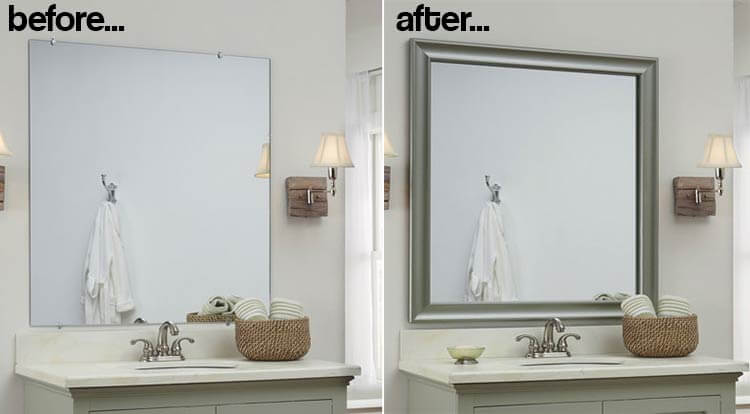
How to Frame a Mirror HGTV
DIY: How to Frame A Builder-Grade Bathroom Mirror – Home and Hallow
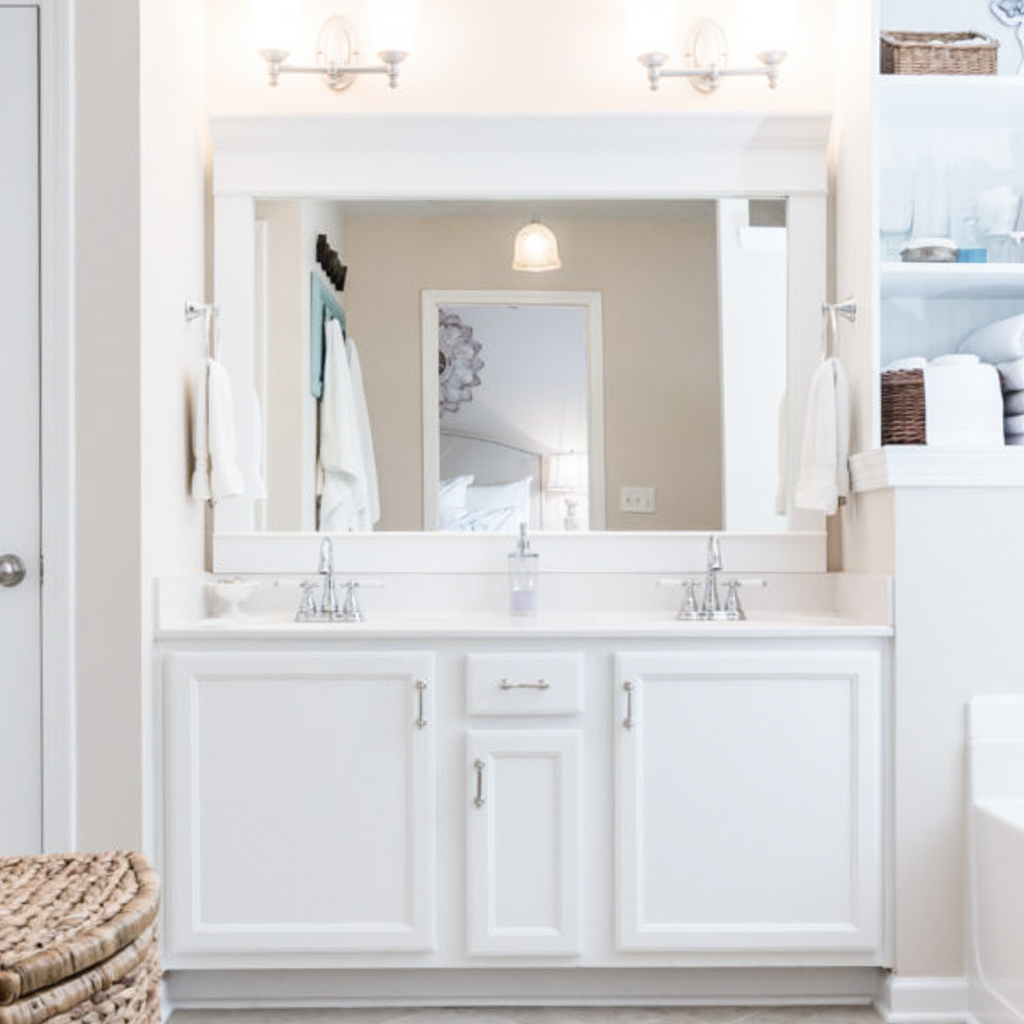
How to frame out that builder basic bathroom mirror (for $20 or less!)

How to Make a DIY Mirror Frame – Rock Solid Rustic
Related Posts:
- Gold Frame Bathroom Mirror
- Bathroom Mirror No Frame
- Bathroom Mirror Cabinet With Sliding Door
- Brass Bathroom Mirror With Shelf
- Craftsman Bathroom Mirror
- How To Choose Bathroom Mirror
- DIY Floating Bathroom Mirror
- Gold Bathroom Mirror Cabinet
- Oval Bathroom Mirrors With Lights
- Height To Hang Bathroom Mirror