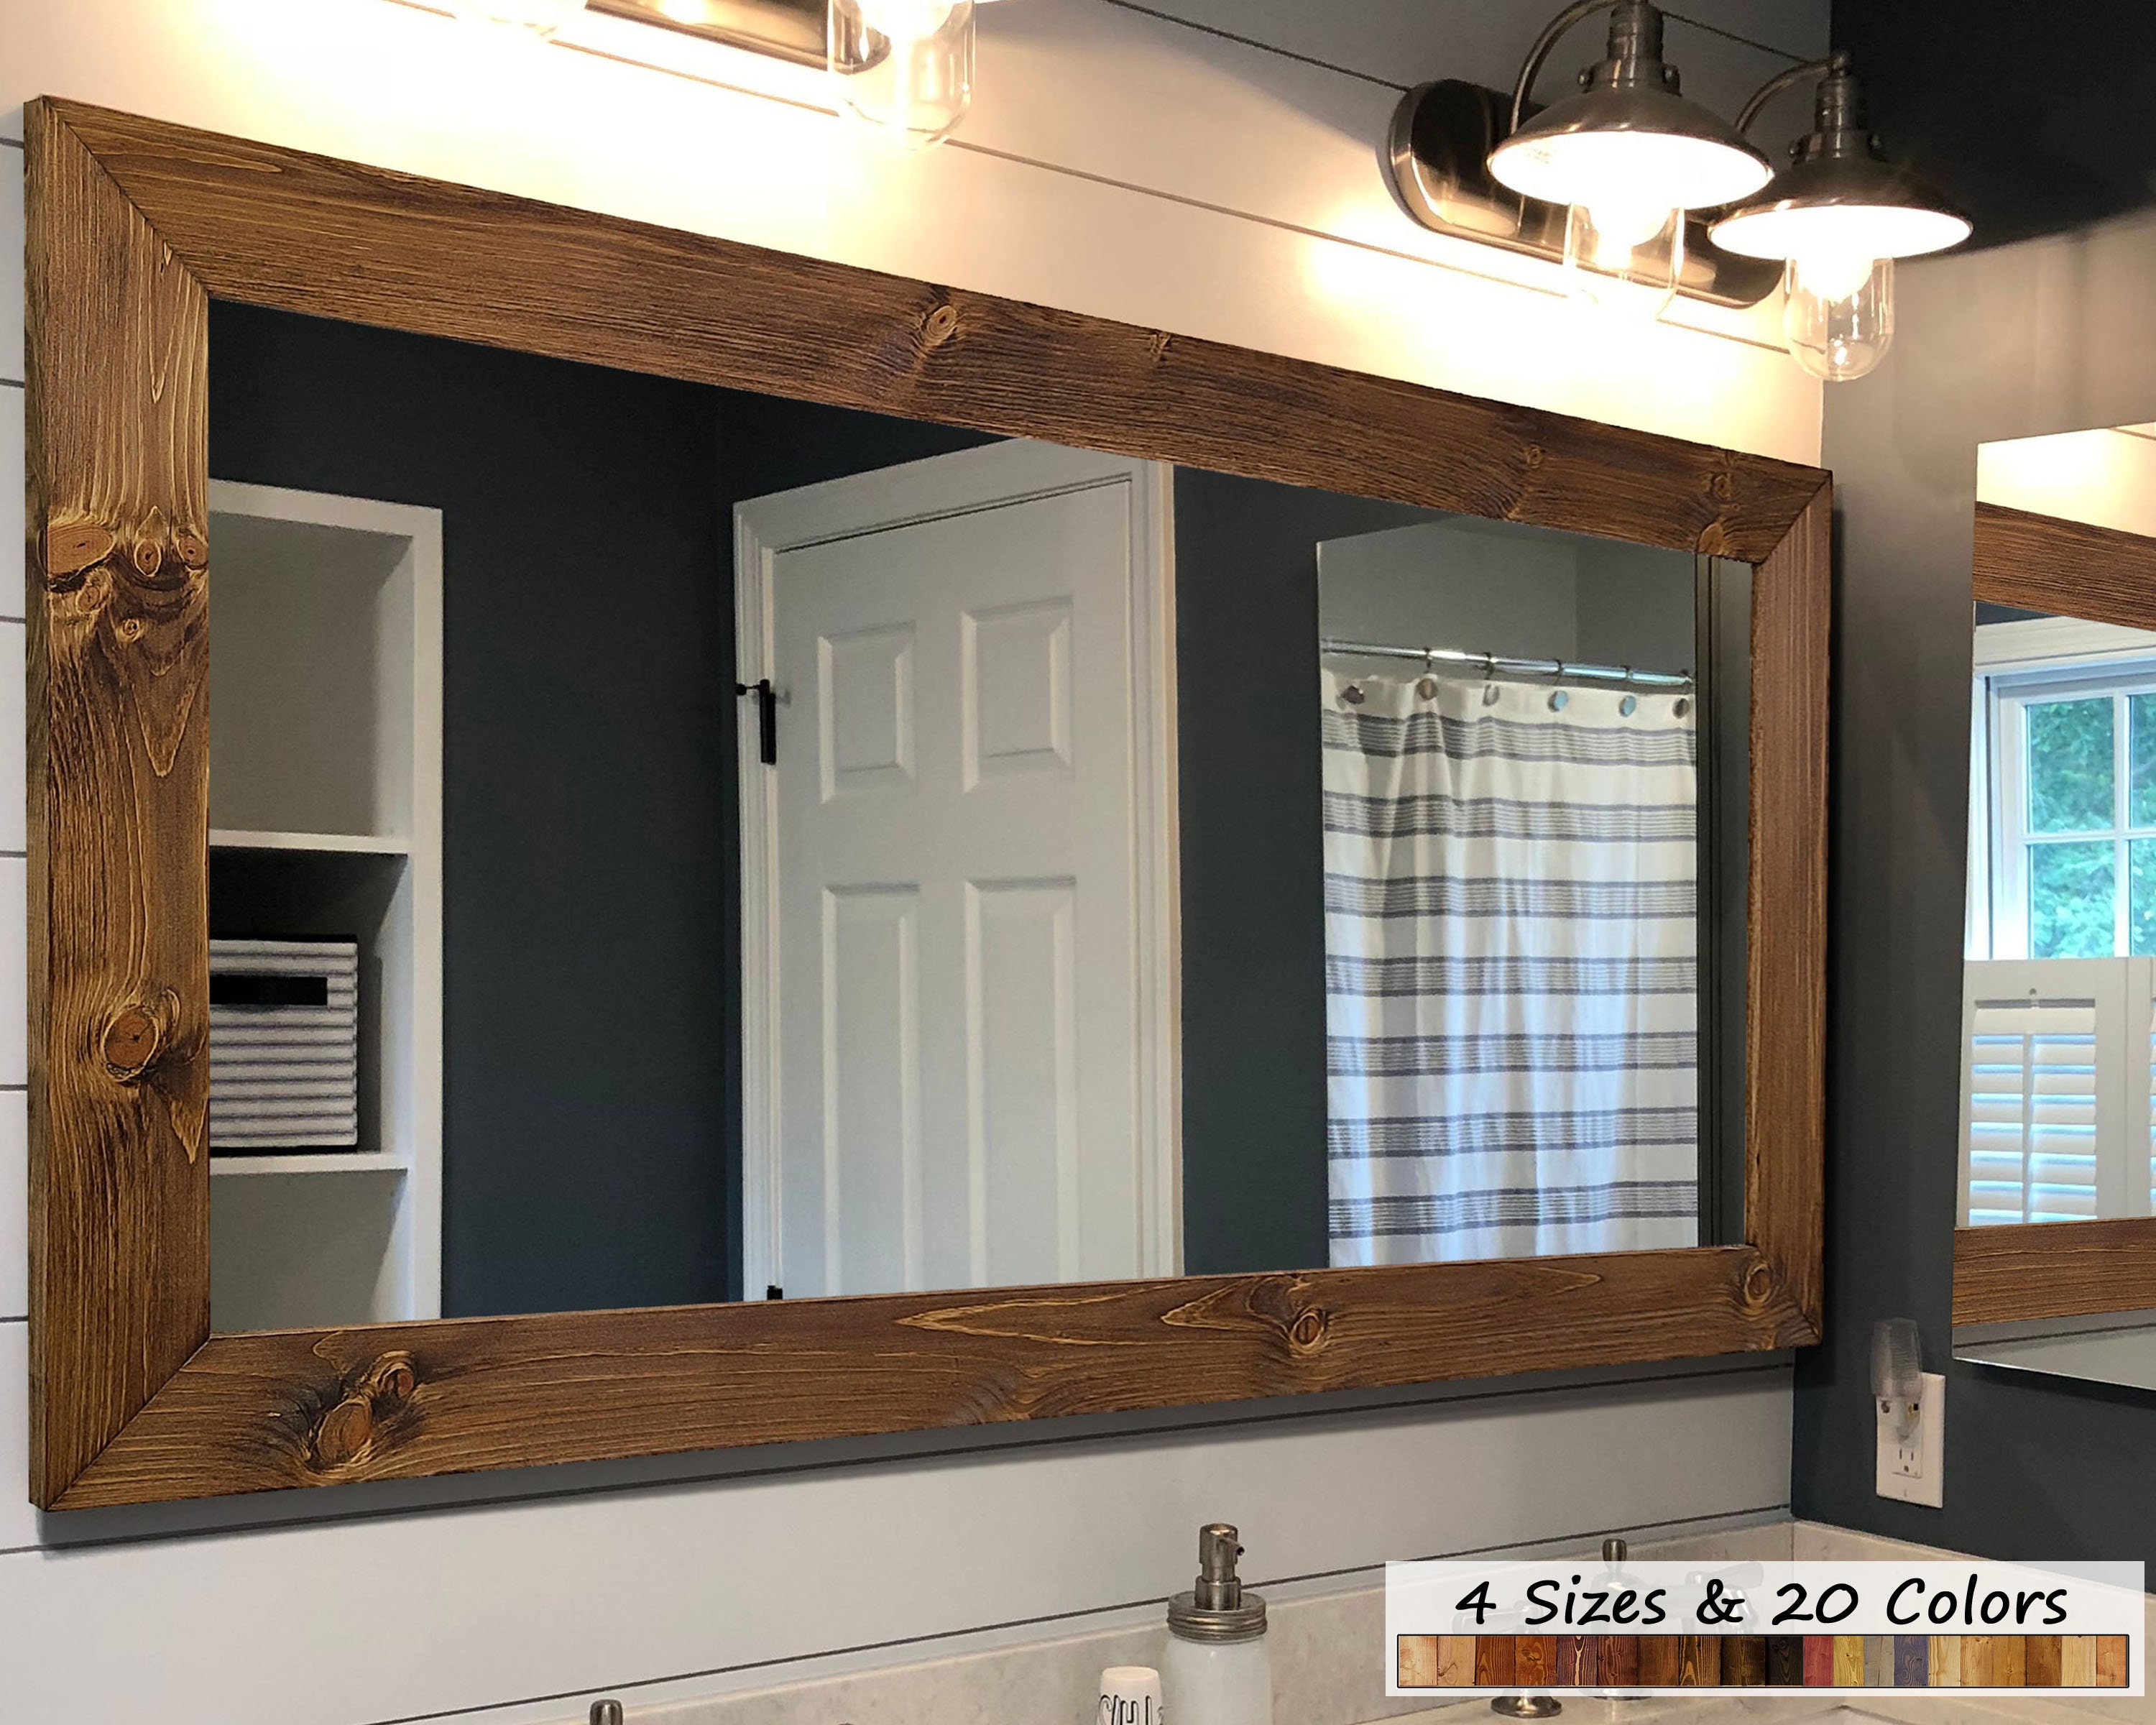
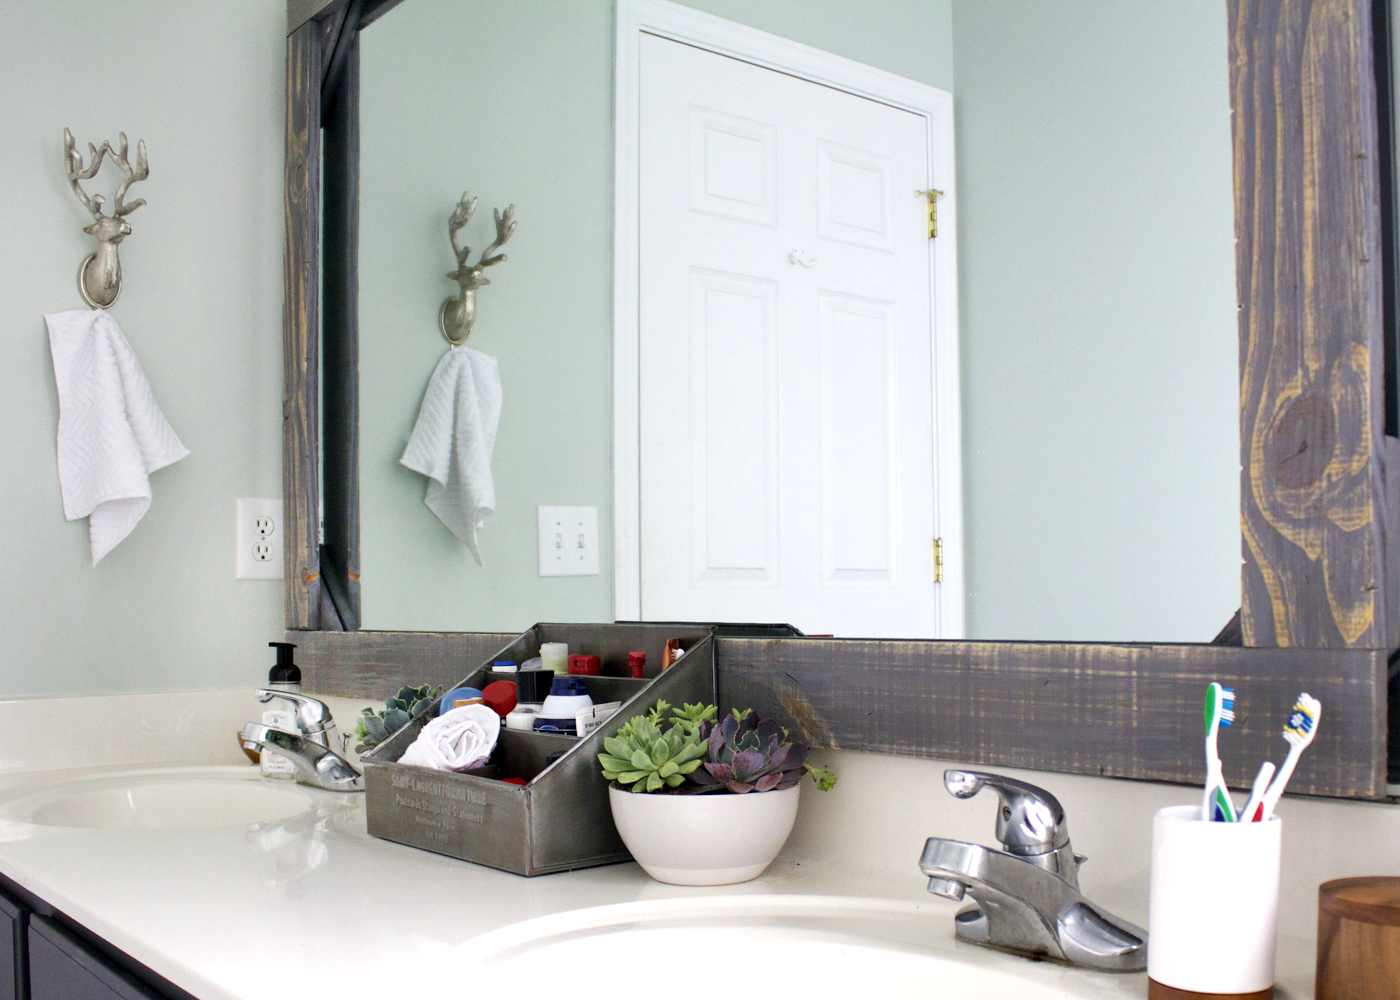
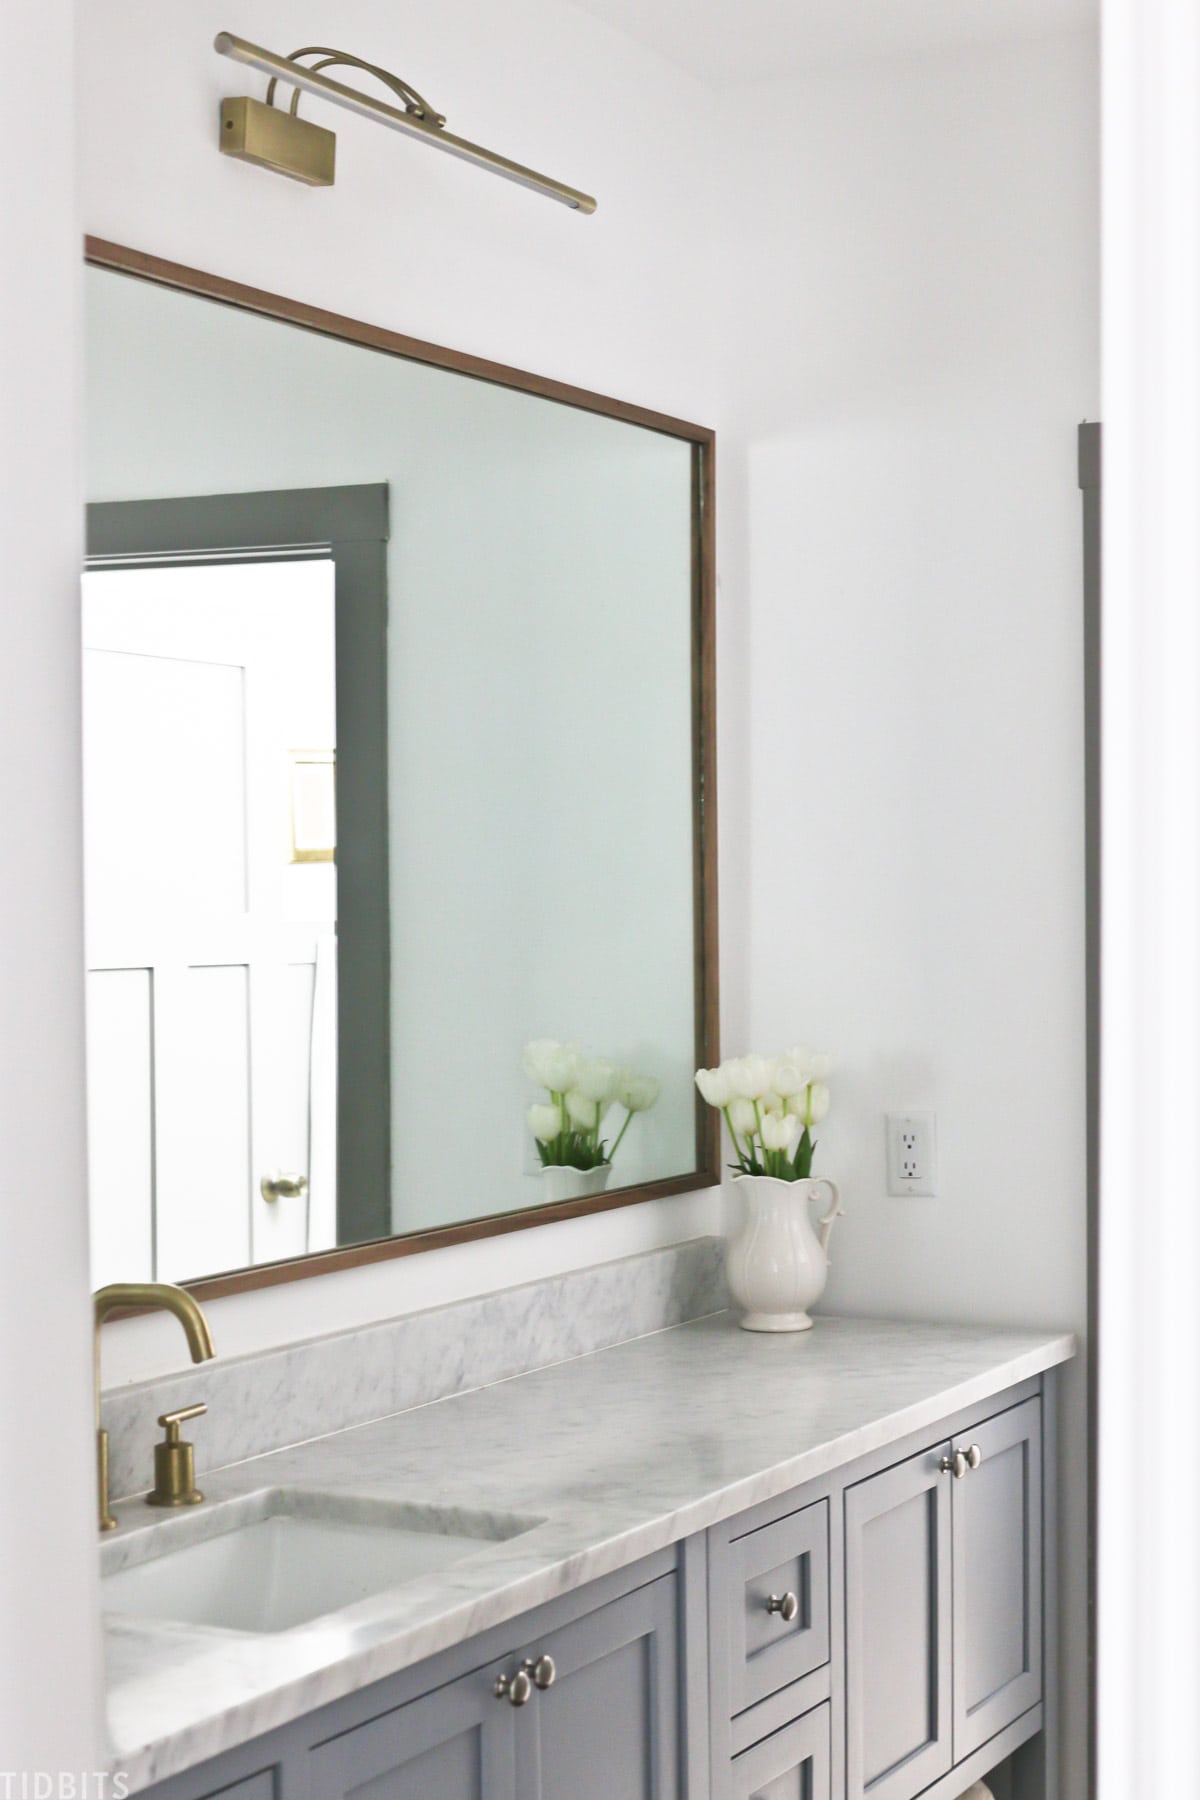
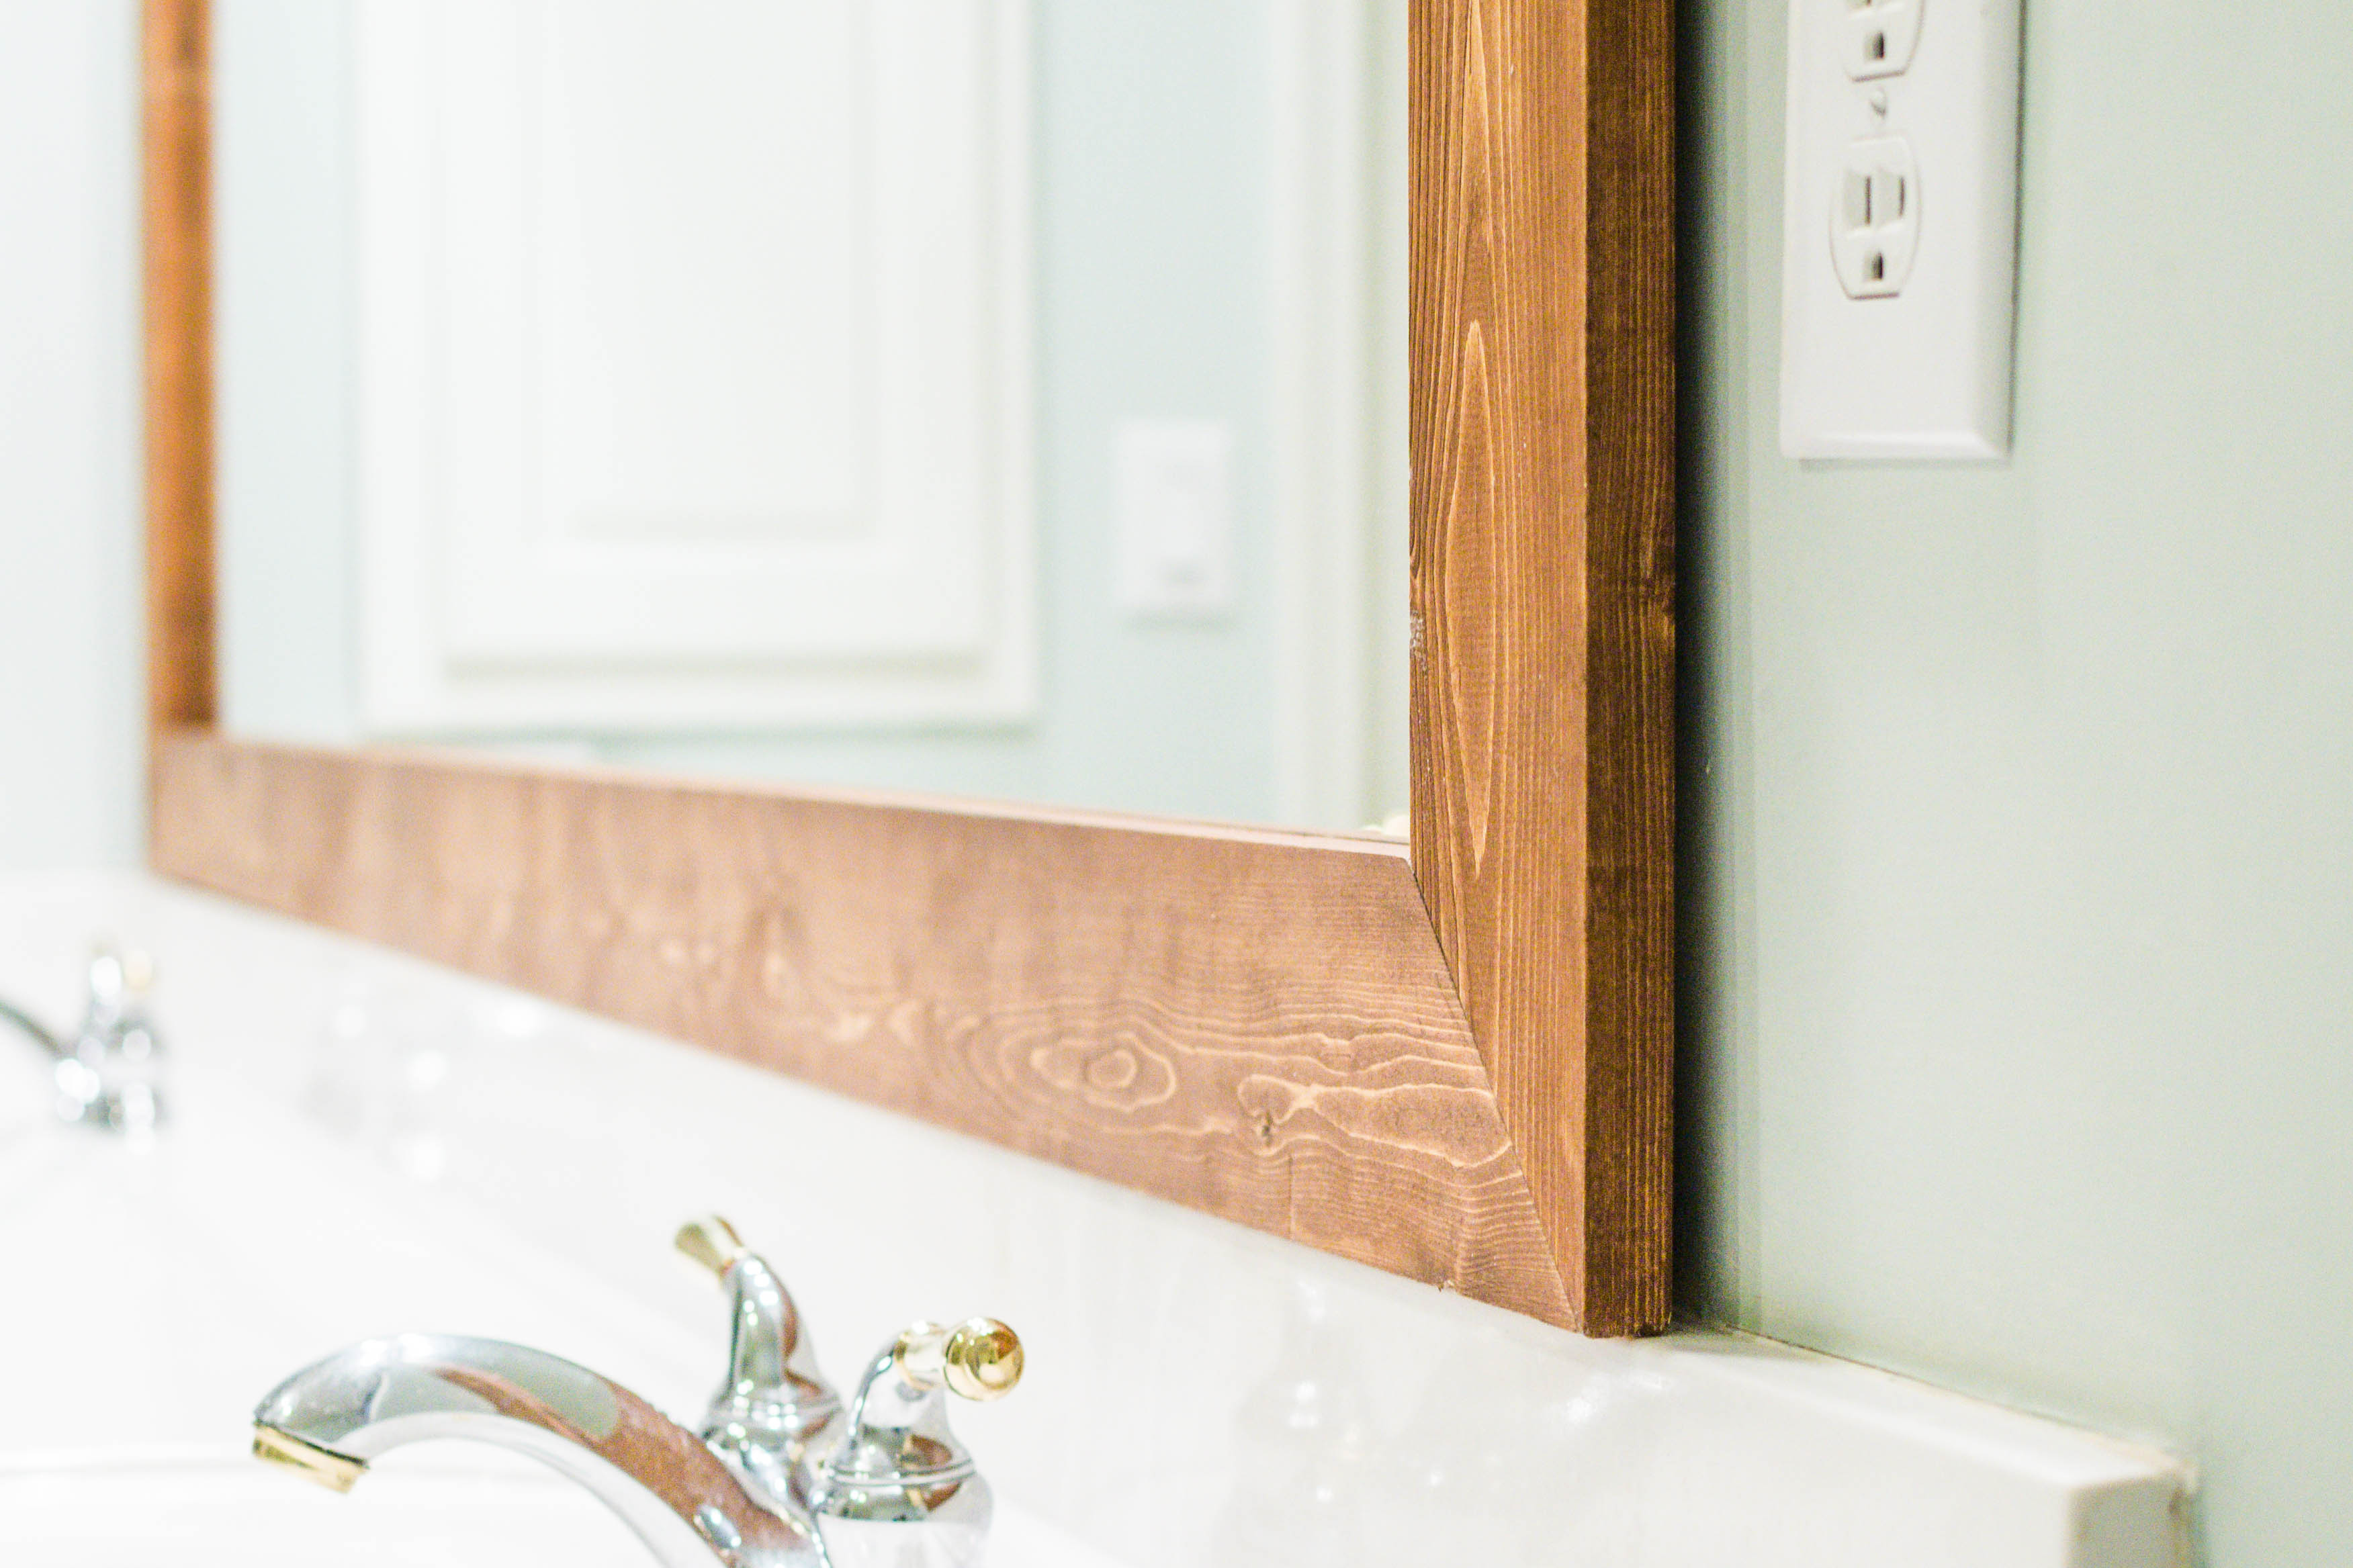
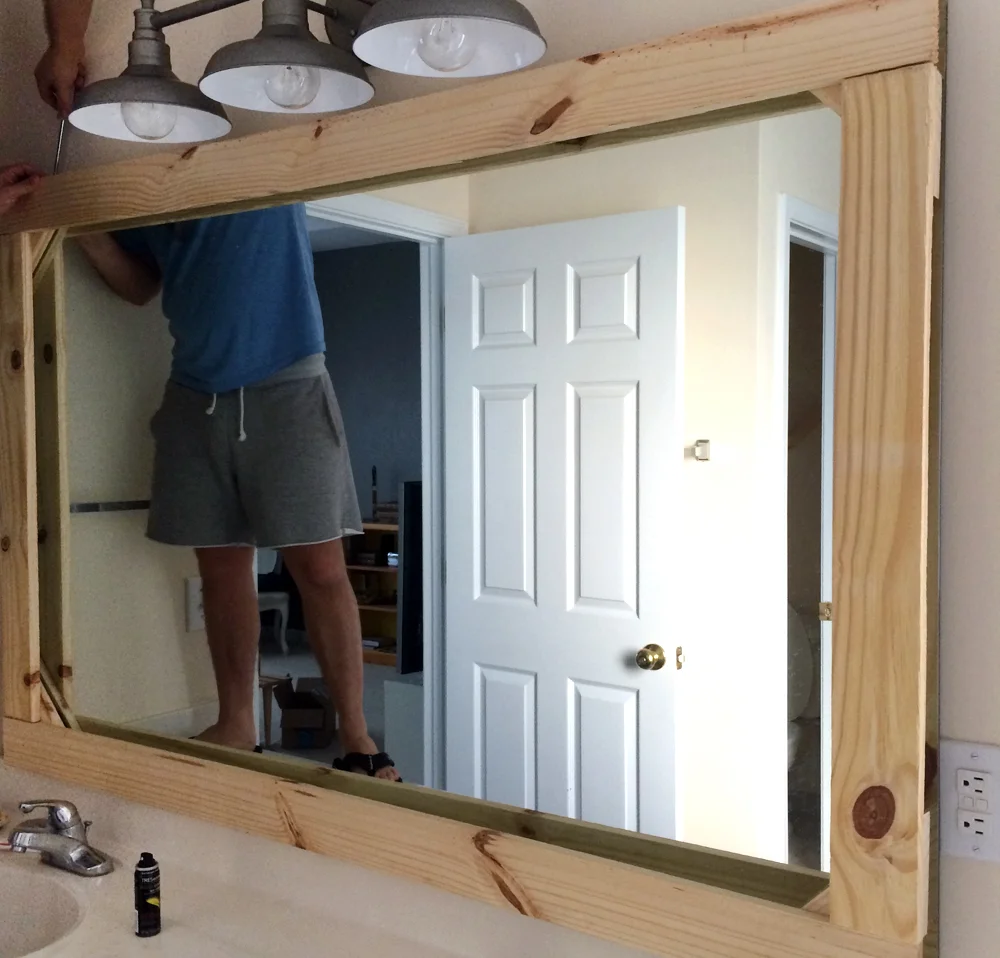
Benefits of Framing a Bathroom Mirror with Wood
Framing a bathroom mirror with wood can significantly enhance the overall look and feel of your bathroom space. Here are some key benefits of opting for a wooden mirror frame:
- Enhanced Aesthetics: One of the primary benefits of framing your bathroom mirror with wood is the aesthetic appeal it adds to the space. Wood has a timeless and elegant look that can complement a variety of bathroom styles, from rustic and traditional to modern and contemporary.
- Customization Options: Wood offers a wide range of customization options, allowing you to choose the type of wood, stain or paint color, and design details that best suit your personal style and bathroom décor. Whether you prefer a simple and streamlined frame or a more ornate and decorative one, wood can be tailored to your preferences.
- Warmth and Texture: Wood brings warmth and texture to the bathroom, creating a cozy and inviting atmosphere. Unlike metal or plastic frames, which can feel cold and sterile, wood adds a natural element to the space that helps soften the overall look and feel of the room.
- Durability and Longevity: When properly maintained, wood is a durable and long-lasting material that can withstand the humid and moisture-rich environment of the bathroom. Unlike metal frames, which can rust or corrode over time, wooden mirror frames are resistant to water damage and can stand up to daily use for years to come.
- Easy Installation: Framing a bathroom mirror with wood is a relatively simple DIY project that can be completed in just a few hours with the right tools and materials. With pre-cut wood molding and some basic woodworking skills, you can easily transform your plain bathroom mirror into a stylish focal point.
- Increased Home Value: Adding a wooden frame to your bathroom mirror can increase the overall value of your home by enhancing the visual appeal of the space. Potential buyers are often drawn to bathrooms that have been updated with stylish and modern features, and a custom wooden mirror frame can help set your home apart from others on the market.

Choosing the Right Wood for Your Bathroom Mirror Frame
When selecting wood for your bathroom mirror frame, it’s essential to choose a species that can withstand the humid and moisture-rich environment of the bathroom. Here are some factors to consider when choosing the right wood for your bathroom mirror frame:
Moisture Resistance: Opt for woods that are naturally resistant to moisture, such as teak, cedar, or redwood. These woods contain natural oils and resins that make them less prone to warping, rotting, or cracking when exposed to water and humidity.
Hardness and Durability: Choose hardwoods that are dense and durable, such as oak, maple, or cherry. These woods are less susceptible to dents, scratches, and other damage, making them ideal for use in high-traffic areas like the bathroom.
Finishing Options: Consider the type of finish you plan to apply to the wood and choose a species that accepts stain or paint well. Woods like maple and cherry have a smooth and tight grain that takes stain evenly, while oak and pine have a more pronounced grain pattern that can add character to the finished frame.
Color and Grain Pattern: Think about the color and grain pattern of the wood and how it will complement your bathroom décor. Lighter woods like maple and birch have a more modern and contemporary look, while darker woods like walnut and mahogany have a richer and more traditional appearance.
Budget and Availability: Take into account your budget and the availability of different wood species in your area. Some woods, like teak and mahogany, can be more expensive and harder to find, while others, like oak and pine, are more readily available and budget-friendly.
Environmental Considerations: Lastly, consider the environmental impact of the wood species you choose and opt for sustainably sourced or reclaimed wood whenever possible. Look for certifications like FSC (Forest Stewardship Council) or PEFC (Programme for the Endorsement of Forest Certification) to ensure that the wood has been responsibly harvested.
Step-by-Step Guide to Framing Your Bathroom Mirror with Wood
Framing your bathroom mirror with wood is a straightforward DIY project that can be completed in just a few simple steps. Here’s a step-by-step guide to help you get started:
Measure Your Mirror: Begin by measuring the dimensions of your mirror, including the width, height, and thickness. Use these measurements to determine the size of the wood molding needed for your frame.
Select Your Wood Molding: Choose a wood molding that complements your bathroom décor and fits the dimensions of your mirror. You can find a wide variety of wood moldings at your local home improvement store, or you can have custom molding cut to size at a woodworking shop.
Cut the Wood Molding: Use a miter saw or a hand saw to cut the wood molding to the appropriate lengths for each side of the mirror frame. Make sure to cut the ends at a 45-degree angle to create clean and seamless corners.
Sand the Edges: Use sandpaper or a sanding block to smooth out any rough edges or imperfections on the wood molding. This will ensure a clean and professional-looking finish once the frame is assembled.
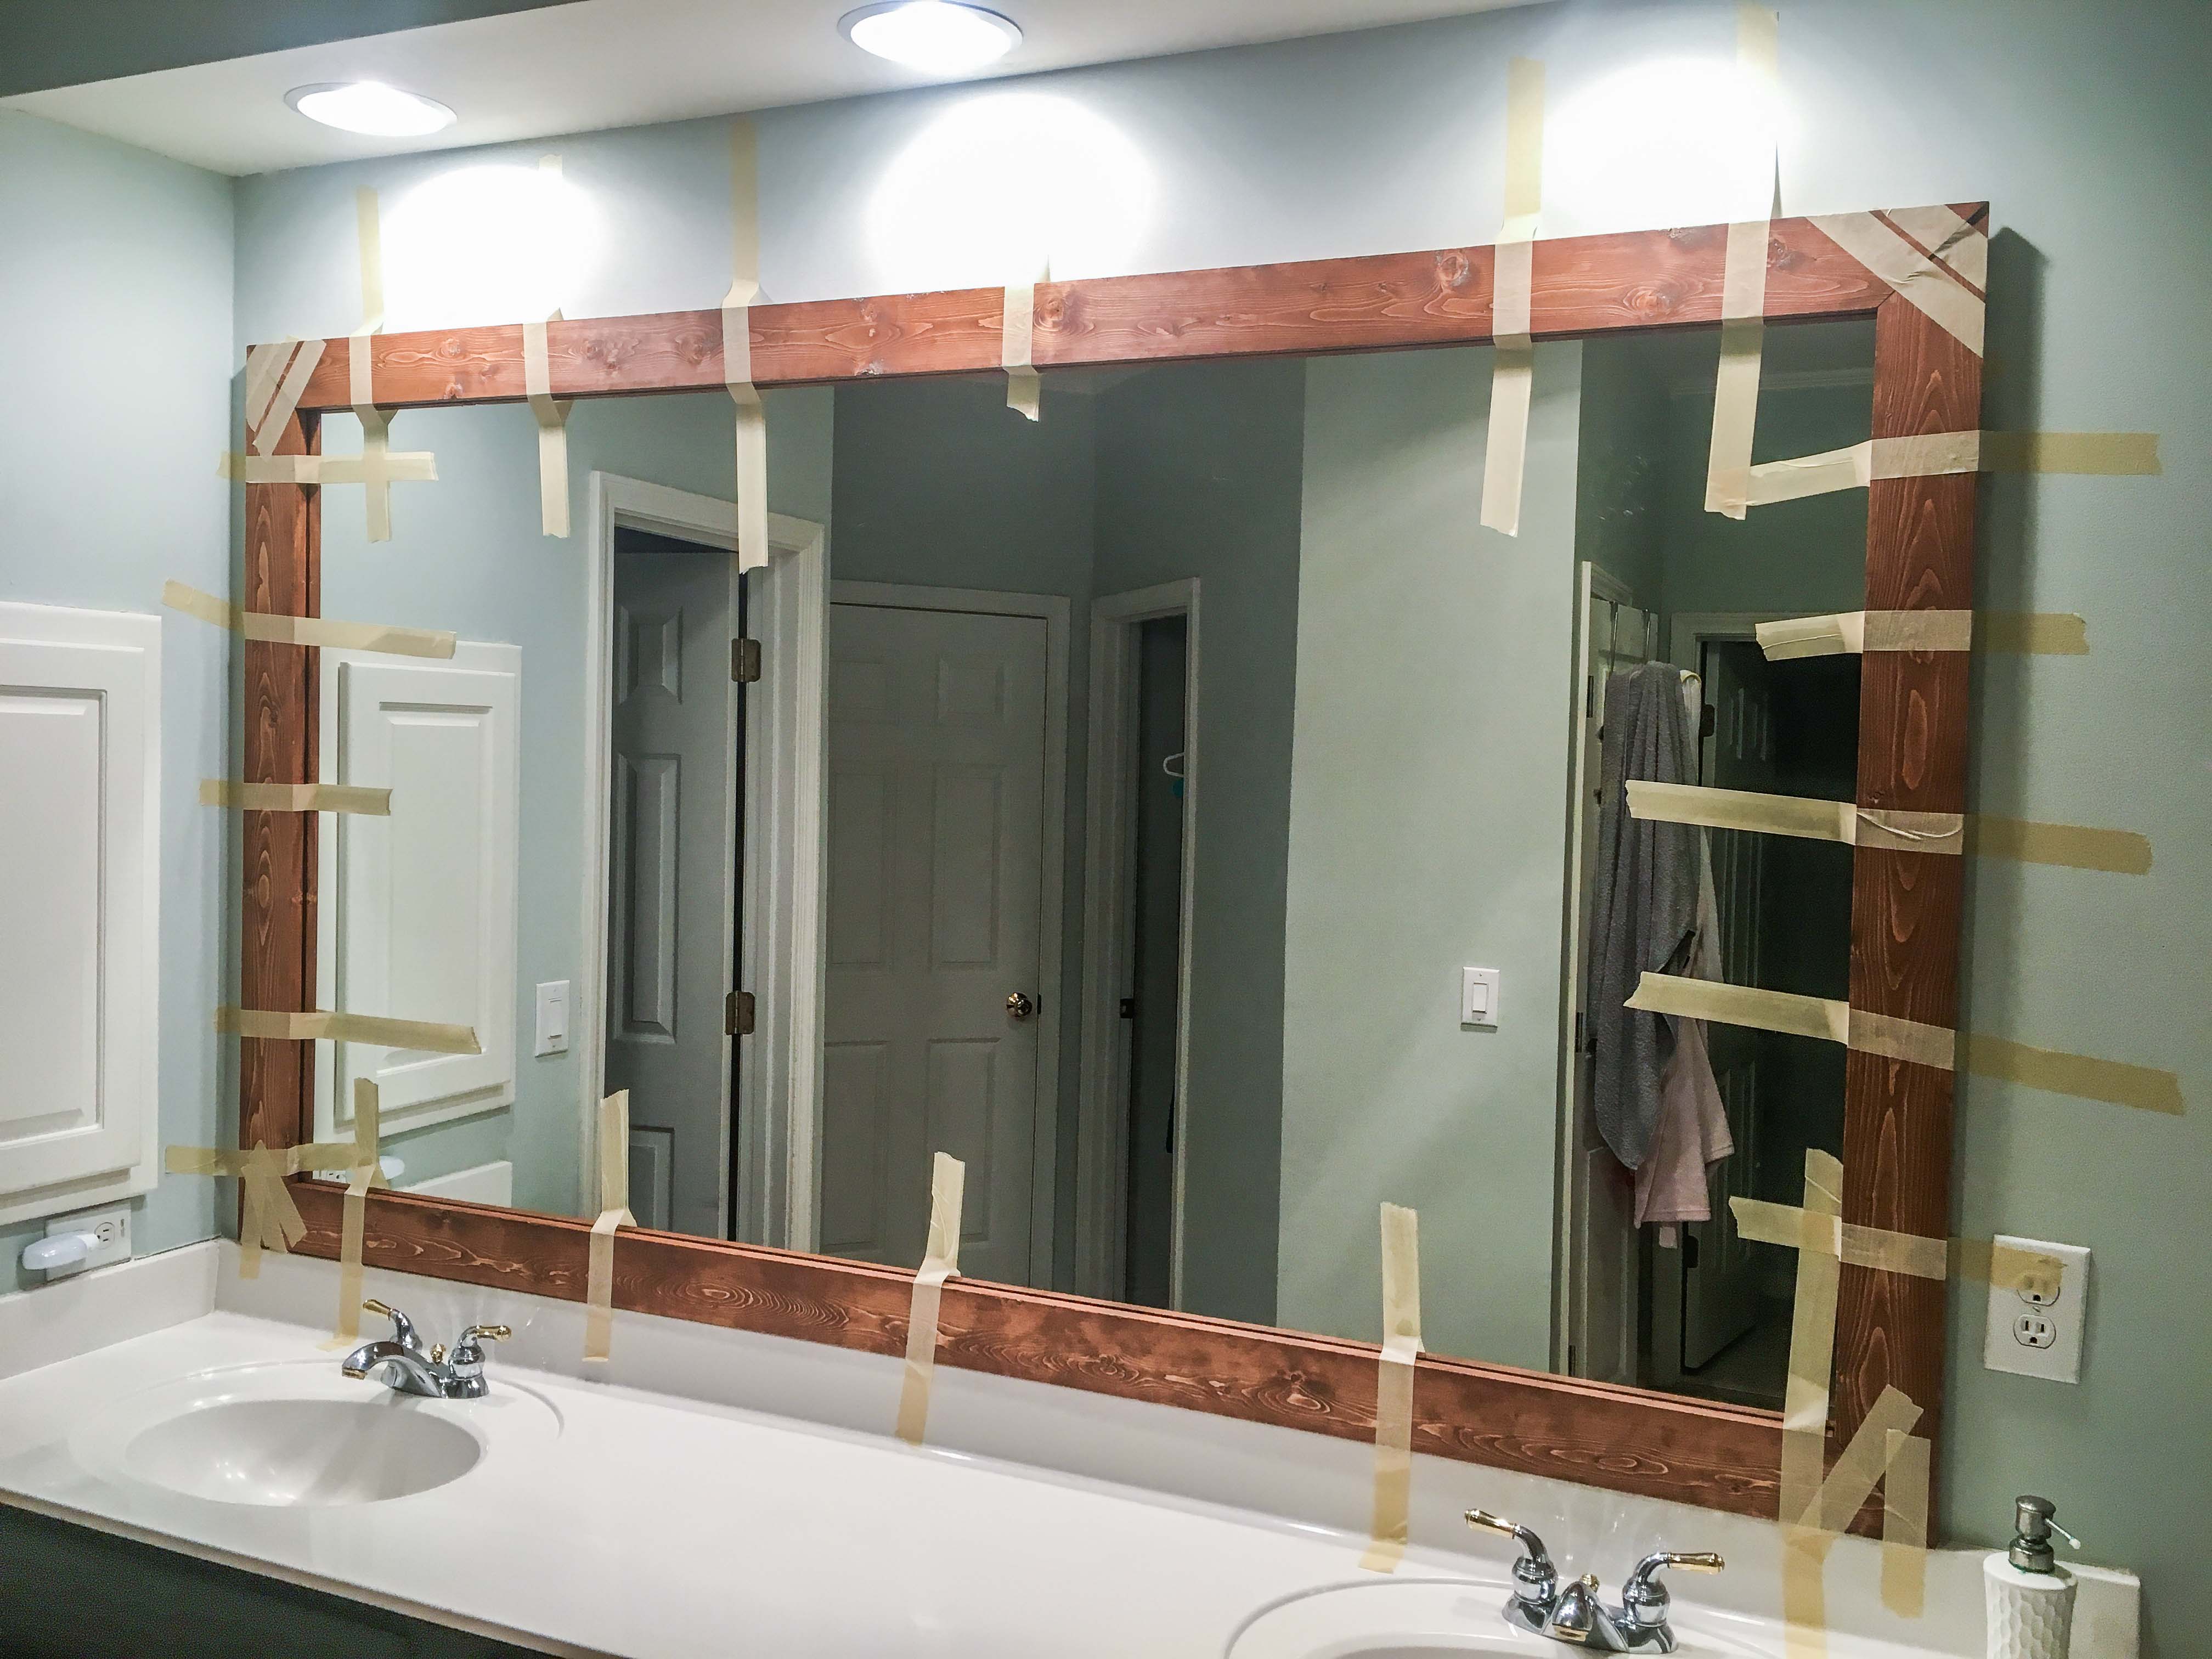
Attach the Wood Molding to the Mirror: Apply a bead of construction adhesive or mirror adhesive along the back of the wood molding, then press it firmly onto the edges of the mirror, making sure it is centered and level. Use painter’s tape or clamps to hold the molding in place while the adhesive dries.
Secure the Mitered Corners: If you’re using mitered corners, reinforce them with wood glue and finish nails to ensure they are strong and secure. Use a nail gun or a hammer and nails to drive nails through the corners of the molding into the wall or the back of the mirror frame.
Fill Nail Holes and Sand Again: Once the frame is assembled, fill any nail holes or gaps with wood filler, then sand the surface of the frame again to smooth out any imperfections. Wipe away any dust with a damp cloth or tack cloth.
Apply Finish: Apply a coat of wood stain or paint to the frame, following the manufacturer’s instructions. Use a brush or a foam roller to apply the finish evenly, and allow it to dry completely before applying additional coats if desired.
Install the Mirror: Once the finish is dry, carefully install the mirror back onto the wall using mirror clips or mounting hardware. Make sure the frame is securely attached to the mirror and the wall, and adjust as needed to ensure it is level and centered.
Enjoy Your New Bathroom Mirror: Step back and admire your handiwork! Your newly framed bathroom mirror adds style and sophistication to your bathroom space and creates a focal point that ties the room together beautifully.
Adding Finishing Touches: Staining or Painting Your Wooden Mirror Frame
Once you’ve framed your bathroom mirror with wood, adding a stain or paint finish is the perfect way to enhance its appearance and tie it in with your bathroom décor. Here’s how to stain or paint your wooden mirror frame for a professional-looking finish:
Preparation: Before applying any finish, make sure the wood surface is clean, dry, and free of dust or debris. Use a damp cloth or tack cloth to wipe down the frame and remove any dirt or residue.
Sand the Surface: If the wood surface is rough or uneven, sand it lightly with fine-grit sandpaper to smooth out imperfections and create a smooth surface for the finish to adhere to. Be sure to sand with the grain of the wood to avoid scratching or damaging the surface.
Apply Wood Conditioner (Optional): If you’re staining the wood, consider applying a wood conditioner first to help the stain penetrate evenly and prevent blotching. Use a brush or a clean cloth to apply the conditioner in a thin, even coat, and allow it to dry according to the manufacturer’s instructions.
Stain Application: If you’re staining the wood, stir the stain thoroughly to mix the pigments, then apply it evenly to the wood surface using a brush or a clean cloth. Work in small sections, applying the stain with the grain of the wood, and wipe away any excess with a clean cloth. Allow the stain to penetrate for the recommended amount of time, then wipe away any remaining excess with a clean cloth.
Paint Application: If you’re painting the wood, choose a high-quality paint in the color of your choice and apply it evenly to the wood surface using a brush or a foam roller. Work in thin, even coats, allowing each coat to dry completely before applying the next. For a smooth and professional-looking finish, sand between coats with fine-grit sandpaper to remove any brush strokes or imperfections.
Seal the Finish (Optional): Once the stain or paint has dried completely, consider applying a clear coat of polyurethane or varnish to seal and protect the finish. Use a brush or a foam roller to apply the clear coat in thin, even coats, and allow it to dry according to the manufacturer’s instructions before handling or installing the mirror.
Maintenance Tips for Wooden Bathroom Mirror Frames
Proper maintenance is essential to keep your wooden bathroom mirror frame looking its best for years to come. Here are some tips to help you care for and maintain your wooden mirror frame:
Regular Cleaning: Clean the surface of the wooden mirror frame regularly with a soft, damp cloth or sponge to remove dust, dirt, and grime. Avoid using harsh chemicals or abrasive cleaners, as they can damage the finish and dull the wood.
Avoid Excessive Moisture: While most hardwoods are naturally resistant to moisture, it’s still important to avoid excessive exposure to water and humidity, as it can cause the wood to warp, swell, or rot over time. Wipe up any spills or splashes immediately, and use a dehumidifier or exhaust fan to reduce moisture levels in the bathroom.
Protect from Direct Sunlight: Prolonged exposure to direct sunlight can cause wood to fade or discolor over time. To prevent this, consider installing curtains, blinds, or UV-blocking window film to filter out harmful UV rays and protect your wooden mirror frame from sun damage.
Inspect for Damage: Periodically inspect the wooden mirror frame for signs of damage, such as cracks, splits, or loose joints. Repair any minor damage promptly using wood glue or filler, and consider refinishing the frame if the finish becomes worn or damaged.
Reapply Finish as Needed: Over time, the finish on your wooden mirror frame may become worn or dull due to regular use and exposure to environmental factors. If this occurs, consider refinishing the frame by sanding down the existing finish and applying a fresh coat of stain or paint to restore its appearance and protect the wood.
Handle with Care: When cleaning or handling the wooden mirror frame, be gentle to avoid scratching or damaging the surface. Use a soft, lint-free cloth or sponge, and avoid using abrasive materials or scrubbing too vigorously.
Alternative Materials and Design Ideas for Framing Bathroom Mirrors
While wood is a popular choice for framing bathroom mirrors, there are plenty of alternative materials and design ideas to consider if you’re looking to add a unique and stylish touch to your bathroom décor. Here are some alternative options to inspire you:
Metal Frames: Metal frames offer a sleek and modern alternative to wood, adding a touch of industrial chic to the bathroom. Choose from a variety of metal finishes, such as brushed nickel, oil-rubbed bronze, or matte black, to complement your bathroom fixtures and accessories.
Tile Accents: Incorporate tile accents into your mirror frame design for a custom and eye-catching look. Choose tiles in a variety of shapes, colors, and patterns to create a mosaic border or geometric design that adds visual interest and personality to the bathroom.
Mirror Tiles: Create a mirrored frame using individual mirror tiles arranged around the perimeter of the mirror. This innovative design idea adds depth and dimension to the mirror while reflecting light and making the space feel larger and more open.
Reclaimed Materials: Get creative with reclaimed materials such as barn wood, salvaged lumber, or antique architectural elements to create a one-of-a-kind mirror frame with rustic charm and character. Incorporate weathered patinas, distressed finishes, or decorative hardware for added visual appeal.
Fabric or Upholstered Frames: Add a soft and luxurious touch to your bathroom mirror with a fabric or upholstered frame. Choose a durable and water-resistant fabric, such as outdoor upholstery fabric or marine vinyl, and wrap it around a wooden or foam core for a custom-made frame that adds texture and warmth to the space.
DIY Frame Kits: Consider using a DIY frame kit to create a custom mirror frame without the need for advanced woodworking skills or tools. These kits typically include pre-cut frame pieces, corner connectors, and adhesive strips that make assembly quick and easy, allowing you to achieve professional-looking results with minimal effort.
How to DIY Upgrade Your Bathroom Mirror With a Stained Wood Frame
Womio Rustic Bathroom Mirrors for Wall,24″ x 36″ Wood Frame Hanging Decorative Wall Mirror Vanity Mirror Makeup Mirror
How to DIY Upgrade Your Bathroom Mirror With a Stained Wood Frame
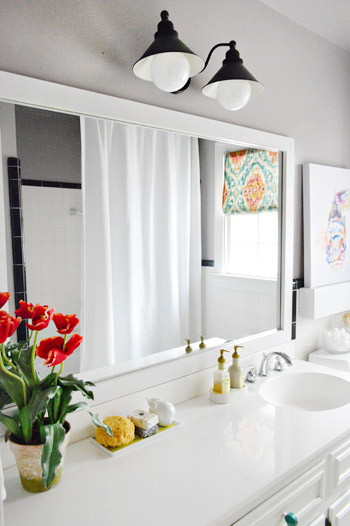
How To Build A Wood Frame Around A Bathroom Mirror Young House Love
Farmhouse Framed Wall Mirror 20 Stain Colors Bathroom – Etsy
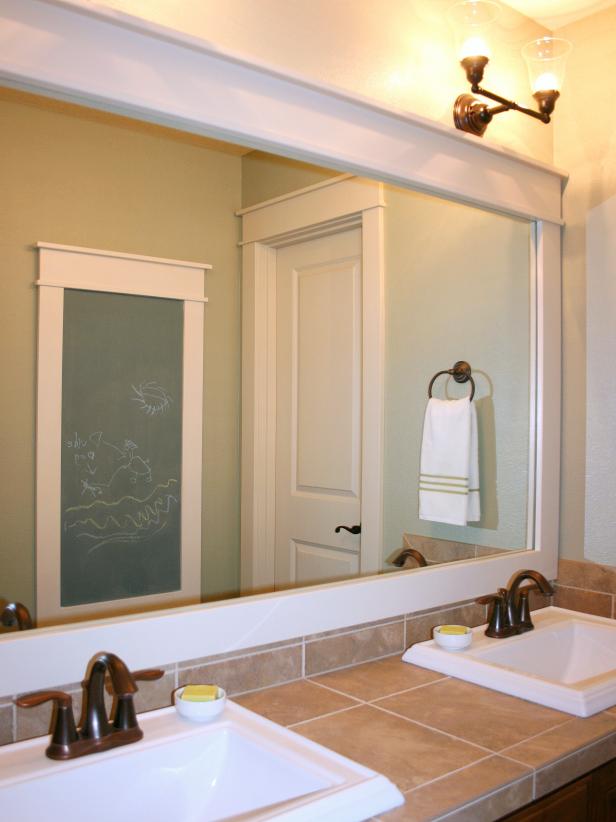
How to Add a DIY Wood Frame to a Bathroom Mirror
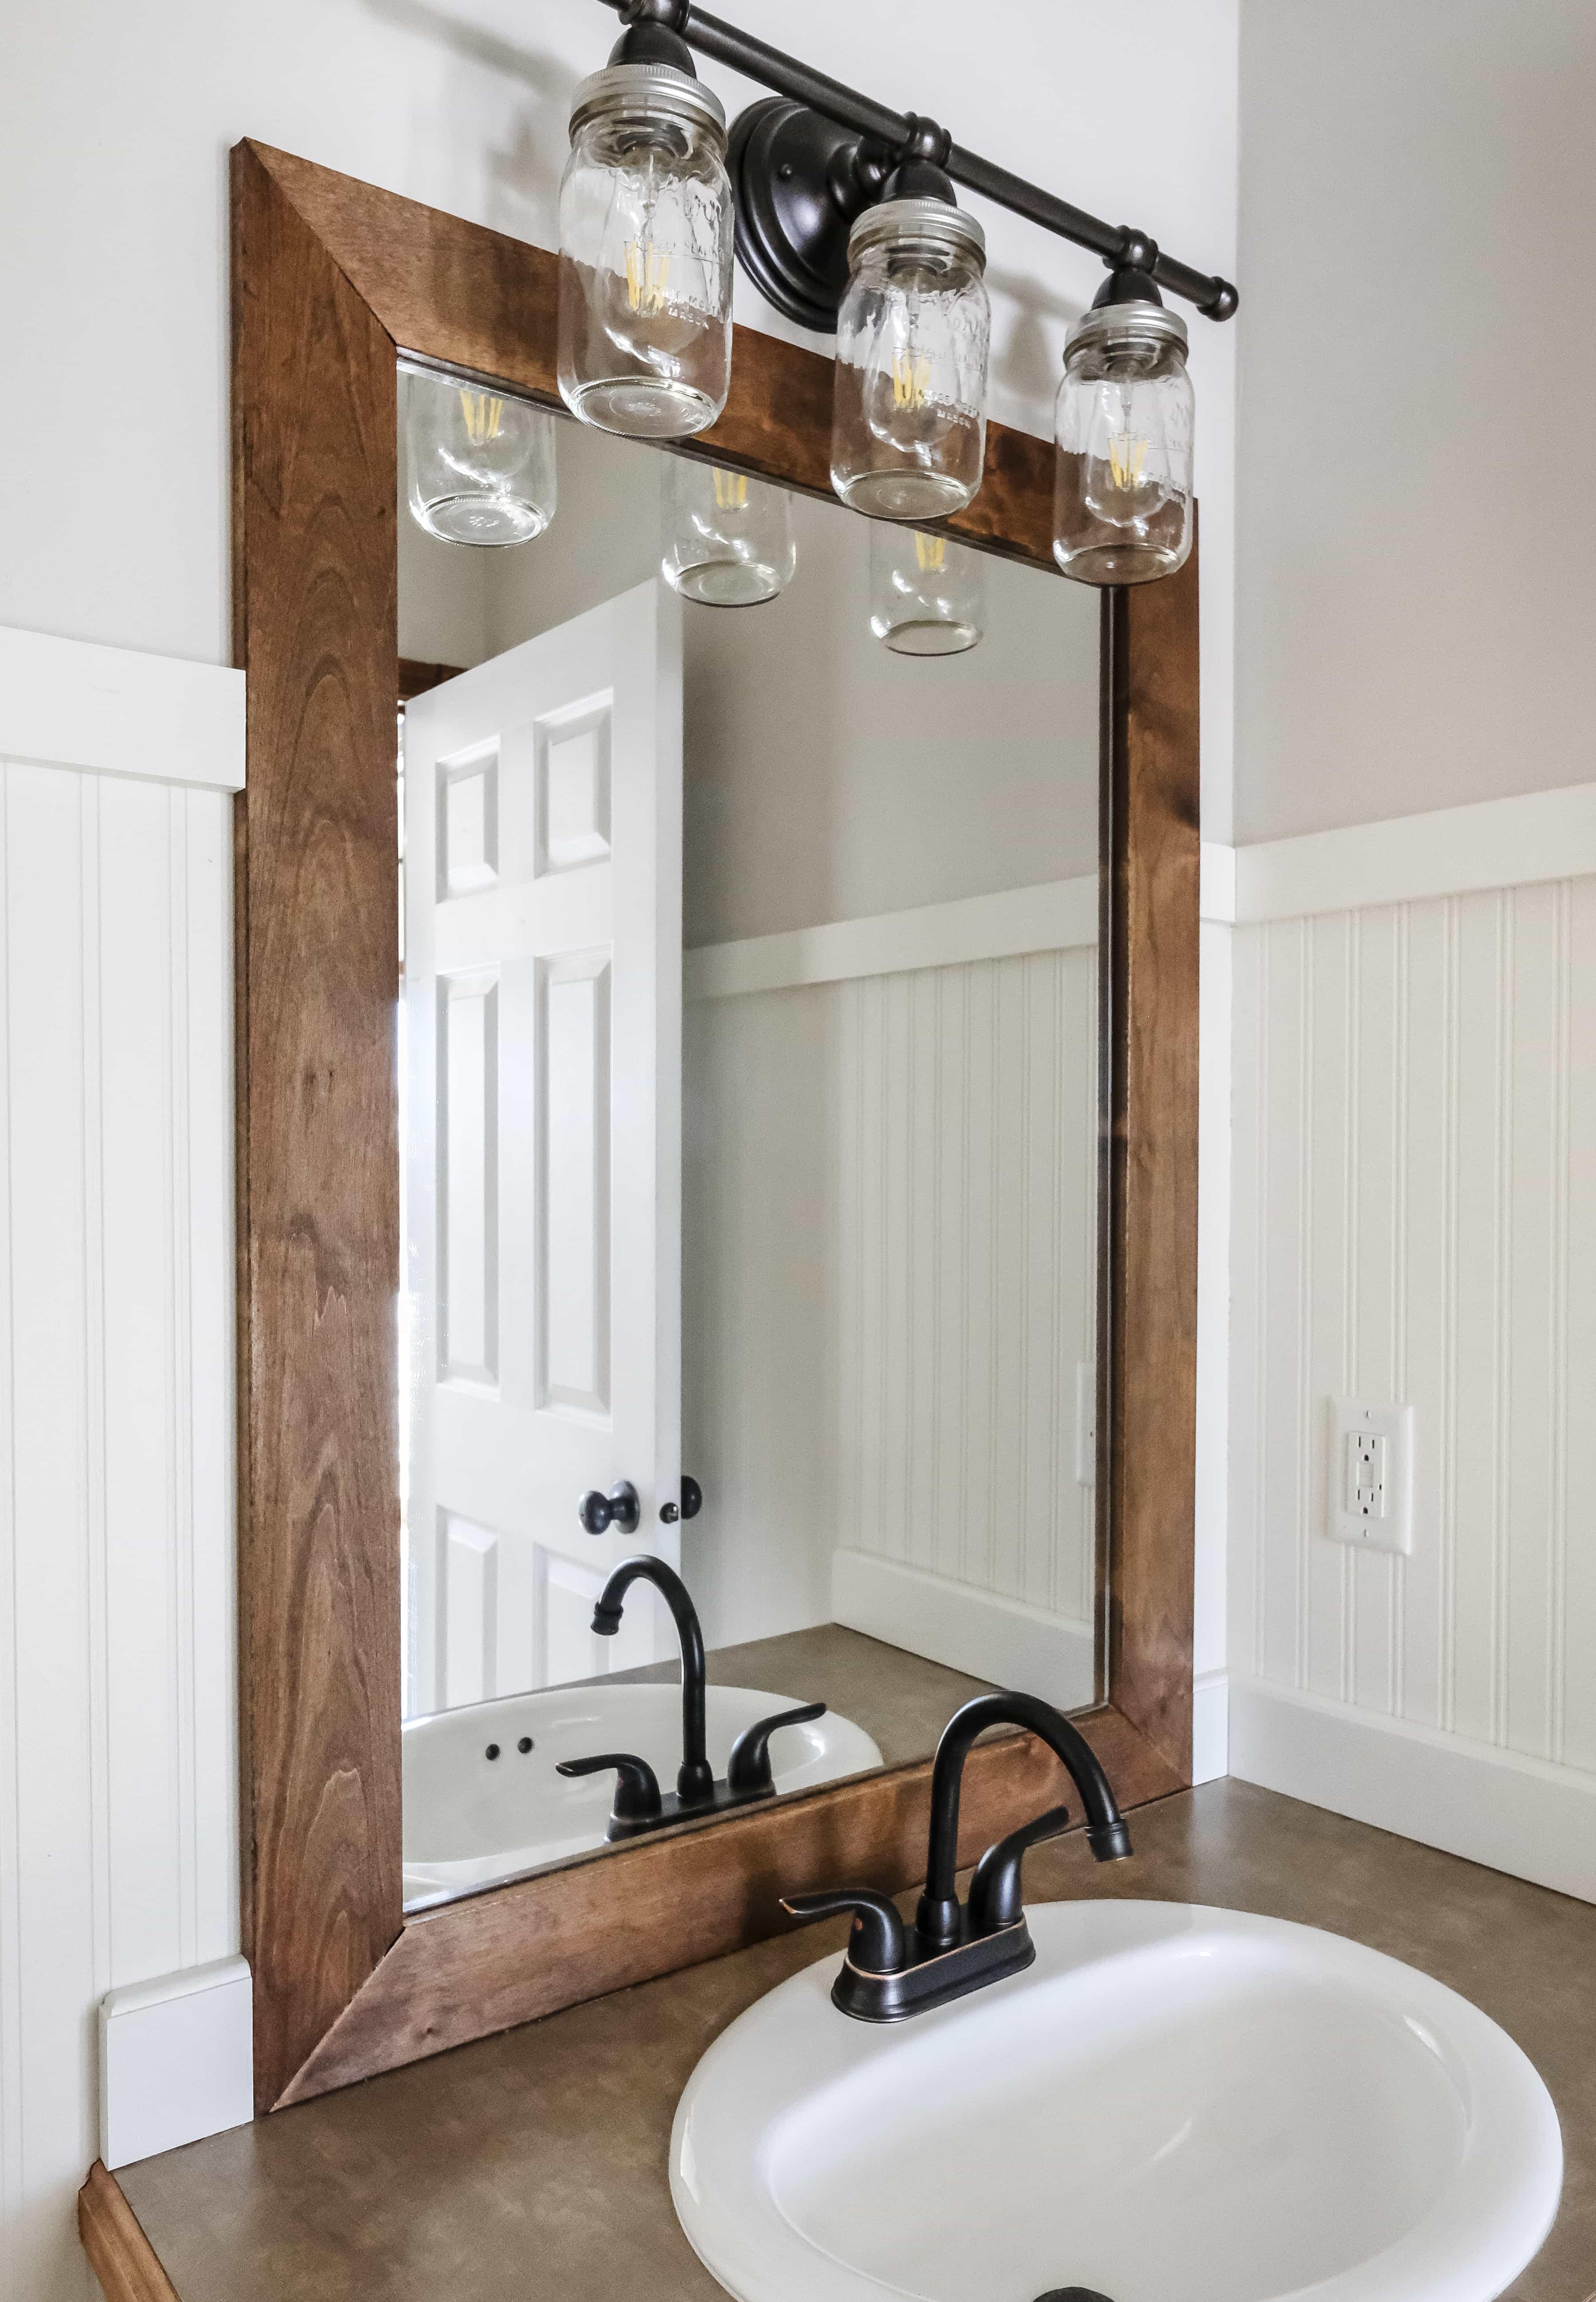
DIY Wood Frame Mirror, Farmhouse Industrial Bathroom Mirror
How to Frame a Mirror with Wood u2014 Tag u0026 Tibby Design
Related Posts:
