Common Issues with Glacier Bay Bathroom Faucets
Glacier Bay bathroom faucets are known for their durability and functionality. However, like any plumbing fixture, they can encounter issues over time. Let’s discuss some common problems that you may encounter with Glacier Bay bathroom faucets and how to address them.
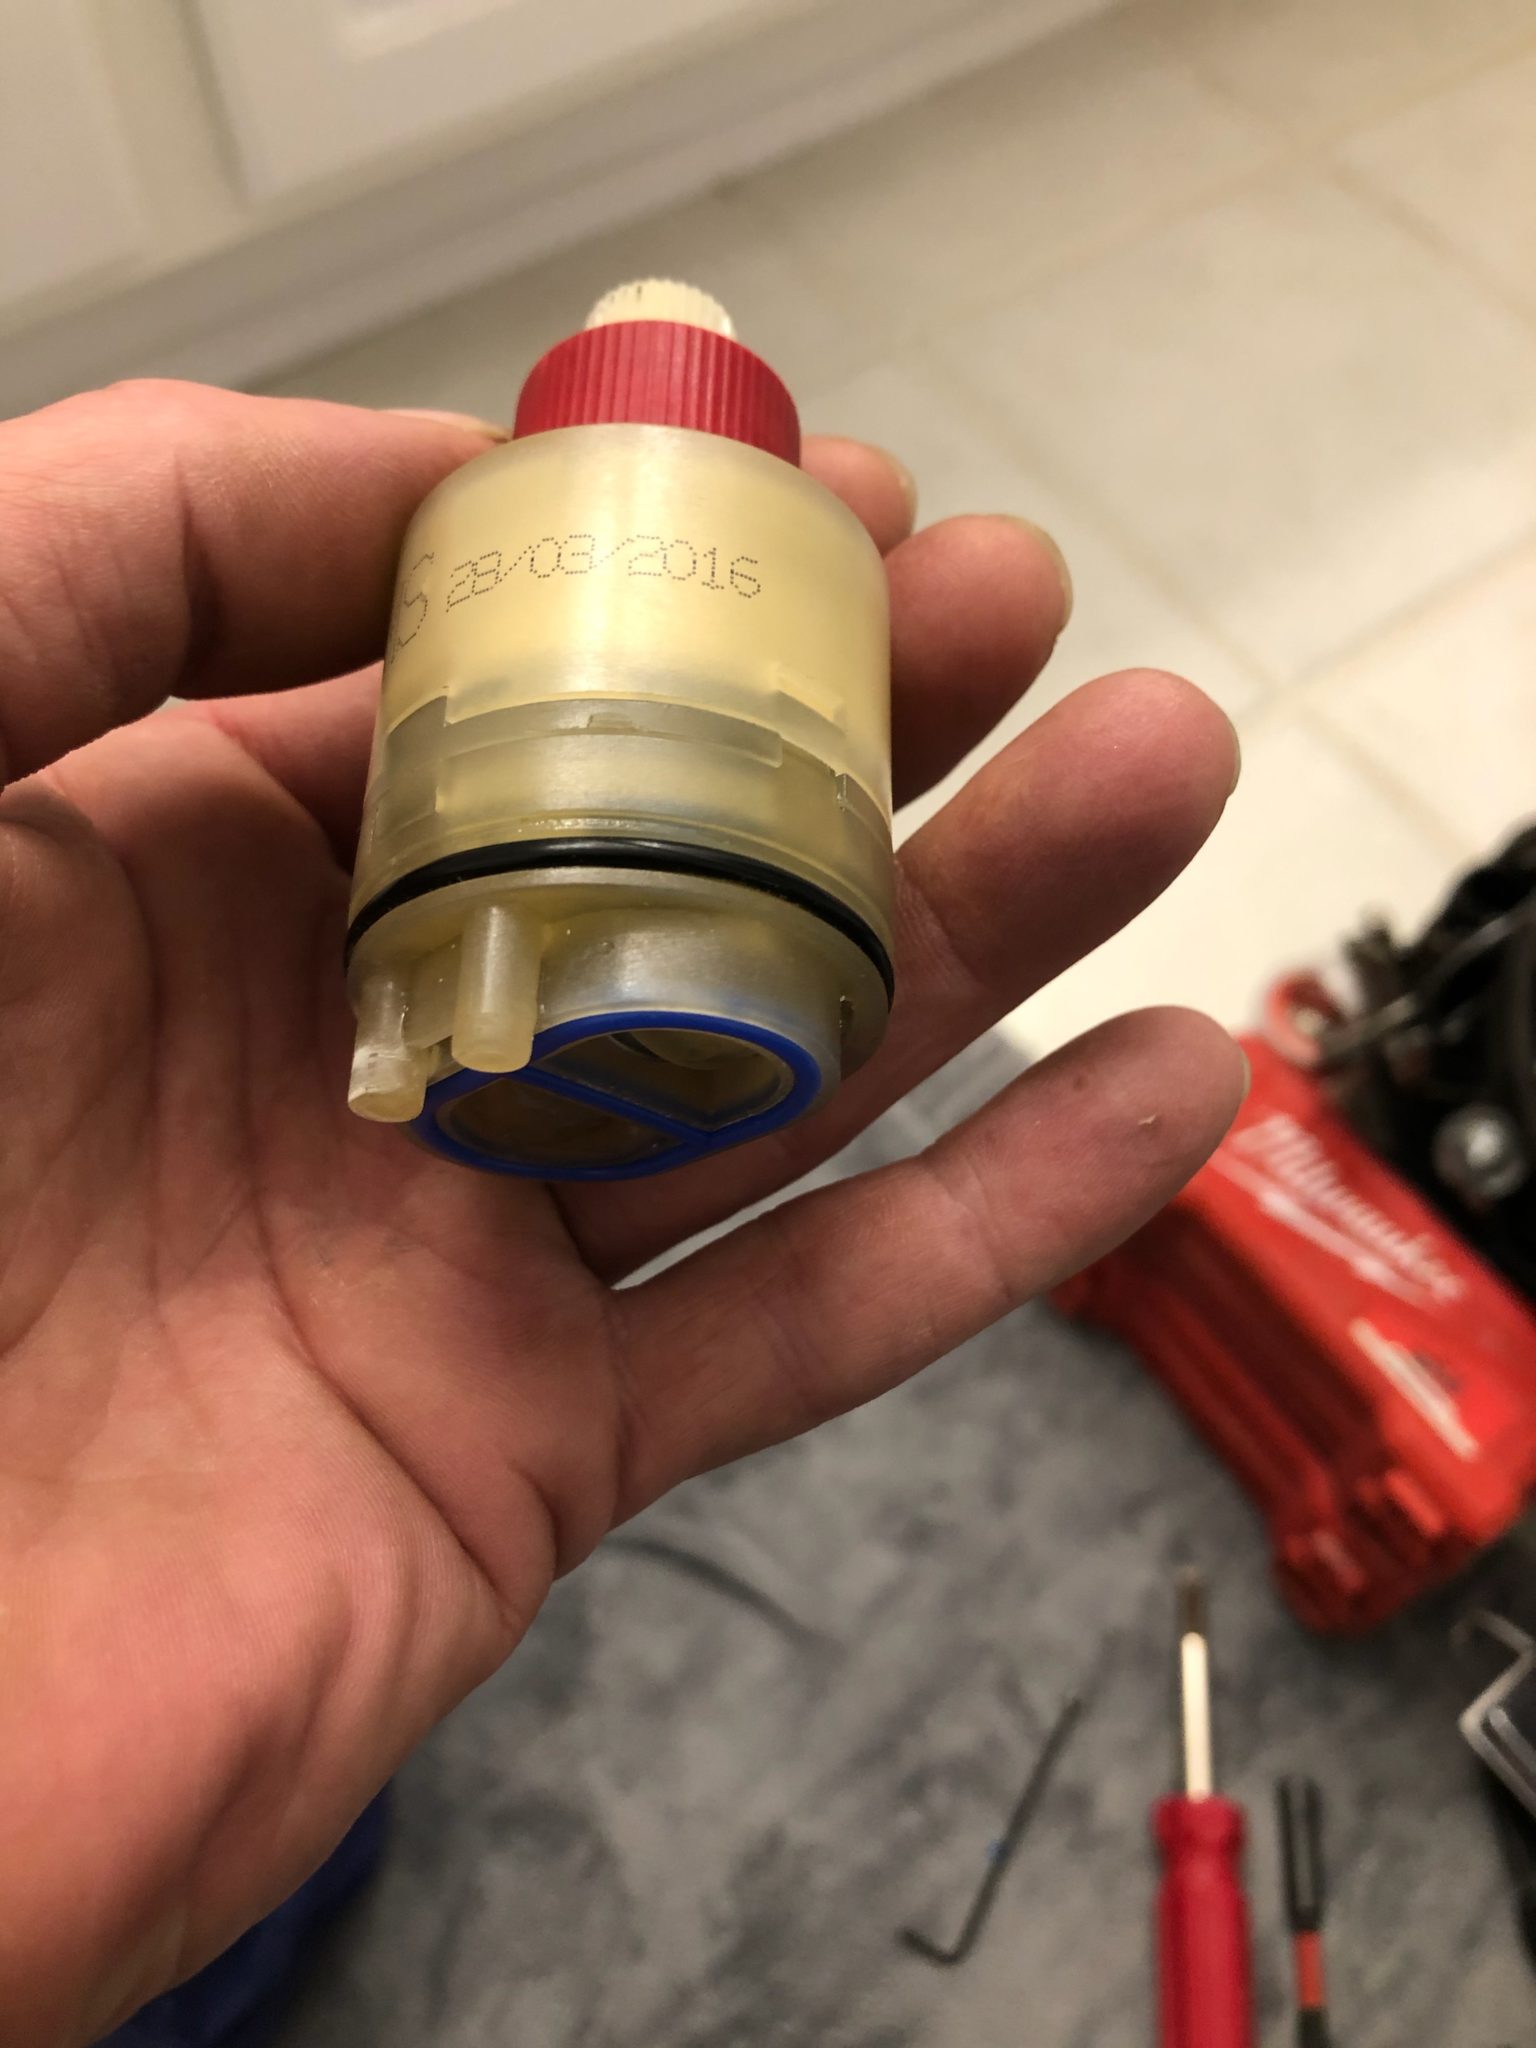
- Dripping Faucet: One of the most common issues with Glacier Bay bathroom faucets is a dripping faucet. This can be a result of a worn-out cartridge or valve. To fix this issue, start by turning off the water supply to the faucet. Then, disassemble the faucet and replace the cartridge or valve with a new one. Reassemble the faucet and turn on the water supply to check if the dripping has stopped.
- Low Water Pressure: If you notice a decrease in water pressure from your Glacier Bay bathroom faucet, there may be a few reasons for this. It could be due to a clogged aerator or a faulty water supply valve. Start by removing the aerator and cleaning it thoroughly. If the water pressure doesn’t improve, check the water supply valve to ensure it is fully open. If the problem persists, it may be best to consult a professional plumber to diagnose and fix the issue.
- Water Temperature Issues: Sometimes, Glacier Bay bathroom faucets may have issues with regulating water temperature. This could be caused by a malfunctioning mixing valve or a faulty temperature limiter. To address this, start by checking the temperature limiter and adjusting it if necessary. If that doesn’t solve the problem, you may need to replace the mixing valve. It is recommended to seek professional help if you are not familiar with these components.
- Leaking Base or Handle: Another common issue with Glacier Bay bathroom faucets is a leaking base or handle. This can be caused by loose connections or worn-out O-rings. Check all the connections and tighten them if necessary. If the leak persists, replace the O-rings with new ones. It is important to ensure that the faucet is properly sealed to prevent further leaks.
- Noisy Faucet: If you notice unusual noises coming from your Glacier Bay bathroom faucet, it could be due to loose parts or water hammering. Start by tightening all the connections and securing any loose parts. If the noise continues, you may need to install a water hammer arrestor to reduce the impact of water hammering.
Step-by-Step Guide to Repairing a Leaky Glacier Bay Bathroom Faucet
A leaky faucet can be a frustrating problem to deal with. Fortunately, repairing a leaky Glacier Bay bathroom faucet is a task that you can easily tackle on your own. In this step-by-step guide, we will walk you through the process of fixing a leaky Glacier Bay bathroom faucet to help you restore its functionality and prevent water wastage.
Gather the Necessary Tools: Before you begin the repair process, gather the necessary tools and materials. You will need an adjustable wrench, a screwdriver, a replacement cartridge or valve, a plumber’s tape, and a cloth or towel to catch any water drips.
Turn Off the Water Supply: The first step in repairing a leaky Glacier Bay bathroom faucet is to turn off the water supply. Locate the shut-off valves under the sink and turn them clockwise to shut off the water.
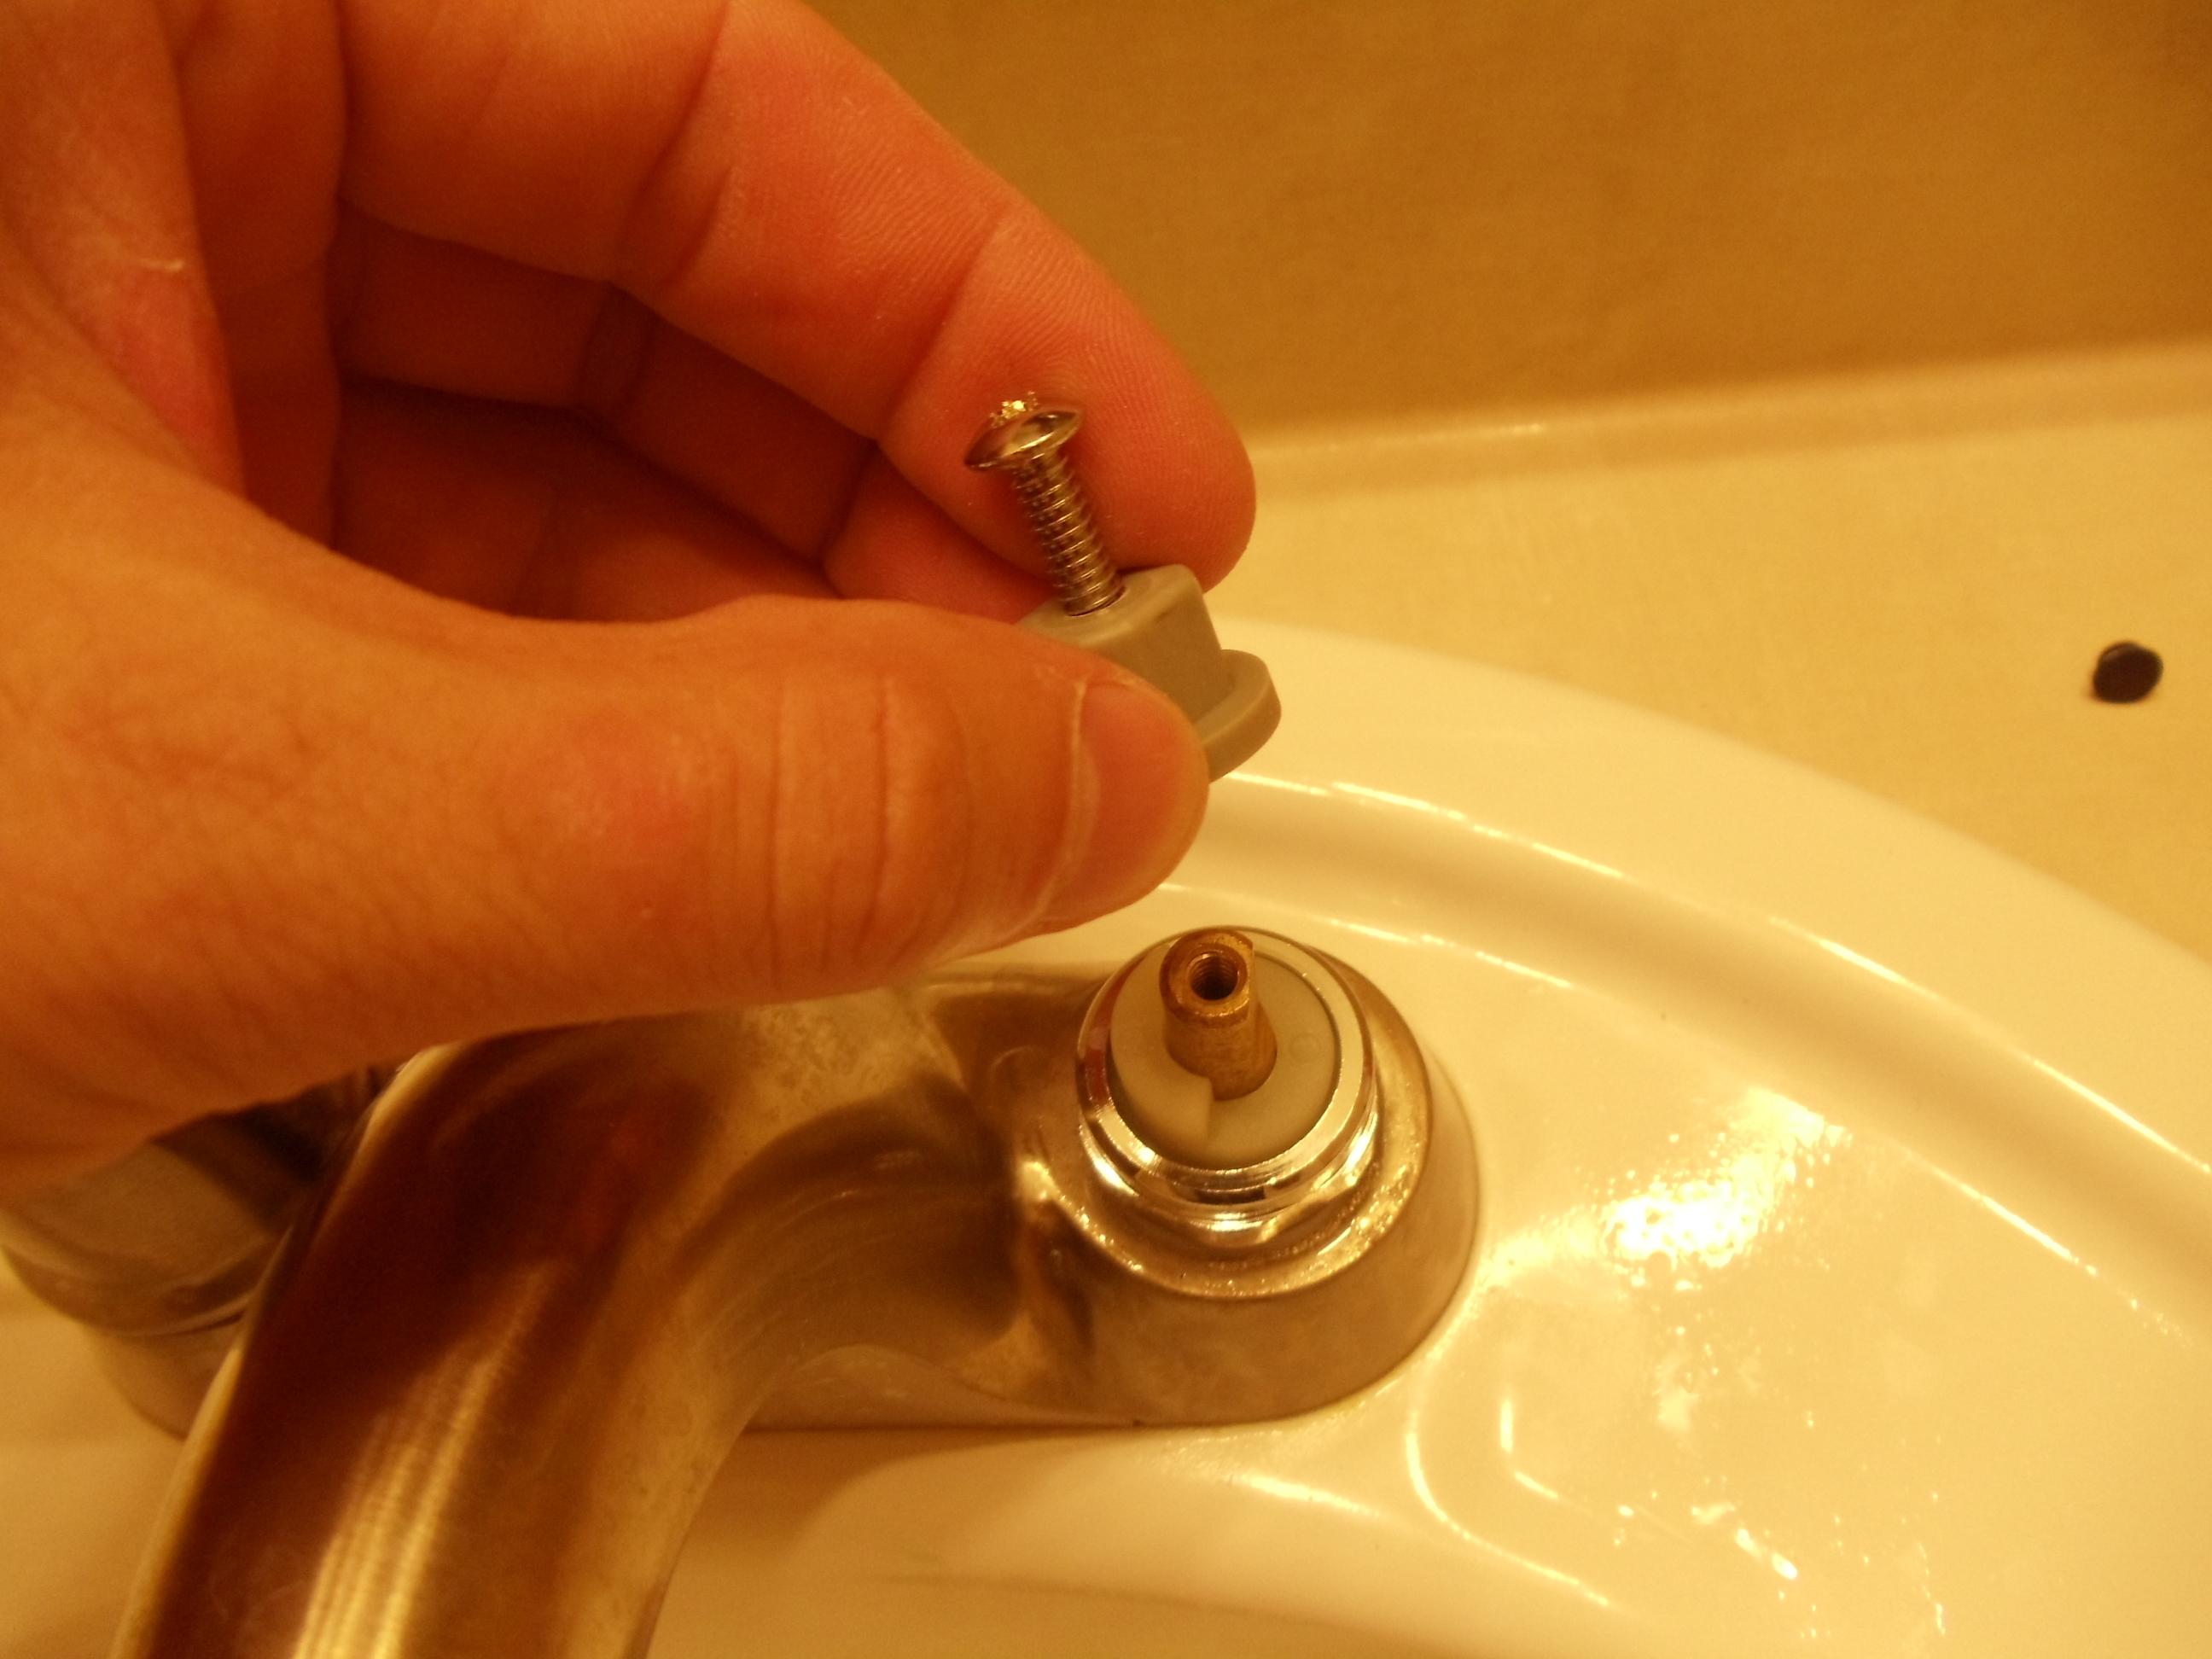
Disassemble the Faucet: Next, use the screwdriver to remove the handle of the faucet. Once the handle is removed, you will have access to the cartridge or valve that needs to be replaced. Use the adjustable wrench to carefully unscrew the cartridge or valve and remove it from the faucet.
Replace the Cartridge or Valve: Take the replacement cartridge or valve and apply the plumber’s tape to the threads to ensure a watertight seal. Insert the new cartridge or valve into the faucet and use the adjustable wrench to tighten it securely.
Reassemble and Test: After replacing the cartridge or valve, reassemble the faucet by attaching the handle and tightening the screws. Once everything is back in place, turn on the water supply and test the faucet for any leaks. If there are no leaks, congratulations – you have successfully repaired your leaky Glacier Bay bathroom faucet!
Clean-Up and Maintenance: After completing the repair, clean up any water drips and ensure that everything is functioning properly. Regularly clean and maintain your Glacier Bay bathroom faucet to prevent future leaks and extend its lifespan.
Troubleshooting Tips for Glacier Bay Bathroom Faucet Repair
Whether you are experiencing a leaky faucet, low water pressure, or other issues with your Glacier Bay bathroom faucet, troubleshooting the problem can help you identify the root cause and find a solution. Below we provide you with some troubleshooting tips to help you diagnose and resolve common problems with your Glacier Bay bathroom faucet.
Check the Water Supply: Before diving into faucet repair, it’s important to ensure that the water supply to your Glacier Bay bathroom faucet is fully open. Check the shut-off valves under the sink and make sure they are fully turned on. Insufficient water supply can cause low water pressure or other issues with your faucet.
Inspect the Aerator: If you are experiencing low water pressure, the culprit might be a clogged aerator. Remove the aerator from the faucet and clean it thoroughly. Use a toothbrush or a small brush to remove any debris or sediment that may have accumulated. Once cleaned, reattach the aerator and check if the water pressure has improved.
Look for Loose Connections: If your Glacier Bay bathroom faucet is leaking or producing strange noises, it’s important to check for loose connections. Inspect all the connections, including the handle, base, and supply lines, and tighten them if necessary. Loose connections can lead to leaks or noisy operation.
Examine the Cartridge or Valve: If you have a leaky faucet, the problem may lie with a faulty cartridge or valve. Carefully remove the handle and inspect the cartridge or valve for any signs of damage or wear. If you notice any cracks or corrosion, it’s time to replace the cartridge or valve with a new one.
Seek Professional Help: If you have tried troubleshooting and the problem persists, it may be best to seek professional help. A licensed plumber can diagnose the issue accurately and provide you with the most appropriate solution. They have the expertise and tools to handle complex faucet repairs and ensure a long-lasting fix.
Tools and Materials Needed for Glacier Bay Bathroom Faucet Repair
When it comes to repairing your Glacier Bay bathroom faucet, having the right tools and materials on hand can make the process much smoother and more efficient. We will discuss the essential tools and materials you will need to successfully repair your Glacier Bay bathroom faucet.
Adjustable Wrench: An adjustable wrench is a versatile tool that allows you to tighten or loosen nuts and bolts of various sizes. It will come in handy when disassembling and reassembling your Glacier Bay bathroom faucet.
Screwdriver: A screwdriver is essential for removing screws that hold the faucet handle or other components in place. Make sure to have both a flathead and a Phillips head screwdriver, as different faucets may require different types of screws.
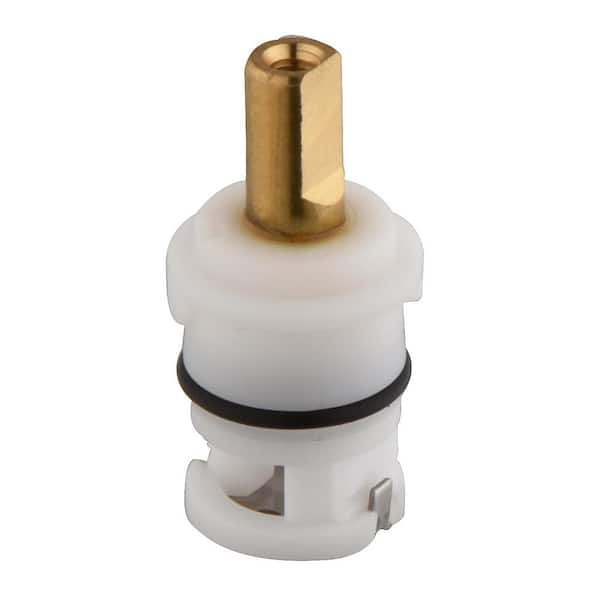
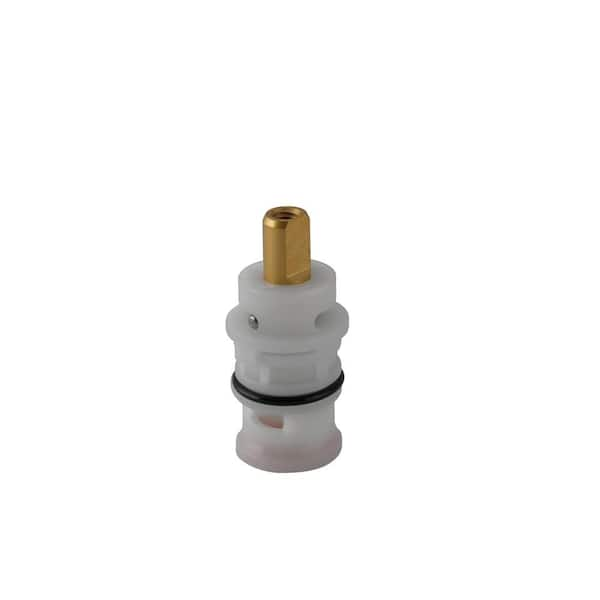
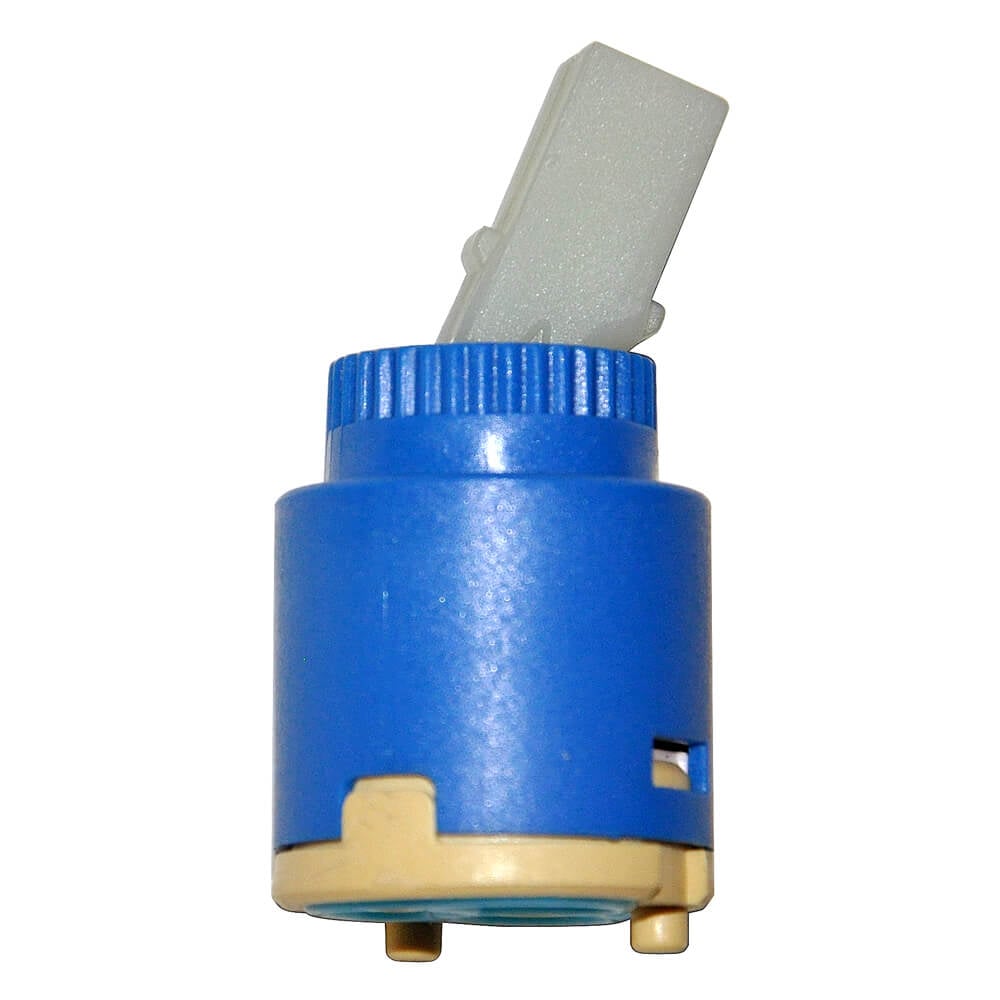
Replacement Cartridge or Valve: If you are repairing a leaky faucet, you will likely need a replacement cartridge or valve. These components are responsible for controlling the flow of water and can wear out over time. Make sure to purchase the correct cartridge or valve that is compatible with your specific Glacier Bay bathroom faucet model.
Plumber’s Tape: Plumber’s tape, also known as Teflon tape, is used to create a watertight seal between threaded connections. It is essential for preventing leaks when installing new cartridges, valves, or other faucet components.
Cleaning Supplies: Before repairing your Glacier Bay bathroom faucet, it’s a good idea to have some cleaning supplies on hand. A cloth or towel can be used to catch any water drips, while a small brush or toothbrush can be used to clean the aerator or other components.
Safety Gloves and Eye Protection: While not directly related to the repair process, safety gloves and eye protection are important to have when working with plumbing fixtures. They will protect your hands and eyes from any potential injuries or accidents.
Preventive Maintenance for Glacier Bay Bathroom Faucets
Preventive maintenance plays a vital role in keeping your Glacier Bay bathroom faucet in good working condition and avoiding future repairs. By implementing a few simple maintenance practices, you can extend the lifespan of your faucet and prevent costly issues down the line. Let’s discuss some preventive maintenance tips for Glacier Bay bathroom faucets.
Regular Cleaning: Regularly cleaning your Glacier Bay bathroom faucet is an important preventive maintenance step. Use a mild soap or cleaner and a soft cloth to wipe down the faucet, removing any dirt, grime, or mineral deposits. Pay attention to the aerator and ensure it is free from any debris that may affect water flow. Cleaning your faucet not only keeps it looking pristine but also helps maintain its functionality.
Avoid Harsh Chemicals: When cleaning your Glacier Bay bathroom faucet, it’s important to avoid using harsh chemicals or abrasive cleaners. These can damage the finish of the faucet and potentially cause leaks or other issues. Stick to mild soaps and non-abrasive cleaners to protect the faucet’s surfaces.
Check for Leaks: Regularly check your Glacier Bay bathroom faucet for any signs of leaks. Even a small, slow leak can waste a significant amount of water over time. If you notice any drips or pooling water around the base or handles, it’s important to address the issue promptly. Leaks can be caused by worn-out cartridges, loose connections, or other components, and should be repaired as soon as possible to prevent further damage.
Inspect and Replace Seals and O-rings: Seals and O-rings are essential components that help create a watertight seal in your Glacier Bay bathroom faucet. Over time, these seals can deteriorate or become loose, leading to leaks. Regularly inspect the seals and O-rings for any signs of wear, such as cracks or brittleness. If you notice any issues, it’s recommended to replace them with new ones to maintain a proper seal and prevent leaks.
Lubricate Moving Parts: To ensure the smooth operation of your Glacier Bay bathroom faucet, it’s beneficial to lubricate the moving parts periodically. Apply a small amount of silicone-based lubricant to the cartridge, valve, or other moving components to reduce friction and extend their lifespan. Be cautious not to use petroleum-based lubricants, as they can damage certain faucet materials.
Check Water Pressure: Regularly check the water pressure of your Glacier Bay bathroom faucet. Low water pressure can be a sign of sediment buildup or a clogged aerator. If you notice a decrease in water pressure, remove the aerator and clean it thoroughly. If the issue persists, it’s recommended to consult a professional plumber to diagnose and address the underlying cause.
Educate Household Members: Preventive maintenance is a collective effort, so it’s important to educate all household members about proper faucet usage. Teach them to turn the faucet handles gently and avoid excessive force, as this can cause damage to the internal components. Also, encourage the proper use of the aerator, such as not removing or tampering with it unnecessarily.
How to Repair a Washerless Faucet. Plumbing Tips!
How to Fix a Leaking Glacier Bay Bathroom Sink Faucet – DIY Home
How to fix a Glacier Bay leaky faucet
Glacier Bay Aragon 4 in. Centerset 1-Handle Low Arc Bathroom
Glacier Bay Cold Cartridge Assembly RP90142
Glacier Bay Hot Cartridge Assembly RP90114
How to remove the cartridge from a Glacier Bay two-handle bathroom
Cartridge for Glacier Bay Single-Handle Faucets – Plumbing Parts
Glacier Bay Parts ideas glacier bay, glacier, faucet
Related Posts:
- Copper Single Hole Bathroom Faucet
- French Handle Oil Rubbed Bronze Widespread Bathroom Faucet
- Asian Inspired Bathroom Faucets
- Single Hole Single Handle Bathroom Faucet In Chrome
- Delta Matte Black Bathroom Faucet
- Antique Style Bathroom Faucets
- Kalia Bathroom Faucets
- Remove Moen Bathroom Faucet Handle
- 8 In Widespread 2 Handle Bathroom Faucet
- Hands Free Commercial Bathroom Faucets


