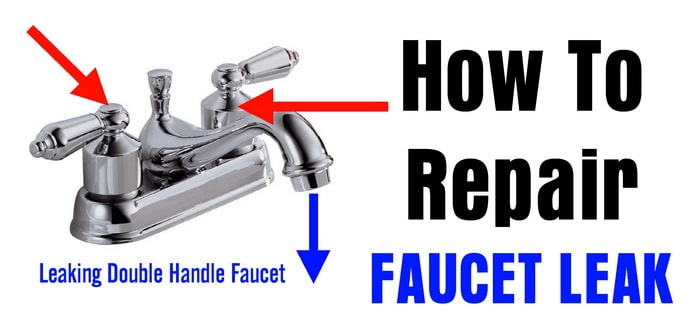
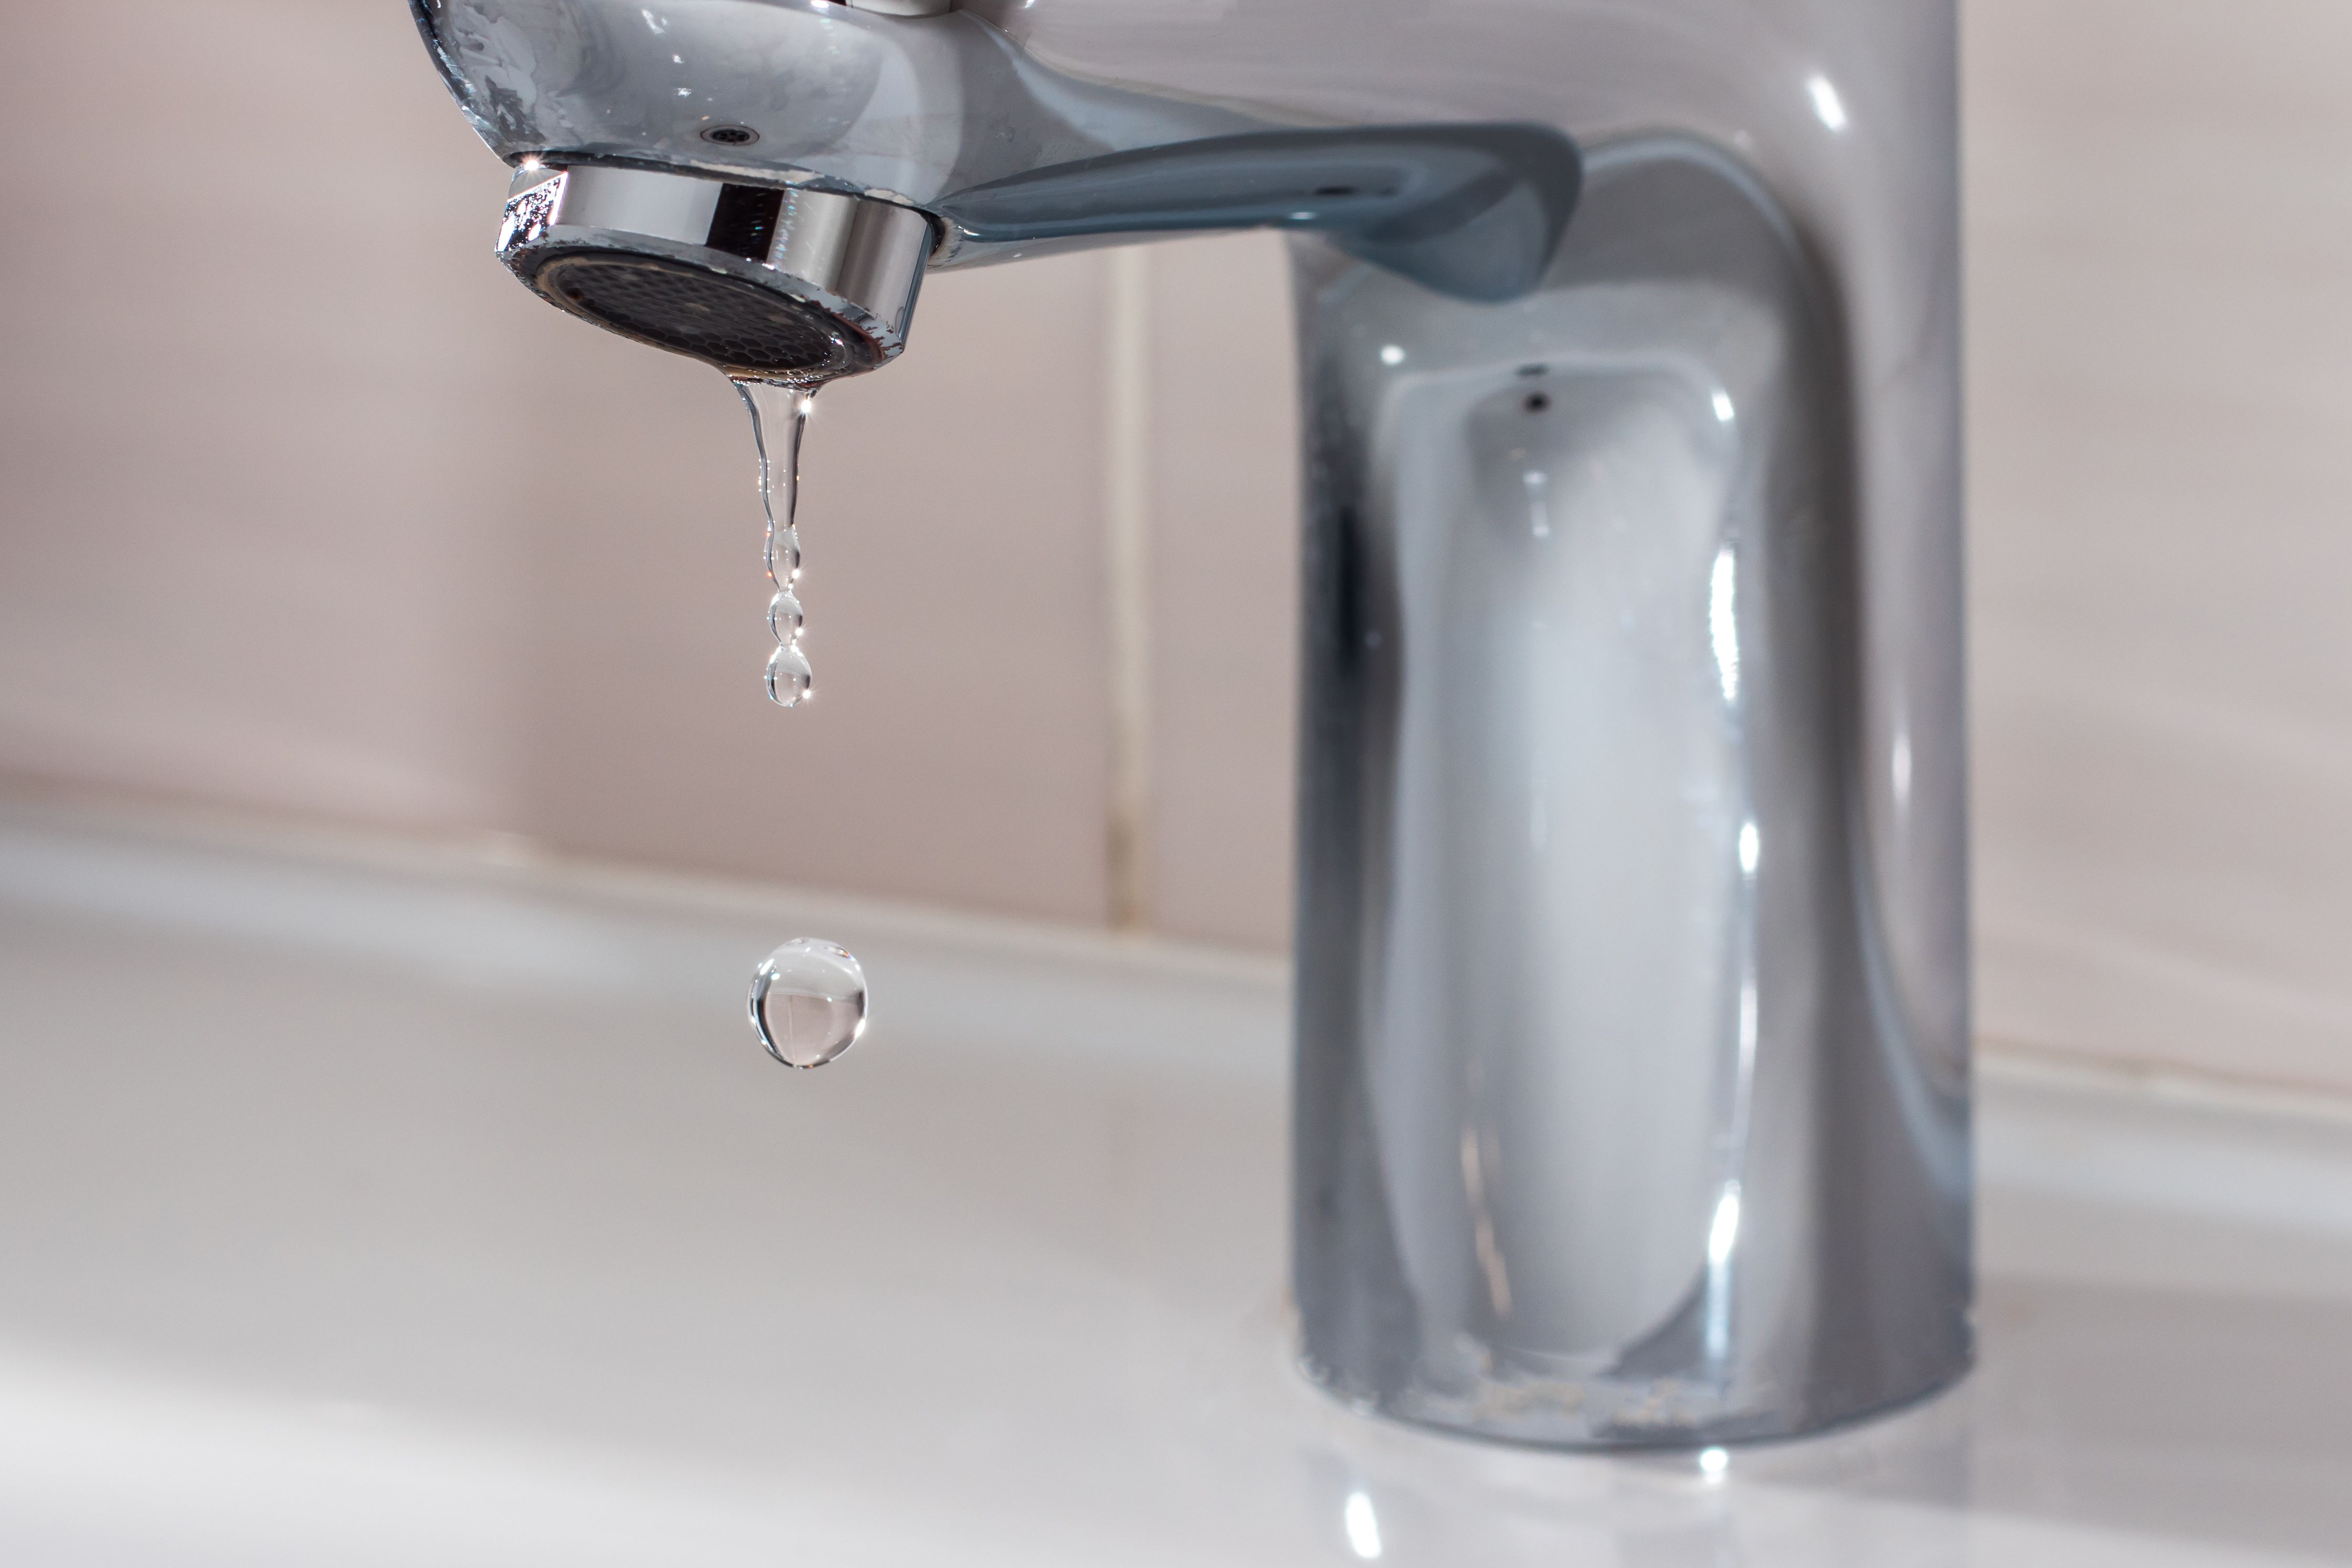
Diagnosing The Leak
A leaking bathroom faucet can be a frustrating problem that not only wastes water but also increases your utility bills. Before you can fix the leak, it’s important to understand the different types of leaks and their potential causes. By diagnosing the specific issue, you can effectively address the problem and prevent further damage. Let’s see the common types of leaks in a bathroom faucet and provide insights into their potential causes.
- Dripping Faucet: One of the most common types of leaks is a dripping faucet. This occurs when water continuously drips from the spout even when the faucet is turned off. The most common cause of a dripping faucet is a worn-out or faulty valve seal. Over time, the seal can become worn, allowing water to escape and create an irritating drip. Other possible causes include loose parts, improper installation, or a damaged cartridge.
- Leaking Base: If you notice water pooling around the base of your bathroom faucet, it indicates a leak in the base. This type of leak is often caused by a faulty O-ring or loose connections between the faucet and the sink. O-rings can deteriorate over time, leading to water seepage. Additionally, loose connections can allow water to escape and accumulate around the base. It’s important to address this issue promptly to prevent water damage to the sink or cabinet.
- Spraying or Splashing: A faucet that sprays or splashes water when turned on is another common type of leak. This can be caused by a variety of factors, such as a clogged aerator, a faulty diverter valve, or high water pressure. A clogged aerator restricts water flow, causing it to spray in different directions. A faulty diverter valve can also cause water to spray instead of flowing smoothly. High water pressure, on the other hand, can result in excessive force when the faucet is turned on, leading to splashing.
- Continuous Water Flow: If water continues to flow from the faucet even when it is supposed to be turned off, you have a continuous water flow leak. This type of leak is often caused by a malfunctioning valve or cartridge. The valve or cartridge is responsible for controlling the flow of water, and when it fails, water can continuously flow, wasting water and increasing your water bill. It’s crucial to address this issue promptly to avoid unnecessary water wastage.
- Handle Leaks: Handle leaks occur when water seeps from around the faucet handle or from under the handle itself. This type of leak is commonly caused by a worn-out or damaged O-ring or a faulty valve stem. O-rings can deteriorate over time, leading to water leakage. A faulty valve stem can also cause water to seep around the handle. It’s important to fix the handle leaks promptly to prevent further damage to the faucet and to conserve water.
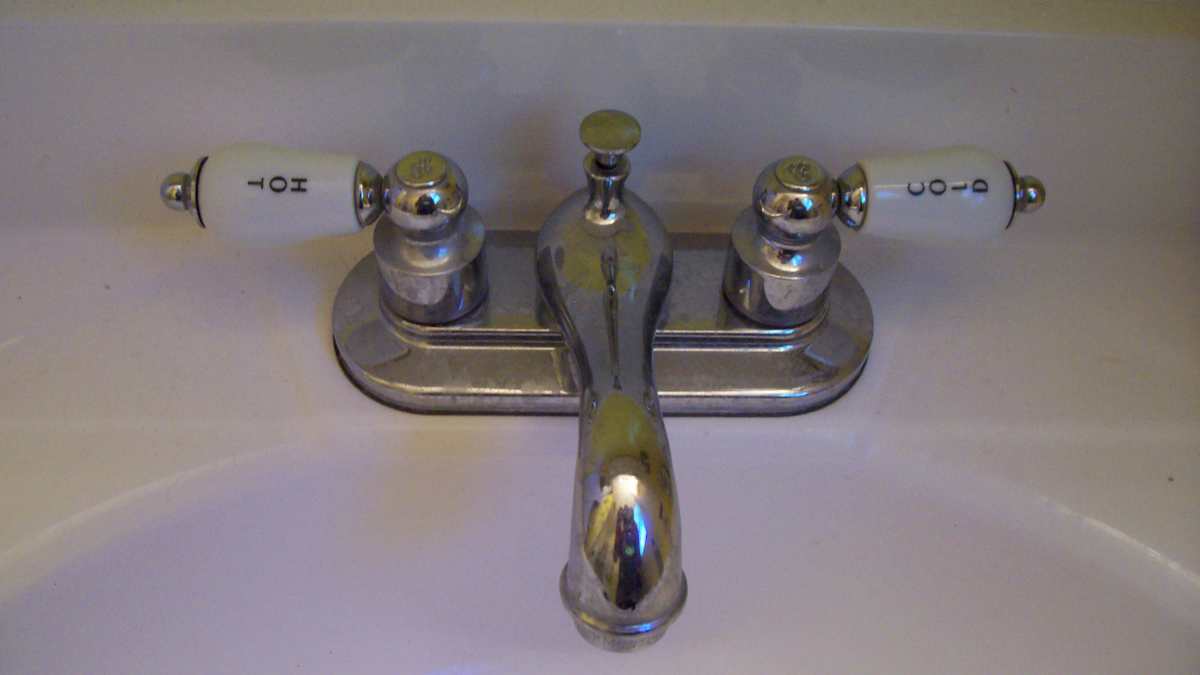
Gathering The Necessary Tools and Materials
Fixing a leaking bathroom faucet requires the right tools and materials to ensure a successful repair. Having the necessary equipment on hand will save you time and frustration, enabling you to complete the repair efficiently. Below we provide you with a comprehensive list of the tools and materials needed to fix a leaking bathroom faucet, allowing you to gather everything you need before starting the repair process.
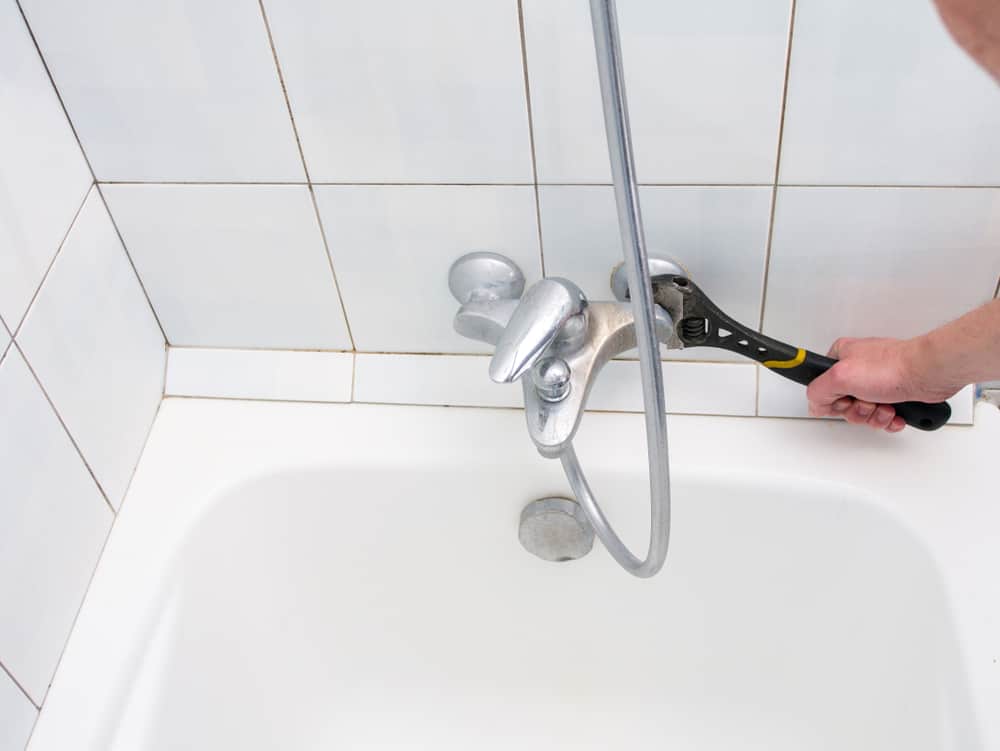
Adjustable Wrench: An adjustable wrench is a versatile tool that will come in handy during the faucet repair process. It allows you to tighten or loosen nuts and bolts of various sizes, making it essential for removing and installing different faucet components.
Screwdrivers: You will need both a flathead and a Phillips head screwdriver for faucet repair. These tools are used to remove screws that hold the faucet handle, cover plate, and other components in place. Make sure you have the appropriate size screwdrivers to fit the screws on your specific faucet model.
Plumber’s Putty: Plumber’s putty is a soft, moldable substance used to create watertight seals around the base of the faucet and the sink. It helps prevent water from leaking through gaps between the faucet and the sink surface. Ensure you choose a plumber’s putty that is suitable for use on your specific sink material.
Replacement Parts: Depending on the specific issue with your faucet, you may need to replace certain components to fix the leak. Common replacement parts include valve seals, O-rings, cartridges, and aerators. Identify the faulty parts and ensure you have the correct replacements on hand before beginning the repair.
Pipe Wrench: A pipe wrench may be necessary for removing and replacing stubborn or corroded nuts and connections. This tool provides a strong grip and leverage, allowing you to loosen or tighten pipes and fittings securely.
Teflon Tape: Teflon tape, also known as plumber’s tape, is a thin, white tape used to create a watertight seal on threaded connections. It helps prevent leaks by filling gaps and reducing the risk of water seepage. Apply Teflon tape to the threads of any connections that require a seal.
Bucket and Towels: Having a bucket and towels nearby is essential to catch any water that may spill during the repair process. This will help you keep your work area clean and prevent water damage to your bathroom.
Safety Equipment: While not directly related to the repair itself, it’s important to prioritize safety. Depending on the complexity of the repair, you may want to wear safety glasses, gloves, or other protective equipment to prevent injury.
Step-by-Step Repair Instructions
Repairing a leaking bathroom faucet requires a systematic approach to ensure a successful fix. By following a step-by-step guide, you can disassemble the faucet, identify the faulty components, and repair or replace them to stop the leak. We will provide you with detailed instructions on how to repair a leaking bathroom faucet, allowing you to complete the process effectively.
Turn off the Water Supply: Before starting any repair work on the faucet, it’s crucial to turn off the water supply. Locate the shut-off valves under the sink and turn them clockwise to close them. If you cannot find the shut-off valves, you may need to shut off the main water supply to your home.
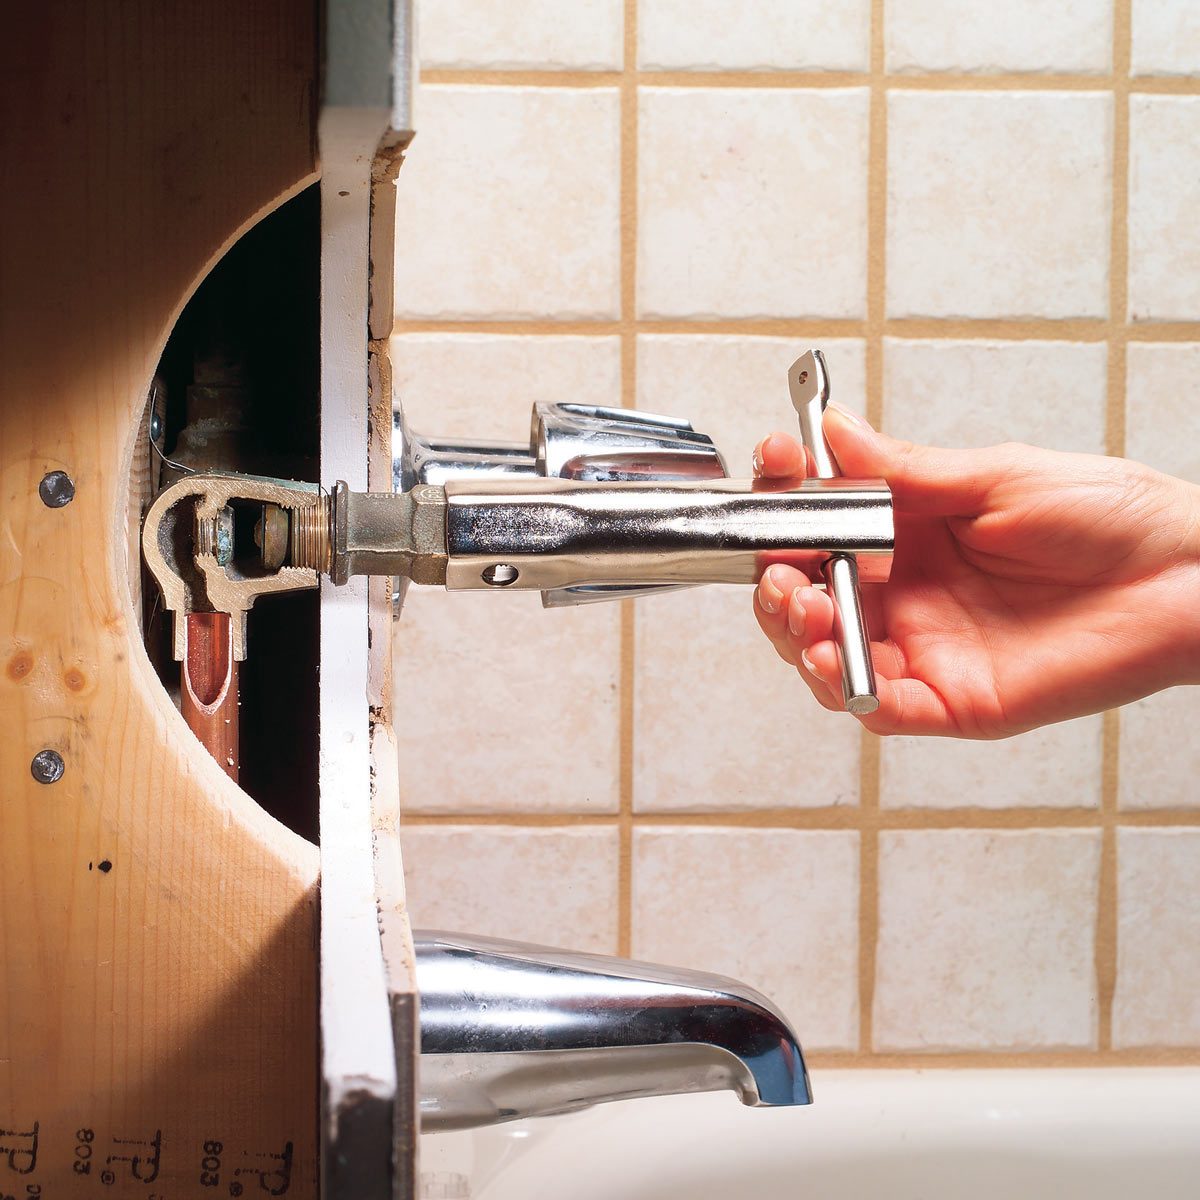
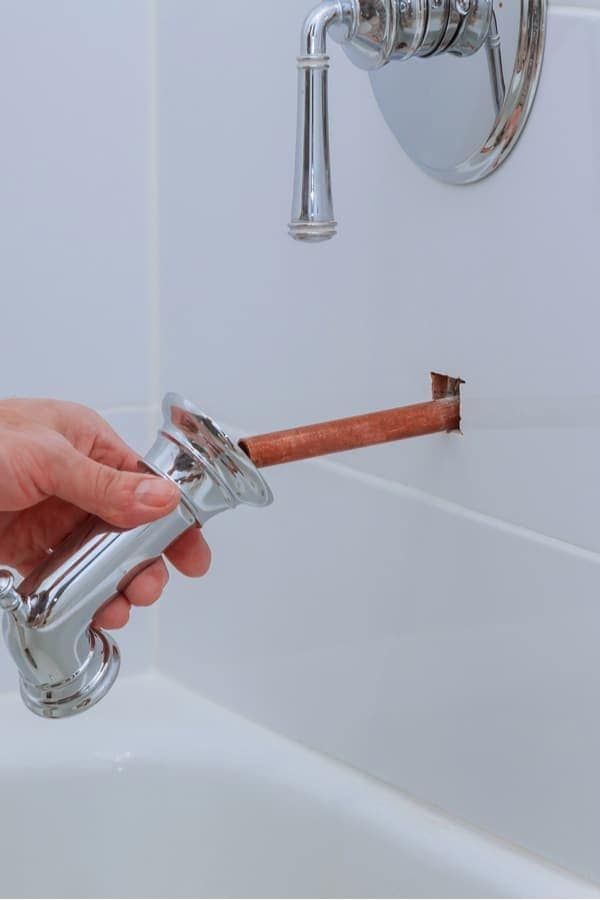
Disassemble the Faucet: Start by removing the faucet handle. Depending on the type of faucet you have, this may involve removing a decorative cap, a set screw, or a handle nut. Use the appropriate tool, such as a screwdriver or an adjustable wrench, to remove these components. Once the handle is removed, you will have access to the inner workings of the faucet.
Inspect and Identify the Faulty Components: Carefully inspect the various components inside the faucet for signs of wear, damage, or corrosion. Common culprits for leaks include valve seals, O-rings, cartridges, and aerators. Identify the faulty components that need to be repaired or replaced. Take note of their sizes and specifications to ensure you obtain the correct replacements.
Repair or Replace the Faulty Components: If the components are repairable, such as valve seals or O-rings, carefully remove them and clean any debris or buildup. Apply plumber’s grease to lubricate the components before reassembling them. If the components are beyond repair or severely damaged, it’s best to replace them with new ones. Install the new components following the manufacturer’s instructions.
Reassemble the Faucet: Once the faulty components have been repaired or replaced, carefully reassemble the faucet in the reverse order of disassembly. Ensure all connections are tight but don’t overtighten, as it can cause damage. Verify that the new or repaired components are properly seated and aligned.
Turn on the Water Supply and Test for Leaks: After reassembling the faucet, turn on the water supply by reopening the shut-off valves. Slowly turn the faucet handle to allow water to flow. Inspect the faucet for any leaks, both around the base and from the spout. If you notice any leaks, double-check the connections and make any necessary adjustments.
Clean and Check for Proper Operation: Once you have confirmed that there are no leaks, clean the faucet and remove any debris or residue. Test the faucet’s functionality by turning it on and off, checking for smooth operation and proper water flow. Ensure that the hot and cold water handles are functioning correctly, and make any necessary adjustments.
Troubleshooting Common Issues
While repairing a leaking bathroom faucet, you may encounter common issues that can pose challenges during the repair process. It’s important to be prepared for these obstacles and have strategies in place to overcome them. Let’s address some common problems that may arise when fixing a leaking bathroom faucet and provide troubleshooting tips to help you overcome them.
Stuck or Corroded Parts: Over time, faucet components can become stuck or corroded, making them difficult to remove or replace. If you encounter stubborn parts that won’t budge, try using penetrating oil, such as WD-40, to loosen them. Apply the oil to the stuck area and let it sit for a few minutes before attempting to remove the part again. If necessary, use pliers or a pipe wrench with caution to provide additional leverage. Be careful not to damage the part or the faucet during this process.
Difficulties with Removing the Handle: Removing the faucet handle can sometimes be challenging, especially if it has been in place for a long time. If the handle is stuck, try gently tapping it with a rubber mallet or a block of wood to loosen it. You can also use a handle puller tool designed specifically for this purpose. Ensure you follow the manufacturer’s instructions when using a handle puller to avoid damaging the handle or the faucet.
Leaks Persisting After Repair: In some cases, leaks may persist even after you have repaired or replaced the faulty components. If this occurs, double-check all connections and ensure that everything is tightened properly. Check for any cracks in the faucet body or visible damage that may be causing the leak. If the issue persists, it may be necessary to seek professional help to diagnose and resolve the problem.
Difficulty Finding Replacement Parts: Finding the correct replacement parts for your specific faucet model can sometimes be challenging, especially if it is an older or less common model. Start by identifying the make and model of your faucet and search for replacement parts from the manufacturer or authorized retailers. If you are unable to find the exact parts, consider consulting a plumbing professional who may be able to suggest suitable alternatives or provide guidance on where to find the necessary components.
Unexpected Water Pressure or Flow Issues: While performing faucet repairs, you may encounter unexpected changes in water pressure or flow. This can be caused by various factors, such as debris clogging the aerator or an issue with the shut-off valves. If you experience low water pressure or flow, remove the aerator and clean it thoroughly to remove any debris or sediment. If the issue persists, check the shut-off valves to ensure they are fully open and not restricting water flow. If necessary, consult a plumber to diagnose and resolve any water pressure or flow issues.
Maintenance Tips for Preventing Future Leaks
Once you have successfully repaired a leaking bathroom faucet, it’s important to take preventive measures to avoid future leaks. Proper maintenance can help prolong the lifespan of your faucet and minimize the risk of leaks occurring. We will provide you with practical tips on how to maintain your bathroom faucet to prevent future leaks, including regular cleaning, lubrication, and inspection.
Regular Cleaning: Regularly cleaning your bathroom faucet is essential to prevent the buildup of mineral deposits, soap scum, and other debris that can affect its performance. Use a mild, non-abrasive cleaner and a soft cloth or sponge to clean the faucet regularly. Pay attention to hard-to-reach areas, such as around the base and the handles. Avoid using harsh chemicals or abrasive materials that can damage the faucet’s finish.
Lubrication: Applying lubricant to the moving parts of your faucet can help prevent friction and ensure smooth operation. Use a silicone-based lubricant or plumber’s grease to lubricate the handle, cartridge, and other moving components. Follow the manufacturer’s instructions for proper lubrication techniques and frequency.
Check for Leaks: Regularly inspect your bathroom faucet for any signs of leaks, even after you have repaired it. Check for dripping water, water pooling around the base, or any unusual sounds. Address any leaks promptly to prevent further damage and water wastage. If you notice a leak, follow the repair instructions mentioned earlier in this article to fix it.
Monitor Water Pressure: Monitoring the water pressure in your bathroom is important to prevent excessive pressure that can strain the faucet and potentially cause leaks. Install a pressure regulator if necessary to maintain a consistent and safe water pressure level. High water pressure can put stress on the faucet and its components, leading to leaks over time.
Avoid Excessive Force: When using your bathroom faucet, avoid applying excessive force when turning the handles on or off. Use gentle and even pressure to prevent wear and tear on the faucet’s internal components. Overtightening the handles can also lead to leaks, so tighten them just enough to stop the flow of water without straining the faucet.
Address Plumbing Issues: If you notice any plumbing issues in your bathroom, such as water hammer or fluctuating water temperatures, address them promptly. These issues can put additional stress on the faucet and its connections, potentially leading to leaks. Consult a plumber if you require assistance in resolving plumbing-related problems.
How to Fix a Leaking Bathtub Faucet (DIY) Family Handyman
Reasons Your Faucet Is Dripping Water u0026 How To Fix It
Easy Steps to Fix a Leaking Bathtub Faucet
leak – Leaky bathroom faucet – canu0027t find screw on handle
Bathtub Faucet Leaking – Here is Why and How to Fix It
How to Repair a Washerless Faucet. Plumbing Tips!
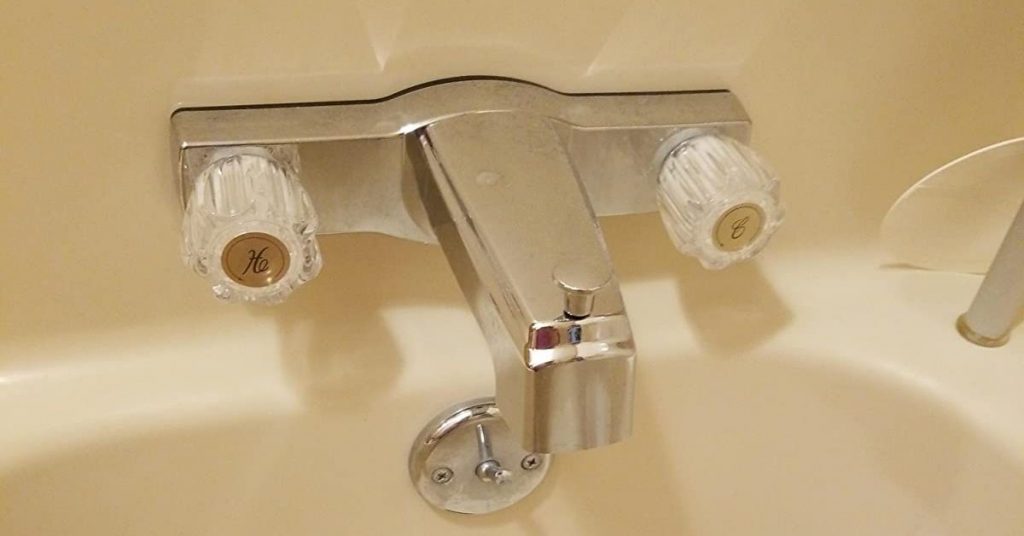
How To Repair A Leaking Double Handle Faucet
How to Fix a Leaky Faucet – 5 Easy Steps to Fix a Faucet
Related Posts:
- Brushed Copper Bathroom Faucets
- Kitchen And Bathroom Faucet Aerators
- Modern Chrome Bathroom Faucets
- Cost To Change Bathroom Faucet
- Delta Bathroom Faucet Aerator Replacement
- Bathroom Faucets Polished Brass Single Handle
- Moen Bathroom Faucet Cartridge Removal Tool
- How To Install Bathroom Faucet With Pop Up Drain
- How To Change A Washer On A Delta Bathroom Faucet
- European Style Bathroom Faucets
