Gathering the Necessary Tools and Materials
Today, I’m going to guide you through the process of installing a bathroom faucet. But before we jump into it, let’s make sure we have all the tools and materials we’ll need for this project. Here’s a handy list to get you started:
- Adjustable wrench: This versatile tool will come in handy when it’s time to tighten or loosen nuts and bolts.
- Screwdrivers: You’ll need both a Phillips and a flathead screwdriver for various parts of the installation.
- Plumber’s tape: Also known as Teflon tape, this tape will ensure a watertight seal between the faucet and the water lines.
- Bucket or towel: Trust me, a little preparation will save you a lot of hassle. Keep a bucket or towel nearby to catch any water that may spill during the process.
- New faucet: Of course, you’ll need a shiny new faucet to install. Make sure it’s the right size and style for your sink.
Preparing the Sink and Water Lines
Now that we have all our tools and materials ready, let’s move on to preparing the sink and water lines for the installation. Follow these steps:
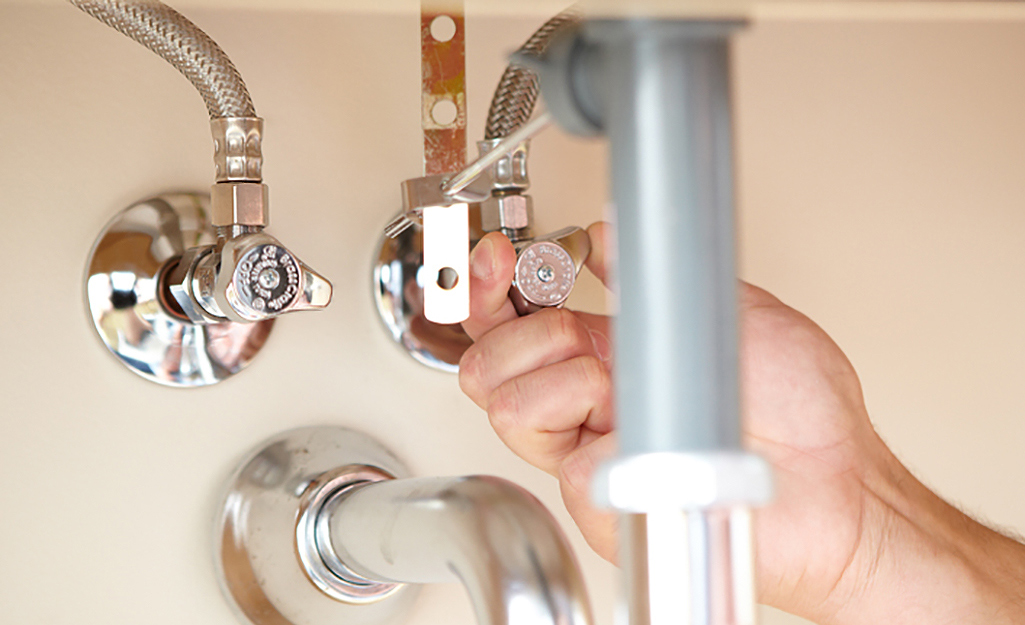
- Turn off the water supply: Locate the shut-off valves under the sink and turn them clockwise to shut off the water supply. If you can’t find the valves, you may need to shut off the main water supply to your home.
- Drain any remaining water: To avoid making a mess, open the faucet and let any remaining water drain out completely.
- Disconnect the water supply lines: Use your adjustable wrench to loosen and disconnect the water supply lines from the old faucet. Have a towel or bucket handy to catch any water that may spill.
- Remove the drain assembly: Unscrew the drain assembly from the sink using a wrench or pliers. This will give you more room to work with during the installation.

Removing the Old Faucet
Now that the sink and water lines are prepped, it’s time to bid farewell to the old faucet. Here’s how to remove it:
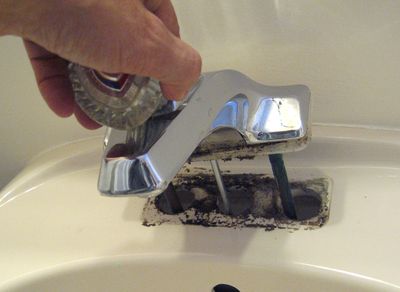
- Remove the mounting nuts: Use your adjustable wrench to loosen and remove the mounting nuts that hold the old faucet in place. There may be one or two depending on the design.
- Disconnect any remaining connections: Check for any additional connections such as a pop-up drain assembly or a pull-out spout. Disconnect them carefully, following the manufacturer’s instructions if necessary.
- Lift the old faucet off the sink: With all connections detached, you should be able to lift the old faucet out of the sink. Take a moment to clean the area and remove any debris before proceeding.

Installing the New Faucet
Now comes the exciting part – installing the new faucet! Follow these steps:
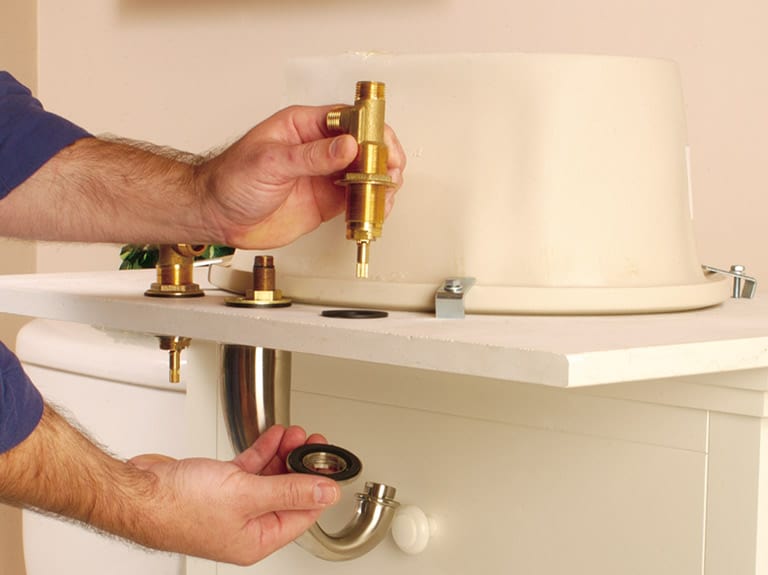
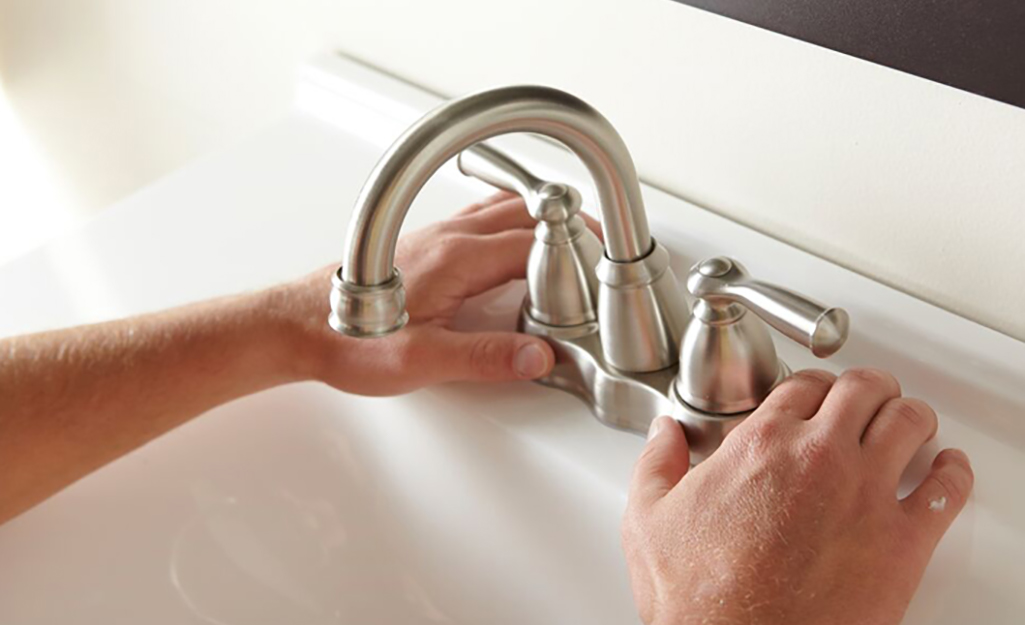
- Position the new faucet: Carefully place the new faucet into the sink’s mounting holes. Make sure it lines up properly and sits flush against the sink surface.
- Secure the faucet: From underneath the sink, use your adjustable wrench to tighten the mounting nuts, securing the new faucet in place. Be careful not to overtighten and damage the faucet or sink.
- Connect the water supply lines: Attach the water supply lines to the corresponding connections on the new faucet. Use your adjustable wrench to ensure a tight fit, but again, be cautious not to overtighten.
- Attach any additional components: If your new faucet has a pop-up drain assembly or any other additional components, follow the manufacturer’s instructions to attach them properly.
Testing and Finishing Touches
Almost there! Now it’s time to test your handiwork and add those final touches. Here’s what to do:
- Turn on the water supply: Slowly turn the shut-off valves counterclockwise to restore the water supply. Check for any leaks around the connections as the water flows.
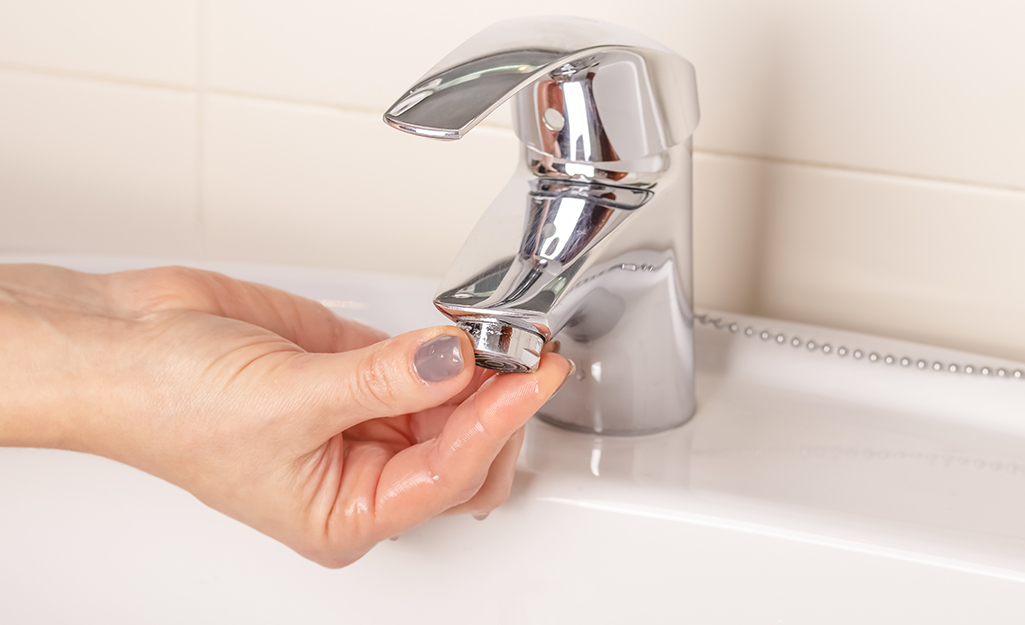
- Test the faucet: Open the faucet and check for proper water flow and temperature control. Make sure everything is functioning as expected.
- Tighten any loose connections: If you notice any leaks or loose connections, use your adjustable wrench to tighten them up. Don’t forget to wrap plumber’s tape around the threaded connections for a watertight seal.
- Clean up and enjoy: Wipe down the sink, remove any protective plastic or stickers from the new faucet, and admire your newly installed bathroom faucet. You did it!
Congratulations on successfully installing your new bathroom faucet! Now you can enjoy the upgraded look and functionality of your sink. Remember, if you ever need to replace or repair your faucet in the future, you now have the skills and know-how to tackle the job with confidence.
How To Install a Bathroom Faucet
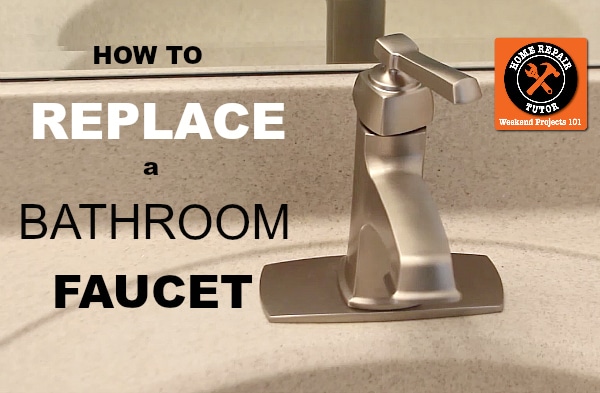
How to Replace a Bathroom Faucet – Home Repair Tutor
How to Replace a Bathroom Faucet: 14 Steps (with Pictures)
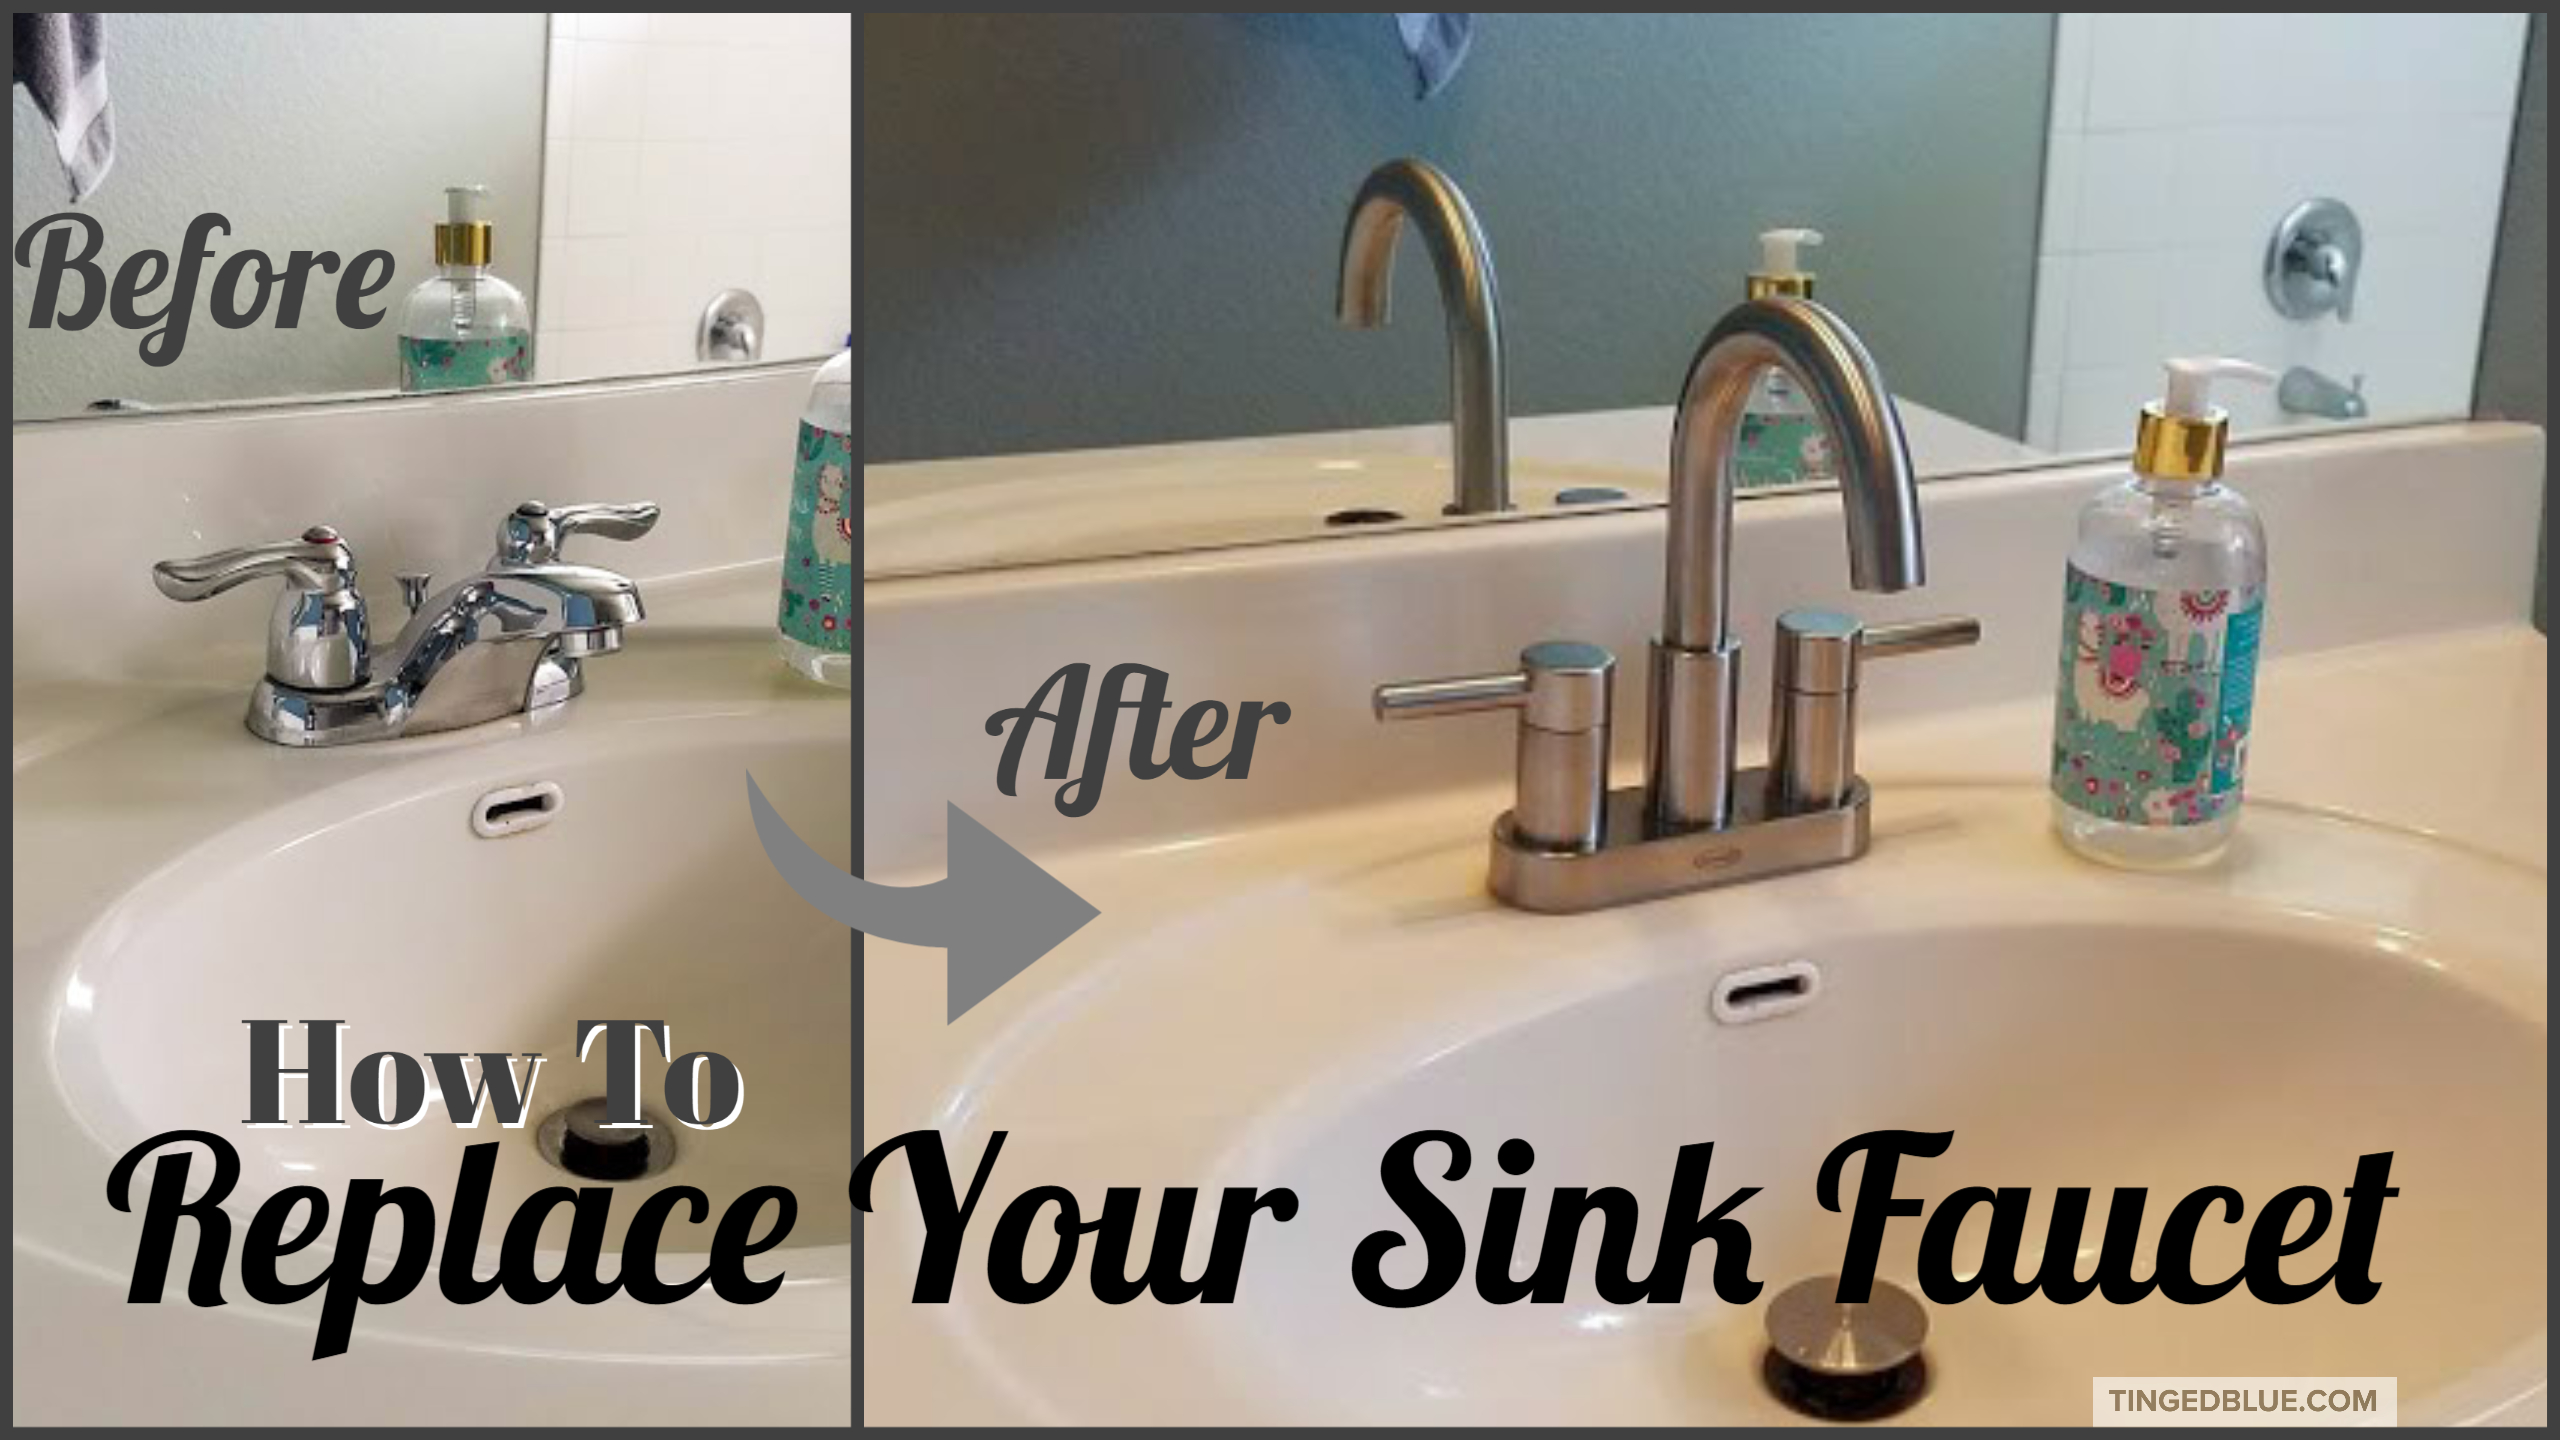
How To Replace a Bathroom Faucet – Tinged Blue
How to Replace a Bathroom Faucet: 14 Steps (with Pictures)
Installing a new bathroom faucet
How to Remove and Install a Bathroom Faucet
How To Install a Bathroom Faucet
Related Posts:
- Elizabethan Classics Bathroom Faucets
- Delta Bathroom Faucet Styles
- Delta Bathroom Faucet O Rings
- Kohler Rubicon Bathroom Faucet
- American Standard Bathroom Faucet Removal
- How To Fix A Kohler Bathroom Faucet
- How To Fix A Loose Bathroom Faucet
- Art Deco Bathroom Faucets
- Grohe Essence Bathroom Faucet
- Grohe Essence New Bathroom Faucet

