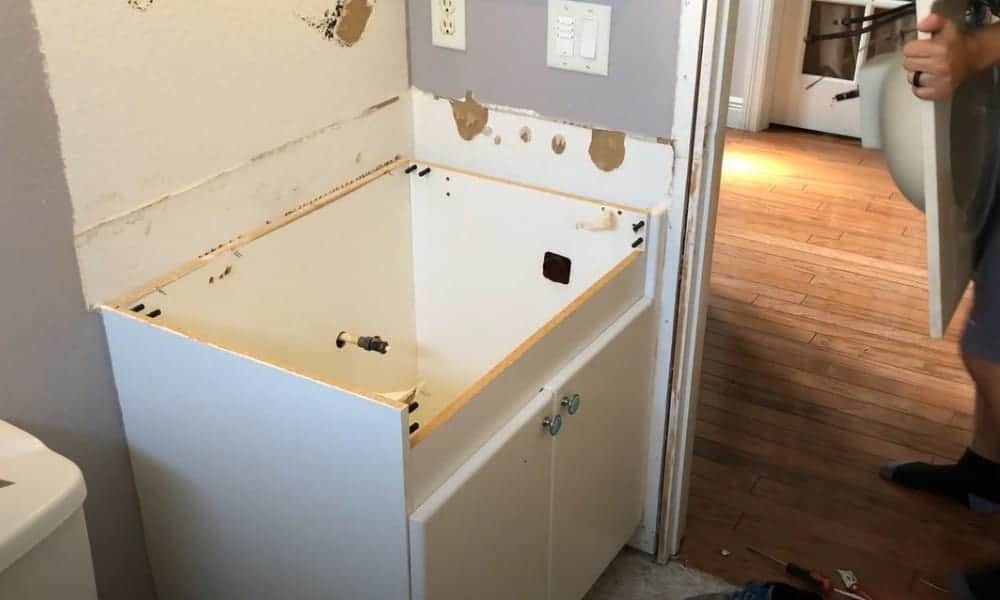
How To Remove a Bathroom Vanity
Removing a bathroom vanity may seem daunting, but with the right tools and a little know-how, you can easily tackle this project. Whether you’re looking to replace your vanity or make repairs, here’s a step-by-step guide on how to remove a bathroom vanity in first person point of view:
Preparation: Before you start, gathering the necessary tools is important. You’ll typically need an adjustable wrench, a screwdriver (Phillips or flathead, depending on the screws used), a utility knife, and a pry bar. It’s also a good idea to have a bucket or a towel handy to catch water in the pipes.
Shut off the water supply: Locate the shut-off valves for the water supply lines underneath the sink. Turn them clockwise to shut off the water. Afterward, turn on the faucet to relieve any remaining pressure.
Disconnect the water supply lines: Loosen the nuts connecting the supply lines to the faucet using your adjustable wrench. Once loose, you can usually hand-tighten them further and disconnect the lines completely. Place a towel or bucket underneath to catch any residual water.
Remove the P-trap: The P-trap is the curved pipe located beneath the sink that helps prevent sewer gases from entering your bathroom. Use a wrench or your hands to loosen the nuts connecting the P-trap to the drainpipe and the sink tailpiece. Be cautious, as water may still be trapped inside. Have a bucket or towel ready to catch any spills.
Disconnect the drainpipe: Locate the nut that secures the drainpipe to the bottom of the sink and unscrew it. This will release the drainpipe, allowing you to remove it from the sink.
Loosen the vanity top: Check if your vanity top is screwed into the vanity cabinet. If it is, remove the screws using a screwdriver. In some cases, the vanity top may be glued or caulked to the cabinet. In this situation, use a utility knife to cut through the adhesive carefully. Take your time to avoid damaging the countertop or the cabinet.
Unscrew the vanity from the wall: Look for any screws or nails securing the vanity to the wall. Typically, these will be located at the back of the cabinet or inside it. Use a screwdriver or pry bar to remove these fasteners, ensuring the vanity is no longer attached to the wall.
Lift and remove the vanity: With all the connections and attachments loosened or removed, you can now lift the vanity away from the wall and the plumbing connections. Enlist the help of a friend if the vanity is large or heavy.
Congratulations! You’ve successfully removed your bathroom vanity. Remember to clean up any remaining debris, and consider covering the exposed plumbing with a cap or rag to prevent accidents before installing your new vanity or making any necessary repairs.
How to Remove a Bathroom Vanity Budget Dumpster

How to remove and replace a bathroom sink DIY video #diy #sink
4 Ways to Replace a Bathroom Sink – wikiHow
How to Remove a Bathroom Sink DIY Projects
Removing a Bathroom Vanity Cabinet, Sink, and Faucet Diy
How to remove and install bathroom vanity – DIY
How to remove a bathroom vanity? (Step-by-Step Tutorial)
Related Posts:
- 35 Inch Bathroom Vanity
- 20 Inch Bathroom Vanity With Sink
- Bathroom Vanity Tops 49 X 22
- Bathroom Vanity Combo Clearance
- Open Bathroom Vanity Ideas
- Bathroom Vanity 48 X 22
- Silver Bathroom Vanity
- Led Bulbs For Bathroom Vanity
- Custom Bathroom Vanity Cabinets
- Old World Bathroom Vanities


