Understanding the different types of taps:
Taps come in various shapes, sizes, and styles, making it important to understand the different types before replacing them. Each type has its own unique installation process, so knowing which type you have in your bathroom sink is crucial. Below are the various types of taps commonly found in bathroom sinks.
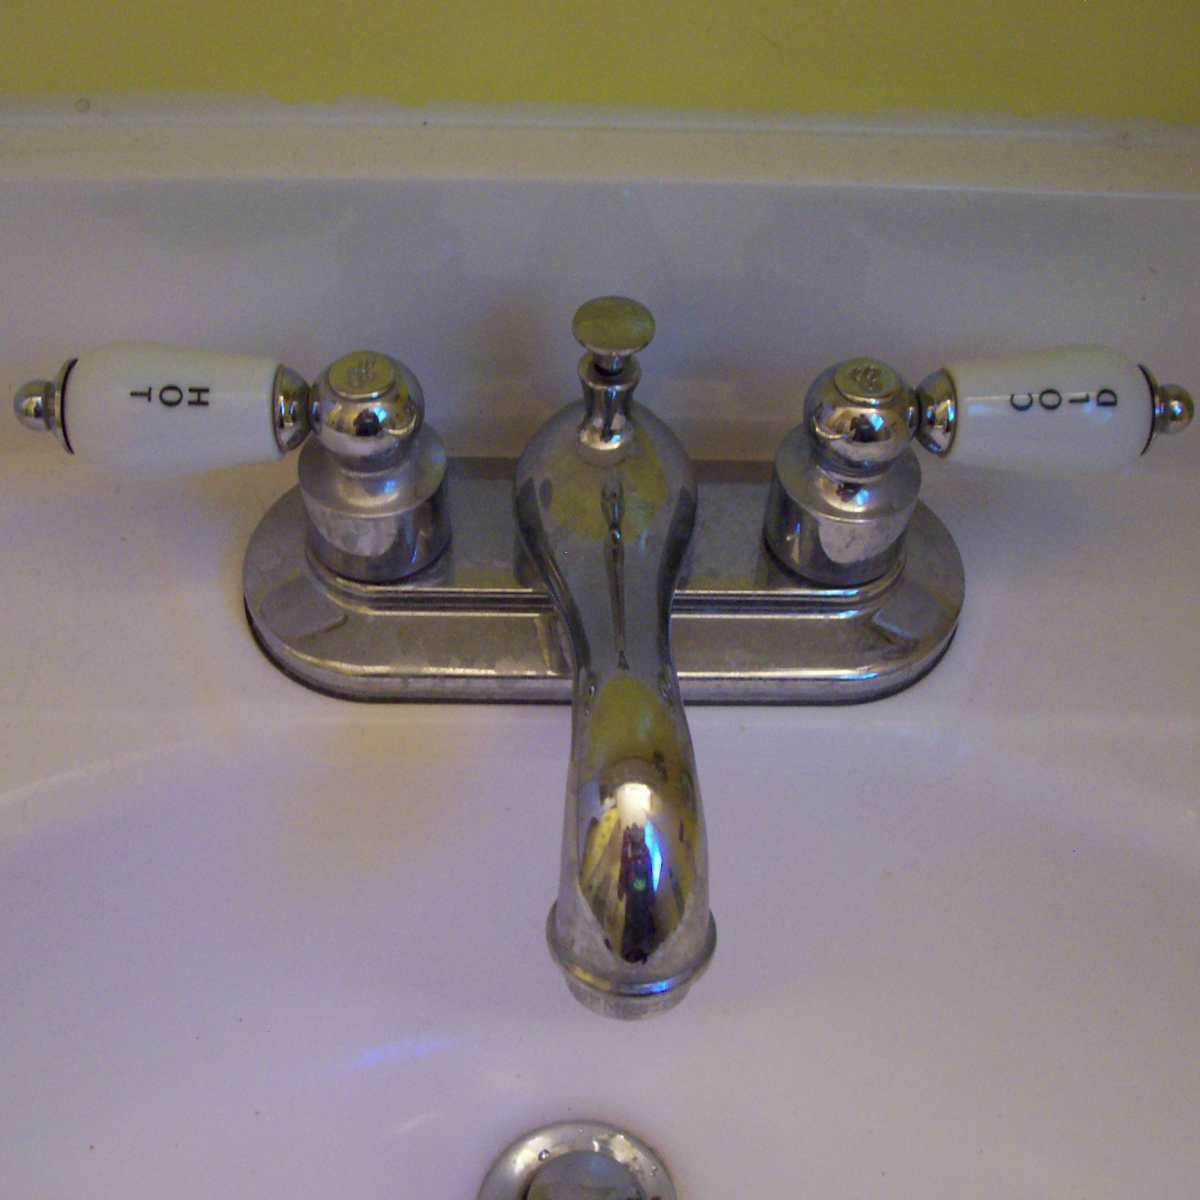
- Compression Taps: Compression taps are the most traditional type of taps, characterized by separate hot and cold handles. These taps work by compressing a washer against a valve seat to control the water flow. To replace a compression tap, you will need to remove the handle, unscrew the valve stem, and replace the washer before reinstalling the tap.
- Ball Taps: Ball taps, also known as single-handle taps, have a rounded ball-shaped mechanism inside the faucet body. This mechanism controls both the temperature and water flow. To replace a ball tap, you will need to locate and remove the handle, unscrew the cap, and replace the O-rings and springs before reassembling the tap.
- Cartridge Taps: Cartridge taps use a cylindrical cartridge with holes to regulate water flow and temperature. They are known for their smooth operation and durability. To replace a cartridge tap, you will typically need to remove the handle, unscrew the cartridge, replace it with a new one, and reassemble the tap.
- Ceramic Disc Taps: Ceramic disc taps are considered to be the most reliable and long-lasting type of taps. They use two ceramic discs that slide against each other to control water flow and temperature. To replace a ceramic disc tap, you will need to remove the handle, unscrew the cartridge, replace the discs, and reassemble the tap.

Preparing for the tap replacement
Before replacing a tap in your bathroom sink, it is crucial to properly prepare for the task. By taking the necessary precautions and gathering the right tools, you can ensure a smooth and successful tap replacement. We will guide you through the steps to prepare for a tap replacement in your bathroom sink.
Gather the Tools and Materials: To prepare for a tap replacement, gather the necessary tools and materials. This typically includes an adjustable wrench, a screwdriver, plumber’s tape, a bucket, towels, and the new tap. Having these items ready beforehand will save you time and frustration during the replacement process.
Turn Off the Water Supply: Before removing the old tap, it is essential to turn off the water supply to avoid any potential leaks or water damage. Locate the shut-off valves under the sink and turn them clockwise until they are fully closed. To ensure the water is completely off, turn on the tap to drain any remaining water from the pipes.
Clear the Workspace: Clearing the workspace around the sink is crucial for a smooth tap replacement. Remove any objects or accessories that may hinder your access to the tap, such as soap dispensers or toothbrush holders. Place towels or a bucket underneath the sink to catch any water that may spill during the replacement process.
Inspect the Plumbing: Take a moment to inspect the plumbing connections under the sink. Look for any signs of leaks or corrosion in the pipes, fittings, or valves. If you notice any issues, it is advisable to address them before proceeding with the tap replacement. This will help ensure that the new tap functions properly without any complications.
Removing the old tap
Removing an old tap is a necessary step when replacing it in your bathroom sink. The process may vary depending on the type of tap you have, but with the right tools and techniques, it can be done efficiently. We will guide you through the steps to remove the old tap from your bathroom sink.
Turn off the Water Supply: Before removing the old tap, it is crucial to turn off the water supply to avoid any potential leaks or water damage. Locate the shut-off valves under the sink and turn them clockwise until they are fully closed. To ensure the water is completely off, turn on the tap to drain any remaining water from the pipes.
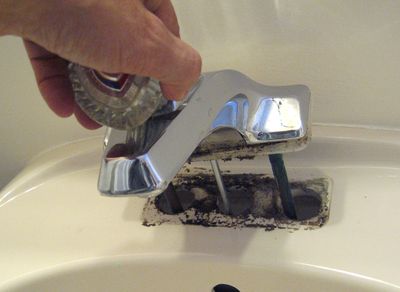
Remove the Tap Handle: Start by removing the tap handle. This is typically done by locating the screw or decorative cap on top of the handle and removing it. Once the screw is exposed, use a screwdriver to loosen and remove it. Gently pull the handle off the tap, being careful not to damage any surrounding components.
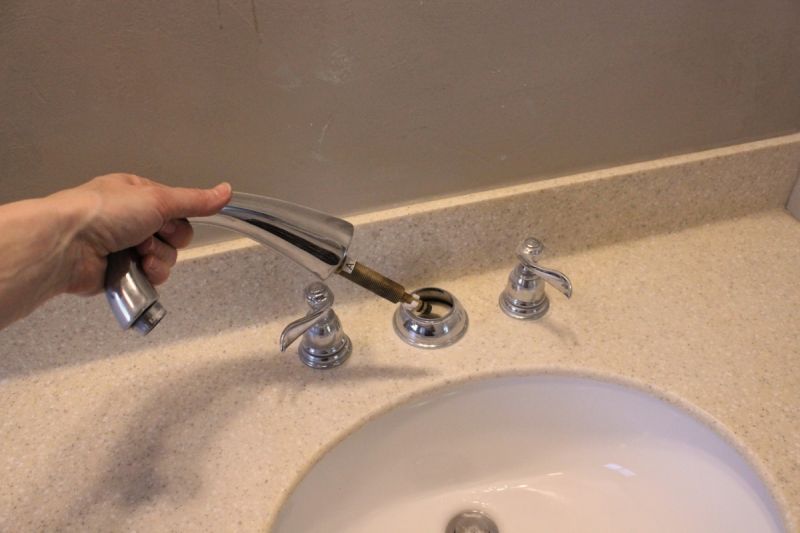
Unscrew the Tap Assembly: After removing the handle, you will typically find a nut or screw that secures the tap assembly to the sink. Use an adjustable wrench or pliers to loosen and unscrew this nut or screw. Once it is loose, you should be able to lift the tap assembly off the sink.
Disconnect the Water Supply Lines: Before fully removing the tap assembly, you will need to disconnect the water supply lines. Depending on the type of tap, this may involve unscrewing the connections or using an adjustable wrench to loosen and disconnect the fittings. Be sure to have a bucket or towels handy to catch any water that may spill during this step.
Installing the new tap
Installing a new tap in your bathroom sink can be a rewarding and relatively straightforward task. By following the proper installation process and taking the necessary precautions, you can successfully replace your old tap with a new one. We will guide you through the steps to install a new tap in your bathroom sink.
Prepare the New Tap: Before installing the new tap, ensure that all the necessary components are included and in good condition. Read the manufacturer’s instructions to familiarize yourself with the installation process specific to your tap model. If any additional tools or materials are required, gather them beforehand.
Clean the Sink Surface: Start by cleaning the surface of the sink where the tap will be installed. Remove any residue or debris from the previous tap to ensure a clean and smooth installation. Use a mild cleaning agent and a soft cloth or sponge to gently scrub the area.
Position the New Tap: Carefully position the new tap on the sink surface, aligning it with the pre-existing holes. Ensure that the tap is centered and level before proceeding with the installation. If necessary, use a measuring tape or level to double-check the alignment.
Secure the Tap Assembly: Once the tap is properly positioned, secure it to the sink using the provided mounting hardware. This may involve tightening nuts or screws using an adjustable wrench or pliers. Be careful not to overtighten, as this can damage the tap or sink surface.
Testing and troubleshooting the new tap
After successfully installing a new tap in your bathroom sink, it is crucial to test its functionality and address any potential issues. Testing the tap will ensure that it is working properly and help you identify any leaks or malfunctions. We will guide you through the steps to test and troubleshoot your new tap.
Turn On the Water Supply: Before testing the tap, turn on the water supply by reopening the shut-off valves under the sink. Slowly turn the valves counterclockwise to allow the water to flow into the tap. Be attentive to any signs of leaks or abnormal water pressure during this step.
Check for Leaks: Carefully inspect the connections between the tap and the water supply lines for any signs of leaks. Look for dripping water or moisture around the fittings, valves, or pipes. If you notice any leaks, tighten the connections or replace any faulty components to resolve the issue.
Test the Water Flow: Turn on the tap and test the water flow. Ensure that both hot and cold water are flowing smoothly and evenly. Pay attention to any irregularities, such as low water pressure or inconsistent temperature. If you encounter any issues, refer to the manufacturer’s instructions or consult a professional for further assistance.
Verify Proper Functionality: Test the functionality of the tap by operating the handles or knobs. Make sure they are easy to use and properly control the water flow and temperature. If you notice any stiffness, resistance, or unusual noises, consider lubricating the moving parts or adjusting the tap assembly as necessary.
HOW TO REPLACE OR FIT BASIN TAPS – LEVER TAPS – Plumbing Tips
How to Replace a Bathroom Tap Drench
How to Install Basin Taps Replacing a Bathroom Sink Tap
How Do I Replace Bathroom Sink Faucet Handles? : Bathroom Cleaning u0026 More
Installing a new bathroom faucet
How To Install a Bathroom Faucet u2014 Temecula Handyman
DIY: How To Replace a Bathroom Sink Faucet (remove u0026 replace / install)
How to Remove and Install a Bathroom Faucet
How to Repair (Not Replace) Any Leaking Bathroom Faucet (Sink or
Related Posts:


