Gathering Your Cleaning Supplies
Cleaning a bathroom faucet effectively starts with having the right tools and supplies on hand. Gathering everything you need before you begin can make the process smoother and more efficient.
- Basic Cleaning Supplies: Begin with basic cleaning supplies such as a soft sponge, microfiber cloths, and an old toothbrush. These items are gentle on the faucet’s finish and can reach into crevices to remove grime and buildup.
- Vinegar and Baking Soda: White vinegar and baking soda are natural cleaning agents that are particularly effective at tackling mineral deposits and soap scum. Vinegar is acidic and helps dissolve mineral buildup, while baking soda’s mild abrasiveness assists in scrubbing away grime.
- Mild Dish Soap: Mild dish soap is excellent for regular cleaning and removing everyday dirt and grime. It’s gentle on the faucet’s finish and effective at cutting through grease and oils from handwashing.
- Lemon Juice: For an extra boost in cleaning power, lemon juice can be very effective. Its natural acidity helps dissolve mineral deposits and leaves a fresh scent. Lemon juice can also help remove water spots and add shine to the faucet.
- Commercial Cleaner (Optional): While natural cleaners are often sufficient, having a commercial bathroom cleaner on hand can be useful for tougher stains or stubborn grime. Ensure the cleaner is safe for the type of finish on your faucet.
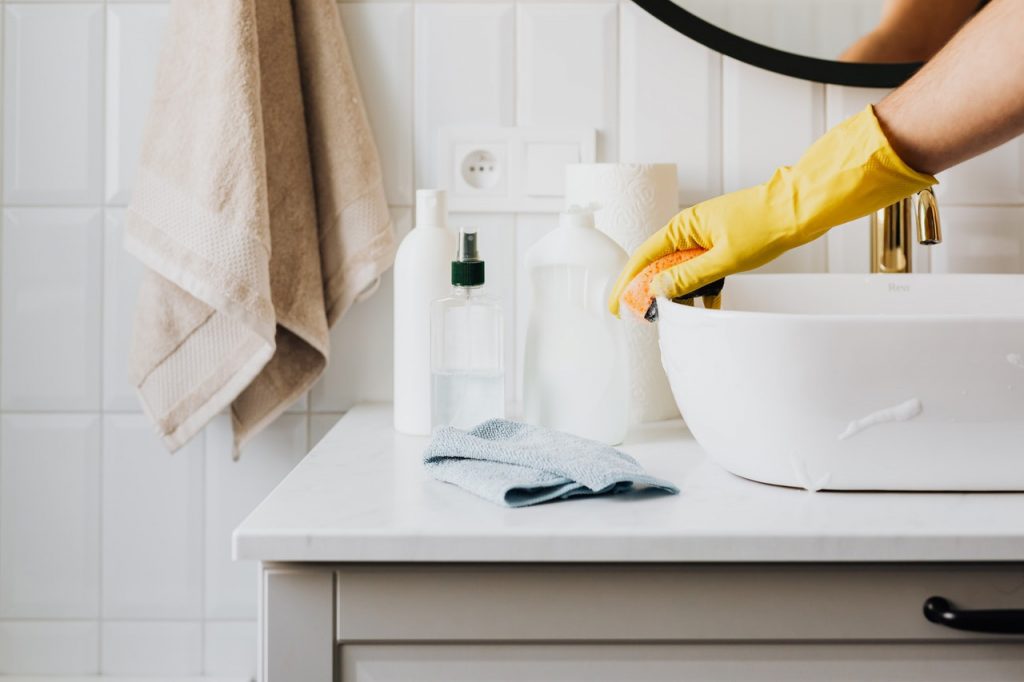
- Protective Gear: If you have sensitive skin or are using a commercial cleaner, consider wearing rubber gloves to protect your hands. Additionally, keep a small bowl or container handy to mix cleaning solutions.

Preparing the Faucet for Cleaning
Before diving into cleaning, it’s essential to prepare the faucet and the surrounding area. Proper preparation ensures that the cleaning process is thorough and effective.
Clear the Area: Remove any items around the faucet, such as soap dispensers, toothbrush holders, and other bathroom accessories. This provides clear access to the faucet and prevents these items from getting splashed with cleaning solutions.
Rinse the Faucet: Start by rinsing the faucet with warm water. This initial rinse helps remove loose dirt and debris, making the subsequent cleaning steps more effective. Use a cloth to wipe away any standing water around the faucet.
Identify Problem Areas: Take a moment to inspect the faucet for specific problem areas, such as limescale deposits, water spots, or areas with significant grime buildup. Identifying these spots will help you focus your cleaning efforts where they’re needed most.
Protect Surrounding Surfaces: If you’re using vinegar or any other acidic cleaner, protect the surrounding surfaces that could be damaged by the cleaner. Place a cloth or towel around the base of the faucet to catch any drips and prevent damage to countertops.
Test Cleaning Solutions: If you’re using a commercial cleaner or a new cleaning solution, test it on a small, inconspicuous area of the faucet first. This ensures that the cleaner won’t damage the finish or cause discoloration.
Gather Cleaning Tools: Place your cleaning tools—such as sponges, cloths, and toothbrushes—within easy reach. Having everything close at hand will streamline the cleaning process and make it more efficient.
Cleaning the Faucet with Vinegar and Baking Soda
Using vinegar and baking soda is a powerful and natural way to clean your bathroom faucet. These common household items can effectively remove grime and buildup without harsh chemicals.
Create a Paste: Mix baking soda with a small amount of water to create a paste. This paste will act as a mild abrasive, helping to scrub away grime without scratching the faucet’s finish. Apply the paste to areas with noticeable buildup or stains.
Apply Vinegar: Pour white vinegar into a spray bottle or use a small bowl. Vinegar is effective at dissolving mineral deposits and soap scum. Spray the vinegar onto the faucet, focusing on areas with visible buildup, or soak a cloth in vinegar and wrap it around the faucet.
Let it Sit: Allow the vinegar to sit on the faucet for at least 10-15 minutes. This gives it time to break down mineral deposits and other grime. If using a vinegar-soaked cloth, keep it wrapped around the faucet during this time.
Scrub with a Toothbrush: After the vinegar has had time to work, use an old toothbrush to scrub the faucet. The bristles of the toothbrush can reach into tight spaces and crevices that a sponge or cloth might miss. Focus on areas with heavy buildup.
Rinse Thoroughly: Once you’ve scrubbed the faucet, rinse it thoroughly with warm water to remove any remaining vinegar, baking soda paste, and loosened grime. Use a clean, damp cloth to wipe away any residue.
Dry the Faucet: Finally, dry the faucet with a microfiber cloth. Drying the faucet prevents water spots and streaks, leaving the surface shiny and clean. Make sure to dry around the base and handles where water can accumulate.
Removing Hard Water Stains and Limescale
Hard water stains and limescale can be particularly stubborn and unsightly. Tackling these issues requires some specialized techniques to restore your faucet’s shine.
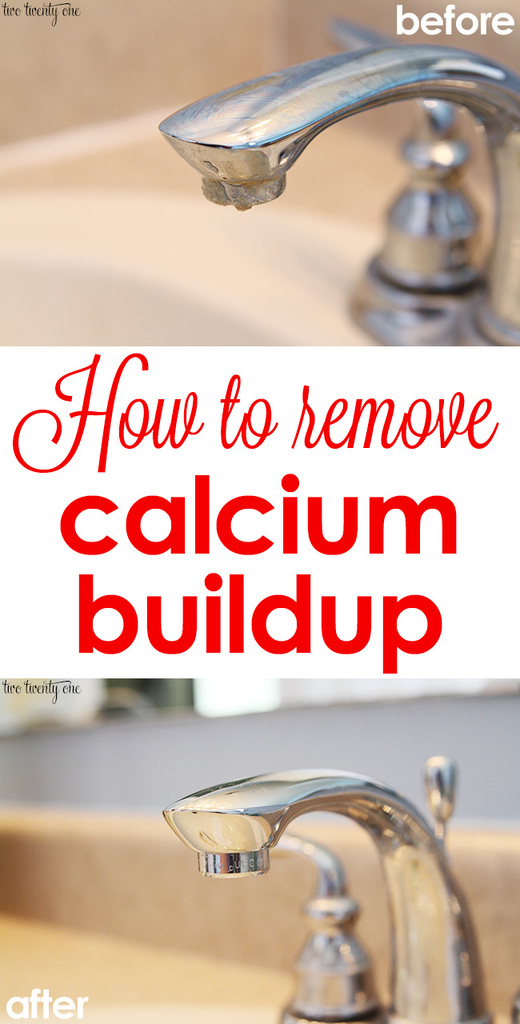
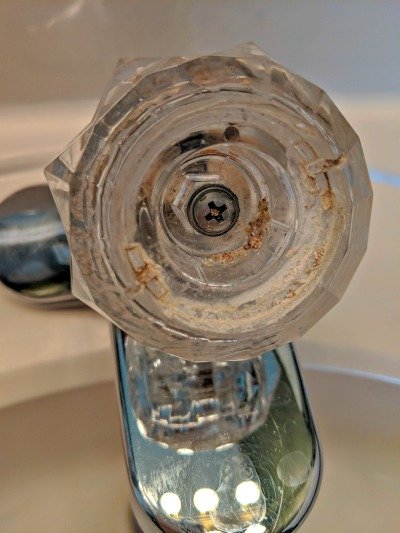
Identify Stains: Hard water stains typically appear as white or cloudy spots on the faucet. Limescale is a more crusty, chalky deposit that forms around areas where water frequently contacts the faucet. Identifying these deposits helps target your cleaning efforts.
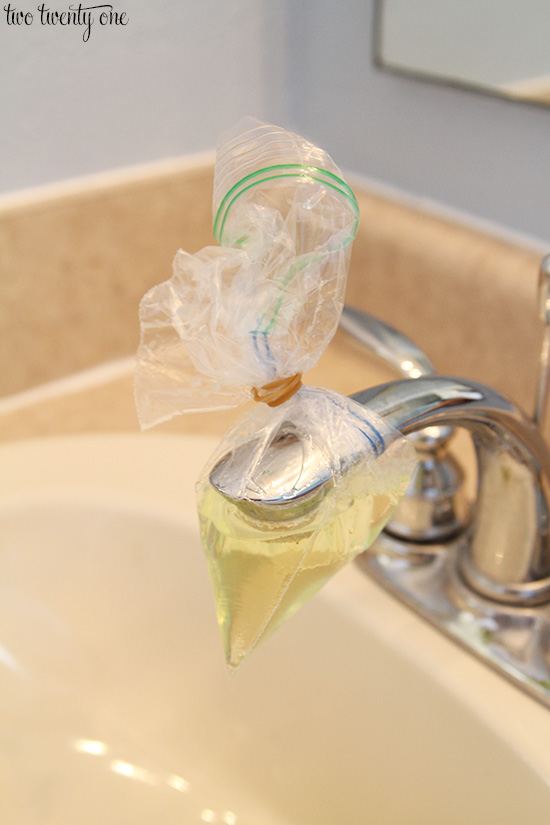
Vinegar Soak: For stubborn limescale deposits, soak a cloth in white vinegar and wrap it around the affected areas of the faucet. Leave it in place for at least 30 minutes to an hour. The acidity of the vinegar helps dissolve the limescale, making it easier to remove.
Lemon Juice Application: Lemon juice can also be effective against hard water stains and limescale. Apply lemon juice to the stained areas and let it sit for 10-15 minutes. The citric acid in the lemon juice helps break down mineral deposits.
Scrubbing with a Brush: Use a soft-bristled brush or an old toothbrush to scrub the stained areas. The bristles help dislodge the softened limescale and hard water stains without damaging the faucet’s finish. For more stubborn deposits, use a mixture of vinegar and baking soda.
Commercial Descaler: If natural methods don’t fully remove the deposits, consider using a commercial descaler. Follow the manufacturer’s instructions carefully, and ensure the product is safe for your faucet’s finish. Apply the descaler, let it sit, and then scrub and rinse as directed.
Rinse and Dry: After removing the hard water stains and limescale, rinse the faucet thoroughly with warm water to remove any remaining cleaning solution. Dry the faucet with a microfiber cloth to prevent new water spots and to give it a polished look.
Polishing the Faucet for a Shiny Finish
After thoroughly cleaning your faucet, polishing it will give it a gleaming, like-new appearance. Polishing not only enhances the faucet’s look but also helps protect the finish.
Choose a Polish: Select a metal polish that is appropriate for the type of finish on your faucet. There are different polishes available for chrome, stainless steel, brass, and other finishes. Ensure the polish is safe to use on bathroom fixtures.
Apply the Polish: Apply a small amount of polish to a clean, soft cloth. Rub the polish onto the faucet using small, circular motions. Focus on one section at a time to ensure even coverage. Be careful not to apply too much polish, as it can leave a residue.
Buff to a Shine: After applying the polish, use a clean part of the cloth to buff the faucet. Buffing removes excess polish and enhances the shine. Continue buffing until the faucet is dry and gleaming.
Detailing with a Toothbrush: For intricate designs or hard-to-reach areas, use an old toothbrush to apply and buff the polish. The small bristles can reach into crevices and around handles, ensuring every part of the faucet is polished.
Final Wipe Down: Once you’ve finished polishing, give the faucet a final wipe down with a clean microfiber cloth. This removes any remaining polish residue and gives the faucet a final touch of shine.
Regular Polishing Routine: To keep your faucet looking its best, incorporate regular polishing into your cleaning routine. Depending on how often the faucet is used and how quickly it shows water spots, polish it every few weeks to maintain its shine.
Maintaining a Clean Faucet
Keeping your bathroom faucet clean requires ongoing maintenance. Regular cleaning prevents buildup and keeps your faucet looking pristine.
Daily Wipe Down: Make it a habit to wipe down your faucet daily with a soft, damp cloth. This prevents water spots and soap scum from building up and keeps the faucet looking clean and shiny.
Address Spills Immediately: If toothpaste, soap, or other products spill onto the faucet, clean them up immediately. Prompt cleaning prevents these substances from hardening and becoming difficult to remove.
Weekly Deep Clean: Perform a deeper cleaning of your faucet once a week. Use mild dish soap and water to remove any accumulated grime. This regular maintenance helps prevent the need for more intensive cleaning sessions.
Check for Leaks: Regularly inspect your faucet for leaks or drips. Leaks can cause mineral deposits and water stains to form more quickly. Fix any leaks promptly to maintain the faucet’s cleanliness and functionality.
Prevent Limescale Buildup: To prevent limescale buildup, consider using a water softener if you have hard water. Alternatively, regularly wipe the faucet with vinegar to prevent mineral deposits from forming.
Protect the Finish: Avoid using harsh chemicals or abrasive scrubbers on your faucet, as these can damage the finish. Stick to gentle, non-abrasive cleaners and soft cloths to keep the faucet in top condition.
How To Clean Calcium Off Faucets
The Cheap Easy Way to Get Your Faucet Shiny Again Cleaning hacks
Ways to Clean a Faucet – wikiHow
How To Clean Bathroom Faucet Handles – Frugally Blonde
How to Clean a Bathroom sink Faucet Aerator Screen (Low water pressure)
How to Clean Bathroom and Kitchen Faucets LESSO Blog
How To Clean Calcium Off Faucets
Related Posts:
- Discontinued Pfister Bathroom Faucets
- Bathroom Faucets Single Handle Bronze
- 8 In Widespread 2 Handle Bathroom Faucet
- Bathroom Faucet Styles
- Moen Bathroom Faucet Installation Guide
- Porcelain Bathroom Faucets
- How To Install A Single Hole Bathroom Faucet
- Kohler Chrome Bathroom Faucets
- Bathroom Faucet Leaking Around Base
- Pegasus Bathroom Faucet Series 7000


