Why Cleaning Your Bathroom Faucet Head is Important
Cleaning the bathroom faucet head might seem like a minor task, but it has significant benefits. Over time, mineral deposits, grime, and bacteria can accumulate, impacting both hygiene and functionality. Here’s why keeping your faucet head clean is essential.
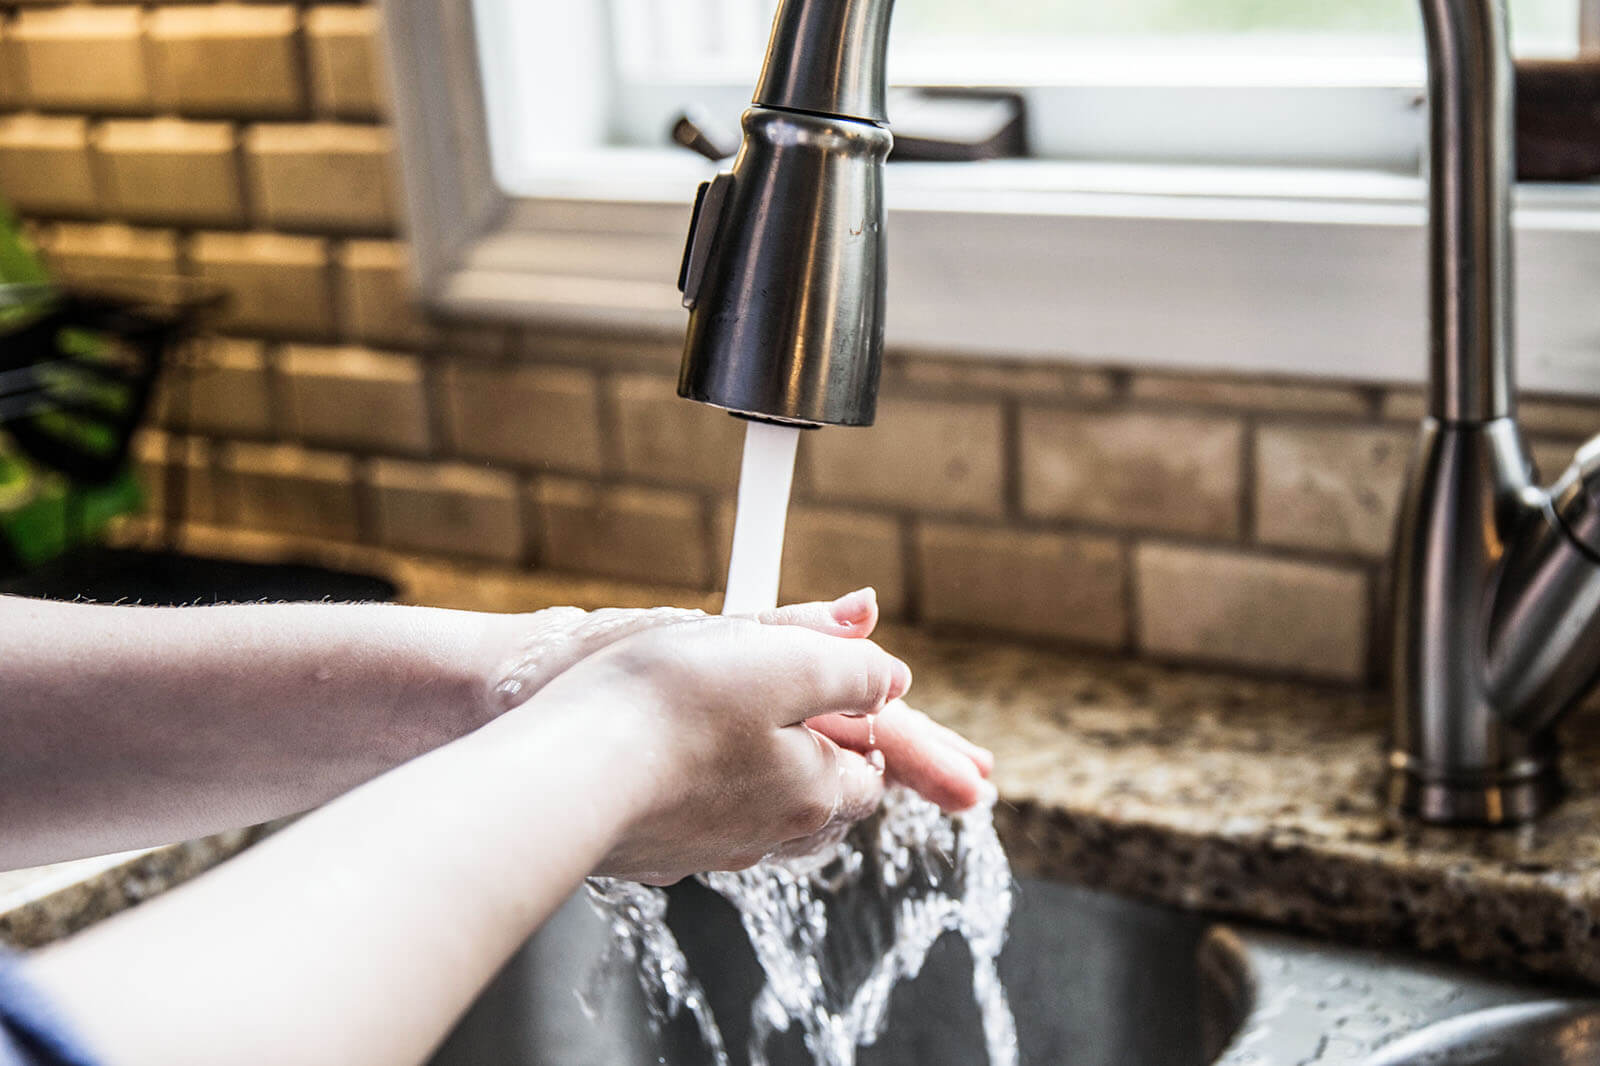
- Ensures Optimal Water Flow: One of the main reasons to clean your bathroom faucet head is to maintain optimal water flow. Mineral deposits, such as calcium and lime, can build up and restrict water flow, making your faucet less efficient. Regular cleaning ensures a steady, strong stream of water, which is crucial for daily tasks like washing hands, brushing teeth, and cleaning.
- Prevents Bacterial Growth: A dirty faucet head can become a breeding ground for bacteria and mold. These microorganisms thrive in moist environments, and a neglected faucet head provides the perfect conditions. Regular cleaning helps prevent bacterial growth, ensuring the water you use is clean and safe.
- Improves Water Quality: Mineral deposits and other build-ups can affect the taste and quality of your water. By regularly cleaning the faucet head, you can improve the overall water quality. This is especially important if you use the bathroom sink for drinking water or filling water bottles.
- Extends Faucet Lifespan: Keeping your faucet head clean can extend the life of your bathroom faucet. Buildup can cause wear and tear on the internal components, leading to leaks and other issues. Regular maintenance and cleaning help keep everything in good working order, saving you from costly repairs or replacements.
- Enhances Aesthetic Appeal: A clean faucet head simply looks better. Hard water stains and mineral deposits can leave unsightly marks on the surface of your faucet, detracting from the overall appearance of your bathroom. Regular cleaning keeps your faucet looking shiny and new.
- Promotes Efficient Water Use: When mineral deposits clog the faucet head, it can lead to inefficient water use. You might find yourself needing to run the tap longer to get the desired amount of water, which is wasteful. Cleaning the faucet head ensures you use water more efficiently, which is better for the environment and your utility bills.

Identifying Signs of a Dirty Faucet Head
Recognizing when your bathroom faucet head needs cleaning is the first step in maintaining it. Here are some clear signs that it’s time to give your faucet head a good clean.
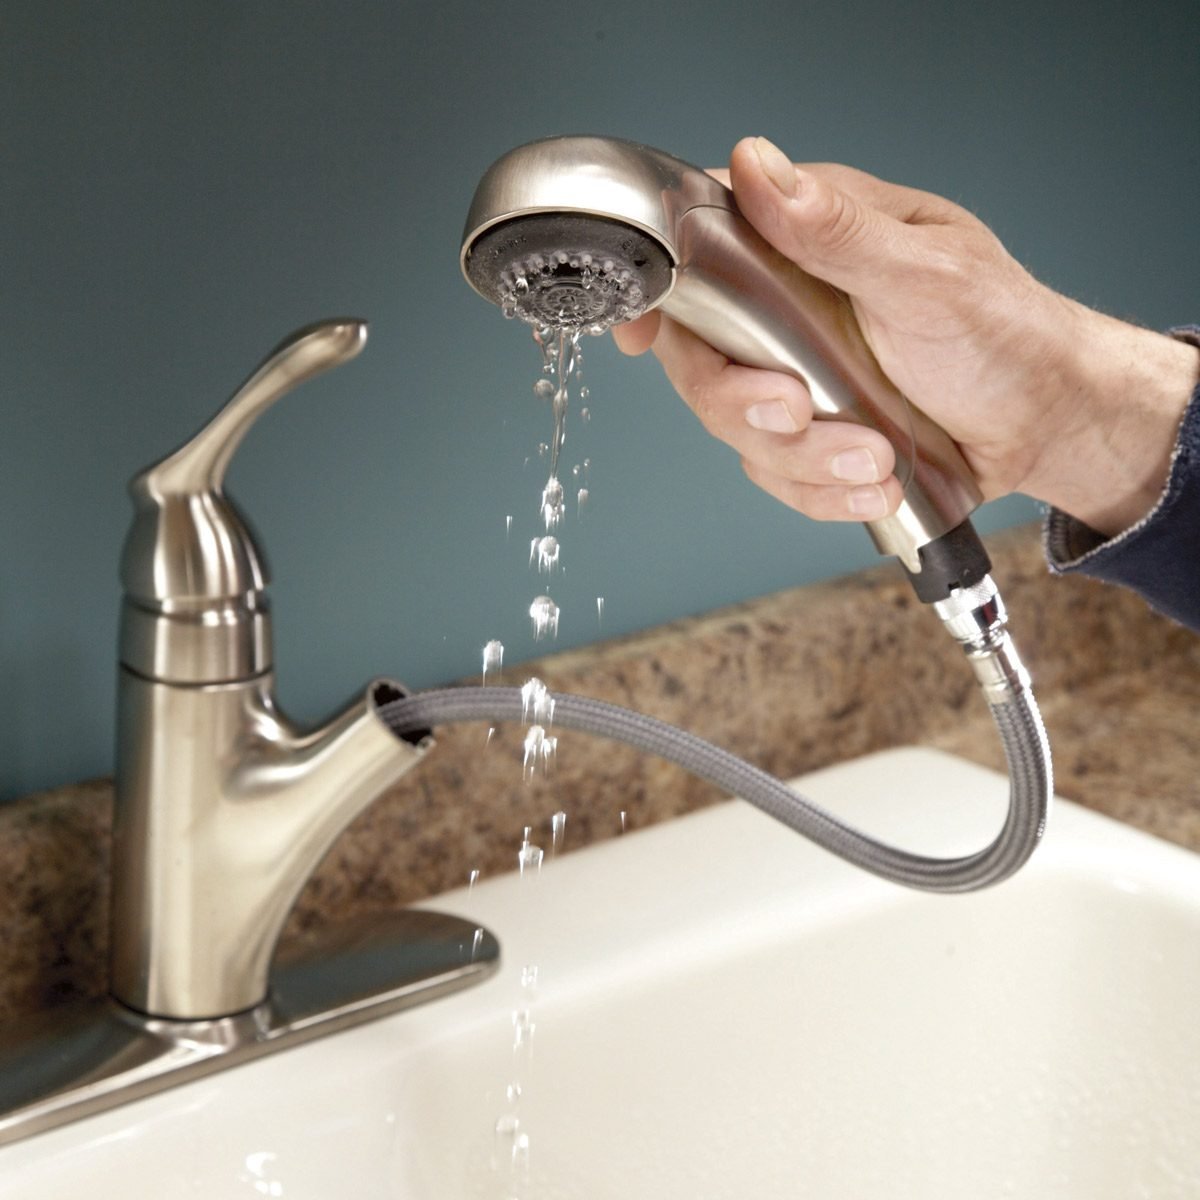
Reduced Water Pressure One of the most noticeable signs of a dirty faucet head is reduced water pressure. If you notice that the water flow has weakened or is uneven, mineral deposits and debris might be clogging the aerator. This buildup restricts the water flow, making your faucet less efficient.
Water Spraying in Different Directions Another telltale sign is when water sprays in unexpected directions instead of a straight, even stream. This can happen when mineral deposits partially block some of the holes in the aerator, causing water to be redirected. If your faucet head is spraying water erratically, it’s time for a cleaning.
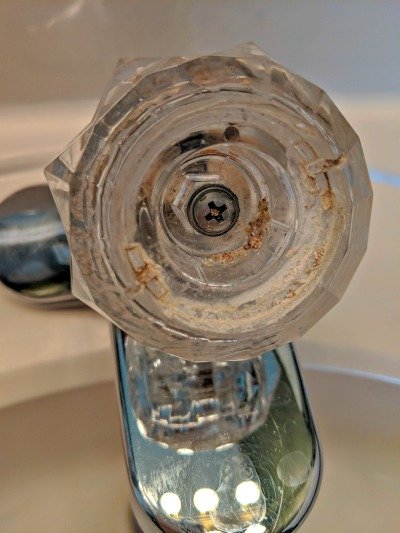
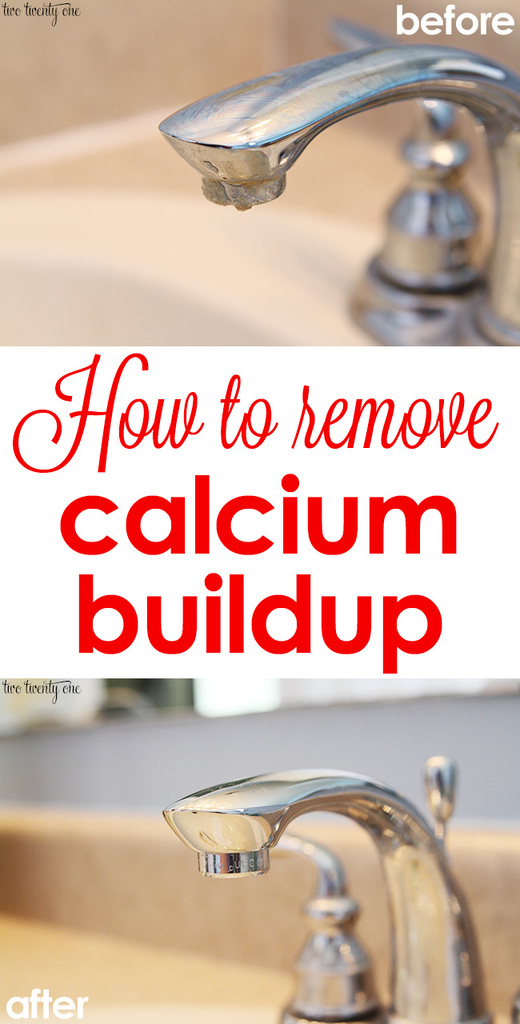
Visible Mineral Deposits Hard water can leave visible mineral deposits on the faucet head. These deposits often appear as white, crusty spots around the aerator and nozzle. If you see these signs, it’s an indication that mineral buildup is present inside the faucet head as well, affecting its performance.
Discolored Water If you notice discolored water coming from your faucet, it could be a sign of a dirty faucet head. Rust and other debris can accumulate and then get flushed out when you turn on the faucet, leading to brown or yellow-tinted water. Cleaning the faucet head can help resolve this issue.
Unpleasant Odors A dirty faucet head can sometimes produce unpleasant odors. Bacteria and mold can grow inside the aerator, especially if it hasn’t been cleaned in a while. If you notice a foul smell coming from your faucet, it’s a clear sign that it needs a thorough cleaning.
Slow Drainage While slow drainage is often a sign of a clogged drain, it can also be related to a dirty faucet head. If the water flow is restricted due to mineral buildup, it might not drain as efficiently. Cleaning the faucet head can help improve both water flow and drainage.
Tools and Materials You’ll Need
Before you start cleaning your bathroom faucet head, gathering the right tools and materials is essential. Here’s what you’ll need to make the job easier and more effective.
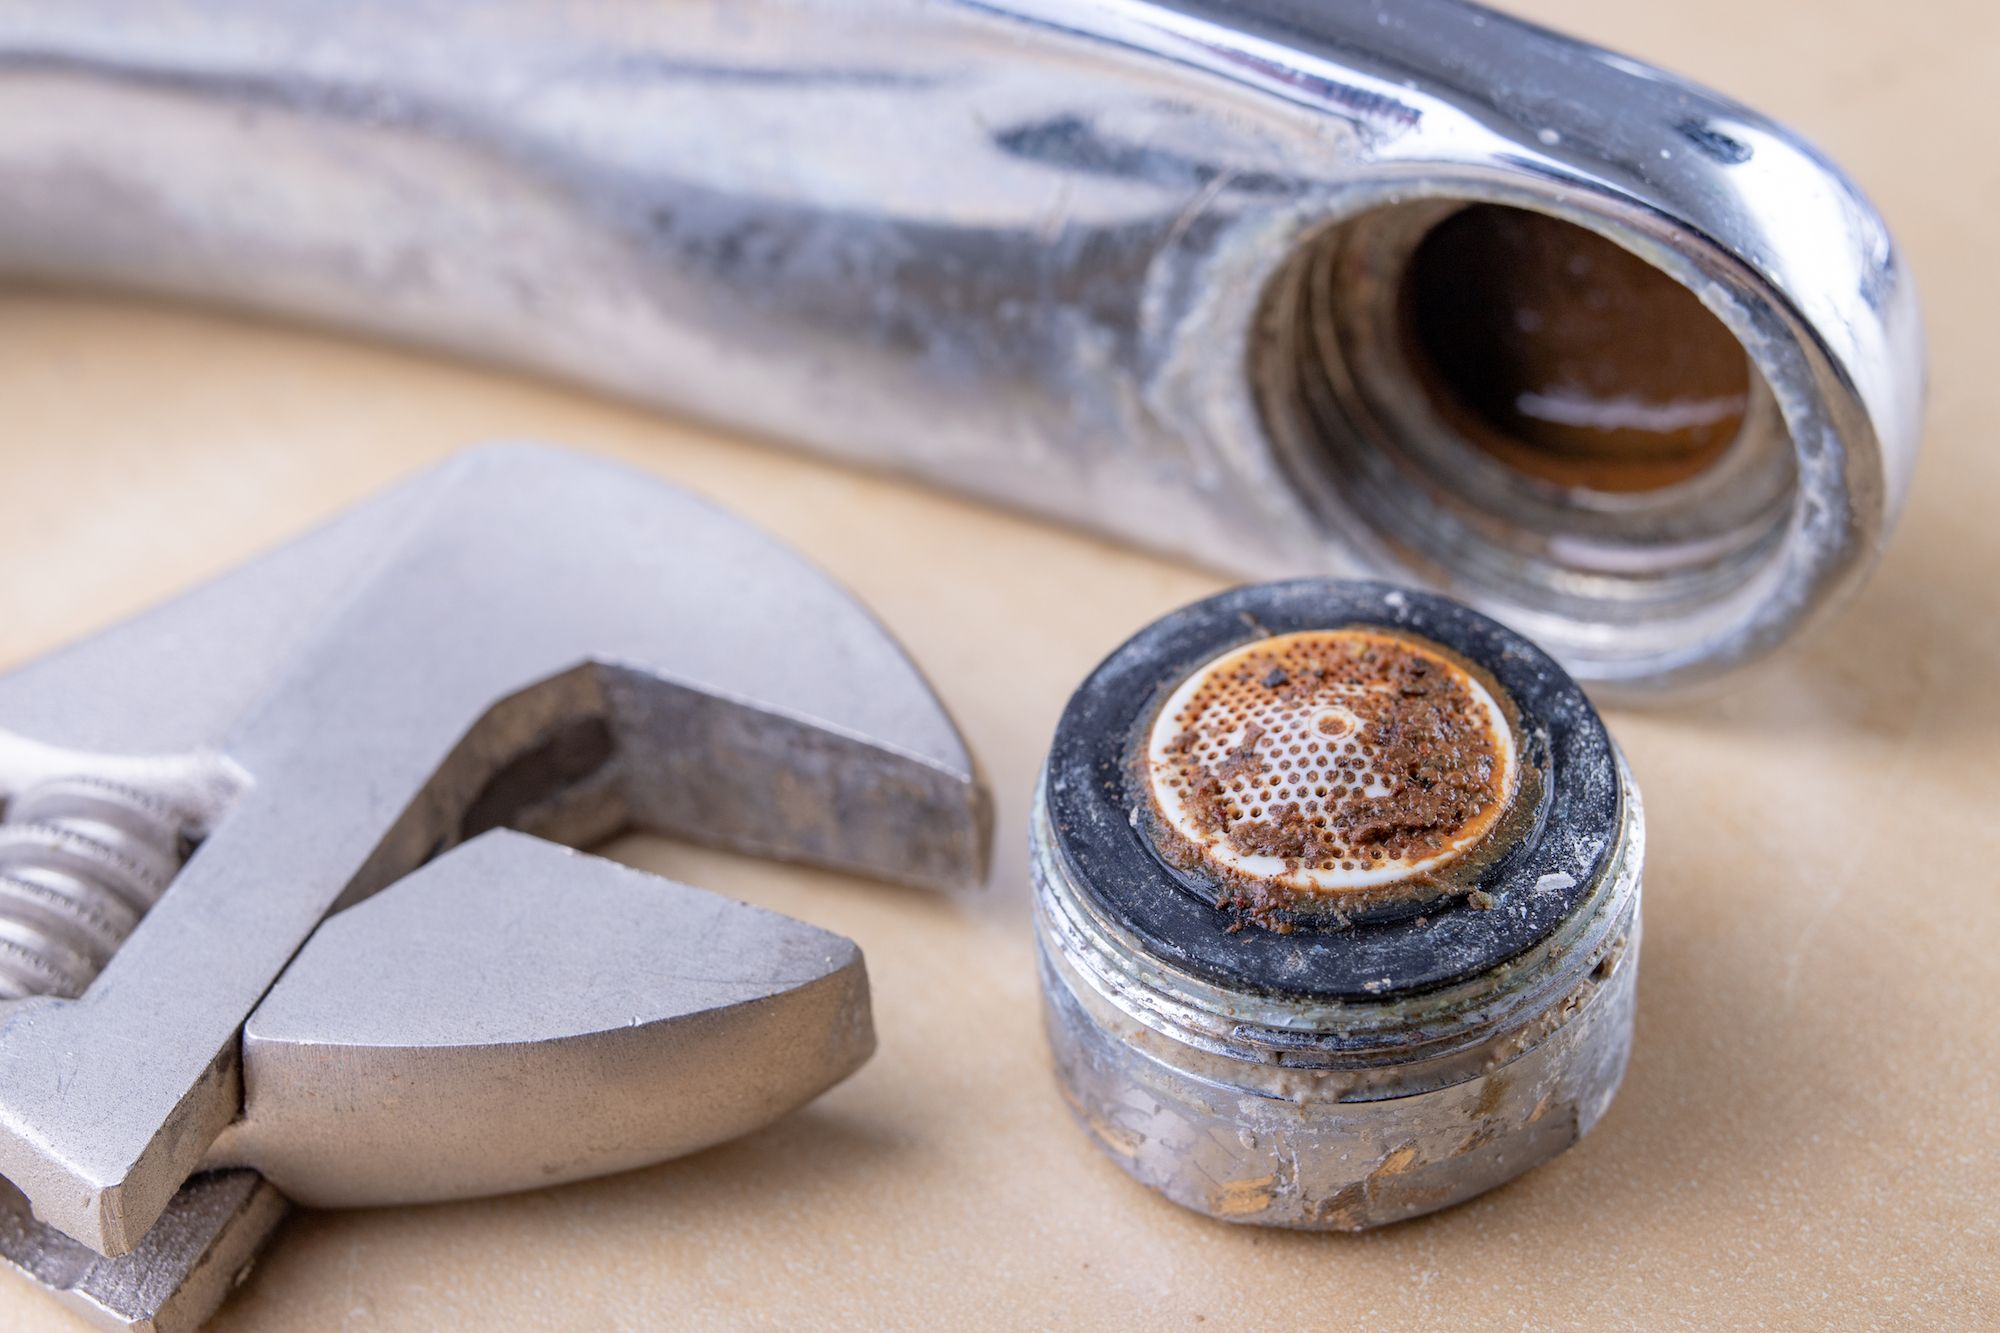
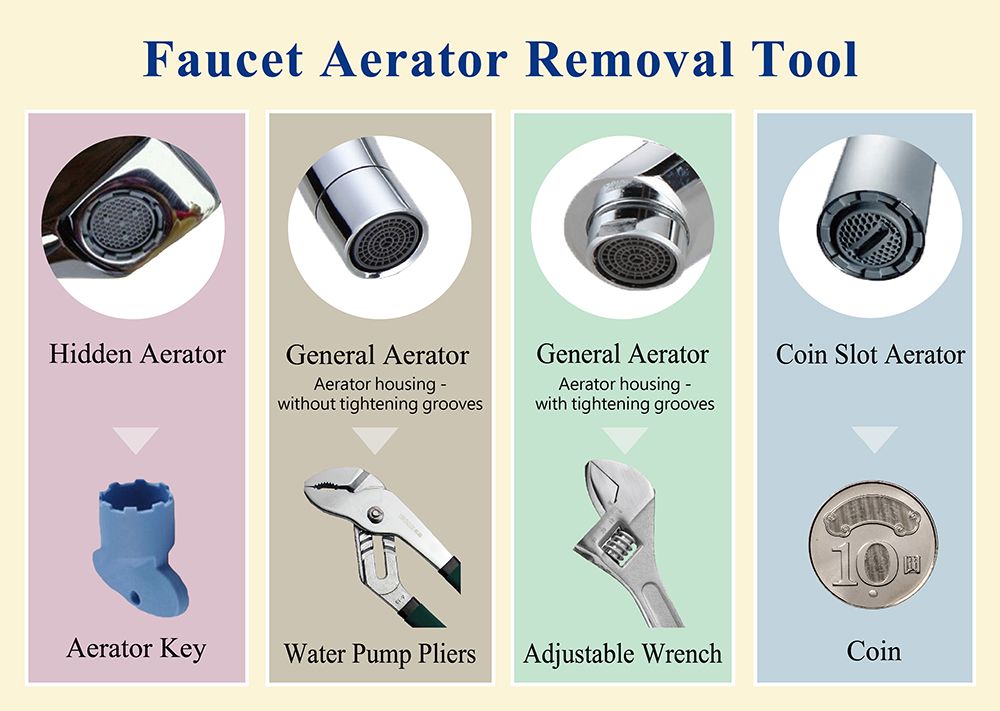
Adjustable Wrench An adjustable wrench is a crucial tool for removing the faucet head. It allows you to loosen and remove the aerator without damaging the fixture. Make sure the wrench is adjustable to fit different sizes of faucet heads.
Vinegar White vinegar is a natural and effective cleaning agent. Its acidic properties help dissolve mineral deposits and kill bacteria. You’ll use vinegar for soaking the faucet head to break down the buildup.
Baking Soda Baking soda is another excellent cleaning agent. When combined with vinegar, it creates a fizzy reaction that can help lift stubborn grime and deposits. Baking soda is also a mild abrasive, which is useful for scrubbing away tough stains.
Toothbrush or Small Brush A toothbrush or small brush is ideal for scrubbing the faucet head. The bristles can reach into small crevices and remove buildup effectively. Choose a brush with soft to medium bristles to avoid scratching the surface.
Plastic Bag A plastic bag is useful for soaking the faucet head in vinegar if you can’t remove it easily. Simply fill the bag with vinegar, submerge the faucet head, and secure it with a rubber band. This method allows you to clean the faucet head without disassembly.
Soft Cloths or Paper Towels Soft cloths or paper towels are essential for drying and polishing the faucet head after cleaning. They’re also handy for wiping away any remaining residue or cleaner. Choose a lint-free cloth to avoid leaving fibers on the surface.
Rubber Gloves Rubber gloves protect your hands from the cleaning agents and any grime or bacteria on the faucet head. They also provide a better grip when handling the tools and cleaning materials. Choose a pair that fits well and is comfortable to wear.
Step-by-Step Guide to Removing the Faucet Head
Removing the bathroom faucet head is a crucial step in the cleaning process. Here’s a step-by-step guide to help you do it safely and effectively.
Turn Off the Water Supply Before you start, turn off the water supply to the faucet. This prevents water from spraying everywhere when you remove the faucet head. There should be shut-off valves under the sink that you can turn clockwise to stop the water flow.
Protect the Faucet To avoid scratching or damaging the faucet, wrap a soft cloth around the faucet head and the aerator. This provides a protective layer when you use the wrench to loosen the parts. It’s a simple step that can prevent costly damage.
Use the Adjustable Wrench With the protective cloth in place, use the adjustable wrench to grip the faucet aerator. Turn the wrench counterclockwise to loosen the aerator. Be gentle to avoid applying too much force, which could damage the threads or the aerator itself.
Remove the Aerator Once the aerator is loose, you can finish unscrewing it by hand. Carefully remove it from the faucet and set it aside. Be mindful of any small parts, such as washers or screens, that might come out with the aerator. Keep them together to avoid losing any pieces.
Inspect the Aerator Take a close look at the aerator and the faucet head. Check for mineral deposits, rust, and other buildup. This inspection helps you determine the extent of the cleaning needed. If the buildup is severe, you might need to soak the parts longer or use a more intensive cleaning method.
Prepare for Cleaning Now that the faucet head is removed, you’re ready to clean it. Depending on the level of buildup, you might need to soak the aerator in vinegar or scrub it with a baking soda paste. Having the faucet head disassembled makes it easier to reach all the nooks and crannies.
Cleaning Methods: Vinegar Soak vs. Baking Soda Scrub
Cleaning the bathroom faucet head can be done using different methods. Two of the most effective are the vinegar soak and the baking soda scrub. Here’s how to use each method.
Vinegar Soak The vinegar soak is a simple yet powerful method for dissolving mineral deposits. Fill a small bowl or a plastic bag with white vinegar. Submerge the faucet head or aerator in the vinegar, ensuring it’s fully covered. Let it soak for at least 30 minutes, or longer if there’s significant buildup. The acidity of the vinegar helps break down the deposits, making them easier to remove.
Scrubbing with a Toothbrush After soaking, use a toothbrush to scrub the faucet head. The bristles can get into the small holes and crevices, removing loosened deposits. Be thorough but gentle to avoid scratching the surface. Rinse the faucet head with water to remove the vinegar and debris.
Baking Soda Scrub For a baking soda scrub, make a paste by mixing baking soda with a small amount of water. Apply the paste to the faucet head, focusing on areas with heavy buildup. Use a toothbrush or small brush to scrub the paste into the surface. The mild abrasiveness of baking soda helps lift stubborn grime without damaging the faucet.
Combining Both Methods For tough buildup, combining both methods can be very effective. Start with a vinegar soak to dissolve the deposits, then follow up with a baking soda scrub to remove any remaining residue. This two-step approach ensures a thorough cleaning.
Rinsing and Drying After cleaning, rinse the faucet head thoroughly with warm water to remove any remaining vinegar or baking soda. Make sure all cleaning agents are washed away to prevent any potential damage. Dry the faucet head with a soft cloth or paper towel to avoid water spots and ensure it’s completely clean.
Final Inspection Before reassembling, inspect the faucet head and aerator one more time. Make sure all deposits and grime are gone, and the parts are clean and dry. This final check ensures everything is in good condition and ready to be reinstalled.
Reassembling and Reinstalling the Faucet Head
After cleaning your bathroom faucet head, it’s time to reassemble and reinstall it. Here’s a step-by-step guide to help you put everything back together.
Reassemble the Aerator If you disassembled the aerator for cleaning, start by reassembling it. Make sure all parts, such as screens and washers, are in place. Refer to any photos or notes you took during disassembly to ensure everything is positioned correctly.
Apply Plumber’s Tape (Optional) For a secure fit, you can apply plumber’s tape to the threads of the faucet head. This tape helps prevent leaks and ensures a tight seal. Wrap the tape around the threads in a clockwise direction, making sure it’s smooth and even.
Screw on the Aerator Carefully screw the aerator back onto the faucet. Start by hand to ensure the threads align properly. Once it’s snug, use the adjustable wrench to tighten it further. Be gentle and avoid over-tightening, which could damage the threads or the aerator.
Turn On the Water Supply Once the aerator is securely in place, turn the water supply back on. Open the shut-off valves under the sink by turning them counterclockwise. Then, turn on the faucet to check for leaks and ensure proper water flow.
Check for Leaks After reassembly, check for any leaks around the faucet head. If you notice any dripping or water seeping out, you might need to tighten the aerator further or reapply the plumber’s tape. Ensuring a leak-free fit is crucial for maintaining the efficiency of your faucet.
Test the Water Flow Finally, test the water flow to ensure everything is working correctly. The water should flow evenly and with the proper pressure. If you notice any issues, such as reduced flow or erratic spraying, double-check the aerator and make sure it’s clean and properly installed.
Tips for Keeping Your Faucet Head Clean and Maintained
Regular maintenance is key to keeping your bathroom faucet head clean and functional. Here are some tips to help you maintain your faucet and prevent buildup.
Regular Cleaning Make a habit of cleaning the faucet head regularly. Even a quick wipe-down with a damp cloth can help prevent buildup. Aim to deep clean the faucet head at least once every few months, or more often if you have hard water.
Use a Water Softener If you have hard water, consider installing a water softener. Hard water is a major cause of mineral buildup on faucet heads. A water softener reduces the mineral content in your water, which can help prevent deposits and extend the life of your fixtures.
Keep an Eye on Water Pressure Pay attention to changes in water pressure. If you notice a decrease in flow, it could be a sign of buildup inside the faucet head. Addressing the issue promptly can prevent more significant problems down the line.
Clean with Vinegar Regularly A monthly vinegar soak can help keep the faucet head clean and free of mineral deposits. Fill a plastic bag with vinegar, secure it around the faucet head, and let it soak for about 30 minutes. This regular maintenance routine can prevent buildup and keep your faucet running smoothly.
Avoid Harsh Cleaners Avoid using harsh chemicals or abrasive cleaners on your faucet head. These can damage the finish and lead to corrosion. Stick to natural cleaners like vinegar and baking soda, which are effective and gentle on your fixtures.
Inspect for Wear and Tear Regularly inspect the faucet head and aerator for signs of wear and tear. Look for cracks, corrosion, or other damage that could affect performance. Replacing worn-out parts promptly can prevent leaks and ensure your faucet continues to function properly.
How to Clean a Faucet Head: Easy Ways to Remove Buildup LoveToKnow
Slow Running Water: Unclog the Aerator (DIY) Family Handyman
How To Clean Calcium Off Faucets
Related Posts:
- Tools Needed To Replace Bathroom Faucet
- Best Rated Widespread Bathroom Faucets
- Danze Sirius Bathroom Faucet
- Diagram Of Bathroom Faucet
- Bathroom Faucets Chrome Vs Brushed Nickel
- High Arch Oil Rubbed Bronze Widespread Bathroom Faucet
- Concinnity Bathroom Faucets
- Are Bathroom Faucets Standard Size
- Grohe Parkfield Bathroom Faucet
- American Standard Single Handle Bathroom Faucet

