Common Causes of Tough Bathroom Tile Stains
Bathroom tile stains can be stubborn and unsightly, but understanding their origins is the first step to effectively removing them. From hard water deposits to mold and mildew growth, various factors contribute to tough stains on bathroom tiles. Here are some common culprits you may encounter:
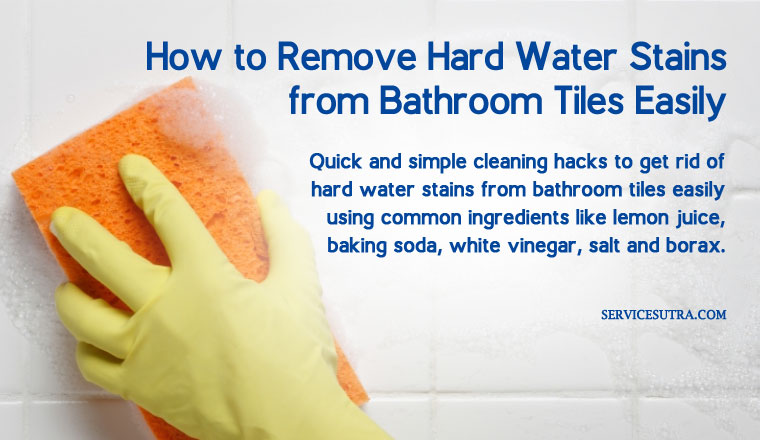
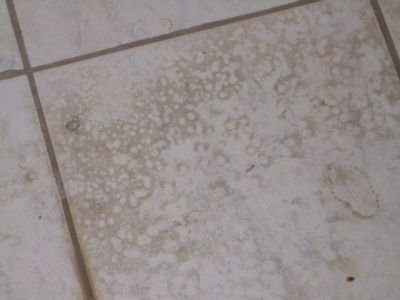
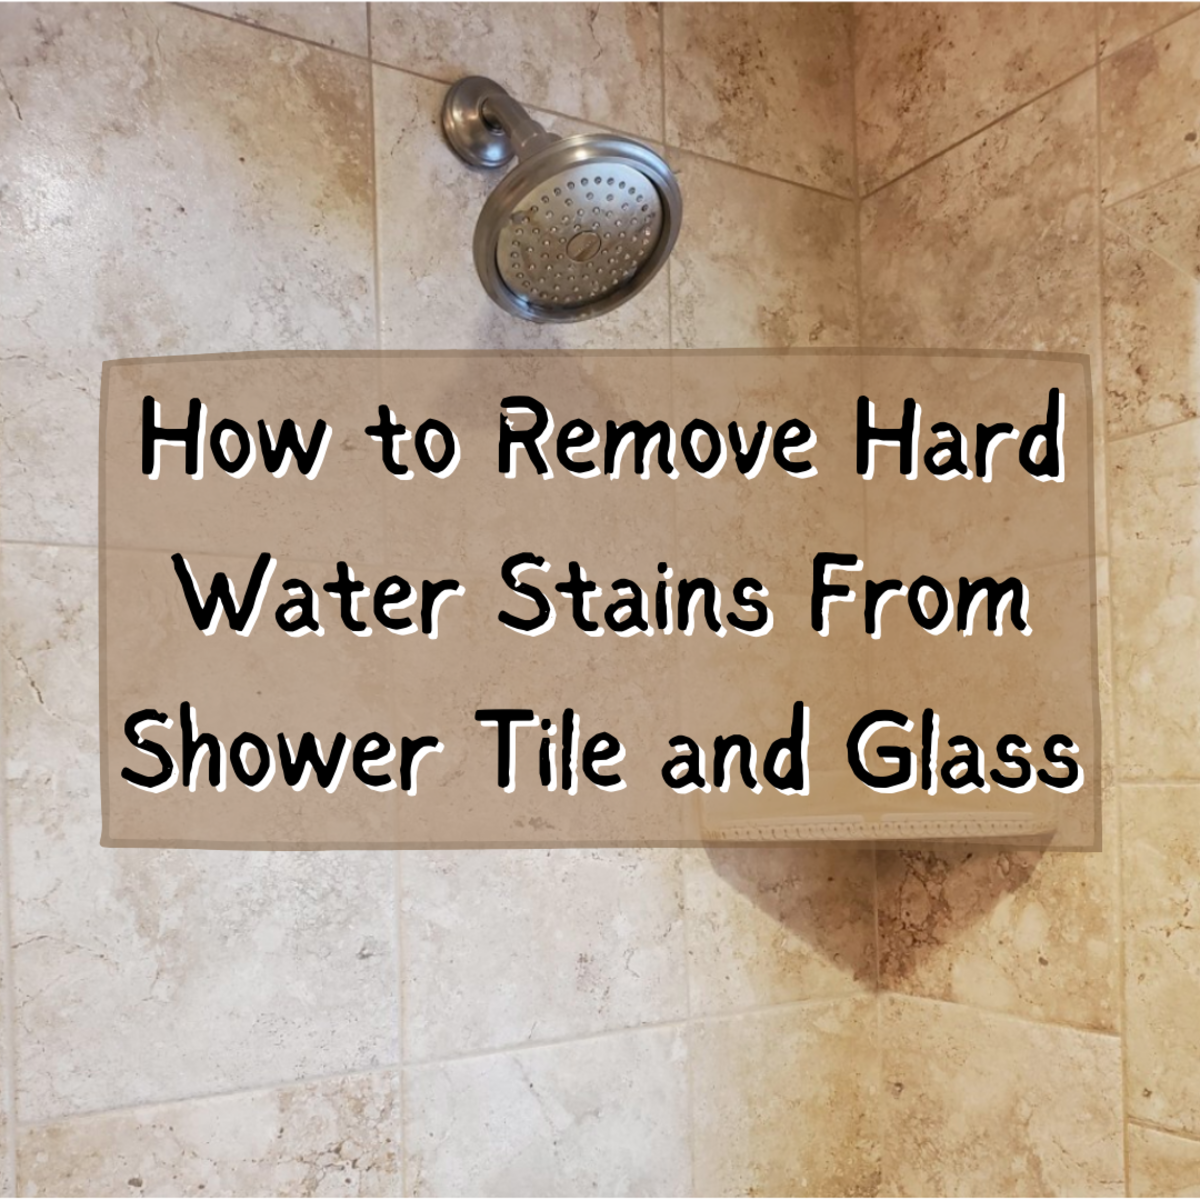
- Hard Water Deposits: One of the most common causes of tough bathroom tile stains is hard water deposits. Hard water contains high levels of minerals like calcium and magnesium, which can leave behind white, chalky residue on tiles and grout over time. These deposits can be particularly stubborn to remove, requiring specific cleaning methods to dissolve and eliminate them effectively.
- Soap Scum Buildup: Soap scum, a combination of soap residue, body oils, and minerals from water, can accumulate on bathroom tiles and grout, forming a greasy film that attracts dirt and grime. Over time, soap scum can harden and become difficult to remove, especially in areas with hard water. Addressing soap scum buildup promptly is essential to prevent it from becoming a stubborn stain.
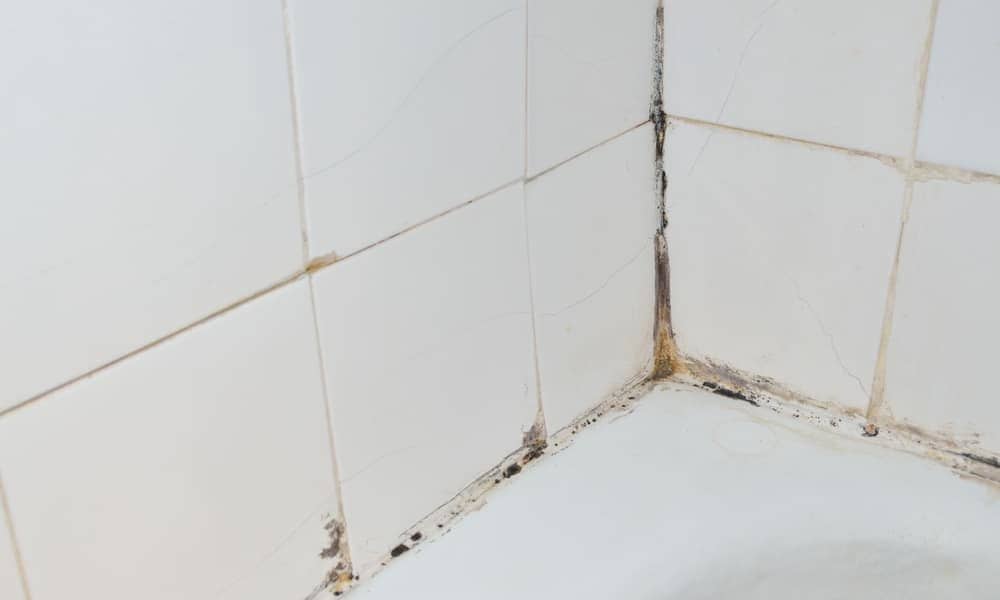
- Mold and Mildew Growth: In moist and humid environments like bathrooms, mold and mildew can thrive on tile surfaces, grout lines, and caulking. These fungal growths not only cause discoloration and staining but also pose health risks and contribute to unpleasant odors. Removing mold and mildew stains requires thorough cleaning and proper ventilation to prevent regrowth.
- Mineral Stains: Certain minerals present in water, such as iron and manganese, can cause reddish-brown or yellowish stains on bathroom tiles and fixtures. These mineral stains are particularly stubborn and may require specialized cleaning products or treatments to dissolve and remove them effectively.
- Grout Discoloration: Grout, the material used to fill the gaps between tiles, is prone to discoloration and staining over time due to its porous nature. Dirt, soap scum, and mildew can penetrate grout lines, causing them to darken or become discolored. Regular cleaning and sealing of grout can help prevent staining and maintain its appearance.
- Chemical Residue: Improper cleaning methods or the use of harsh chemical cleaners can leave behind residue on bathroom tiles, contributing to dullness and discoloration. Over time, this residue can build up and become difficult to remove, requiring thorough cleaning to restore the tiles’ luster.

Essential Supplies and Pre-Cleaning Steps
Before tackling tough bathroom tile stains, proper preparation is essential to ensure effective cleaning results. Gathering the right supplies and performing pre-cleaning steps can make the cleaning process more efficient and successful. Here are some essential supplies and pre-cleaning steps to prepare for stain removal:
Gather Cleaning Supplies: Before you begin cleaning, gather the necessary supplies to tackle tough bathroom tile stains effectively. This may include:
-
- All-purpose cleaner or tile and grout cleaner
- White vinegar or lemon juice
- Baking soda or hydrogen peroxide
- Scrubbing brushes or scrub pads
- Microfiber cloths or sponges
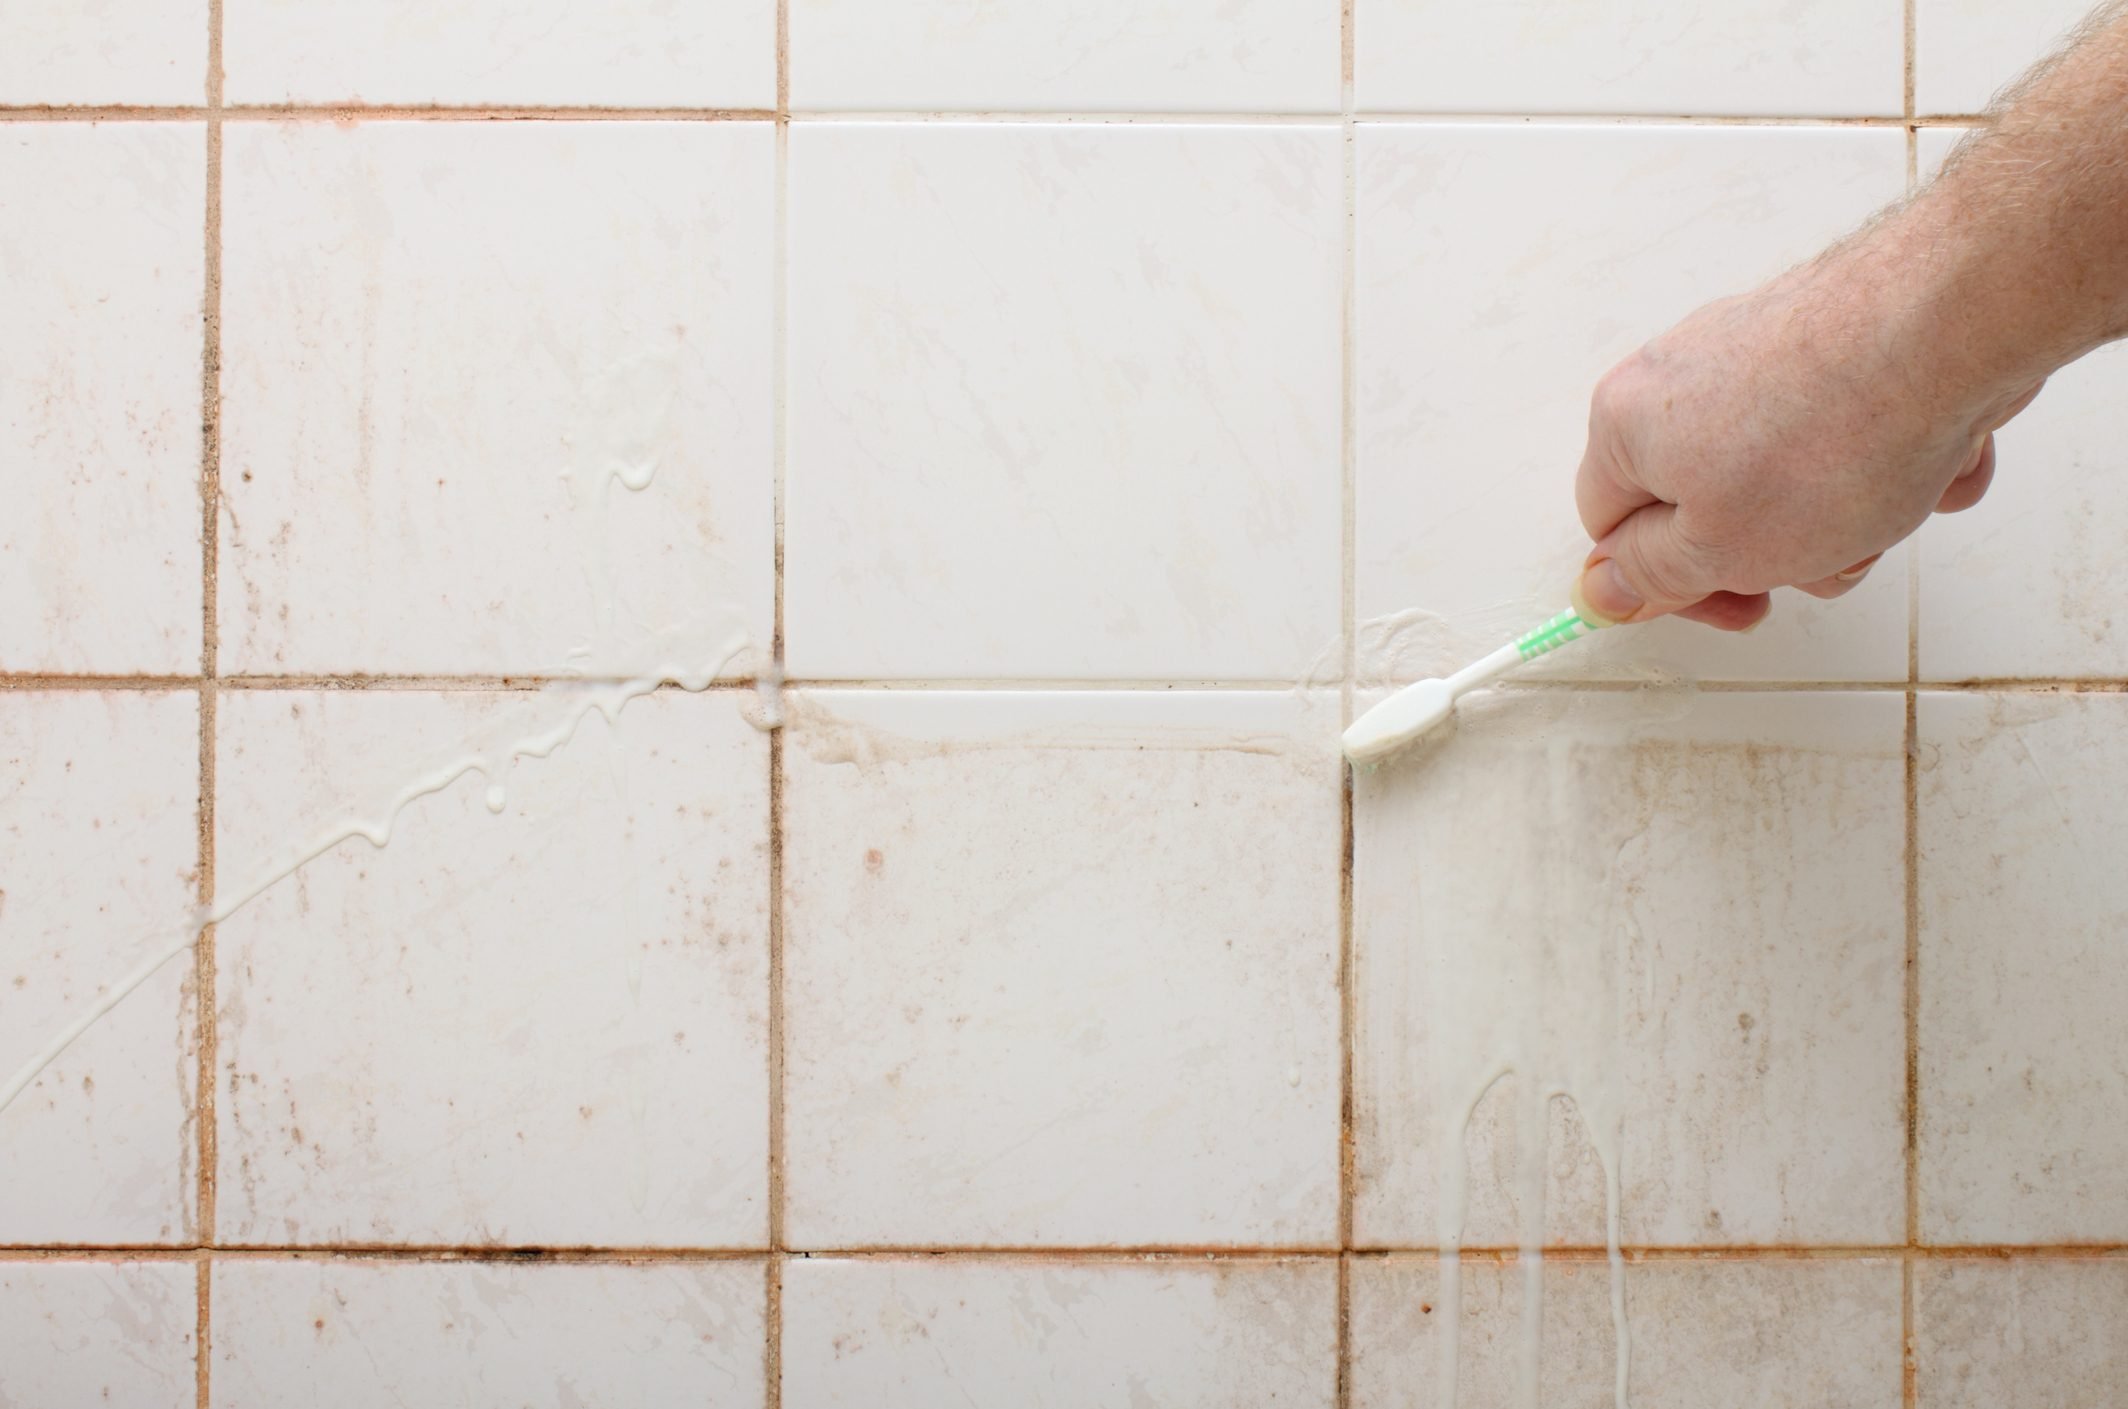
- Grout brush or toothbrush for detailed cleaning
- Protective gloves and goggles (if using harsh chemicals)
- Bucket for mixing cleaning solutions
- Old toothbrush for hard-to-reach areas
Ventilate the Bathroom: Proper ventilation is essential when cleaning bathroom tiles to ensure adequate airflow and prevent exposure to cleaning fumes. Open windows or doors and use exhaust fans to remove steam and humidity from the bathroom. Good ventilation helps the cleaning solutions work more effectively and prevents mold and mildew growth.
Remove Surface Debris: Before applying any cleaning solutions, remove surface debris and loose dirt from the tile surfaces. Use a dry brush or vacuum cleaner with a brush attachment to sweep away dust, hair, and other debris from the tiles and grout lines. Removing surface debris prevents it from getting trapped in the cleaning solution and causing scratching during scrubbing.
Test Cleaning Solutions: Before applying cleaning solutions to the entire surface, test them in a small inconspicuous area to ensure compatibility and prevent damage to the tiles or grout. Apply a small amount of the cleaning solution to a hidden spot and wait for a few minutes to see if any adverse reactions occur. If there are no negative effects, proceed with cleaning the rest of the area.
Protect Surrounding Surfaces: When using strong cleaning solutions or abrasive tools, protect surrounding surfaces like countertops, fixtures, and cabinets from potential damage. Cover these surfaces with towels or plastic sheeting to prevent splashes and spills from causing stains or etching. Taking precautions to protect surrounding surfaces ensures that only the intended areas are cleaned.
Read and Follow Instructions: Always read and follow the instructions provided by the manufacturer when using cleaning products. Some products may require dilution or specific application methods to achieve the best results. Pay attention to any safety precautions and warnings to avoid accidents or injuries during the cleaning process.
Effective Cleaning Methods for Various Tile Types
Tough bathroom tile stains require targeted cleaning methods to effectively remove them without causing damage to the tiles or grout. Different tile materials and finishes may require specific cleaning techniques and products to achieve optimal results. Here are some effective cleaning methods for tackling stubborn stains on various tile types:
Ceramic and Porcelain Tiles:
- Mix equal parts white vinegar and water in a spray bottle and spray the solution onto the stained areas.
- Let the vinegar solution sit for a few minutes to loosen the stains, then scrub the tiles with a soft-bristled brush or scrub pad.
- Rinse the tiles thoroughly with water to remove any residue, then dry them with a clean towel.
- For tough stains, make a paste of baking soda and water and apply it to the stained areas. Let the paste sit for a few minutes before scrubbing and rinsing.
Natural Stone Tiles:
- Avoid using acidic or abrasive cleaners on natural stone tiles, as they can etch or damage the surface.
- Instead, use a pH-neutral stone cleaner or a mild detergent diluted in water to clean the tiles.
- Apply the cleaner to the stained areas and scrub gently with a soft-bristled brush or sponge.
- Rinse the tiles thoroughly with water to remove any residue, then dry them with a clean towel.
- For tough stains, make a poultice with hydrogen peroxide and a powdered cleaner like baking soda or talc. Apply the poultice to the stained areas, cover with plastic wrap, and let it sit overnight before rinsing and drying.
Glass Tiles:
- Mix a solution of warm water and mild dish soap in a spray bottle and spray it onto the stained areas.
- Use a soft-bristled brush or sponge to scrub the tiles gently, paying attention to any grout lines or crevices.
- Rinse the tiles thoroughly with water to remove any soap residue, then dry them with a clean towel.
- For tough stains, make a paste of baking soda and water and apply it to the stained areas. Let the paste sit for a few minutes before scrubbing and rinsing.
Grout Lines:
- Mix equal parts baking soda and water to create a paste, then apply it to the stained grout lines.
- Use a grout brush or old toothbrush to scrub the paste into the grout, working in small circular motions.
- Let the paste sit for a few minutes to penetrate the stains, then rinse the grout lines thoroughly with water.
- For tough stains, apply undiluted white vinegar or hydrogen peroxide directly to the grout lines and scrub with a brush before rinsing.
Tile Sealer and Maintenance:
- After cleaning tough stains, consider applying a sealant to the tiles and grout to protect them from future staining and moisture damage.
- Choose a penetrating sealer specifically formulated for the type of tile you have and follow the manufacturer’s instructions for application.
- Regular maintenance, such as wiping down tiles after showering and promptly addressing spills and stains, can help prevent tough stains from forming in the future.
DIY Remedies and Homemade Solutions
When faced with tough bathroom tile stains, you don’t always need to rely on harsh chemical cleaners. DIY remedies and homemade solutions using natural ingredients can be just as effective at removing stains while being gentler on the environment and safer for your health. Here are some natural alternatives for tackling tough stains on bathroom tiles:
White Vinegar: White vinegar is a versatile and effective natural cleaner that can help dissolve tough stains on bathroom tiles. Its acidic properties make it particularly useful for removing hard water deposits, soap scum, and mineral stains. Simply mix equal parts white vinegar and water in a spray bottle and spray the solution onto the stained areas. Let it sit for a few minutes before scrubbing with a brush or sponge, then rinse thoroughly with water.
Baking Soda: Baking soda is another powerhouse cleaner that can help lift and remove tough stains from bathroom tiles. Its mild abrasive properties make it effective at scrubbing away grime and dirt without scratching the tile surface. Mix baking soda with water to create a paste, then apply it to the stained areas and scrub gently with a brush or sponge. For extra cleaning power, add a few drops of dish soap or lemon juice to the baking soda paste.
Lemon Juice: Lemon juice is a natural acid that can help break down and dissolve tough stains on bathroom tiles. Its fresh citrus scent also leaves the bathroom smelling clean and refreshed. Simply cut a lemon in half and rub it directly onto the stained areas, or mix lemon juice with water in a spray bottle and spray the solution onto the stains. Let it sit for a few minutes before scrubbing and rinsing with water.
Hydrogen Peroxide: Hydrogen peroxide is a powerful oxidizing agent that can help lift and remove tough stains from bathroom tiles and grout lines. Its antibacterial properties also make it effective at killing mold and mildew. Mix hydrogen peroxide with water in a spray bottle and spray the solution onto the stained areas. Let it sit for a few minutes before scrubbing with a brush or sponge, then rinse thoroughly with water.
Tea Tree Oil: Tea tree oil is known for its natural antifungal and antibacterial properties, making it effective at removing mold and mildew stains from bathroom tiles. Mix a few drops of tea tree oil with water in a spray bottle and spray the solution onto the stained areas. Let it sit for a few hours or overnight before scrubbing and rinsing with water. Tea tree oil also leaves behind a pleasant, refreshing scent.
Salt and Vinegar Paste: Create a paste using salt and vinegar to tackle tough stains on bathroom tiles. Mix equal parts salt and white vinegar to form a thick paste, then apply it to the stained areas and let it sit for a few hours or overnight. Scrub the paste into the stains with a brush or sponge, then rinse thoroughly with water. The abrasive action of the salt combined with the acidic properties of the vinegar helps lift and remove stubborn stains effectively.
Maintenance Tips to Keep Your Bathroom Tiles Pristine
Once you’ve successfully removed tough stains from your bathroom tiles, it’s essential to take proactive steps to prevent them from recurring in the future. With regular maintenance and preventive measures, you can keep your bathroom tiles looking pristine and stain-free for years to come. Here are some maintenance tips to prevent future stains:
Regular Cleaning Routine: Establish a regular cleaning routine for your bathroom tiles to prevent dirt, grime, and soap scum from building up and causing stains. Wipe down tiles and grout lines with a mild detergent or pH-neutral cleaner and water at least once a week to remove surface debris and maintain cleanliness.
Prompt Spill Cleanup: Address spills and stains promptly to prevent them from penetrating the tile surface and becoming stubborn stains. Blot up spills immediately with a clean cloth or paper towel, then clean the affected area with a mild detergent or cleaning solution. Avoid using abrasive cleaners or scrubbing pads, as they can scratch the tile surface.
Ventilation and Air Circulation: Proper ventilation is essential in the bathroom to prevent moisture buildup and inhibit mold and mildew growth, which can cause stains on tiles and grout. Use exhaust fans or open windows and doors during and after bathing to promote airflow and remove excess humidity from the room.
Dry Wet Surfaces: After showering or bathing, wipe down wet surfaces like tiles, countertops, and fixtures with a dry towel to remove excess moisture. Pay particular attention to areas prone to water accumulation, such as corners, seams, and grout lines. Keeping surfaces dry helps prevent mold and mildew growth and reduces the risk of staining.
Seal Grout Regularly: Grout is porous and prone to absorbing moisture, dirt, and stains, making it susceptible to discoloration and staining over time. Seal grout lines regularly with a penetrating grout sealer to create a protective barrier that repels water and prevents stains from penetrating the surface. Follow the manufacturer’s instructions for application and reapplication as needed.
Use Mats and Rugs: Place mats or rugs in high-traffic areas like in front of the sink, shower, and bathtub to protect tiles from scratches, spills, and stains. Choose mats with non-slip backings and machine-washable materials for easy cleaning and maintenance. Mats and rugs also add warmth and comfort underfoot and can enhance the overall aesthetics of the bathroom.
HOW TO CLEAN BATHROOM TILES AT HOME HOW TO CLEAN BATHROOM FLOOR AT HOME
How to Remove Hard Water Stains from Bathroom Tiles Easily
How To Remove Stains From Bathroom Tiles
How to Remove Hard Water Stains from Tile and Grout Woodard
Ways to Remove Stains from Tiles – wikiHow
Best Ways to Clean Shower Tile u0026 Grout (Home Remedies)
How to Remove Hard Water Stains From Shower Tile and Glass
How to remove hard water stains in bathroom tiles
Ways to Remove Stains from Tiles
Related Posts:
- Small Bathroom Tile Ideas Pinterest
- Pink Bathroom Tiles What Wall Color
- Dark Color Bathroom Tiles
- Small Bathroom Tile Layout
- Bathroom Tile Design Tips
- DIY Bathroom Tile Painting
- Best Bathroom Tile And Grout Cleaner
- Top Bathroom Tiles
- Grey Brown Bathroom Tiles
- Green Bathroom Tiles Design


