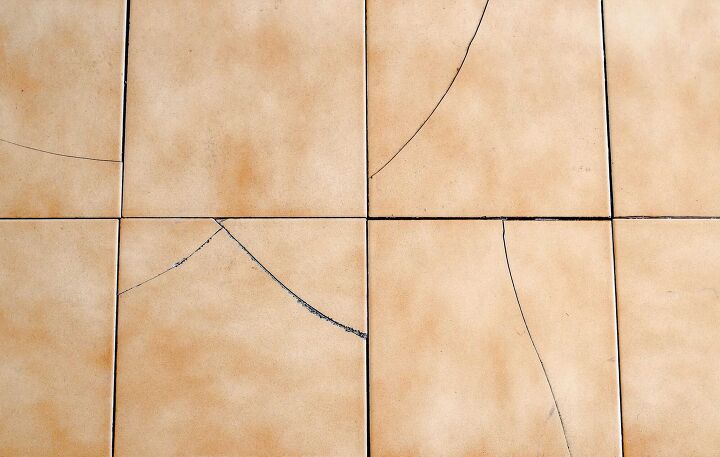
Assessing the Damage: Identifying the Extent of the Problem
When faced with broken bathroom tiles, the first step is to assess the extent of the damage. Properly evaluating the situation will help you determine the best course of action and ensure a successful repair. Here are some key factors to consider when assessing the damage:
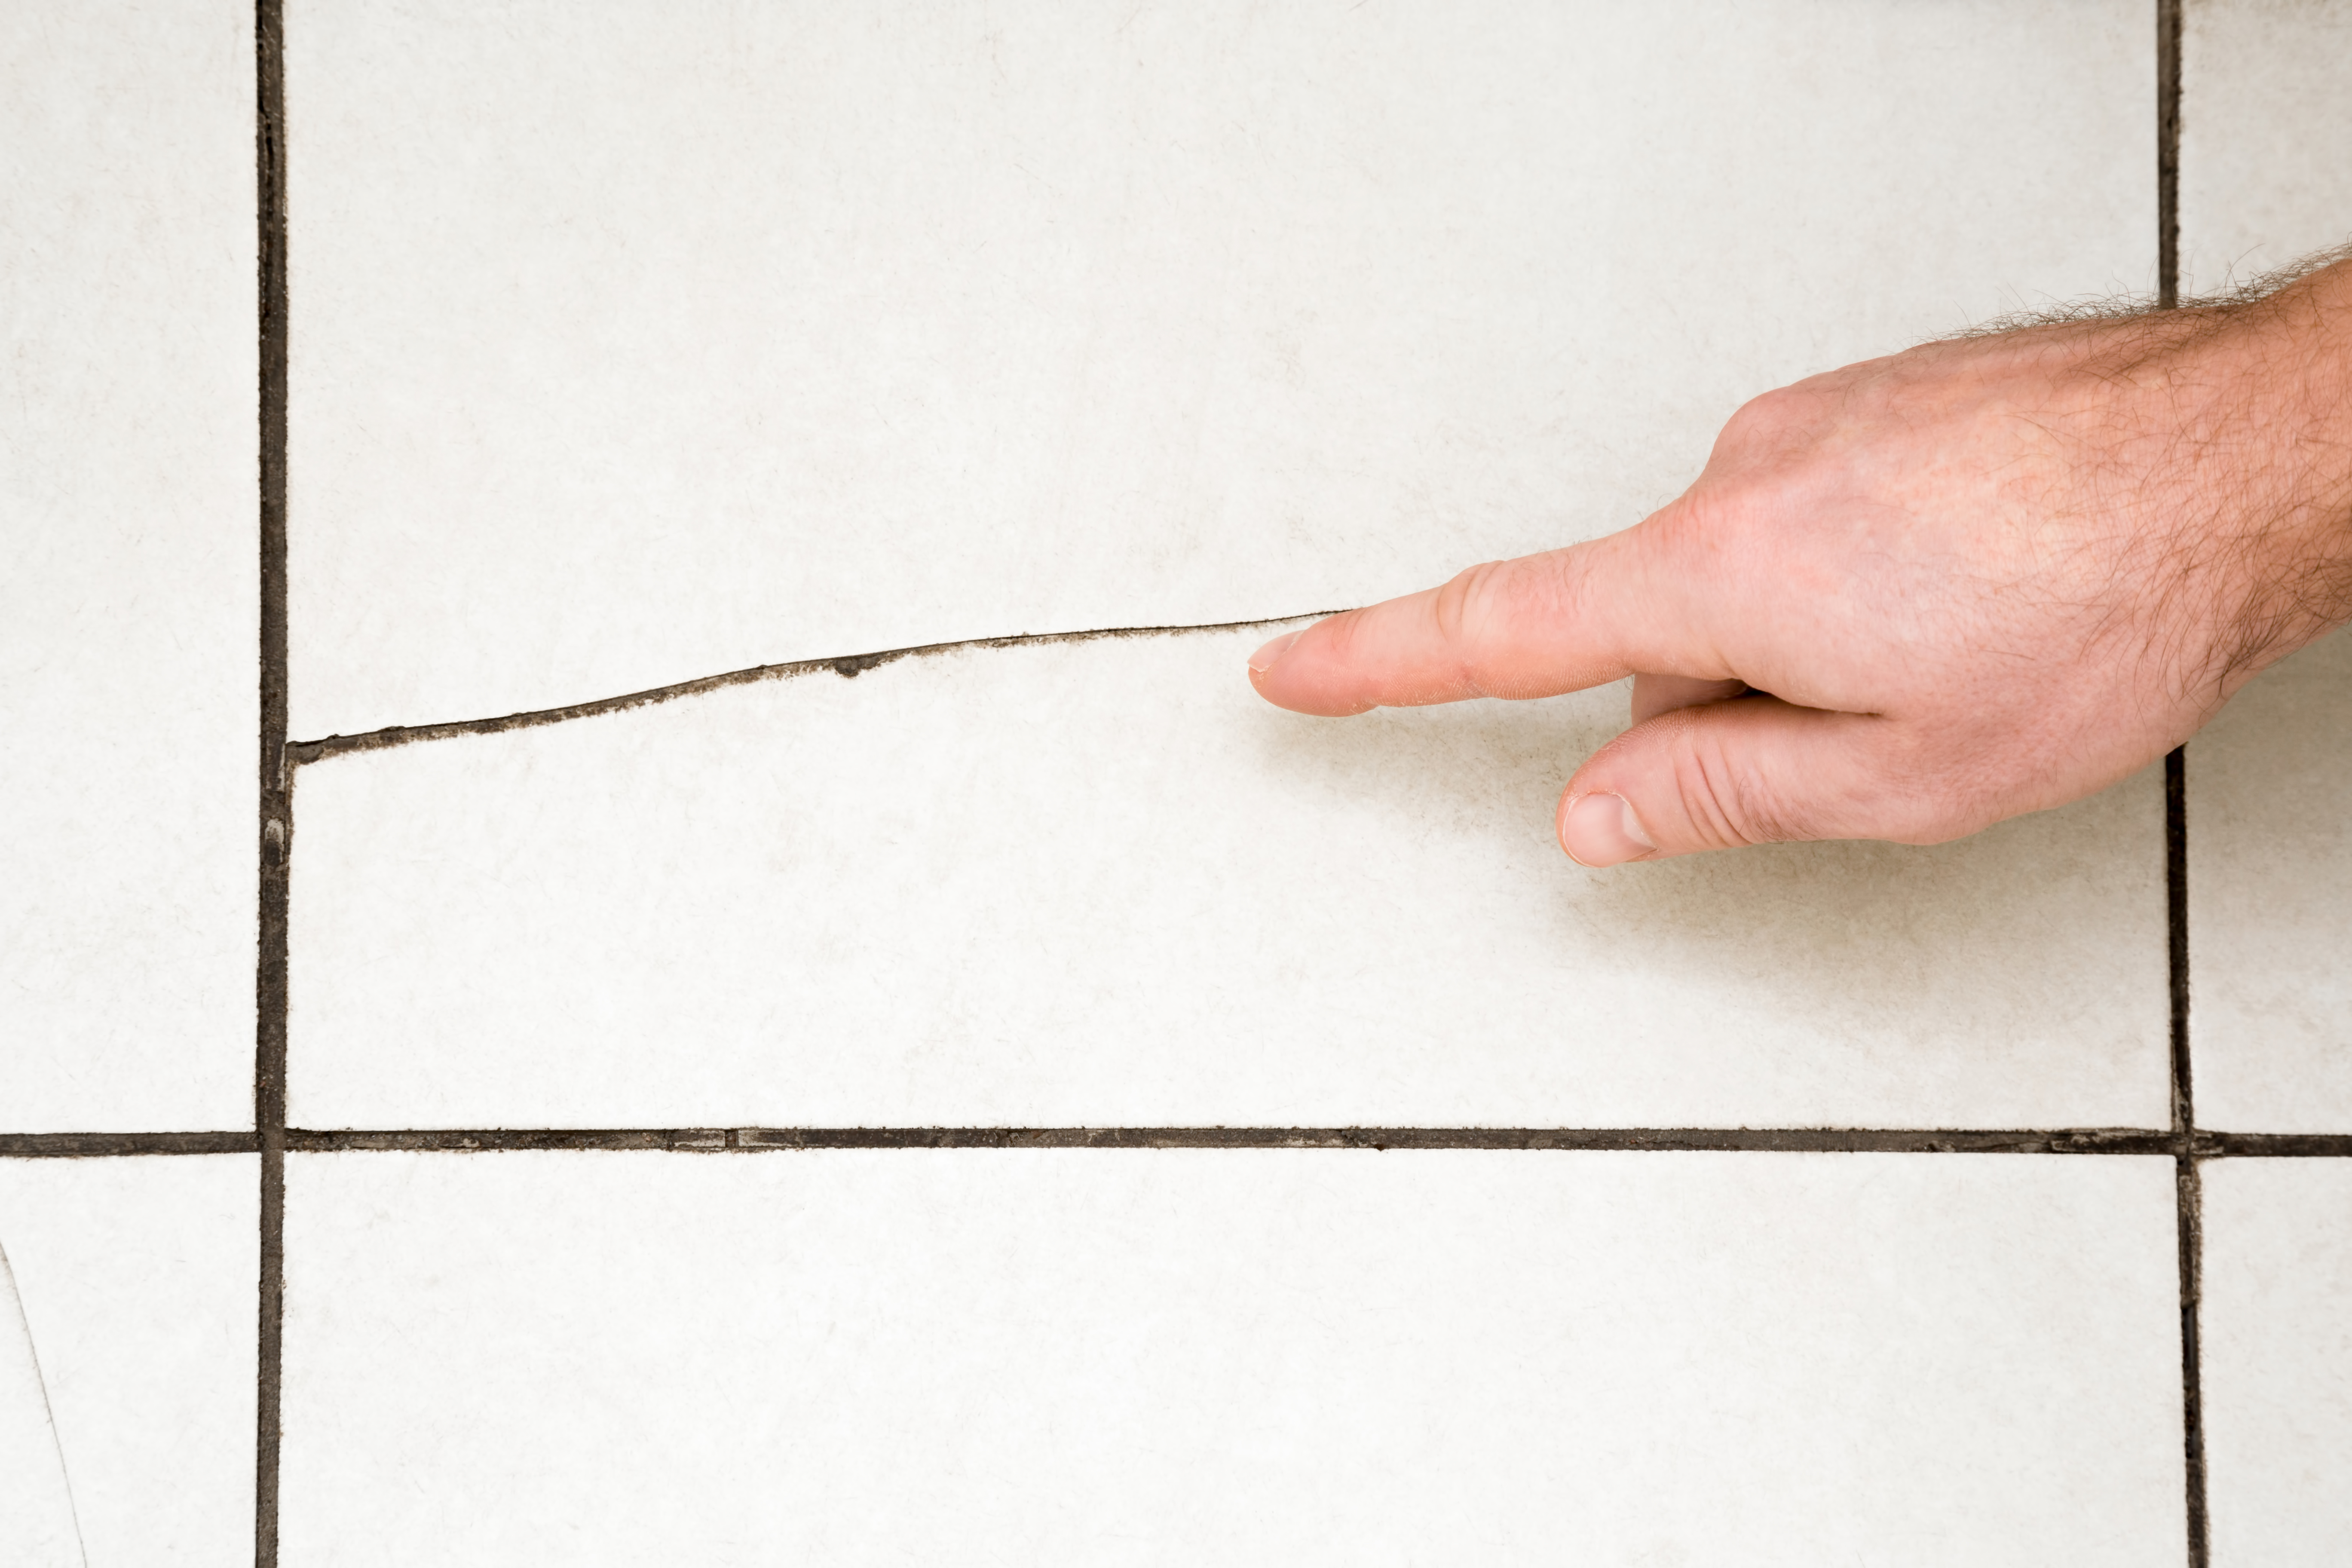
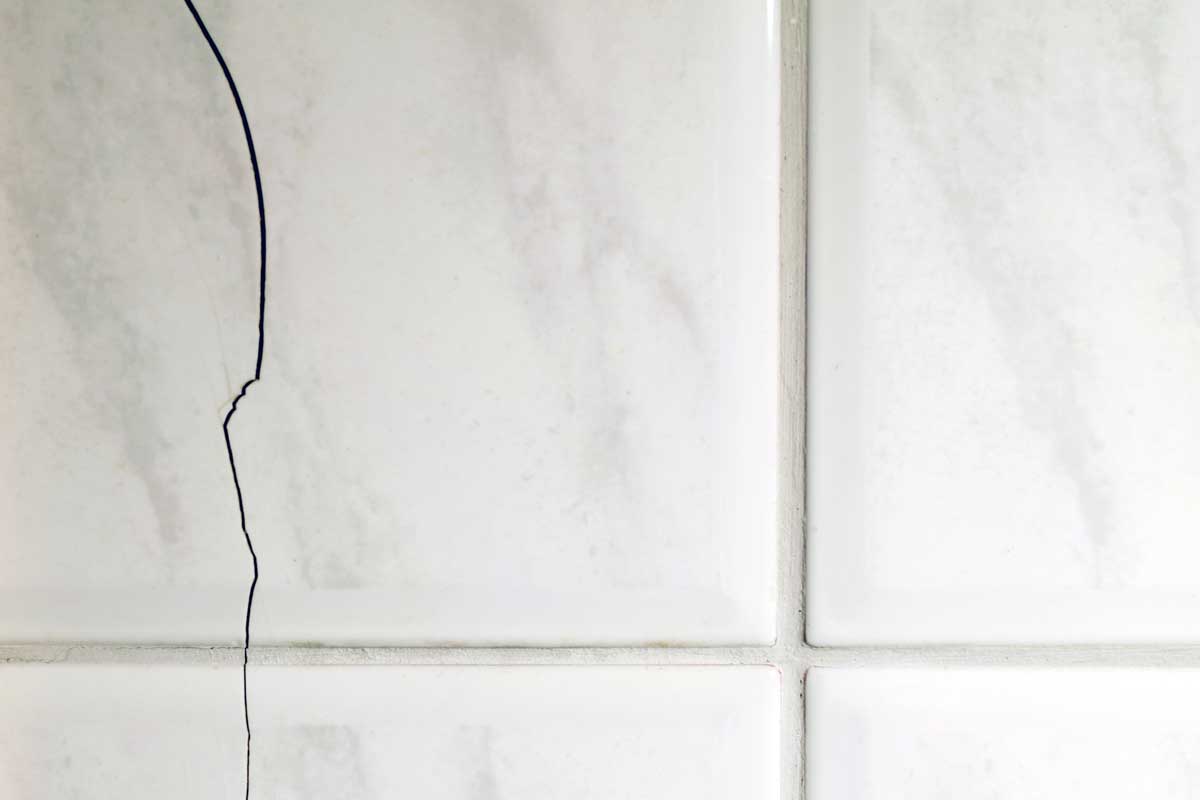
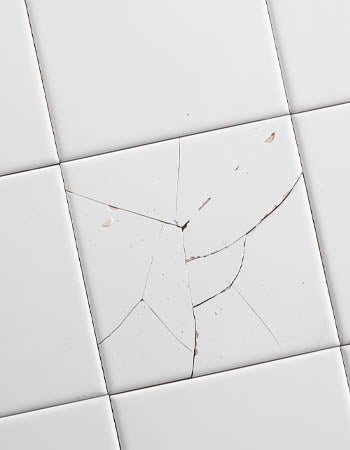
- Visible Damage: Begin by examining the affected tiles closely. Look for cracks, chips, or completely shattered pieces. Take note of any loose or missing grout surrounding the damaged area. This visual inspection will give you a clear understanding of the severity of the damage.
- Extent of Water Damage: In bathrooms, water damage can often accompany broken tiles. Check for any signs of water infiltration, such as discoloration, mold, or mildew growth. Pay close attention to areas near showers, sinks, and toilets, as these are common areas prone to water exposure.
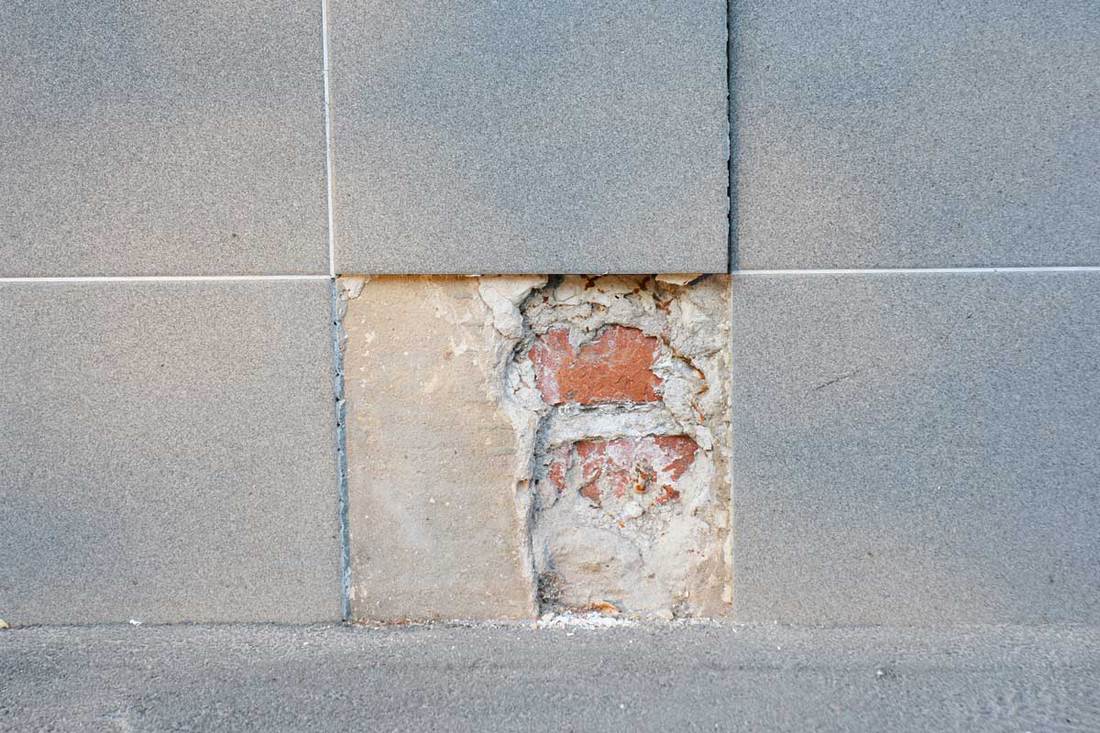
- Subfloor Integrity: Assess the condition of the subfloor beneath the damaged tiles. If the subfloor is compromised or weakened, it may require repair or reinforcement before installing new tiles. Look for signs of rot, warping, or decay that could indicate structural issues.
- Underlying Causes: Consider what may have caused the tile damage in the first place. Was it a one-time impact, or is there an underlying issue such as poor installation, subpar materials, or structural movement? Addressing the root cause will help prevent future damage and ensure long-lasting results.
- Scope of Repair: Based on your assessment, determine whether the repair can be done as a DIY project or if professional assistance is needed. Complex issues such as extensive water damage or structural problems may require specialized knowledge and tools.
- Budget and Timeline: Last, consider your budget and timeline for the repair. Assessing the damage will help you estimate the cost of materials and labor required for the repair. Additionally, understanding the scope of the project will allow you to plan accordingly and set realistic expectations for completion.

Gathering the Right Tools and Materials
Before embarking on a bathroom tile repair project, it’s essential to gather all the necessary tools and materials. Having the right equipment on hand will streamline the repair process and help you achieve professional-quality results. Here’s a comprehensive list of essentials for a successful tile repair:
Safety Gear: Start by prioritizing safety. Wear protective gear such as safety goggles, gloves, and a dust mask to shield yourself from debris and hazardous materials during the repair process.
Replacement Tiles: Purchase replacement tiles that match the size, color, and texture of the existing tiles in your bathroom. It’s crucial to maintain consistency for a seamless repair.
Grout: Choose a high-quality grout that complements your tiles and provides durable adhesion. Opt for sanded or unsanded grout depending on the width of the grout lines.
Tile Adhesive: Invest in a reliable tile adhesive or thin-set mortar to securely bond the replacement tile to the substrate. Ensure that the adhesive is suitable for the specific type of tile and substrate material.
Grout Float: A grout float is essential for applying grout evenly and smoothly into the joints between tiles. Choose a rubber float for optimal flexibility and control during the grouting process.
Tile Saw or Cutter: Depending on the extent of the repair, you may need a tile saw or cutter to trim replacement tiles to the desired size and shape. A wet saw is ideal for cutting porcelain, ceramic, or stone tiles with precision.
Grout Removal Tools: If replacing a damaged tile, you’ll need tools to remove the existing grout without damaging surrounding tiles. Options include a grout saw, a rotary tool with a grout removal attachment, or a manual grout scraper.
Tile Spacer: Use tile spacers to maintain consistent spacing between tiles and ensure straight, uniform grout lines. Choose spacers that match the width of your desired grout joints.
Utility Knife: A sharp utility knife is handy for cutting through caulk, adhesive, and other materials during the tile removal and preparation process.
Sponge and Bucket: Keep a bucket of clean water and a sponge nearby for wiping away excess grout and cleaning tiles during installation. A damp sponge is also useful for smoothing grout lines and removing haze after grouting.
Removing the Damaged Tile: Techniques for Safe Extraction
When repairing broken bathroom tiles, proper removal of the damaged tile is crucial to ensure a smooth and seamless repair. Here are some techniques for safely extracting a broken tile without causing further damage:
Assess the Surrounding Tiles: Before removing the damaged tile, carefully inspect the surrounding tiles to ensure they are securely bonded to the substrate. If adjacent tiles are loose or damaged, consider removing them as well to avoid future issues.
Loosen Grout: Use a grout saw or rotary tool with a grout removal attachment to carefully loosen the grout surrounding the damaged tile. Take care not to damage neighboring tiles during this process.
Score the Tile: Using a utility knife or glass cutter, score the surface of the damaged tile to create fracture lines. This will help facilitate the removal process and minimize the risk of damaging surrounding tiles.
Apply Heat: If the tile is particularly stubborn or bonded with strong adhesive, apply heat to soften the adhesive and make removal easier. Use a heat gun or hairdryer on a low setting to gently warm the tile surface.
Use a Chisel or Putty Knife: Once the grout and adhesive are loosened, carefully insert a chisel or putty knife under the edge of the tile. Apply gentle pressure to pry the tile away from the substrate, working gradually to avoid excessive force.
Remove Remaining Adhesive: After removing the tile, use a scraper or adhesive remover to clean any remaining adhesive from the substrate. Ensure the surface is smooth and free of debris before proceeding with tile replacement.
Inspect Substrate: Take this opportunity to inspect the substrate beneath the removed tile for any signs of damage or deterioration. Address any issues before installing the replacement tile to ensure a stable and long-lasting repair.
Clean Surrounding Area: Wipe down the surrounding area with a damp sponge to remove any remaining grout residue or dust. This will prepare the substrate for the installation of the replacement tile.
Preparing the Surface: Ensuring Proper Adhesion for the New Tile
Before installing a replacement tile in your bathroom, it’s essential to properly prepare the surface to ensure proper adhesion and a long-lasting repair. Here’s a step-by-step guide to preparing the surface for tile installation:
Clean the Substrate: Begin by thoroughly cleaning the substrate surface to remove any dust, debris, or residual adhesive from the previous tile. Use a damp sponge or cloth to wipe down the area and ensure it is free of contaminants.
Repair Substrate Damage: Inspect the substrate for any signs of damage or deterioration, such as cracks, unevenness, or water damage. Address any issues by repairing or replacing the affected areas to create a stable and level surface for tile installation.
Apply Primer (if necessary): Depending on the type of substrate and tile adhesive used, you may need to apply a primer to enhance adhesion and prevent moisture penetration. Follow the manufacturer’s instructions for proper application and drying times.
Mix Tile Adhesive: Prepare the tile adhesive or thin-set mortar according to the manufacturer’s instructions. Use a clean bucket and mixing paddle to achieve a smooth and uniform consistency.
Spread Adhesive: Using a notched trowel, spread a layer of adhesive onto the substrate surface, covering an area slightly larger than the size of the replacement tile. Ensure the adhesive is applied evenly with consistent ridges for optimal bonding.
Install Replacement Tile: Carefully place the replacement tile into position, pressing firmly to ensure full contact with the adhesive. Use tile spacers to maintain consistent spacing between tiles and ensure straight, uniform grout lines.
Adjust Alignment: Check the alignment and level of the replacement tile relative to the surrounding tiles. Make any necessary adjustments by tapping gently with a rubber mallet or adjusting the position manually.
Remove Excess Adhesive: Wipe away any excess adhesive that may have oozed out from the edges of the tile using a damp sponge or cloth. Clean the tile surface to ensure a clean and professional finish.
Allow Adhesive to Cure: Allow the adhesive to cure according to the manufacturer’s instructions before grouting. This typically involves a waiting period of 24 to 48 hours to ensure proper bonding and stability.
Seal Grout (if necessary): Once the adhesive has cured and the grout has been applied, consider sealing the grout lines to protect against moisture, staining, and mildew growth. Choose a high-quality grout sealer and follow the manufacturer’s recommendations for application.
Installing the Replacement Tile: Step-by-Step Guide to Seamless Integration
Installing a replacement tile in your bathroom requires careful attention to detail and precise execution to achieve seamless integration with existing tiles. Here’s a step-by-step guide to installing the replacement tile:
Prepare the Replacement Tile: Before installation, ensure the replacement tile is clean, dry, and free of any debris or adhesive residue. Inspect the tile for any defects or irregularities that may affect the installation process.
Apply Tile Adhesive: Using a notched trowel spread a layer of tile adhesive or thin-set mortar onto the prepared substrate surface. Work in small sections to prevent the adhesive from drying out before the tile is installed.
Position the Tile: Carefully place the replacement tile into position, pressing firmly to ensure full contact with the adhesive. Use tile spacers to maintain consistent spacing between tiles and ensure straight, uniform grout lines.
Check Alignment and Level: Use a level to check the alignment and level of the replacement tile relative to the surrounding tiles. Make any necessary adjustments by tapping gently with a rubber mallet or adjusting the position manually.
Remove Excess Adhesive: Wipe away any excess adhesive that may have oozed out from the edges of the tile using a damp sponge or cloth. Clean the tile surface to ensure a clean and professional finish.
Allow Adhesive to Cure: Allow the adhesive to cure according to the manufacturer’s instructions before grouting. This typically involves a waiting period of 24 to 48 hours to ensure proper bonding and stability.
Mix Grout: Prepare the grout according to the manufacturer’s instructions, ensuring it reaches the desired consistency. Use a clean bucket and mixing paddle to achieve a smooth and uniform mixture.
Apply Grout: Using a grout float, apply the grout to the joints between tiles, working in small sections to ensure thorough coverage. Use a diagonal motion to press the grout into the joints and remove any excess.
Clean Excess Grout: After applying the grout, use a damp sponge or cloth to wipe away any excess grout from the tile surface. Rinse the sponge frequently in clean water to prevent smearing or haze buildup.
Final Cleaning and Sealing: Once the grout has cured, perform a final cleaning of the tile surface to remove any remaining grout residue or haze. If desired, apply a high-quality grout sealer to protect against moisture, staining, and mildew growth.
Why Cracked Tiles in Your Bathroom Are a Problem Shower Sealed
How to Remove and Replace Tiles with Wickes
Bathroom Tiles Falling Off – What to Do?
How To Fix a Cracked Floor Tile Without Replacing It Entirely
Home Improvement
Repair Cracked Tile: How to Fix Tile Cracks Easily
How To Fix A Broken Tile Without Replacing It u2013 Upgraded Home
How to Replace a Broken Tile (Shower Wall Repair!)
Related Posts:
