Gathering the Necessary Tools and Supplies
Installing a bathroom mirror with clips is a great way to add functionality and style to your bathroom. Before you start the installation process, it’s important to gather all the necessary tools and supplies. By having everything ready, you can ensure a smooth and efficient installation. We will guide you through the essential tools and supplies you’ll need.
- Measuring tape: A measuring tape is crucial for accurately determining the size and placement of your bathroom mirror. Measure the area where you plan to install the mirror, taking into account any obstructions such as light fixtures or cabinets.
- Pencil or marker: Having a pencil or marker on hand will allow you to mark the exact placement of the clips on the wall. This will help ensure that your mirror is level and properly aligned.
- Level: To achieve a professional-looking installation, a level is essential. It will help you ensure that the mirror is straight and properly aligned with the wall. Make sure to choose a level that is long enough to span the width of your mirror.
- Wall anchors and screws: Depending on the type of wall you have, you may need wall anchors and screws to securely attach the clips to the wall. If you have drywall or plaster, wall anchors will provide the necessary support for your mirror.
- Screwdriver or drill: Having a screwdriver or drill will make the installation process much easier. If your wall requires wall anchors, a drill will be necessary to create the holes for them. Otherwise, a screwdriver will suffice for attaching the clips to the wall.
- Safety goggles: Safety should always be a priority when working with tools. Protect your eyes from any dust or debris by wearing safety goggles throughout the installation process.

Measuring and Marking the Placement of the Mirror
Accurate measurements and proper placement are key to the successful installation of a bathroom mirror with clips. We will guide you through the process of measuring and marking the placement of the mirror, ensuring a precise and visually appealing result.
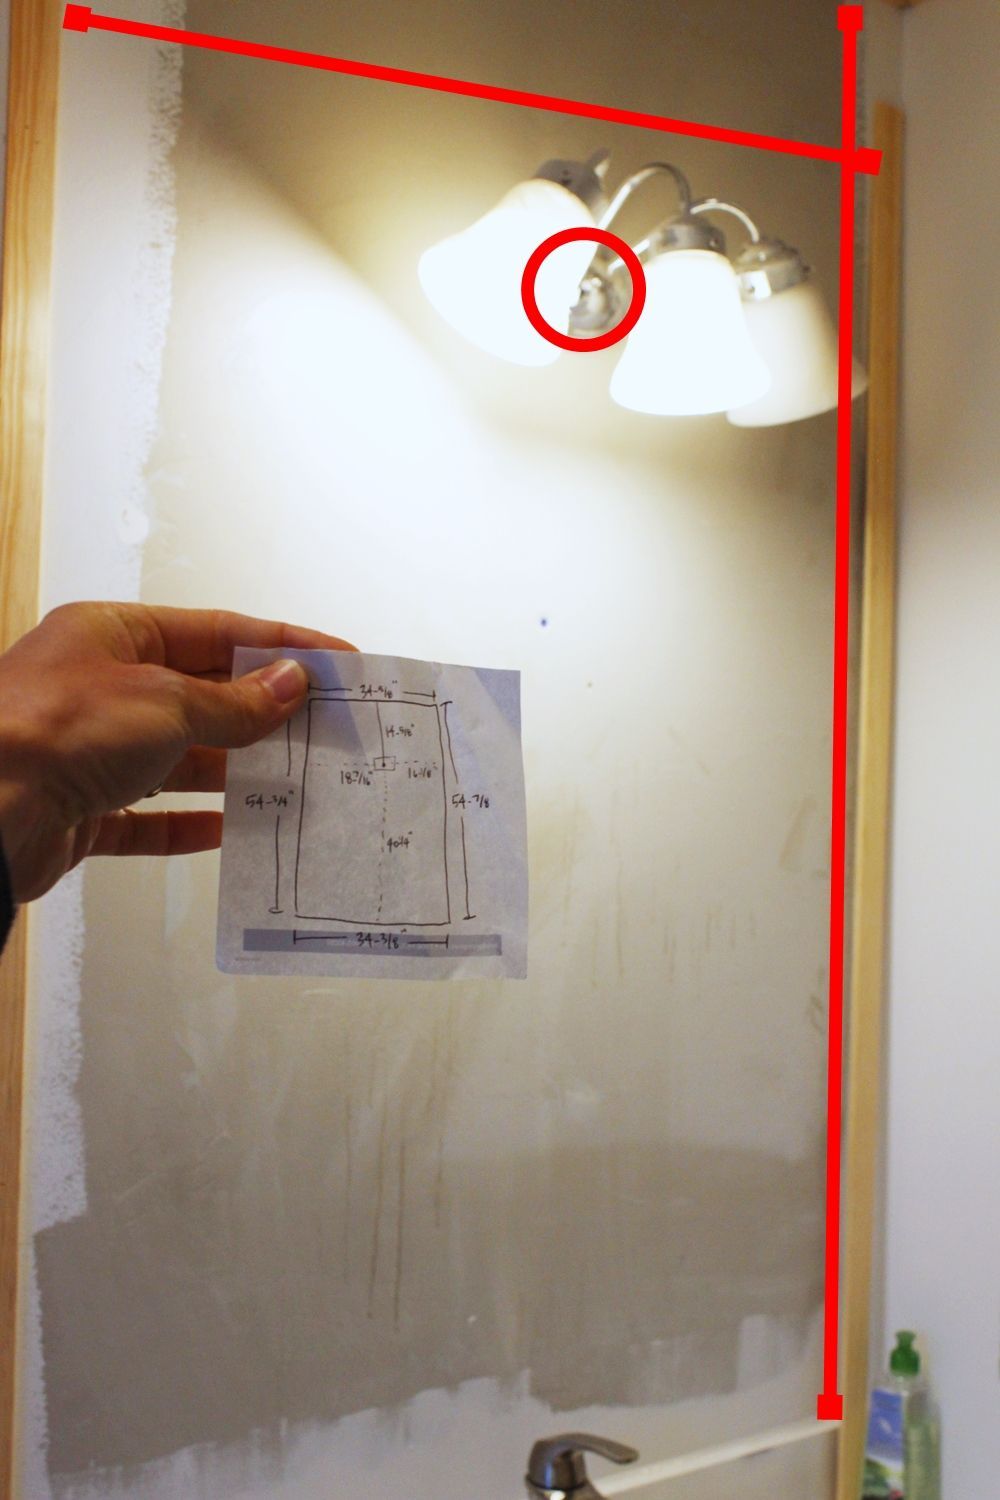
- Measure the wall space: Start by measuring the wall space where you plan to install the mirror. Use a measuring tape to determine the width and height of the area. Take note of any obstructions, such as light fixtures or cabinets, and consider their placement when measuring.
- Determine the mirror size: Based on the measurements of the wall space, determine the appropriate size for your mirror. It’s important to choose a size that is proportional to the wall and suits your personal preferences. Consider factors such as functionality and aesthetics when making this decision.
- Mark the centerline: To ensure proper alignment, find the centerline of the wall space and mark it with a pencil or marker. This will serve as a reference point for positioning the mirror.
- Mark the clip placement: Measure the width of the mirror and divide it by the number of clips you plan to use. This will give you the distance between each clip. Starting from the centerline, mark the positions of the clips on the wall, ensuring they are evenly spaced.
- Double-check the measurements: Before proceeding with the installation, double-check all the measurements and markings. Use the level to ensure that the centerline and clip positions are straight and aligned.
- Make any necessary adjustments: If the measurements or markings are not satisfactory, make any necessary adjustments before moving on to the installation process. This will help ensure a precise and visually pleasing result.
Installing the Clips on the Wall
Installing the clips on the wall is an important step in the process of installing a bathroom mirror with clips. These clips provide the necessary support and stability for the mirror. We will guide you through the process of installing the clips, ensuring a secure and visually appealing result.
Determine the clip position: Using the markings made in the previous step, determine the exact position of each clip on the wall. Place the clips at the desired height and ensure they are evenly spaced.
Drill pilot holes: If your wall requires wall anchors, use a drill to create pilot holes at the marked positions. The size of the pilot holes should match the size of the wall anchors you are using. If you don’t need wall anchors, skip this step and proceed to the next.
Insert wall anchors: If you are using wall anchors, insert them into the pilot holes. Gently tap them into place using a hammer until they are flush with the wall surface.
Attach clips to the wall: Align the clips with the pilot holes or wall anchors and attach them to the wall using screws. Use a screwdriver or drill to securely fasten the clips, ensuring they are level and properly aligned.
Double-check the installation: Once all the clips are securely attached to the wall, double-check their alignment and stability. Use a level to ensure they are straight and visually appealing.
Test the stability: Gently push and pull on the clips to test their stability. Ensure that they are firmly attached to the wall and can support the weight of the mirror.
Attaching the Mirror to the Clips
Now that you have installed the clips on the wall, it’s time to attach the mirror securely. We will guide you through the process of attaching the mirror to the clips, ensuring a stable and visually pleasing installation.
Clean the mirror and clips: Before attaching the mirror, ensure that both the mirror surface and the clips are clean and free from any dirt or residue. Use a gentle glass cleaner and a soft cloth to clean the mirror, and wipe the clips with a damp cloth.
Position the mirror: Carefully position the mirror in front of the clips. Align the bottom edge of the mirror with the bottom clips, ensuring that it is level and centered.
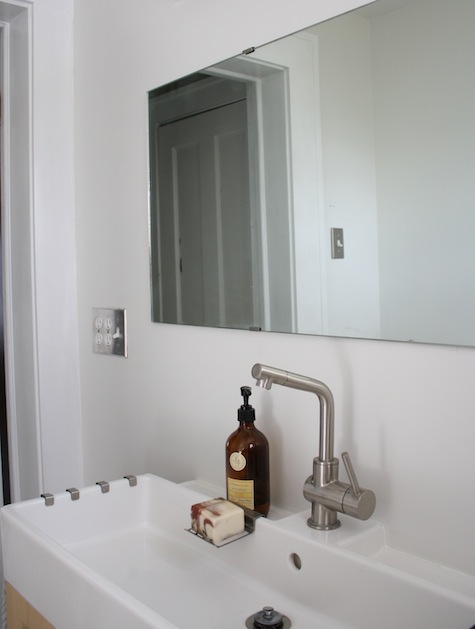
Place the mirror on the clips: With the help of a friend or family member, carefully lift the mirror and place it onto the clips. Make sure the mirror sits securely on the clips and does not wobble.
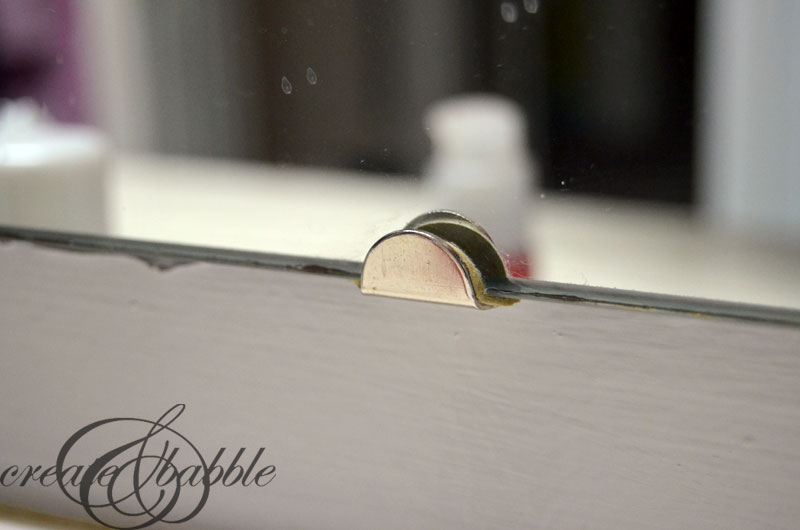
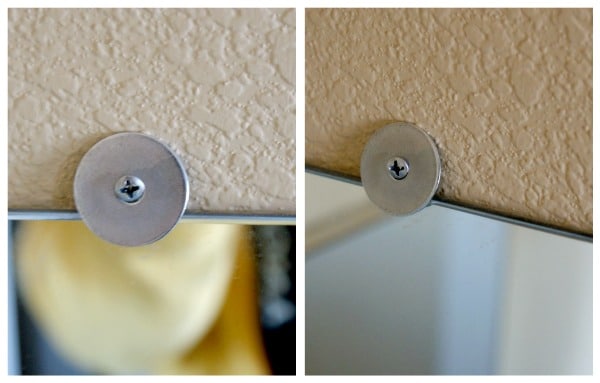
Secure the mirror: Once the mirror is in place, use a screwdriver or drill to secure it to the clips. Depending on the type of clips you are using, there may be screws or brackets that need to be tightened to hold the mirror in place. Follow the manufacturer’s instructions for the specific type of clips you have.
Check the alignment: After securing the mirror, step back and check its alignment. Use a level to ensure that the mirror is straight and properly positioned. Make any necessary adjustments by loosening the screws and repositioning the mirror if needed.
Verify stability: Gently shake the mirror to test its stability. Ensure that it is securely attached to the clips and does not move or sway. If you notice any instability, double-check the tightness of the screws and make any necessary adjustments.
Finishing Touches and Maintenance Tips
Once you have installed the bathroom mirror with clips, there are a few finishing touches you can add to enhance its appearance and ensure its longevity. We will discuss some final touches and provide maintenance tips to keep your mirror looking its best.
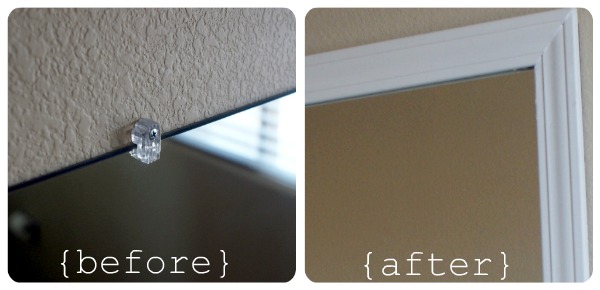
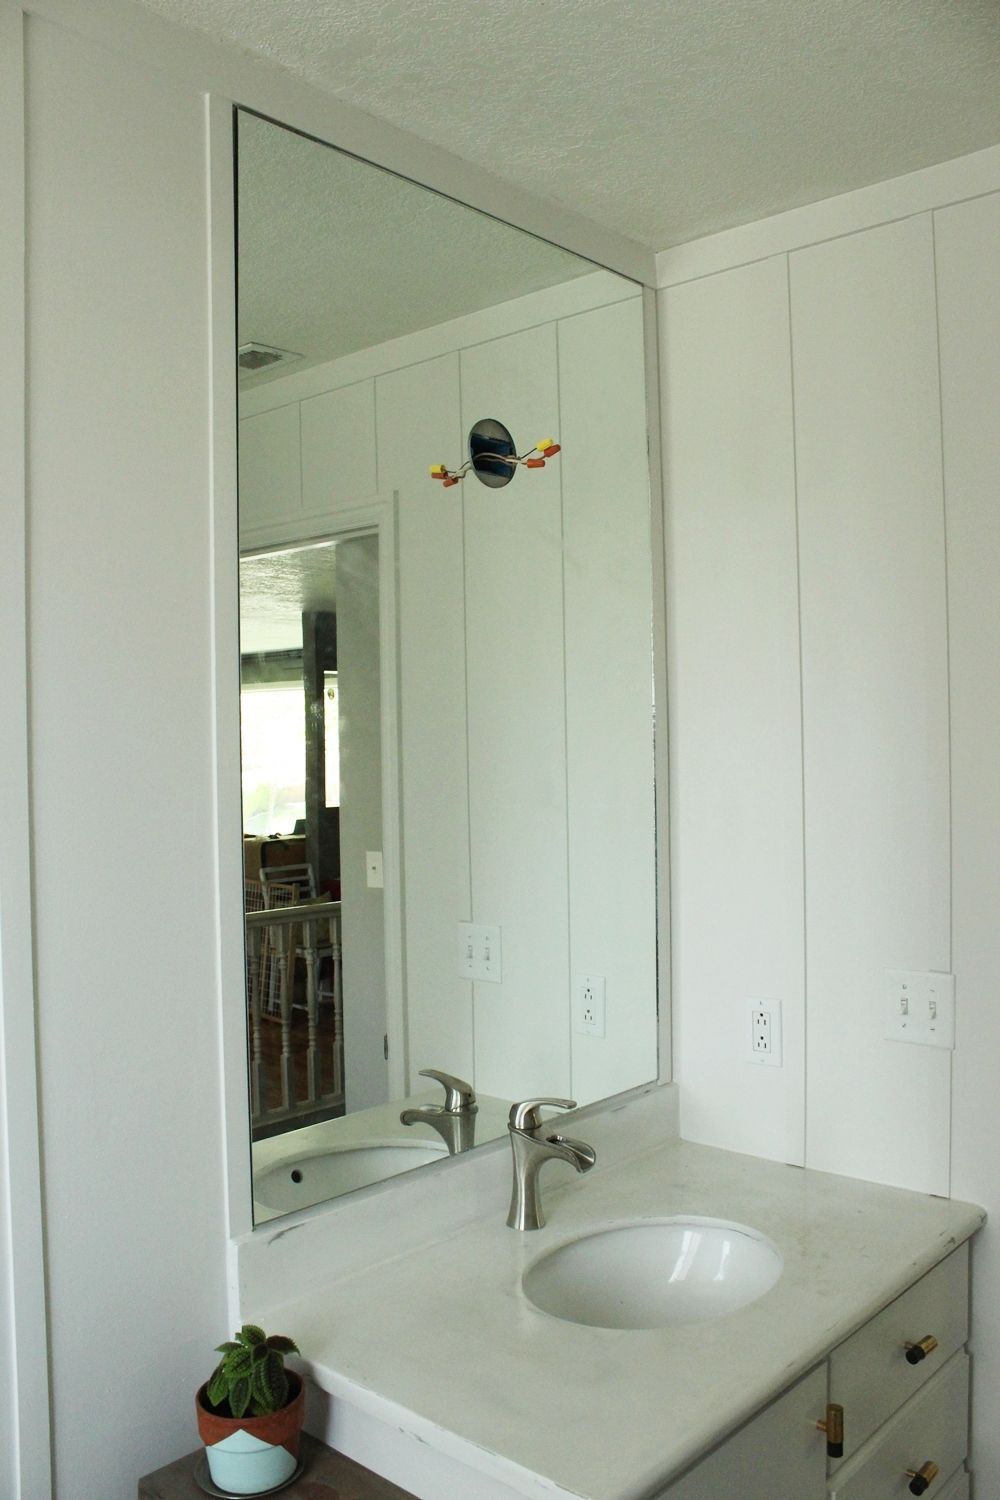
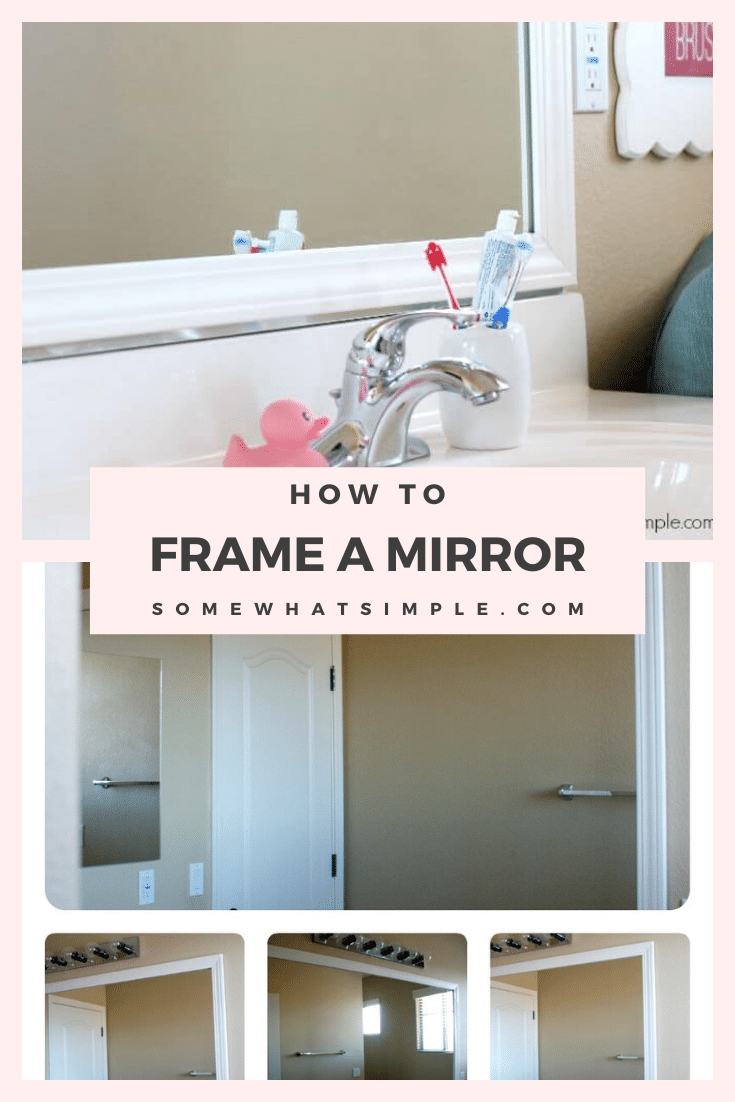
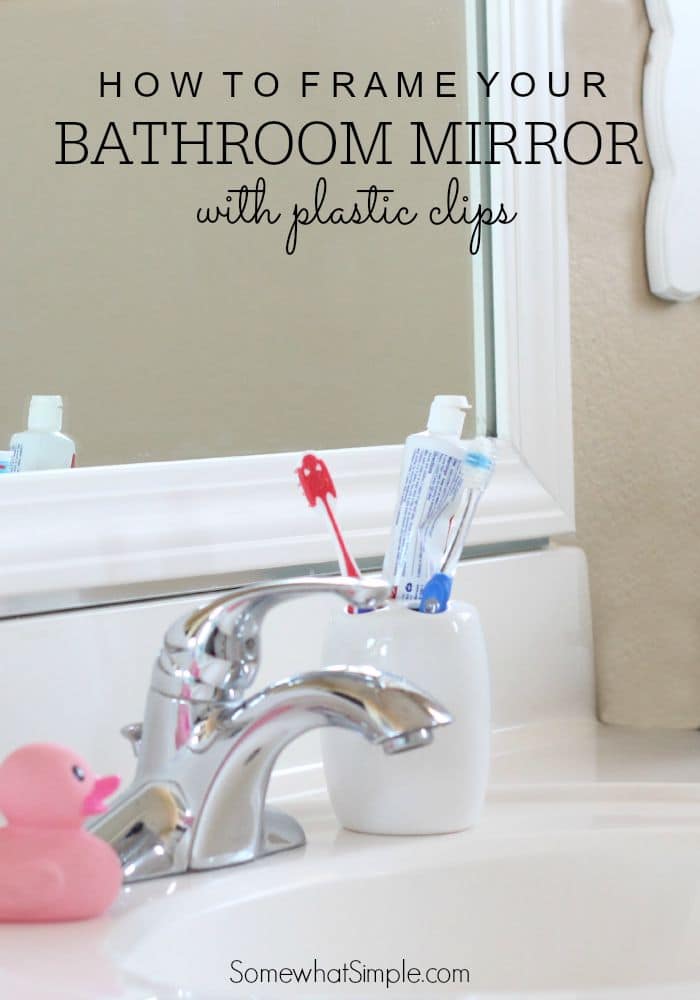
Trim or cover the clips: To give your mirror a polished look, consider trimming or covering the clips. You can use decorative trim or adhesive covers specifically designed for this purpose. This will hide the clips and create a seamless and aesthetically pleasing appearance.
Clean and maintain the mirror: Regularly clean the mirror using a non-abrasive glass cleaner and a soft, lint-free cloth. Avoid using harsh chemicals or abrasive materials that can damage the mirror surface. Wipe away any water spots or smudges to keep the mirror looking clean and clear.
Check for loose screws: Periodically check the screws that secure the mirror to the clips. Over time, they may loosen due to vibrations or other factors. If you notice any loose screws, tighten them to ensure the stability of the mirror.
Avoid excessive force: When cleaning or adjusting the mirror, avoid applying excessive force. The clips and screws are designed to hold the mirror securely, but excessive force can cause damage or instability. Handle the mirror with care to prevent any accidents or mishaps.
Regularly inspect the clips: Inspect the clips for any signs of wear or damage. Over time, the clips may become loose or worn out. If you notice any issues, consider replacing the clips to maintain the stability and safety of the mirror.
How I Installed A Really Big Mirror merrypad + DIY Network
How to Professionally Install a Bathroom Mirror
How To Frame A Bathroom Mirror Over Plastic Clips Somewhat Simple
How to Install a Mirror Using Adhesive – Gluing a Vanity Mirror
How to Professionally Install a Bathroom Mirror
How to Install a Big, Frameless Mirror (Without Adhesive) merrypad
How To Frame A Bathroom Mirror Over Plastic Clips Somewhat Simple
Mirror installation Video
How to Professionally Install a Bathroom Mirror
Related Posts:
- Gray Framed Bathroom Mirror
- Southwest Style Bathroom Mirrors
- Unique Bathroom Mirror Ideas
- Bathroom Mirror Light Shaver
- Bathroom Mirror Light Fittings
- Target Bathroom Mirrors Medicine Cabinets
- Led Bathroom Mirrors With Demister And Shaver Socket
- Brushed Nickle Bathroom Mirror
- Asian Inspired Bathroom Mirrors
- Round Bathroom Mirror Cabinet
