Gather the Necessary Tools and Materials:
To successfully install a Moen bathroom faucet, it is important to gather all the necessary tools and materials beforehand. This will ensure a smooth and efficient installation process. Here is a comprehensive list of tools and materials you will need:
- Adjustable wrench: This tool will help you tighten and loosen nuts and bolts during the installation process.
- Screwdriver: Depending on the type of faucet, you may need a flathead or Phillips head screwdriver to remove or install screws.
- Plumber’s tape: Also known as Teflon tape, a plumber’s tape is used to create a watertight seal when connecting the faucet to the water supply lines.
- Pipe wrench or channel locks: These tools are useful for removing and tightening plumbing connections.
- Bucket or towel: It’s always a good idea to have a bucket or towel handy to catch any water that may leak during the installation process.
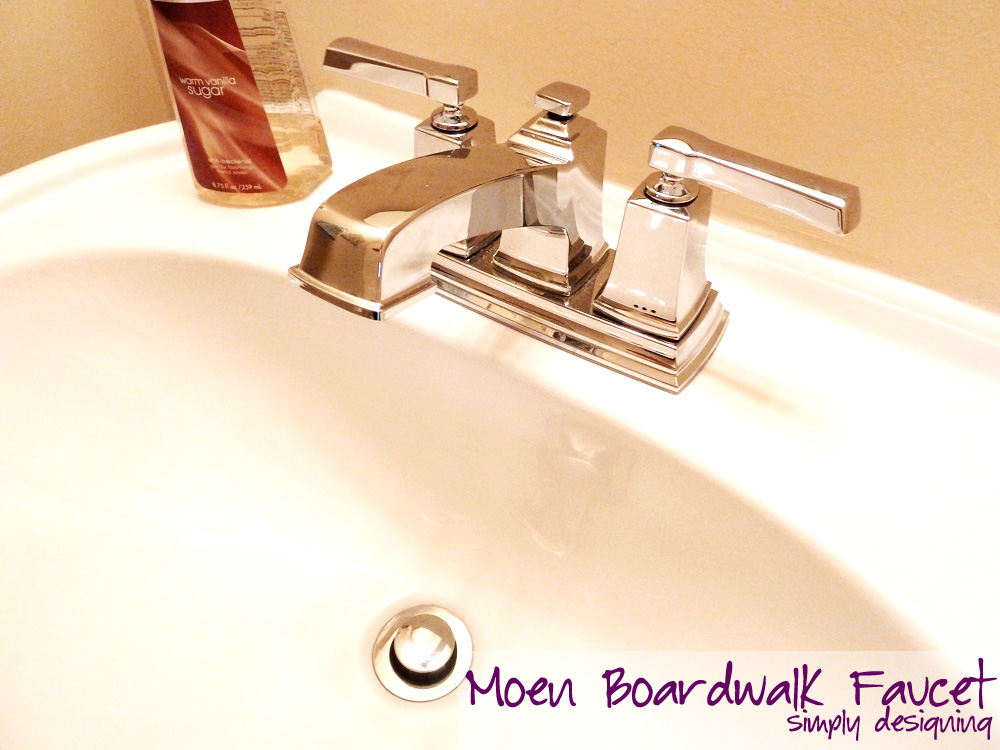
- Moen bathroom faucet kit: Ensure that you have purchased the correct Moen faucet kit for your specific bathroom sink.

Turn Off the Water Supply:
Before you start removing the old faucet and installing the new Moen bathroom faucet, it is crucial to turn off the water supply to avoid any potential water damage or accidents. Here are the steps to follow:
- Locate the water shut-off valves: These valves are usually located under the sink. Look for two small valves, one for hot water and one for cold water. They may be connected to the main water pipes or directly to the faucet.
- Turn off the water supply: Rotate each valve clockwise until it is fully closed. This will shut off the water flow to the faucet.
- Test the water supply: To ensure that the water supply is completely shut off, turn on the faucet and check if any water is still flowing. If no water comes out, the supply is successfully turned off.

Remove the Old Faucet:
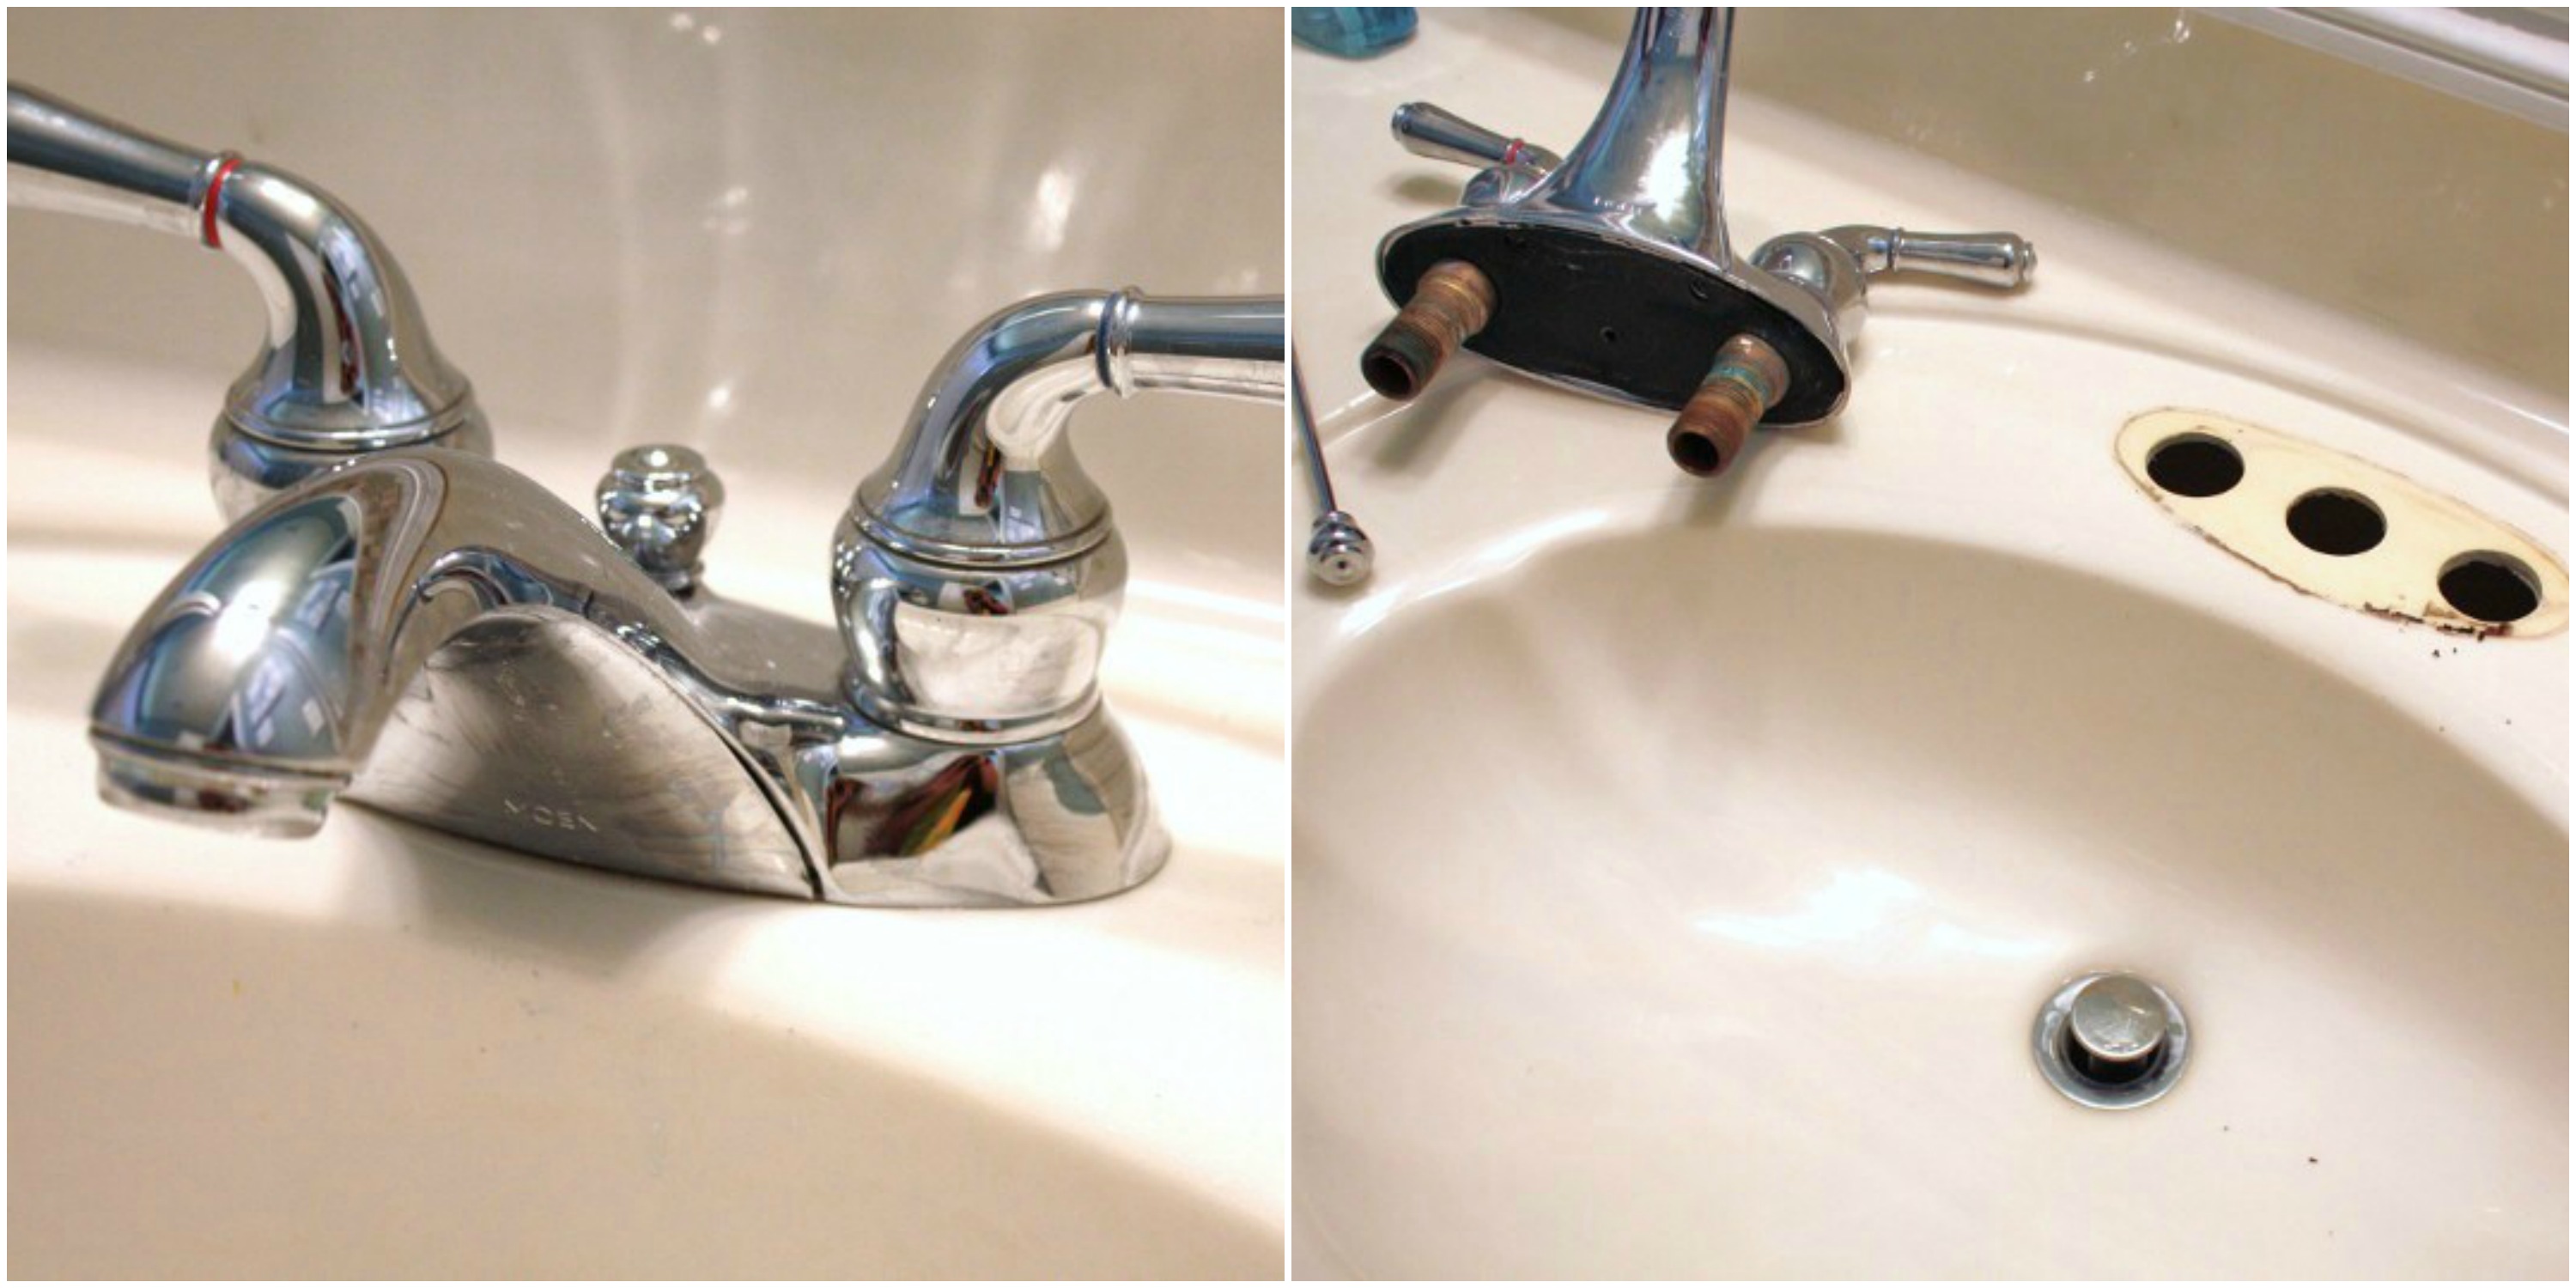
Once the water supply is turned off, it’s time to remove the old faucet. Here’s a step-by-step guide to help you through the process:
- Clear the area: Remove any items from under the sink to create a clear and spacious working area.
- Disconnect the water supply lines: Use an adjustable wrench to loosen and disconnect the water supply lines from the bottom of the faucet. Place a bucket or towel underneath to catch any water that may come out.
- Remove the mounting nuts or screws: Depending on the type of faucet, you may need to use an adjustable wrench or screwdriver to remove the mounting nuts or screws that hold the faucet in place.
- Lift and remove the old faucet: Once the mounting nuts or screws are removed, gently lift the old faucet out of the sink and set it aside.
- Clean the sink surface: Use a mild cleanser and a soft cloth to clean the sink surface thoroughly, removing any residue left behind by the old faucet.

Install the New Moen Bathroom Faucet:
Now that the old faucet is removed and the sink is clean, it’s time to install the new Moen bathroom faucet. Follow these steps for a successful installation:
Read the instructions: Before you begin, carefully read the installation instructions provided with your Moen faucet kit. Familiarize yourself with the specific steps and any additional tools or materials that may be required.
Install the gasket and mounting hardware: Place the provided gasket on the sink surface, aligning it with the faucet holes. Then, secure the mounting hardware from underneath the sink, following the manufacturer’s instructions.
Connect the water supply lines: Attach the water supply lines to the corresponding hot and cold water connections on the faucet. Use an adjustable wrench to ensure a tight and secure connection.
Mount the faucet: Carefully lower the faucet into the mounting holes on the sink, ensuring that it is properly aligned. Once in position, secure it using the provided mounting nuts or screws.
Tighten all connections: Double-check all connections, including the water supply lines and mounting hardware, to ensure they are securely tightened.
Reconnect the water supply: Turn on the water supply valves by rotating them counterclockwise. Check for any leaks around the connections and make any necessary adjustments.
Test and Ensure Proper Functioning:
After installing the new Moen bathroom faucet, it is essential to test its functionality and ensure that everything is working properly. Here’s how to do it:
Turn on the water supply: Fully open the water supply valves by rotating them counterclockwise. Allow the water to flow for a few minutes to remove any air bubbles from the system.
Check for leaks: Carefully inspect all connections and joints for any signs of leaks. If you notice any leaks, tighten the connections or consider seeking professional help.
Test the hot and cold water: Turn on the hot and cold water separately to ensure that both sides are functioning correctly. Check for any irregular water flow or temperature issues.
Test the faucet handles and sprayer (if applicable): Operate the faucet handles and sprayer (if applicable) to ensure they function smoothly and without any hitches.
Clean up and enjoy: Once you have tested and confirmed that the new Moen bathroom faucet is working properly, clean up any mess and enjoy your newly installed faucet.
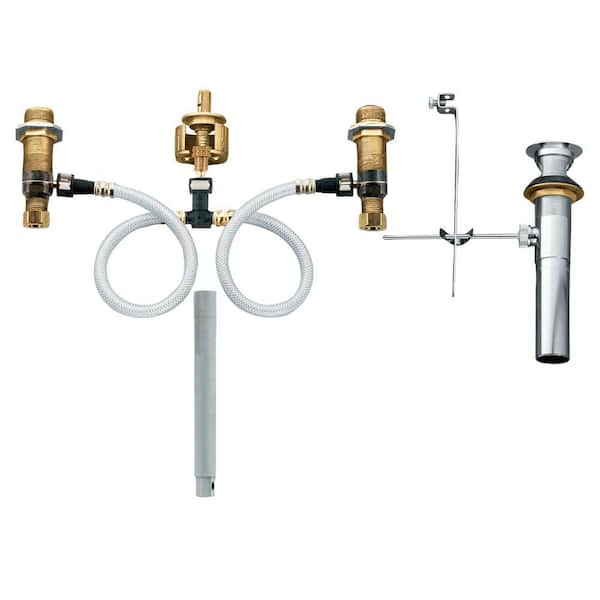
Widespread Bathroom Faucet Rough-In Valve with Drain Assembly – 1/2 in. IPS Connection
How do I replace my Moen bathroom faucet cartridge?
How to Install a New Bathroom Faucet in a Pedestal Sink
Bathroom Faucet and Drain Kit Installation
A Womanu0027s Guide to Installing a Faucet – Sand and Sisal
Moen Bathroom Faucet Handle Removal? – Home Improvement Stack Exchange
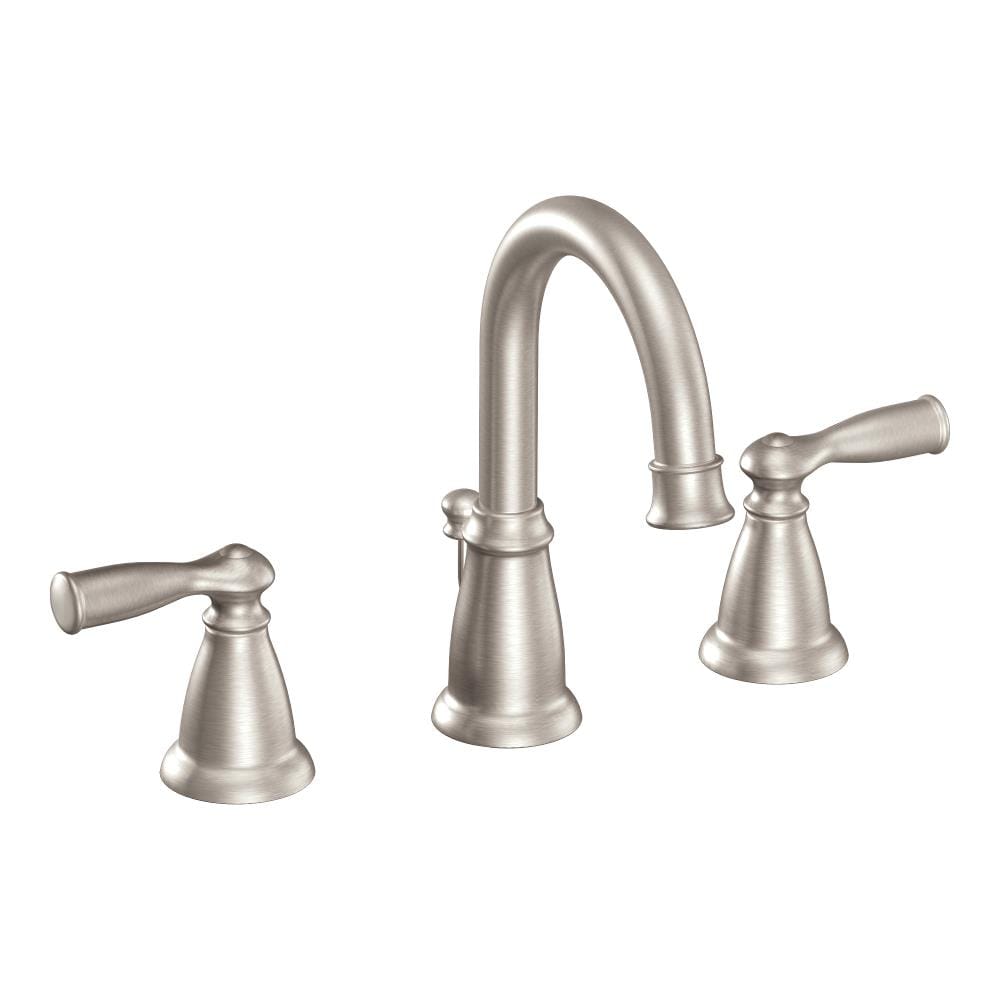
Moen Banbury Spot Resist Brushed Nickel 2-handle Widespread
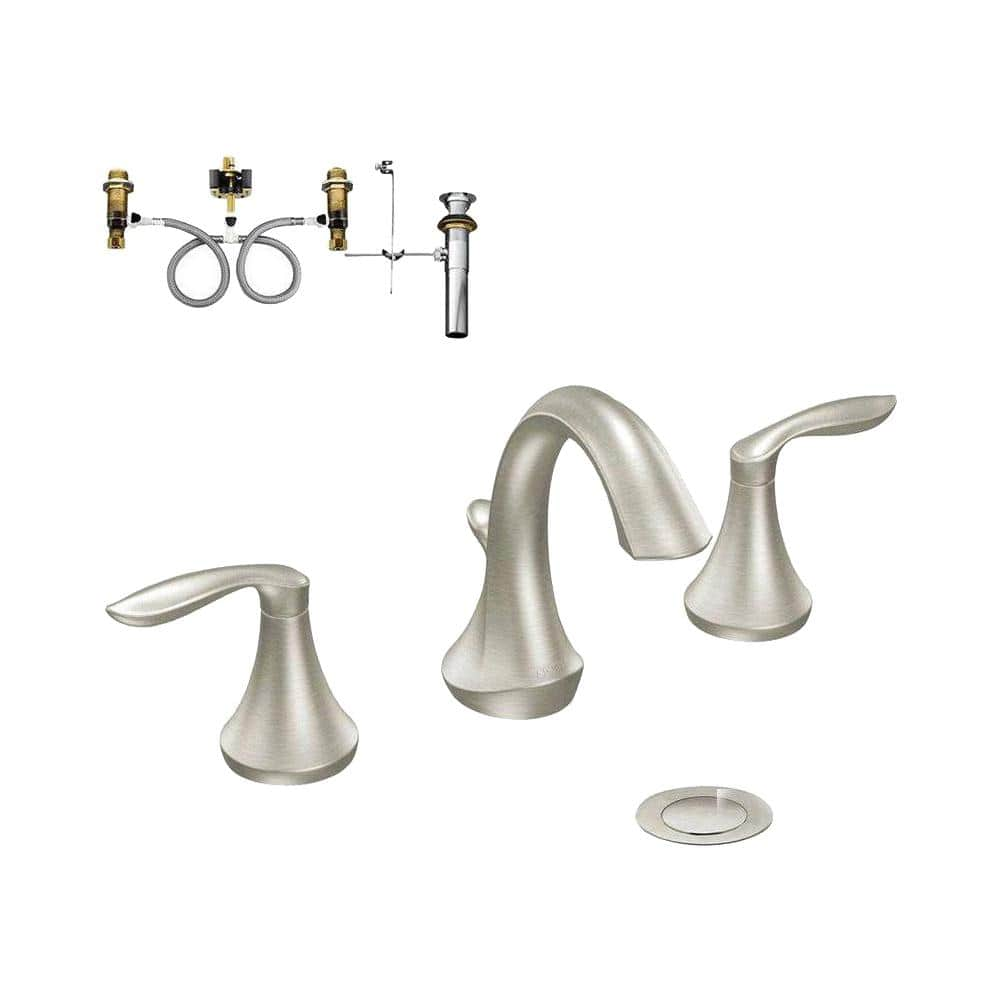
MOEN Eva 8 in. Widespread 2-Handle Bathroom Faucet Trim Kit in Brushed Nickel (Valve Included) T6420BN-9000
Related Posts:
- Moen Brantford High Arc Bathroom Faucet
- Moen Banbury Bathroom Faucet Parts
- Exotic Bathroom Faucets
- Kohler Bathroom Faucet Flow Restrictor
- Danze Sheridan Bathroom Faucet
- Vintage Brass Bathroom Faucet
- Bathroom Faucet Handle Broke Off
- Bathroom Faucets Vessel Sinks Kohler
- Tuscan Bathroom Faucets
- How To Install Moen Widespread Bathroom Faucet


