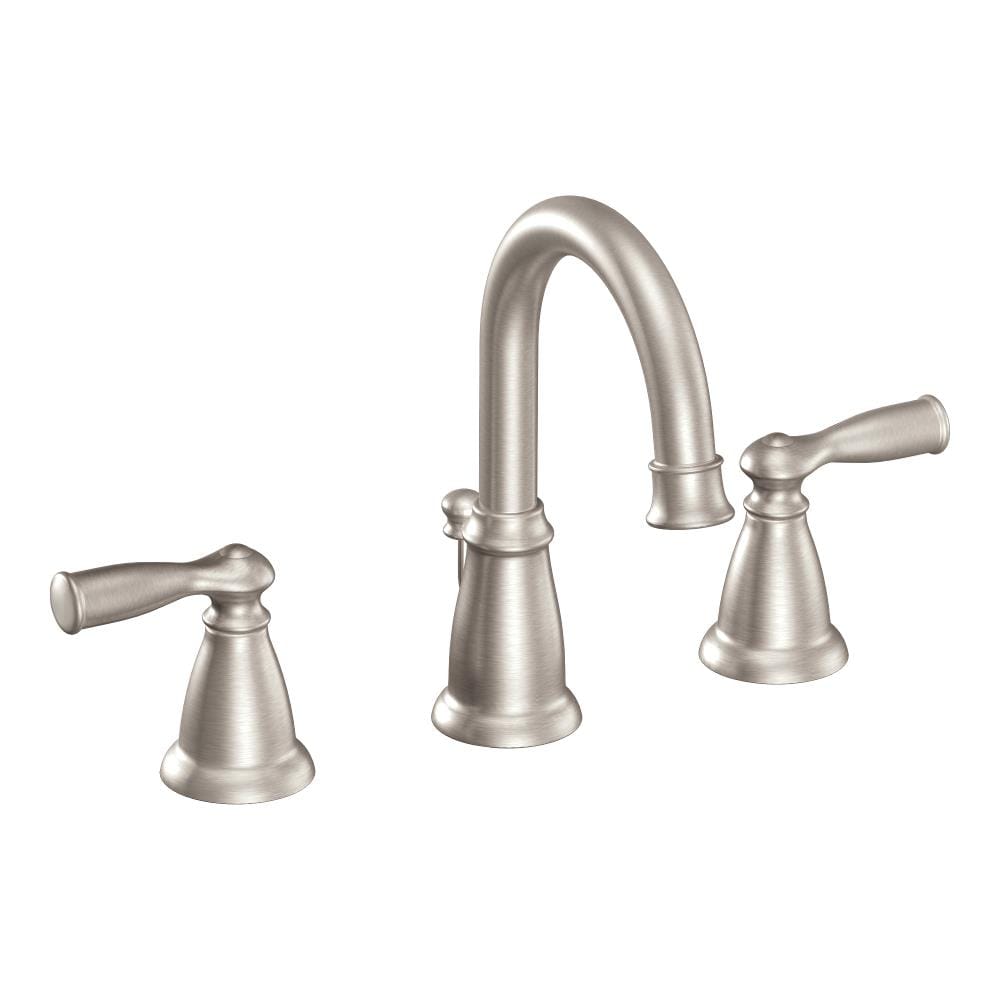
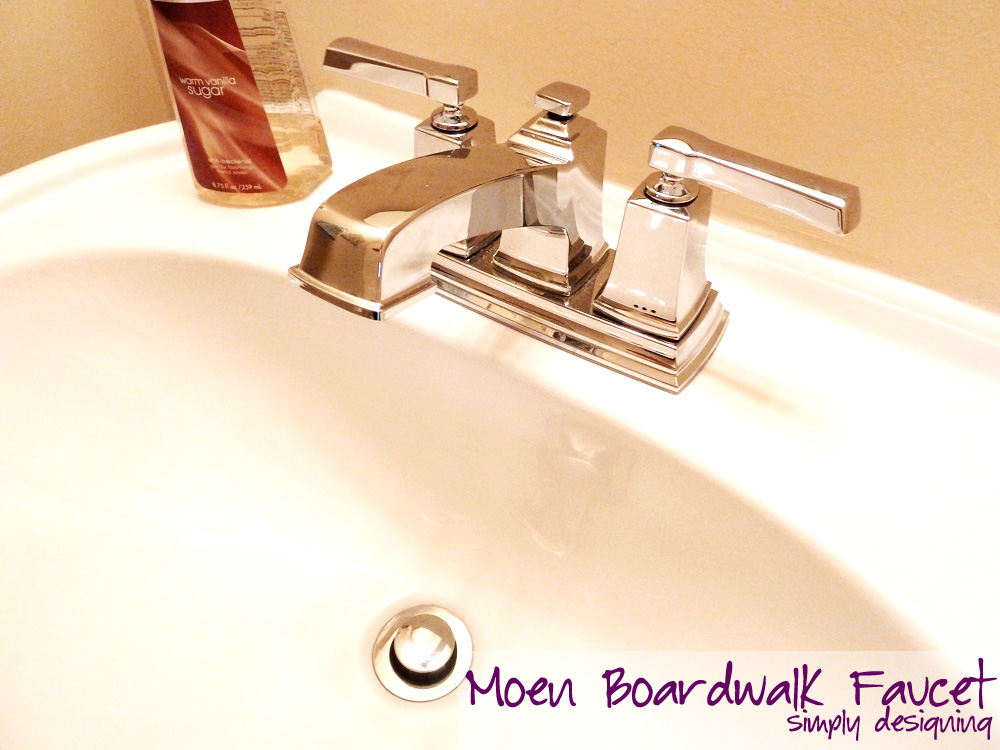
As a homeowner who enjoys tackling DIY projects, I recently had the opportunity to install a Moen bathroom sink faucet in my bathroom. With its reputation for quality and reliability, Moen is a trusted brand when it comes to bathroom fixtures. In this article, I will guide you through installing a Moen bathroom sink faucet, allowing you to upgrade your bathroom easily.
Step 1: Gather the Necessary Tools
Before you begin, gather the tools you will need for the installation. This typically includes an adjustable wrench, plumber’s tape, a bucket or towel to catch water, and a flashlight for better visibility under the sink. Having these tools ready will ensure a smoother installation process.
Step 2: Shut Off the Water Supply
Locate the water shut-off valves underneath your sink and turn them clockwise to shut off the water supply. To be certain, turn on the faucet to check if the water has been completely shut off. This step is crucial to prevent any water leakage during the installation process.
Step 3: Remove the Old Faucet
Using your adjustable wrench, loosen and disconnect the supply lines connected to the old faucet. Place a bucket or towel underneath to catch any water that may still be in the lines. Next, use the wrench to remove the nuts securing the old faucet to the sink. Once the nuts are removed, carefully lift and remove the old faucet from the sink.
Step 4: Prepare the Sink and New Faucet
Clean the area where the old faucet was installed to ensure a smooth and clean surface for the new faucet. Inspect the new Moen faucet to familiarize yourself with its components and installation instructions. Apply the plumber’s tape to the threads of the supply lines to create a watertight seal.
Step 5: Install the New Faucet
Position the new Moen faucet onto the sink, aligning the holes in the sink with the corresponding holes on the faucet. From underneath the sink, secure the faucet in place by tightening the nuts provided with the faucet kit. Be careful not to overtighten, as it may damage the sink or faucet.
Step 6: Connect the Supply Lines
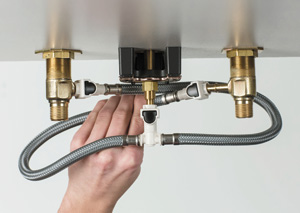
Attach the supply lines to the faucet’s hot and cold water connections. Ensure that the connections are secure but avoid overtightening to prevent any damage. Double-check that the supply lines are properly connected and aligned to avoid leaks.
Step 7: Test the Installation
Once everything is securely connected, turn on the water supply by turning the shut-off valves counterclockwise. Slowly open the faucet to check for any leaks. If you notice any leaks, tighten the connections until the leaks are resolved. Take the time to inspect the overall functionality of the faucet, ensuring smooth water flow and proper operation.
Congratulations! You have successfully installed your new Moen bathroom sink faucet. Enjoy the upgraded look and functionality it brings to your bathroom.

Bathroom Faucet and Drain Kit Installation – Moen Eva
Install Moen Bathroom Sink Faucet and Drain
Banbury® Widespread Bathroom Sink Faucet Moen Features Spotlight
Moen Bathroom Faucet Repair – Moen 1225
How do I replace my Moen bathroom faucet cartridge?
How to Install a Moen® Bathroom Faucet
DIY: How to Install the Moen Boardwalk Faucet – Redhead Mom
How to replace a 1224 moen cartridge
How to remove and install the Moen 1224 Cartridge
Moen quick-connect installation system 2014-04-22 Plumbing and
Moen Banbury Spot Resist Brushed Nickel 2-handle Widespread
How to Install a New Bathroom Faucet in a Pedestal Sink #MoenDIYer
Installing a 8″ – 15″ Widespread Bathroom Faucet with a Push u0026 Seal Drain – Pasadena Collection
Related Posts:
- Chrome And Brass Bathroom Sink Faucets
- 1 1 2 In Universal Drain Kit For Bathroom Sinks
- Another Word For Bathroom Sink
- Gold Plated Bathroom Sink Faucets
- Moen Chrome Bathroom Sink Faucets
- How To Unclog Bathroom Sink With Bleach
- Bathroom Sink Vanity With Drawers
- Bleach Bathroom Sink
- Bathroom Sink Diverter
- Bathroom Sink Waste Pipe Size


