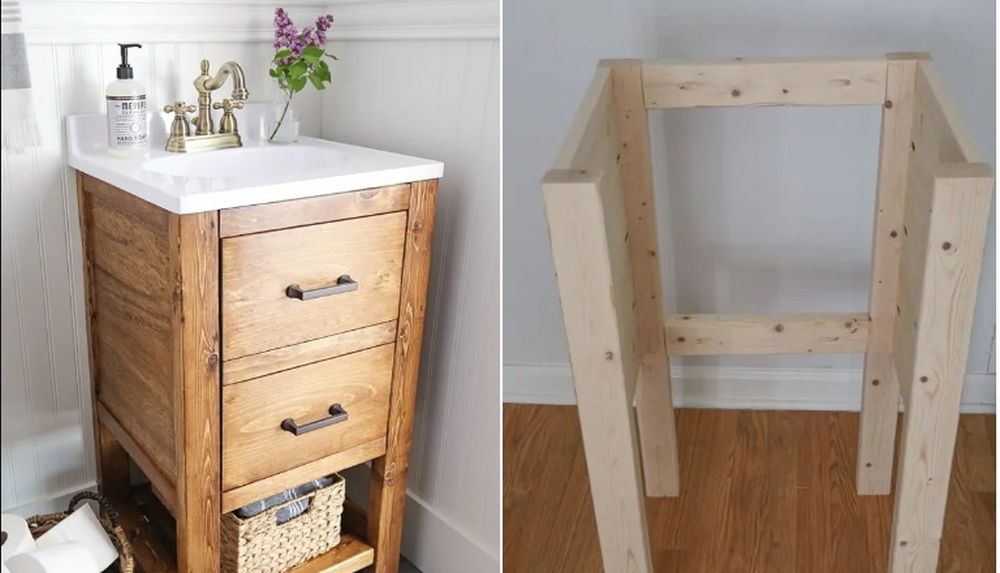
Exploring the Beauty and Functionality of Wooden Bathroom Sinks
Wooden bathroom sinks offer a unique and captivating aesthetic that can elevate the overall look and feel of your bathroom. Not only do they bring a touch of nature indoors, but they also provide a warm and inviting atmosphere. Let’s talk about the beauty and functionality of wooden bathroom sinks, exploring their various advantages and considerations.
- Timeless Elegance: Wooden bathroom sinks exude timeless elegance and can complement a range of interior styles, from rustic and farmhouse to modern and minimalist. The natural grain patterns and warm hues of wood add a touch of sophistication and create a soothing ambiance in the bathroom.
- Durability and Resilience: Contrary to popular belief, wooden bathroom sinks can be highly durable when properly maintained. With the right wood selection and sealing techniques, they can withstand the moisture and humidity of the bathroom environment. Hardwoods like teak, cedar, and oak are ideal choices due to their natural resistance to water damage.
- Customizable Options: One of the most alluring aspects of wooden bathroom sinks is the ability to customize them according to your preferences. From choosing the wood species and finish to selecting the size and shape, you can create a sink that perfectly fits your bathroom’s design and layout.
- Eco-Friendly Choice: In an era where sustainability is paramount, wooden bathroom sinks offer an eco-friendly alternative to traditional options. By using responsibly sourced wood and opting for reclaimed or salvaged materials, you can reduce your environmental impact while enjoying the beauty of a wooden sink.
- Maintenance Considerations: It is important to note that wooden bathroom sinks require regular maintenance to ensure their longevity. Proper sealing with waterproof finishes is crucial to protect the wood from moisture damage. Additionally, wiping off any spills or excess water promptly and avoiding harsh cleaners will help preserve the sink’s beauty.
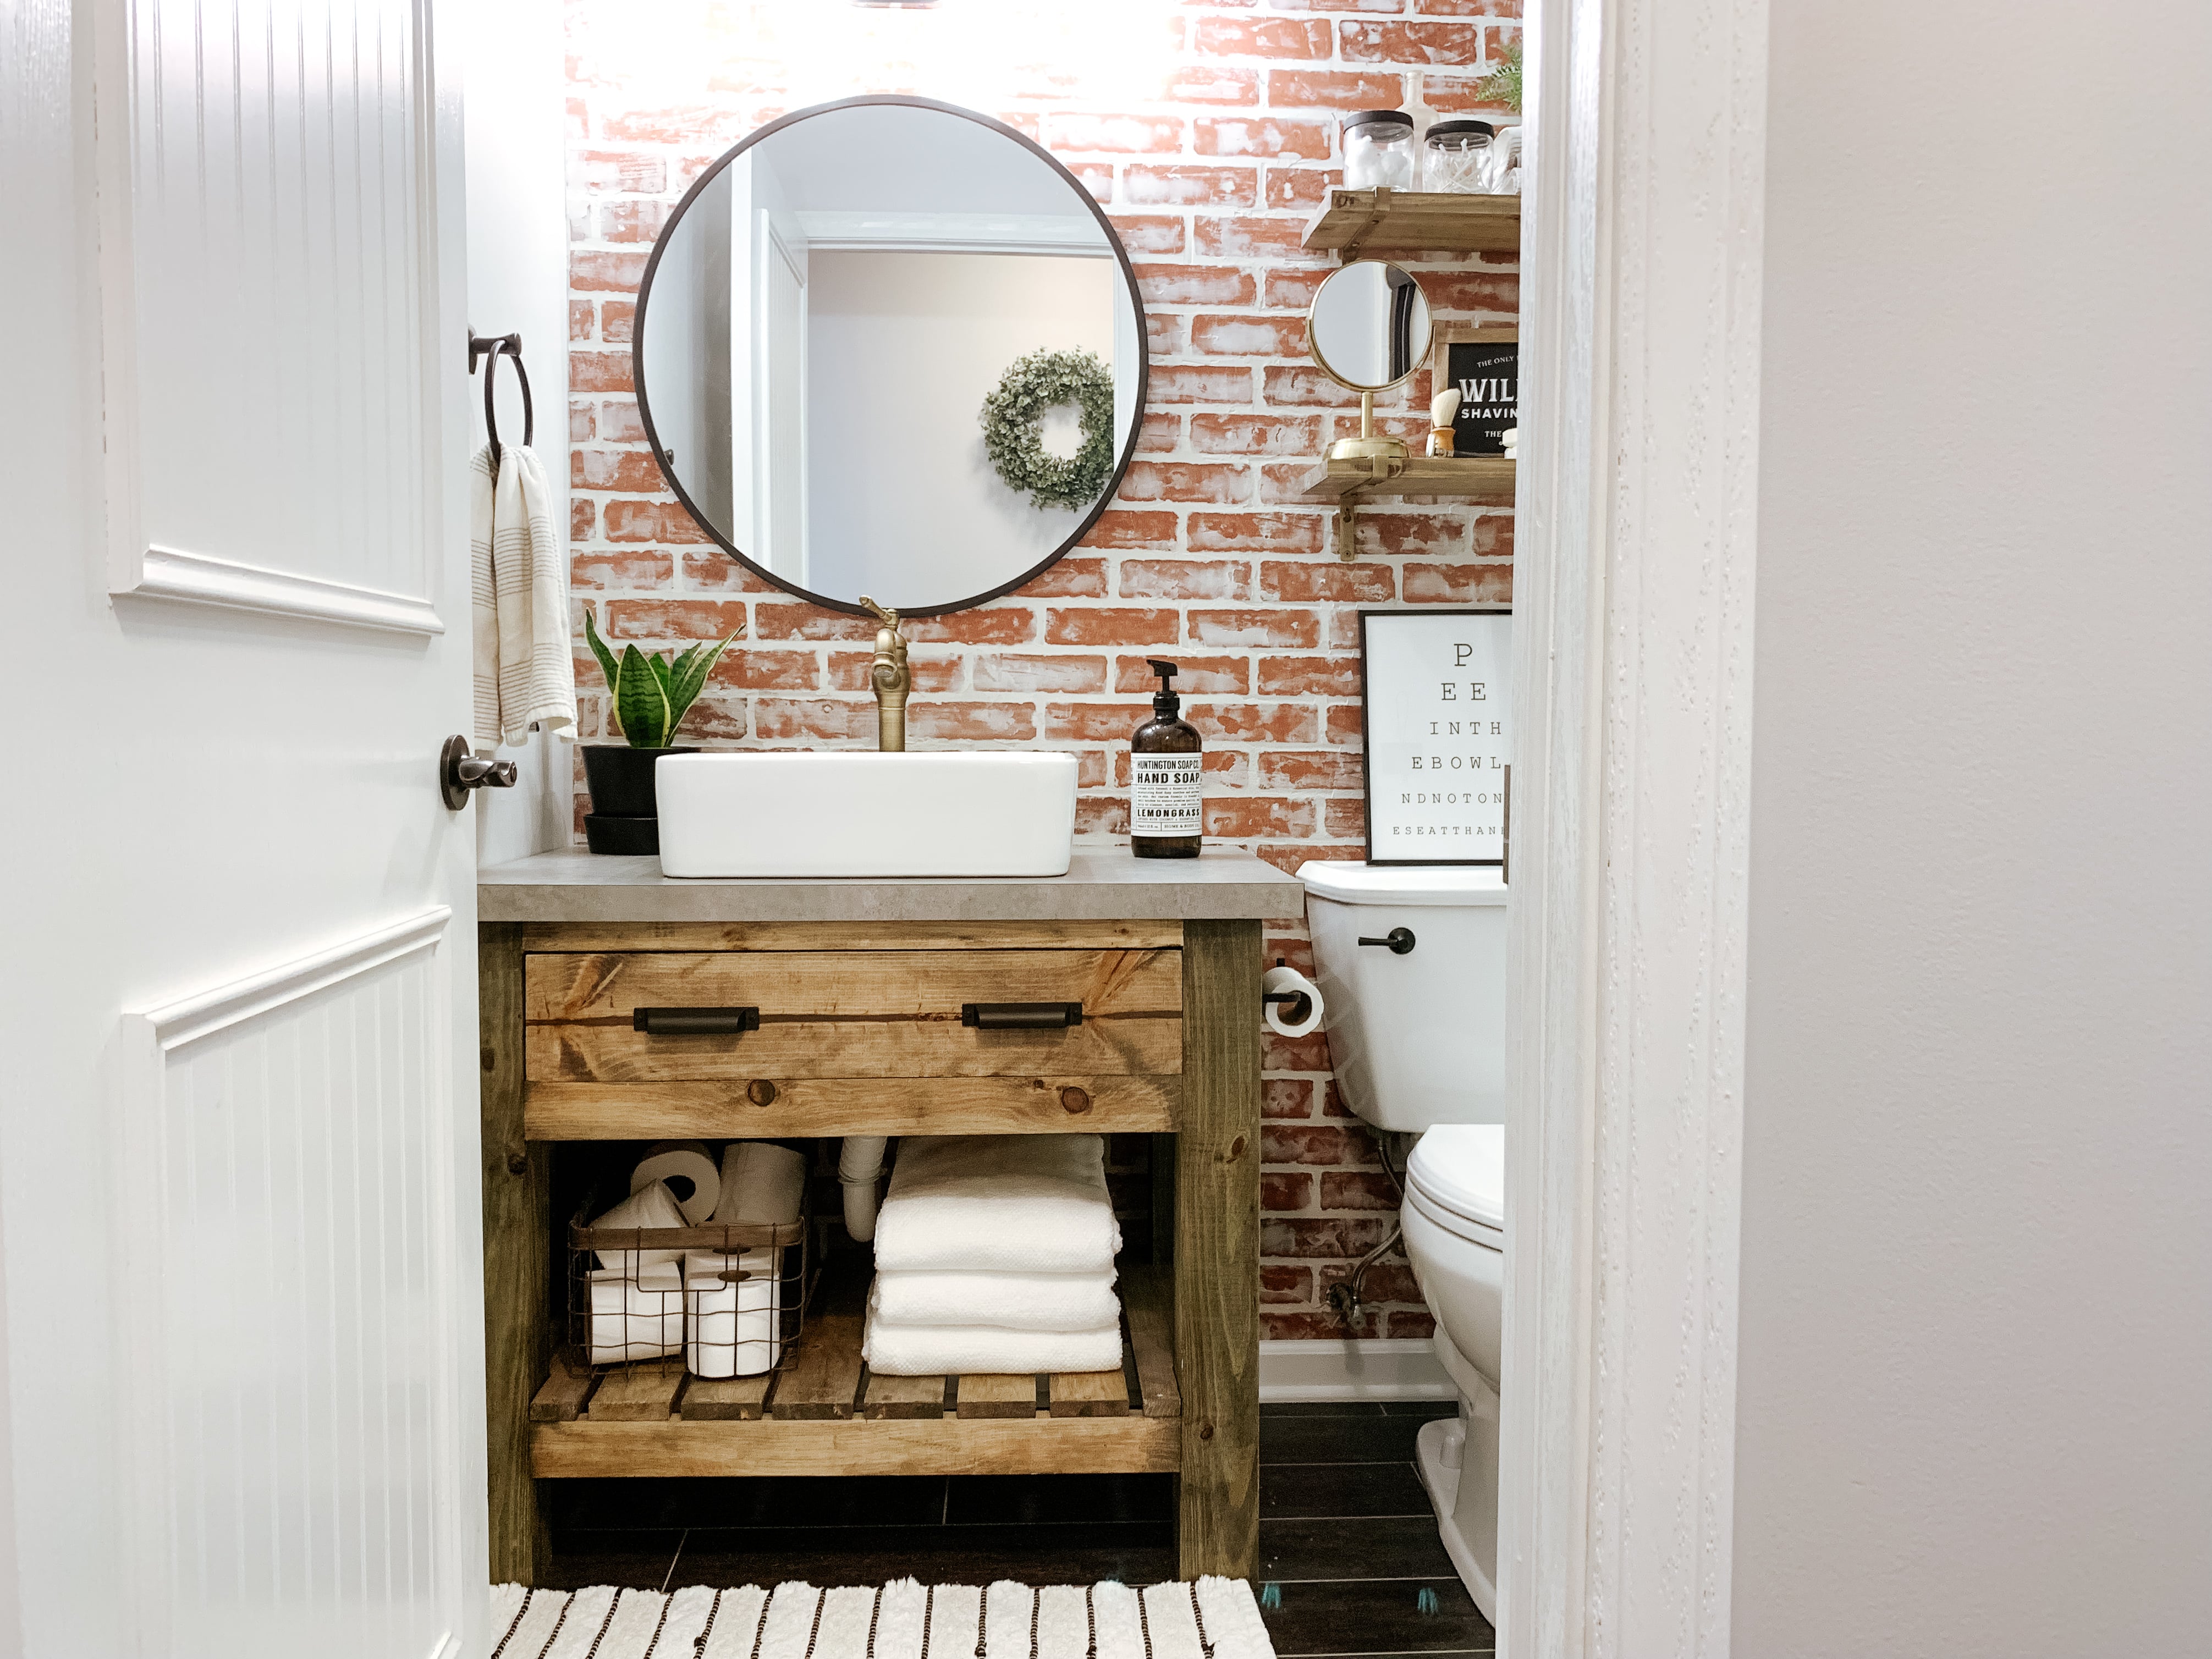
Selecting the Perfect Material for Your Wooden Bathroom Sink
Selecting the right wood for your wooden bathroom sink is crucial for ensuring its durability, functionality, and overall aesthetic appeal. We will guide you through the process of choosing the perfect wood material for your sink, considering factors such as water resistance, durability, and grain patterns.
Water Resistance: When choosing wood for your bathroom sink, it is essential to opt for a species that is naturally resistant to water damage. Hardwoods such as teak, oak, and cedar are excellent choices due to their inherent ability to repel moisture. These woods contain natural oils and resins that act as a protective barrier against water infiltration.
Durability: In addition to water resistance, the durability of the wood is another crucial consideration. Look for woods that are dense and have a high level of hardness. This ensures that the sink can withstand the daily wear and tear of a bathroom environment.
Grain Patterns and Aesthetics: The grain patterns of the wood contribute significantly to the overall aesthetic appeal of the sink. Whether you prefer a sleek and uniform appearance or a more rustic and textured look, different wood species offer a wide range of grain patterns to choose from. Consider the existing design style of your bathroom when selecting a wood species.
Environmental Considerations: If sustainability is important to you, opt for responsibly sourced wood or reclaimed materials. Look for certifications such as FSC (Forest Stewardship Council) to ensure that the wood comes from well-managed forests. Reclaimed wood can also add a unique character to your sink while reducing your environmental impact.
Budget and Availability: Lastly, consider your budget and the availability of different wood species. Some woods may be more expensive or harder to find than others. Research local suppliers, compare prices, and determine the best wood option that fits your budget and design vision.
Step-by-Step Guide to Crafting Your Own Wooden Bathroom Sink
Crafting your own wooden bathroom sink can be a rewarding and fulfilling project that allows you to showcase your creativity and woodworking skills. Follow this step-by-step guide on how to build and design your own wooden bathroom sink, from selecting the right materials to assembling the final product.
Design and Measurements: Start by deciding on the design and dimensions of your wooden bathroom sink. Consider factors such as the available space, plumbing requirements, and your personal style preferences. Sketch out a design and take accurate measurements to guide you throughout the construction process.
Material Selection: Choose a high-quality wood species that meets the water resistance and durability requirements for a bathroom environment. Hardwoods like teak, oak, or cedar are popular choices. Purchase the necessary materials, including the wood, fasteners, and any additional components needed for your specific design.
Cutting and Shaping: Using the measurements and design specifications, cut the wood pieces to the appropriate sizes. Use a saw or other woodworking tools to shape the sink’s main body, sides, and any additional features you want to incorporate, such as a built-in shelf or faucet holes.
Assembly and Joinery: Assemble the various wooden components using appropriate joinery techniques. Common methods include using wood glue, dowels, or screws. Take care to ensure the pieces are aligned correctly and securely fastened together.
Finishing Touches: Sand the entire sink to achieve a smooth and even surface. Apply a waterproof sealant or finish to protect the wood from moisture damage. Consider using a sealant that is specifically designed for bathroom use. Follow the manufacturer’s instructions for application and drying times.
Installation: Before installing the sink, consult a professional plumber to ensure proper connection to the existing plumbing system. Mount the sink securely to the bathroom vanity or countertop, following the manufacturer’s instructions or using appropriate brackets and supports.
Applying Finishes and Sealants for Long-lasting Durability
Applying finishes and sealants to your wooden bathroom sink is a crucial step in ensuring its long-lasting durability and resistance to moisture. Let’s explore the importance of finishing touches and provide tips on how to apply the appropriate finishes and sealants to protect and enhance your wooden sink.
Importance of Finishes and Sealants: Wooden bathroom sinks are exposed to constant moisture, making them susceptible to water damage, staining, and warping. Finishes and sealants act as a protective barrier, preventing water penetration and enhancing the natural beauty of the wood.
Choose the Right Finish: Select a finish that is specifically designed for use in wet environments, such as bathrooms. Look for products labeled as waterproof or water-resistant. Options include polyurethane, epoxy, or marine varnish. These finishes provide a durable and protective coating that can withstand the rigors of a bathroom environment.
Prepare the Surface: Before applying any finish, ensure that the wooden surface is clean, smooth, and free of dust and debris. Sand the sink gently to remove any imperfections or rough spots. Wipe the surface with a damp cloth to remove any dust particles.
Applying the Finish: Follow the manufacturer’s instructions for applying the finish. Use a brush or a clean cloth to apply an even coat, working in the direction of the wood grain. Allow the first coat to dry completely before applying subsequent coats. Depending on the product, you may need to sand between coats for a smooth finish.
Sealing the Sink: Once the finish has dried, apply a waterproof sealant to further protect the wood. This sealant acts as an additional layer of defense against moisture. Apply the sealant following the manufacturer’s instructions, ensuring complete coverage of the sink’s surface.
Regular Maintenance: To maintain the durability and appearance of your wooden bathroom sink, regularly clean it with a mild soap and water solution. Avoid using abrasive cleaners or harsh chemicals that can damage the finish. Wipe off any spills or excess water immediately to prevent staining or water damage.
Tips for Keeping Your Wooden Bathroom Sink Looking Beautiful and Functional
Proper maintenance and care are essential to keep your wooden bathroom sink looking beautiful and functioning effectively for years to come. We will provide you with valuable tips and guidelines on how to maintain and care for your wooden bathroom sink, ensuring its longevity and preserving its aesthetic appeal.
Regular Cleaning: Clean your wooden bathroom sink regularly using a mild soap and water solution. Gently scrub the surface with a soft cloth or sponge, paying attention to any areas that may have accumulated dirt or grime. Avoid using abrasive cleaners or harsh chemicals as they can damage the finish and wood.
Wipe Off Excess Water: After each use, make sure to wipe off any excess water from the sink’s surface. Standing water can penetrate the wood and cause damage over time. Use a soft cloth or towel to thoroughly dry the sink, paying special attention to the areas around the faucet and drain.
Avoid Harsh Chemicals: When cleaning your wooden sink, avoid using harsh chemicals or abrasive cleaners. These can strip away the protective finish and damage the wood. Instead, opt for mild, non-abrasive cleaners specifically formulated for use on wood surfaces.
Regular Inspection: Periodically inspect your wooden sink for any signs of damage, such as cracks, scratches, or water stains. Addressing these issues promptly can prevent further damage and prolong the life of your sink. If necessary, consult a professional to repair or refinish the wood.
Maintain the Finish: Over time, the finish of your wooden sink may start to wear off. To maintain its protective properties, periodically apply a fresh coat of finish or sealant. Follow the manufacturer’s instructions for application and drying times. This will help restore the sink’s luster and protect it from moisture.
Avoid Direct Contact with Hot Objects: To prevent damage to your wooden sink, avoid placing hot objects directly on its surface. Use trivets or heat-resistant mats to protect the wood from heat damage. Excessive heat exposure can cause the wood to warp or discolor, compromising its durability and appearance.
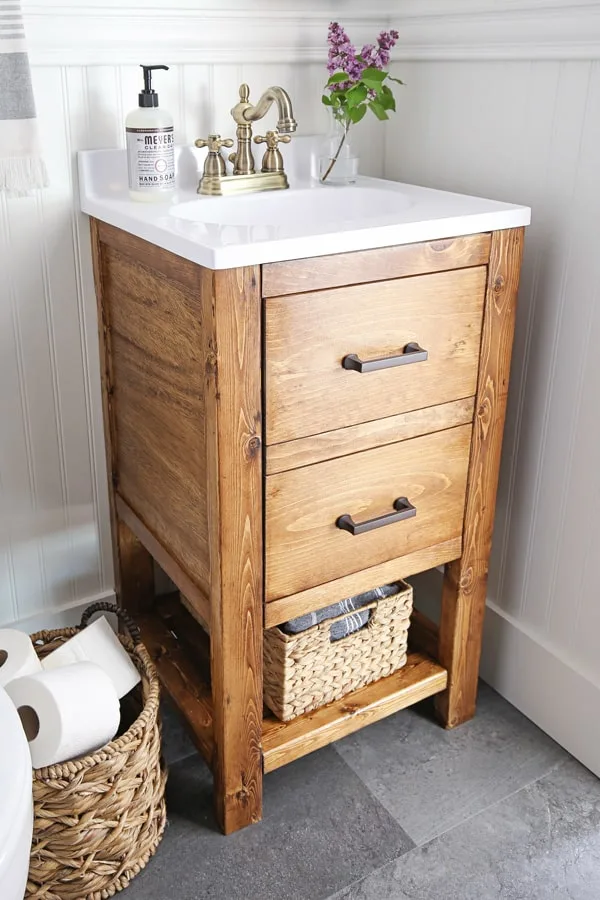
DIY Bathroom Vanity for $65 – Angela Marie Made
Homemade Bathroom Vanity/Cabinet Plans You Can DIY Easily
Kreg Tool Innovative Solutions for All of Your Woodworking
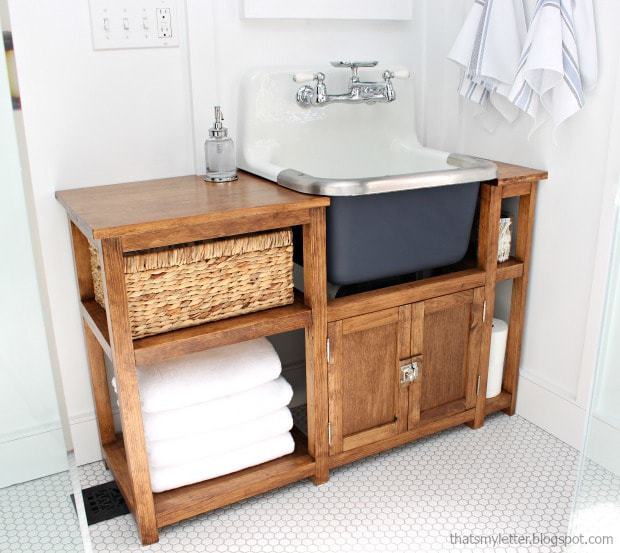
DIY Vanity for Wall Mount Sink – Jaime Costiglio
DIY Bathroom Vanity Ideas Perfect For Repurposers
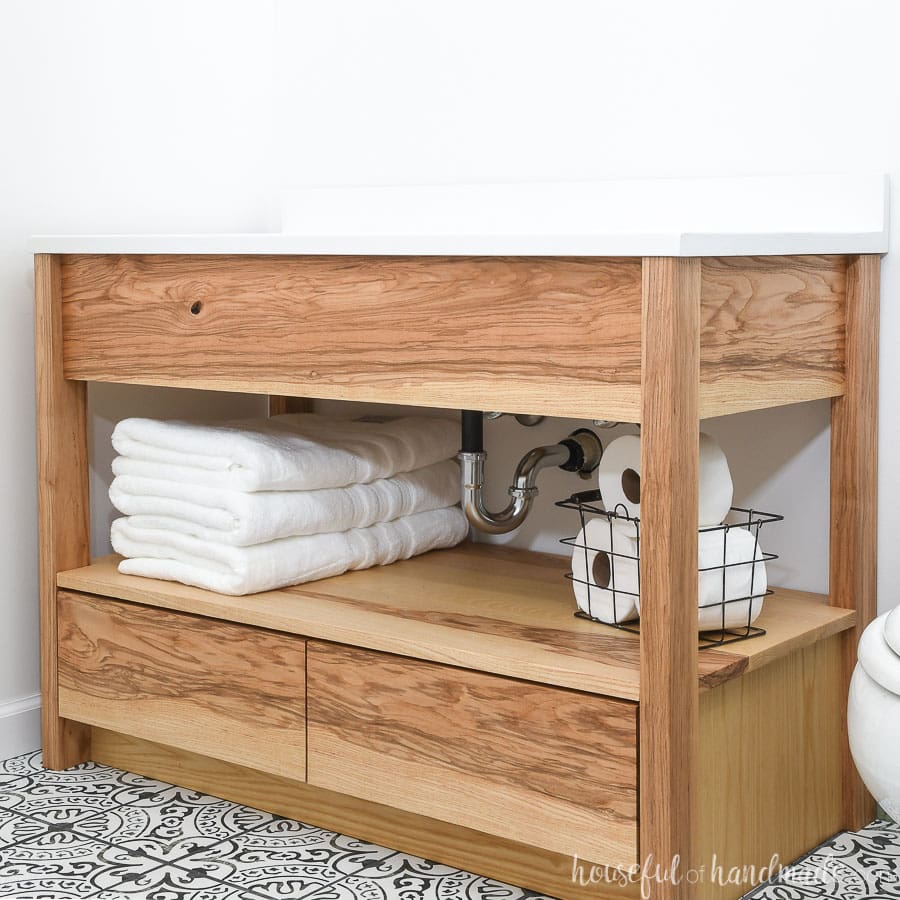
DIY Bathroom Vanity with Bottom Drawers – Houseful of Handmade
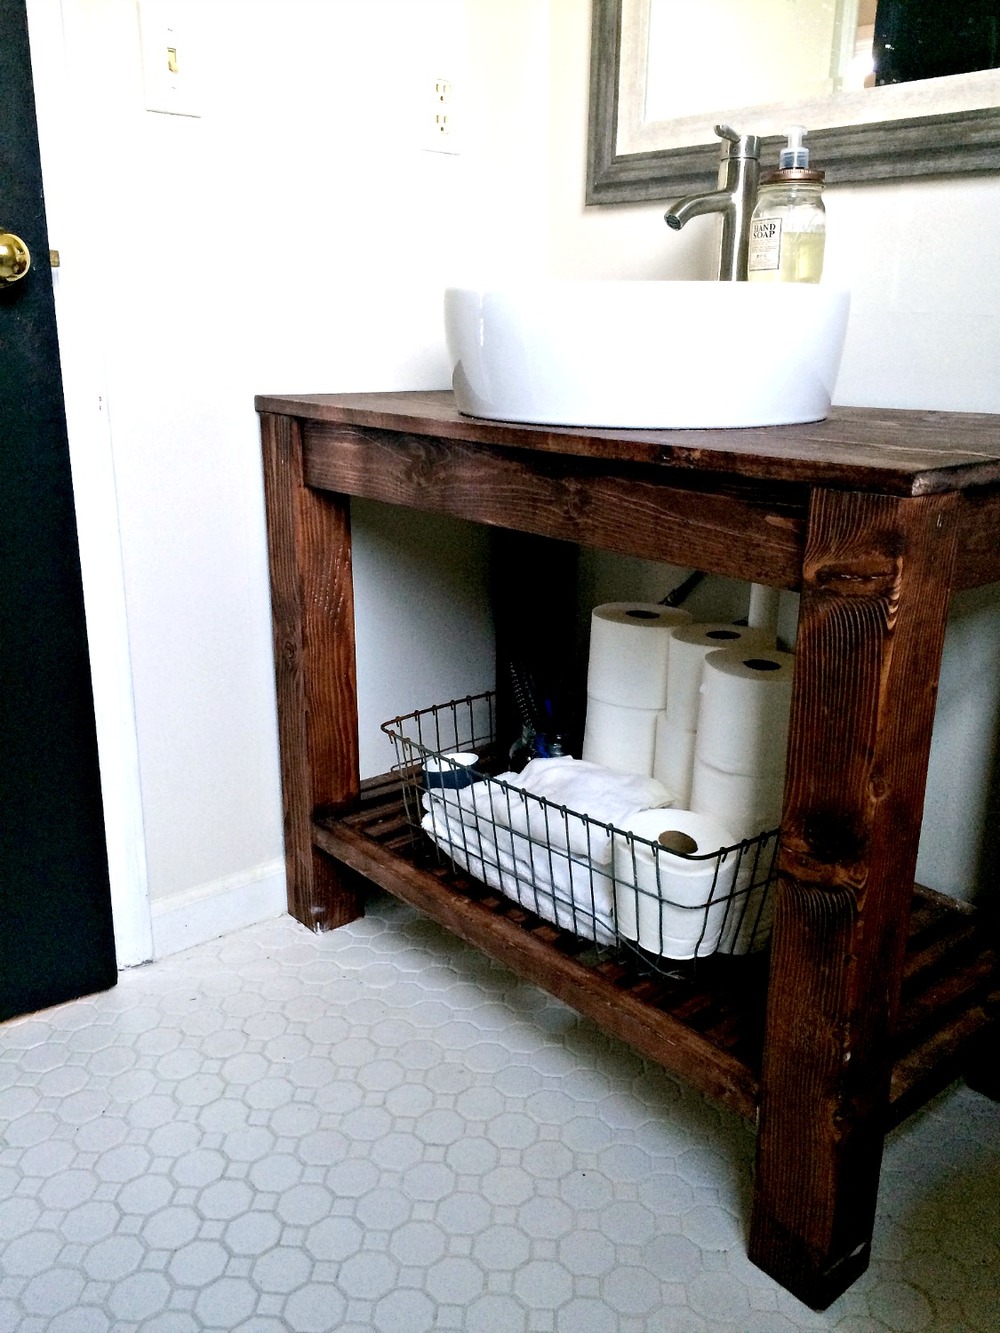
DIY Bathroom Vanity – 12 Bathroom Rehabs
Small Bathroom Vanity
DIY Bathroom Vanity Ideas Perfect For Repurposers
Related Posts:
- Wall Mount Waterfall Bathroom Sink Faucet
- Moroccan Bathroom Sink
- Connecting Bathroom Sink To Drain Pipe
- Bad Smell Coming From Bathroom Sink
- Bathroom Sink Vent Clogged
- Teorema Rectangular Vessel Bathroom Sink
- Commercial Bathroom Sinks And Faucets
- Bathroom Sink Drain Line Size
- Foul Smell From Bathroom Sink
- Take Out Bathroom Sink Stopper

