Selecting the Right Sink and Mounting Style
Choosing the right sink and mounting style is the first step in ensuring a successful bathroom renovation. With a wide variety of sinks and mounting styles available, it’s essential to select one that fits your bathroom’s aesthetics and meets your functional needs.
- Types of Sinks
There are several types of bathroom sinks to choose from, including pedestal sinks, wall-mounted sinks, vessel sinks, undermount sinks, and drop-in sinks. Each type offers unique advantages and considerations. For example, pedestal sinks provide a classic look and save space, while vessel sinks offer a modern, stylish appearance and more countertop space. - Consider Your Bathroom Space
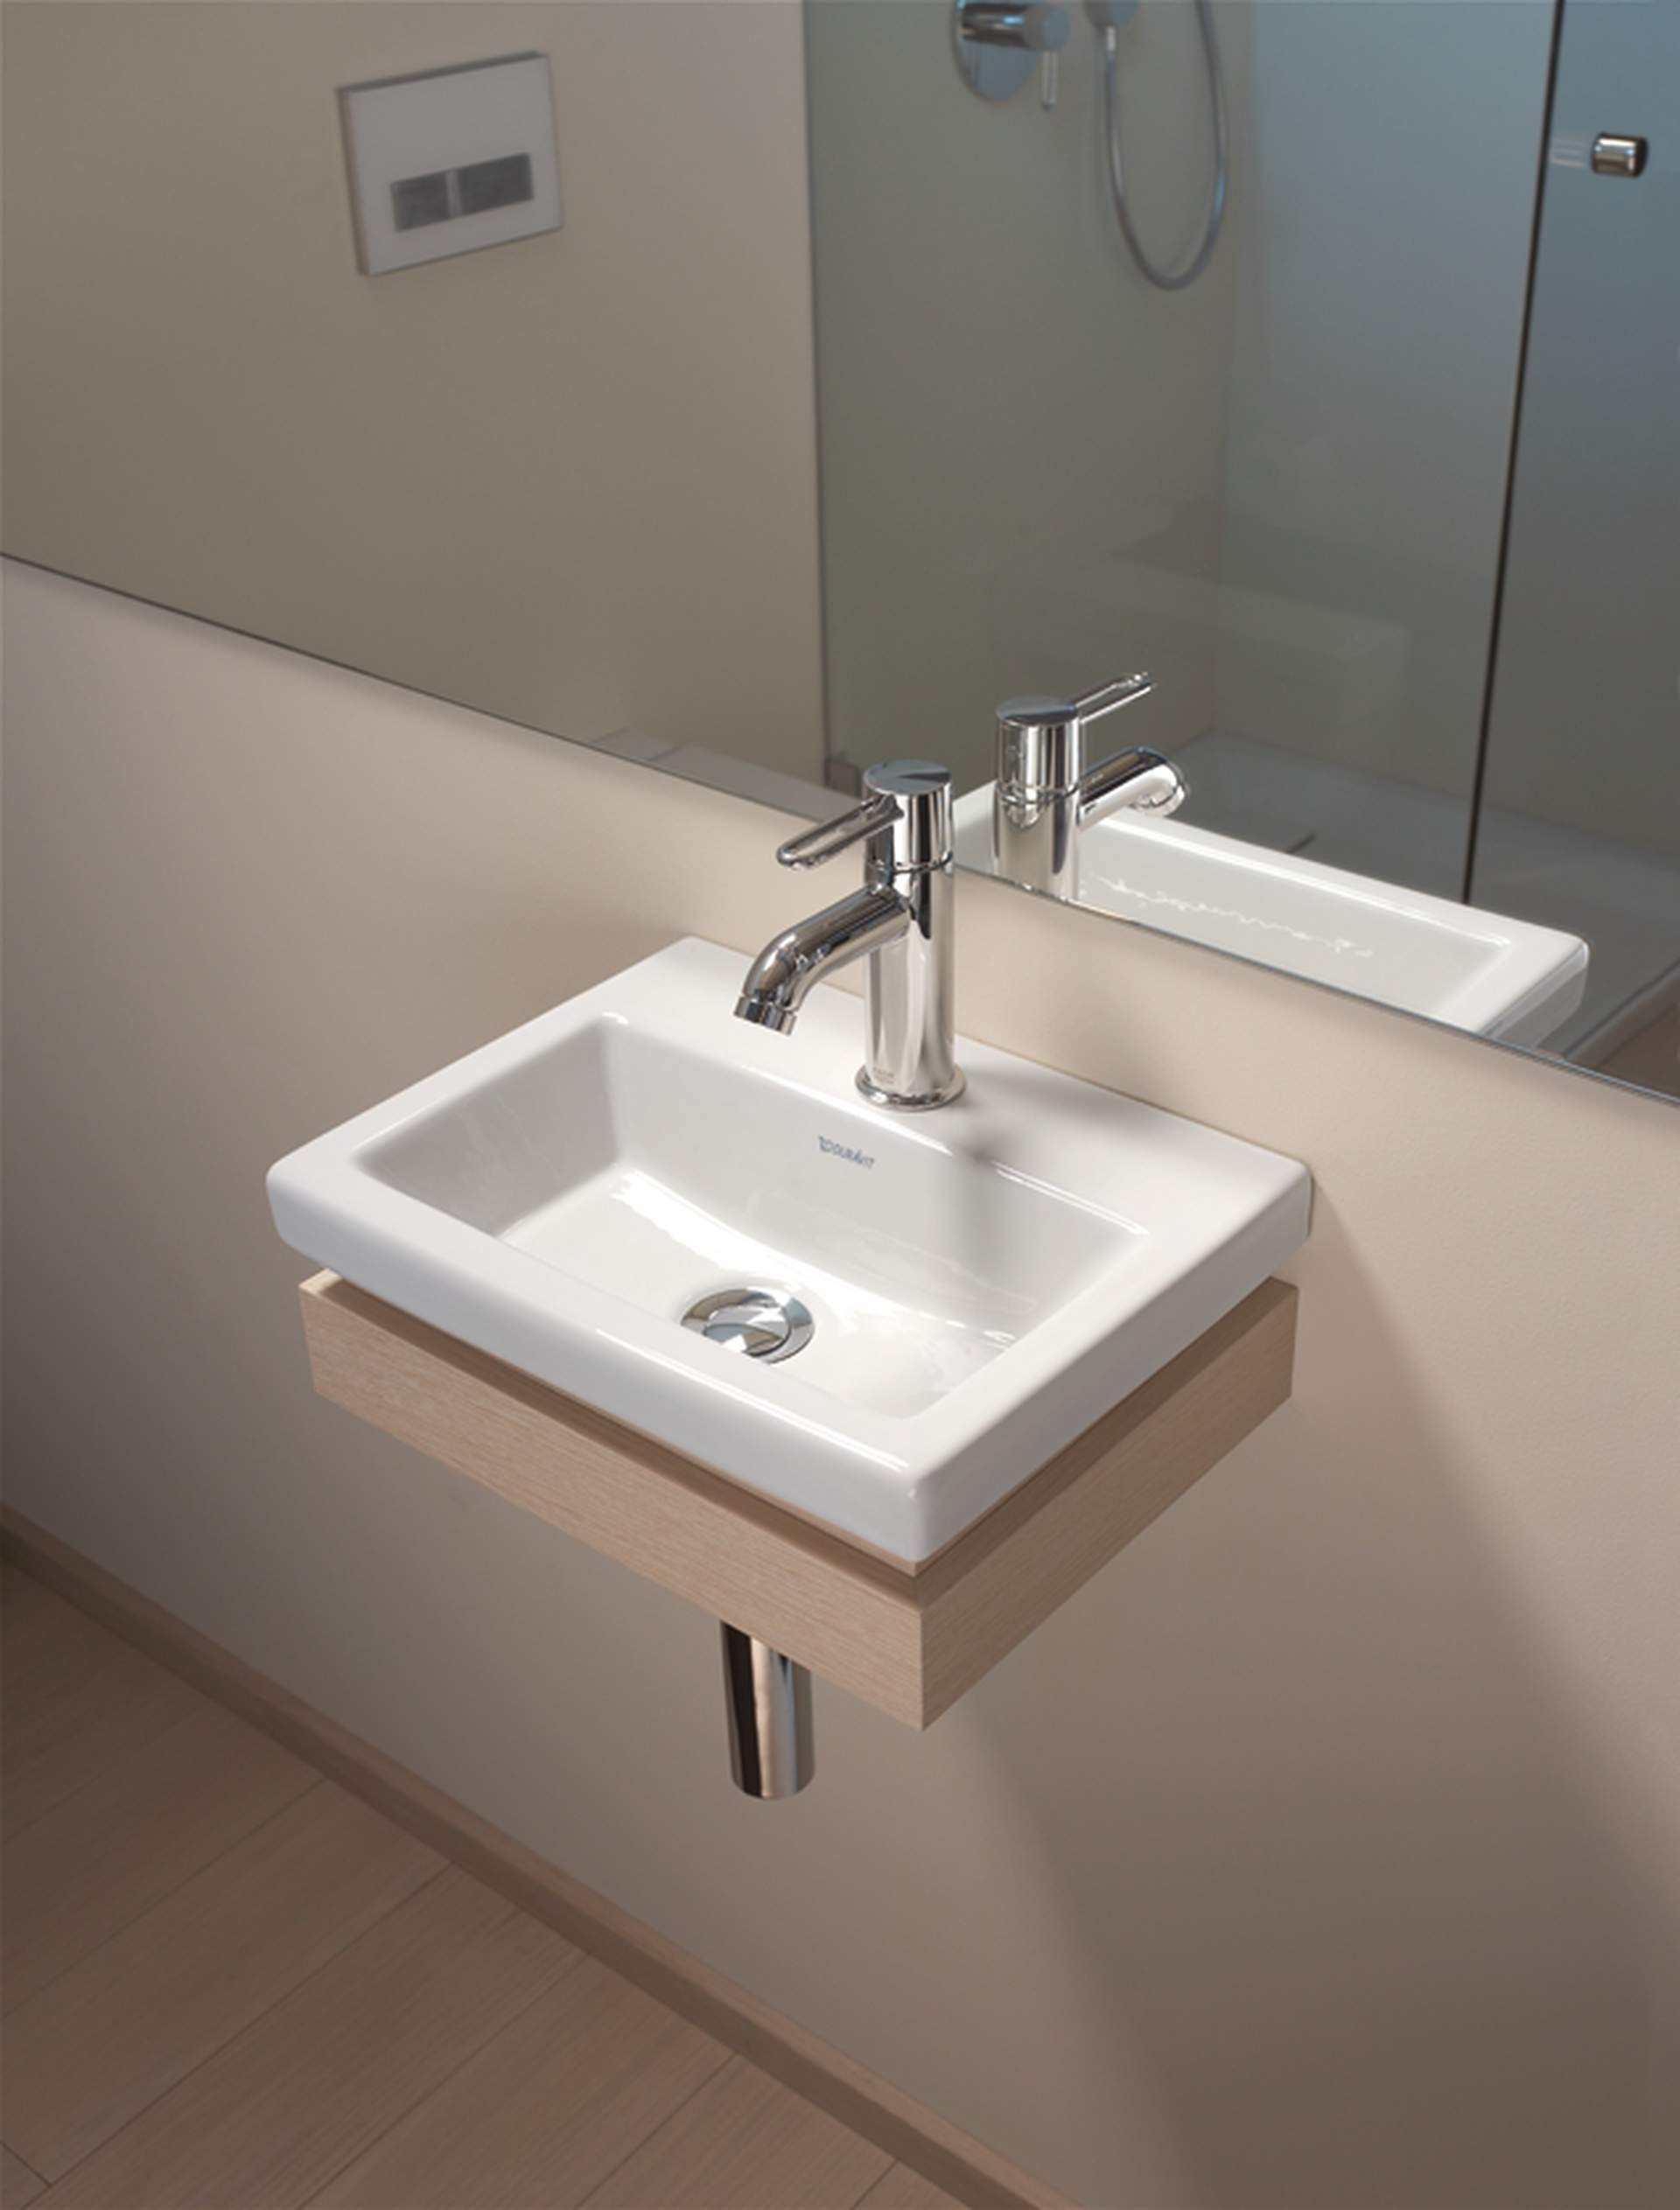
The size and layout of your bathroom play a crucial role in selecting the right sink. Measure the available space to ensure the sink will fit comfortably without overcrowding the area. For small bathrooms, wall-mounted or pedestal sinks are ideal because they take up less space. Larger bathrooms can accommodate double sinks or more elaborate vanity setups. - Mounting Styles
The mounting style you choose will affect both the installation process and the overall look of your bathroom. Wall-mounted sinks are attached directly to the wall, providing a clean, open look. Undermount sinks are installed beneath the countertop, creating a seamless appearance. Drop-in sinks are easy to install and are placed into a hole cut into the countertop, with the rim resting on top. - Material and Durability
The material of your sink affects its durability, maintenance, and aesthetic. Common materials include porcelain, ceramic, glass, stainless steel, and natural stone. Porcelain and ceramic are popular for their classic look and durability, while glass sinks add a modern touch. Stainless steel is durable and easy to clean, making it a practical choice. - Style and Design
Consider the overall style and design of your bathroom when selecting a sink. The sink should complement other fixtures and the general theme of the space. For a cohesive look, match the sink’s material and design with the bathroom’s decor. For instance, a sleek, modern sink pairs well with contemporary fixtures, while a traditional sink fits with vintage or rustic styles. - Budget Considerations
Finally, consider your budget when selecting a sink. Prices vary widely depending on the type, material, and brand. Determine your budget beforehand and explore options within that range. Remember to account for additional costs such as installation and plumbing fixtures. Investing in a high-quality sink can enhance the functionality and aesthetic of your bathroom while providing long-term value.

Gathering Essential Tools and Materials
Once you’ve selected the perfect sink for your bathroom, the next step is to gather all the necessary tools and materials. Having everything on hand before you begin will streamline the installation process and prevent any unnecessary delays.
Basic Tools
You’ll need a set of basic tools for any sink installation. This includes a tape measure, level, adjustable wrench, pliers, screwdriver set, and utility knife. These tools are essential for measuring, leveling, and securing various components during the installation process.
Specialized Plumbing Tools
In addition to basic tools, you may need specialized plumbing tools such as a pipe cutter, basin wrench, and plumber’s tape. A pipe cutter is useful for cutting pipes to the correct length, while a basin wrench is designed to reach and tighten nuts in hard-to-reach areas. Plumber’s tape, also known as Teflon tape, helps create watertight seals on threaded pipe joints.
Mounting Hardware
Depending on the type of sink and mounting style, you will need specific mounting hardware. For wall-mounted sinks, this includes brackets and wall anchors. For undermount and drop-in sinks, you’ll need mounting clips and adhesive. Make sure to use hardware that is compatible with the sink and countertop materials.
Plumbing Supplies
Gather the necessary plumbing supplies, including water supply lines, a P-trap, and a drain assembly. Water supply lines connect the sink to the water supply valves, while the P-trap is a U-shaped pipe that prevents sewer gases from entering your home. The drain assembly includes the sink drain, tailpiece, and any additional components needed to connect the sink to the plumbing system.
Sealants and Adhesives
Sealants and adhesives are crucial for ensuring a watertight installation. Use silicone sealant to seal the edges of undermount and drop-in sinks. Plumber’s putty is used to create watertight seals around drains and faucets. Make sure to choose high-quality sealants that are specifically designed for bathroom use.
Safety Equipment
Safety should always be a priority when undertaking any home improvement project. Wear safety glasses to protect your eyes from debris, and use gloves to protect your hands. If you are working with heavy or awkwardly shaped sinks, consider using a lifting aid or asking for assistance to prevent injury.
Preparing the Bathroom for Installation
Proper preparation is key to a smooth and successful sink installation. Preparing the bathroom involves clearing the area, making necessary adjustments, and ensuring that the plumbing is ready for the new sink.
Clear the Area
Start by clearing the bathroom of any items that could obstruct the installation process. Remove toiletries, towels, and any other items from the countertop and surrounding area. This will give you ample space to work and prevent any accidental damage to your belongings.
Turn Off the Water Supply
Before you begin any plumbing work, turn off the water supply to the bathroom sink. Locate the shut-off valves under the sink and turn them clockwise to close. If there are no individual shut-off valves, you may need to turn off the main water supply for the house. This step is crucial to avoid water leaks and potential flooding during installation.
Remove the Old Sink
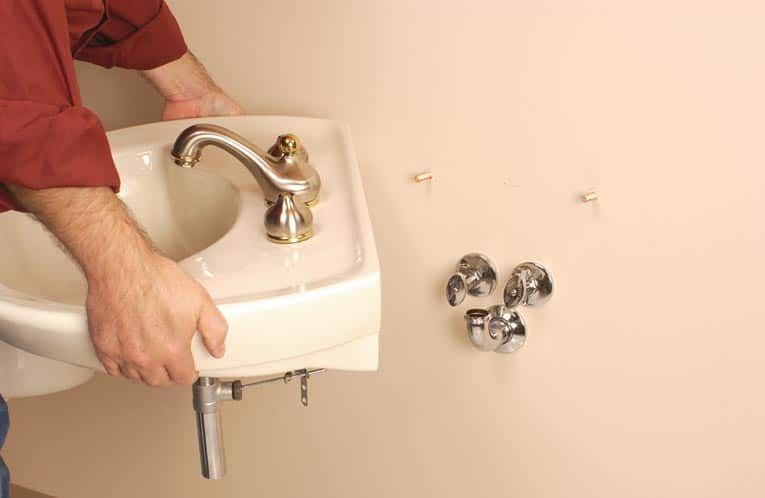
If you are replacing an existing sink, carefully remove it before installing the new one. Disconnect the water supply lines and drain assembly using an adjustable wrench. Loosen any mounting hardware and lift the old sink out of place. If the sink is adhered with silicone or adhesive, use a utility knife to cut through the seal.
Inspect and Repair Plumbing
Once the old sink is removed, inspect the plumbing for any signs of damage or wear. Check the water supply lines, shut-off valves, and drain pipes. Replace any damaged components to ensure a reliable and leak-free installation. This is also a good time to clean the area and remove any old sealant or adhesive residue.
Adjust the Countertop and Cabinet
If necessary, make adjustments to the countertop or cabinet to accommodate the new sink. This may involve cutting a hole in the countertop for drop-in or undermount sinks. Use a template provided by the sink manufacturer to ensure precise measurements and cuts. Ensure that the cabinet or wall can support the weight of the new sink and make any structural reinforcements if needed.
Position the Sink
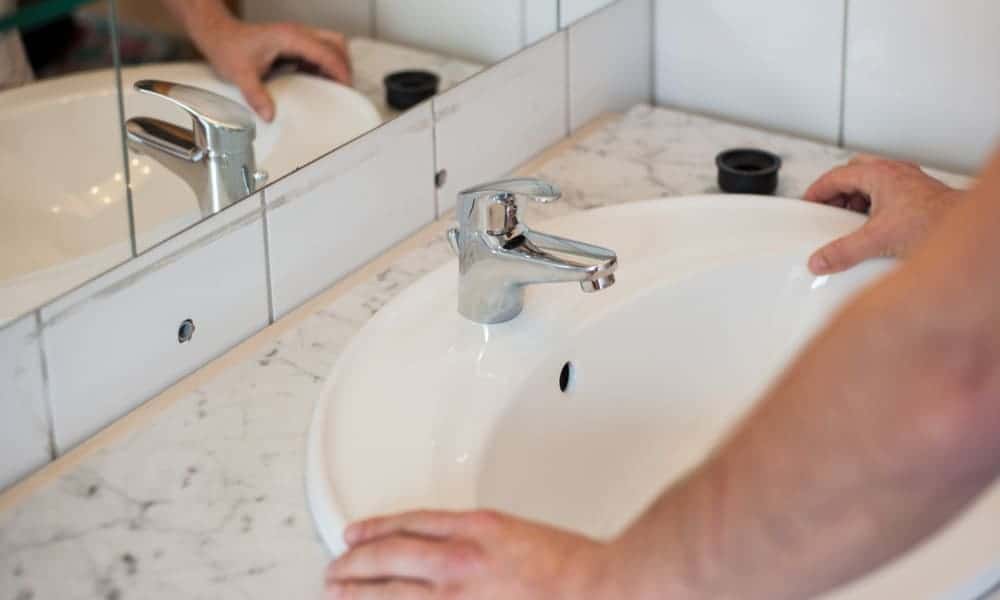
Before securing the sink, position it in place to ensure a proper fit. Check that the sink is level and aligns with the plumbing connections. Make any necessary adjustments to the countertop or mounting brackets to achieve a perfect fit. This step is essential to avoid any issues during the final installation process.
Installing the Sink Mounting Bracket or Vanity
Once you have prepared your bathroom for the new sink, the next step is to install the sink mounting bracket or vanity. This process varies depending on whether you are installing a wall-mounted sink, a pedestal sink, or a sink within a vanity cabinet.
Wall-Mounted Sink Bracket Installation
For a wall-mounted sink, start by locating the wall studs using a stud finder. Mark the positions of the studs, as the sink bracket needs to be securely attached to them for support. Measure and mark the desired height for the sink, ensuring it is level. Attach the mounting bracket to the wall using screws, making sure it is firmly secured to the studs. Double-check that the bracket is level before proceeding.
Pedestal Sink Installation
Pedestal sinks consist of two main parts: the sink basin and the pedestal. Begin by positioning the pedestal where you want the sink to be installed. Place the sink basin on top of the pedestal and check for levelness. Mark the mounting holes on the wall and floor. Remove the sink and pedestal, then drill pilot holes for the mounting screws. Attach the basin to the wall using appropriate screws and anchors, then place the pedestal underneath and secure it to the floor.
Vanity Installation
For a vanity sink, start by positioning the vanity cabinet in the desired location. Ensure it is level and flush against the wall. Mark the locations of the mounting holes on the wall and drill pilot holes. Secure the vanity to the wall using screws and wall anchors, making sure it is stable. If the vanity has a pre-cut countertop hole for the sink, ensure it aligns properly with the plumbing connections.
Undermount Sink Installation
Undermount sinks require the countertop to be cut to the precise size of the sink. Place the sink upside down on the countertop to use as a template and trace the outline. Cut the countertop along the outline, then apply a bead of silicone sealant around the edge of the sink opening. Position the sink underneath the countertop and press it firmly into place. Use mounting clips provided by the sink manufacturer to secure the sink to the countertop. Ensure it is level and allow the silicone to cure.
Drop-In Sink Installation
Drop-in sinks, also known as self-rimming or top-mount sinks, are relatively easy to install. Place the sink upside down on the countertop and trace the outline. Cut the countertop along the outline, then apply a bead of silicone sealant around the edge of the cutout. Lower the sink into the hole, ensuring it fits snugly and is level. Secure the sink with mounting clips provided by the manufacturer, and tighten them to hold the sink in place.
Final Adjustments
After installing the sink bracket or vanity, make any necessary adjustments to ensure everything is level and secure. Double-check that the sink is properly aligned with the plumbing connections. If needed, make minor adjustments to the mounting hardware or reposition the sink slightly. Ensuring everything is correctly positioned at this stage will make the rest of the installation process smoother.
Connecting the Plumbing: Drain and Water Supply Lines
With the sink securely in place, the next step is to connect the plumbing. Properly connecting the drain and water supply lines is essential for a functional and leak-free bathroom sink.
Attach the Faucet
If you haven’t already done so, install the faucet onto the sink. Follow the manufacturer’s instructions for your specific faucet model. Typically, this involves inserting the faucet through the holes in the sink and securing it with mounting nuts underneath. Use plumber’s tape on the threaded connections to ensure a watertight seal. Tighten the connections with an adjustable wrench, being careful not to overtighten.
Connect the Water Supply Lines
Connect the hot and cold water supply lines to the corresponding shut-off valves under the sink. Use flexible supply lines with compression fittings for ease of installation. Attach one end of the supply line to the shut-off valve and the other end to the faucet inlet. Tighten the connections with an adjustable wrench. Apply plumber’s tape to the threads for a secure, leak-free connection.
Install the Drain Assembly
Assemble the sink drain according to the manufacturer’s instructions. This typically involves attaching the drain flange to the sink drain hole using a plumber’s putty to create a watertight seal. Insert the drain body through the flange and secure it with the mounting nut. Connect the tailpiece to the drain body, ensuring all connections are tight.
Attach the P-Trap
The P-trap is a crucial component that prevents sewer gases from entering your home. Attach the P-trap to the tailpiece of the drain assembly. Connect the other end of the P-trap to the wall drain pipe. Ensure all slip nuts and washers are properly aligned and tightened to prevent leaks. Check that the P-trap is level and aligned with the plumbing connections.
Test for Leaks
Once all plumbing connections are made, turn on the water supply and test for leaks. Open the shut-off valves and turn on the faucet. Allow the water to run for a few minutes while checking all connections for any signs of leakage. Inspect the drain assembly and P-trap for leaks as well. If you notice any leaks, tighten the connections or reapply plumber’s tape as needed.
Secure Plumbing Components
After confirming there are no leaks, secure all plumbing components in place. Use pipe straps or brackets to secure the water supply lines and drain pipes to the wall or cabinet. This helps prevent movement and potential leaks over time. Double-check that all connections are tight and that the sink is functioning correctly.
Final Checks and Finishing Touches
With the plumbing connected and leak-free, the final step is to perform final checks and add the finishing touches to complete your bathroom sink installation. These steps ensure everything is in order and enhance the overall appearance of your sink area.
Inspect the Installation
Conduct a thorough inspection of the entire installation. Check that the sink is securely mounted, the plumbing connections are tight, and there are no visible leaks. Ensure the sink is level and aligned with the countertop or wall. Double-check that all mounting hardware is properly secured and that the sink is stable.
Seal the Edges
Apply a bead of silicone sealant around the edges of the sink where it meets the countertop or wall. This helps prevent water from seeping into gaps and causing damage. Use a caulking gun to apply the sealant evenly, and smooth it out with a caulk smoothing tool or your finger. Allow the sealant to dry according to the manufacturer’s instructions.
Install Accessories
Reattach any accessories that were removed during the installation process, such as the sink stopper, pop-up drain, or soap dispenser. Ensure they are securely installed and functioning correctly. Consider adding other accessories like a towel ring or holder near the sink for added convenience and functionality.
Clean the Area
Clean the sink and surrounding area to remove any dust, debris, or fingerprints from the installation process. Use a non-abrasive cleaner suitable for the sink material to avoid scratching or damaging the surface. Wipe down the countertop, faucet, and any other fixtures to ensure they are spotless and ready for use.
Reorganize and Decorate
Reorganize the items in your bathroom that were moved for the installation. Place toiletries, towels, and other essentials back in their designated spots. Consider adding decorative elements such as a vase of flowers, a stylish soap dish, or a decorative tray to enhance the aesthetic appeal of your bathroom.
Test Functionality
Perform a final test of the sink to ensure everything is working correctly. Turn on the faucet and check the water pressure and temperature. Test the drain to ensure it is functioning properly and that there are no leaks. Confirm that all accessories, such as the sink stopper, are operating smoothly. Satisfied that everything is in order, your bathroom sink installation is now complete, and you can enjoy your newly updated space.
How to Install a Bathroom Vanity and Sink
Installing a Bathroom Sink: Wall-Hung Sink (DIY) Family Handyman
How to Install Bathroom Sink – TOP MOUNT – In Quartz
Ways to Replace a Bathroom Sink – wikiHow
How to Install a Wall-Mounted Sink HomeTips
Easy Pieces: Traditional Wall-Mounted Bath Sinks – Remodelista
How to Replace and Install a Bathroom Sink
How To Replace a Bathroom Faucet – Tinged Blue
How to install a wall mount sink and plumb it too!
Related Posts:
- Bathroom Sinks Vanities Small Spaces
- Fireclay Bathroom Sink
- 15 Inch Bathroom Sink
- How To Get The Stopper Out Of Bathroom Sink
- Undermount Bathroom Sink With Faucet Holes
- 8 Inch Spread Bathroom Sink Faucets
- Spanish Style Bathroom Sinks And Vanities
- Wash Basin Bathroom Sink
- Small Modern Bathroom Sink
- Recessed Bathroom Sink


