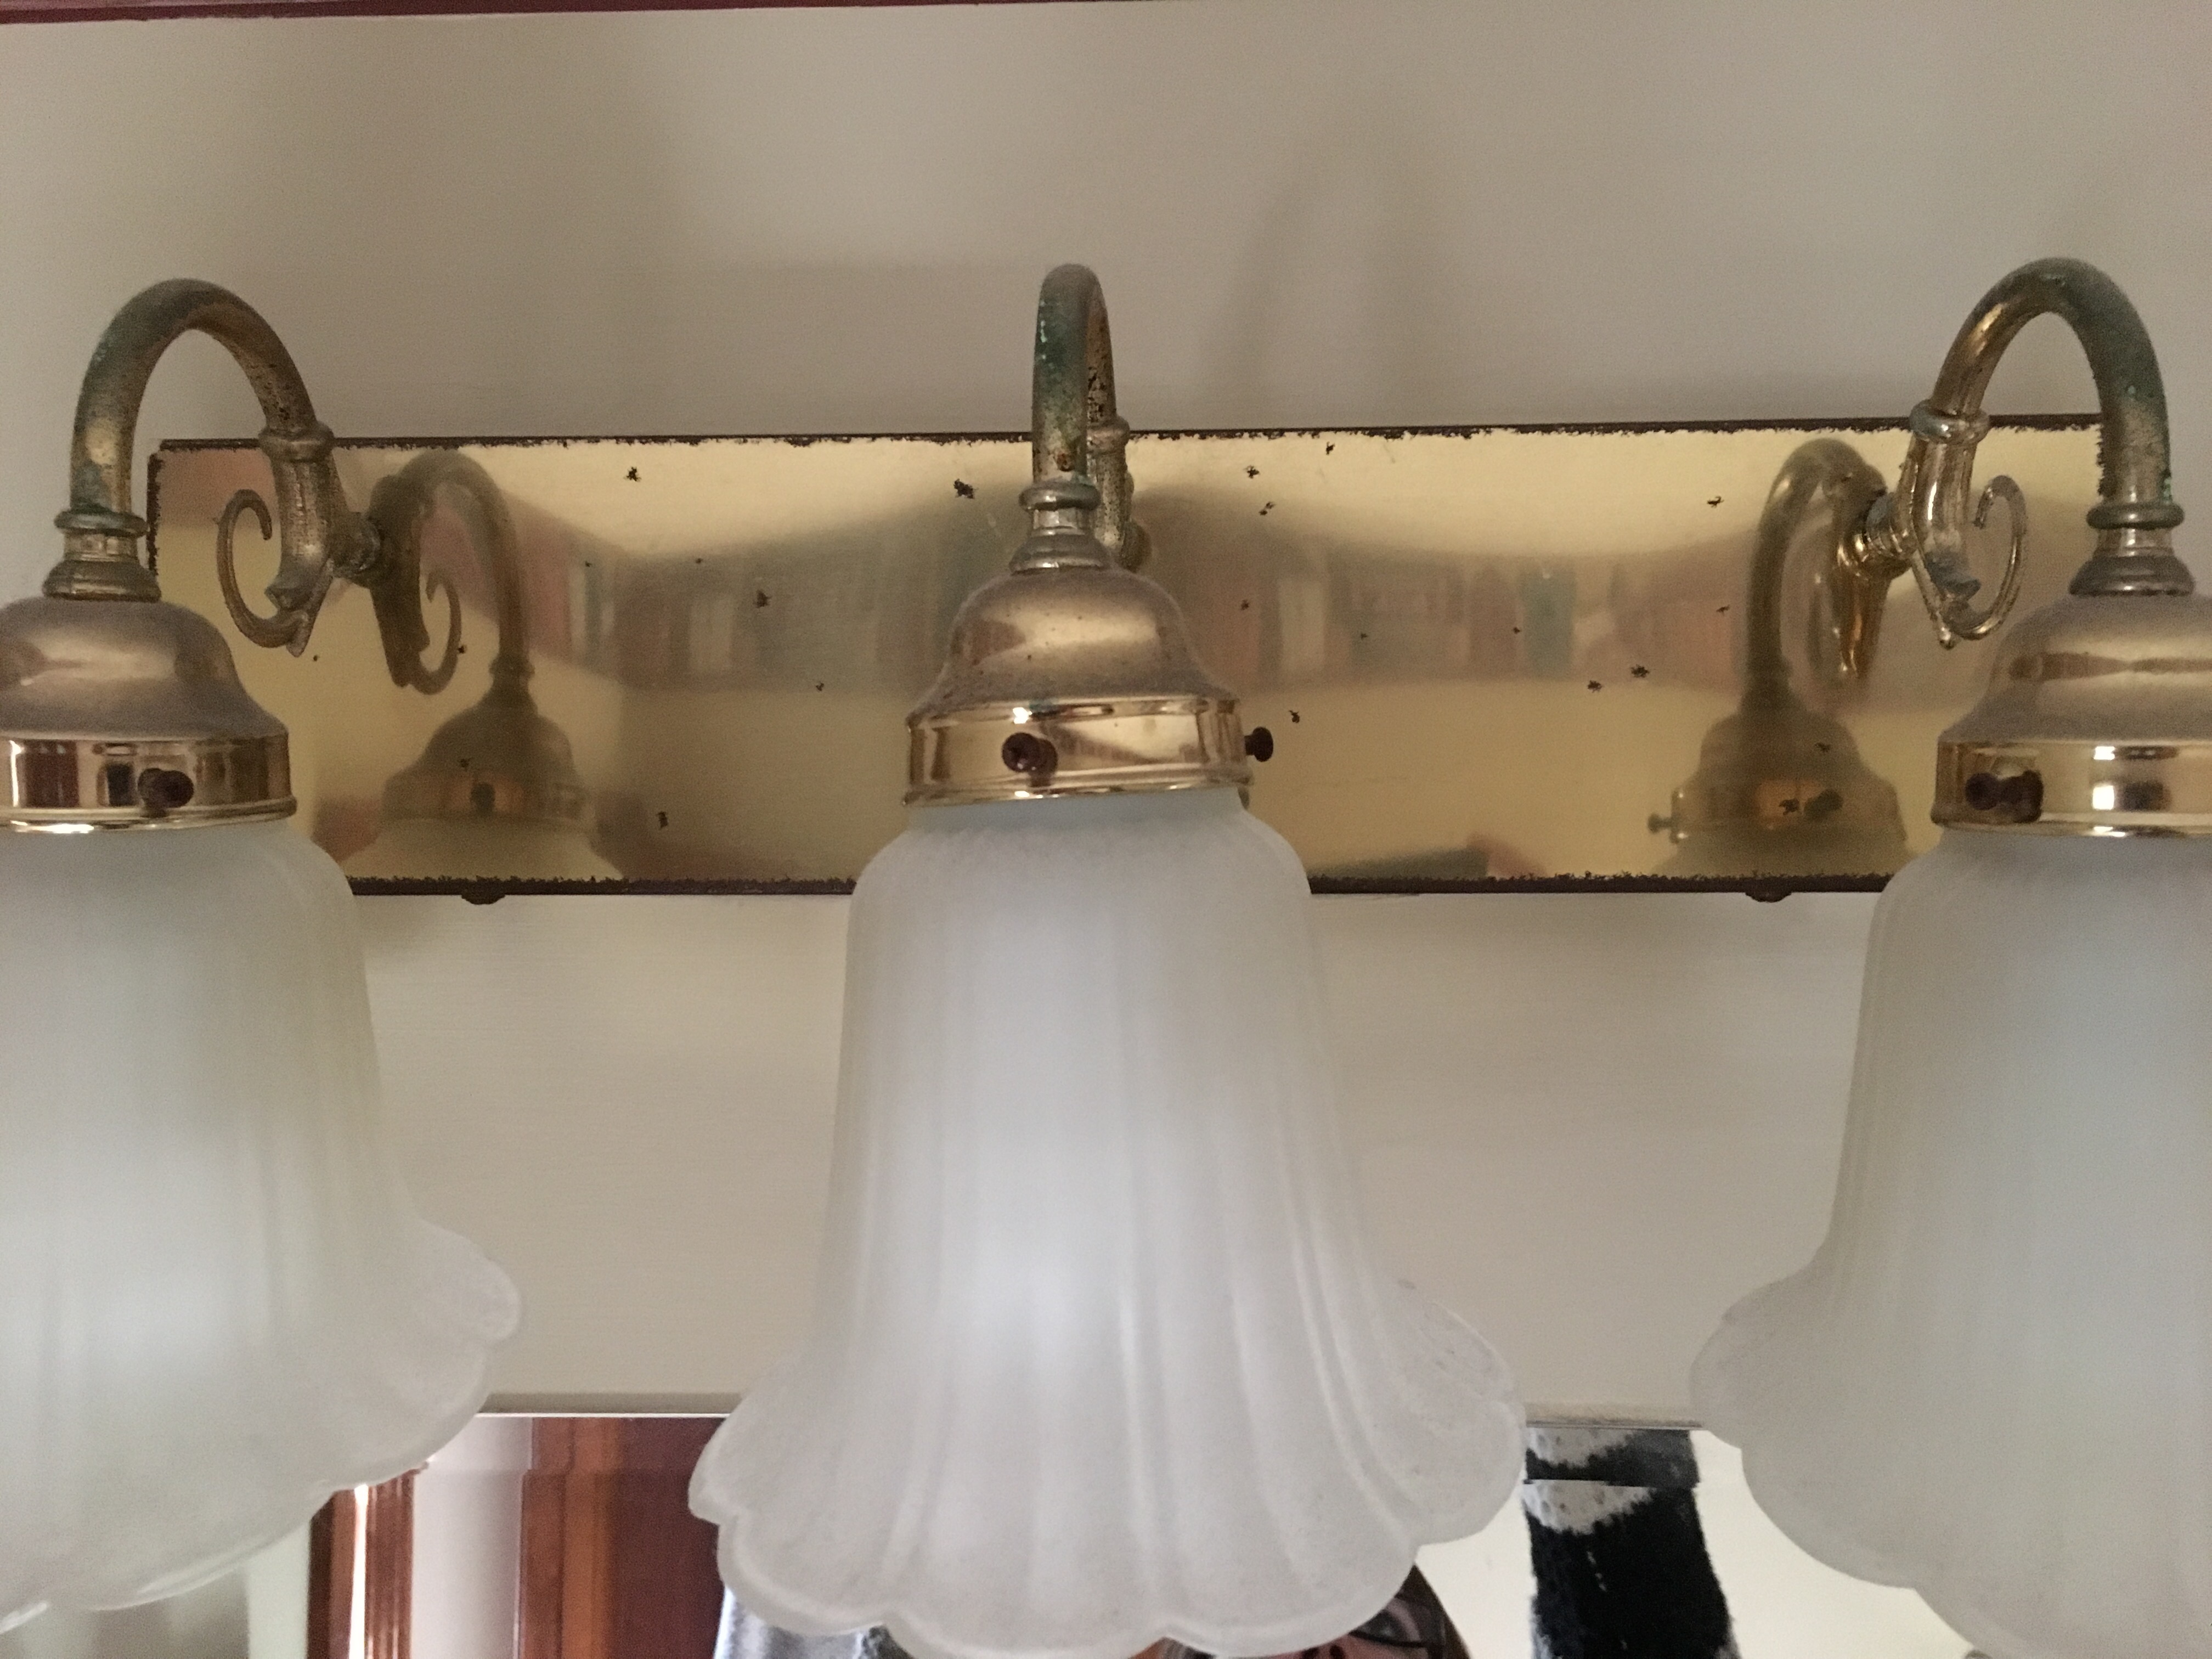
Preparing Your Bathroom Light Fixtures for Painting
Are you tired of the outdated look of your bathroom light fixtures? Painting them can give your bathroom a fresh new look without breaking the bank. But before you dive into this DIY project, it’s essential to prepare your fixtures properly to ensure a smooth and long-lasting finish.
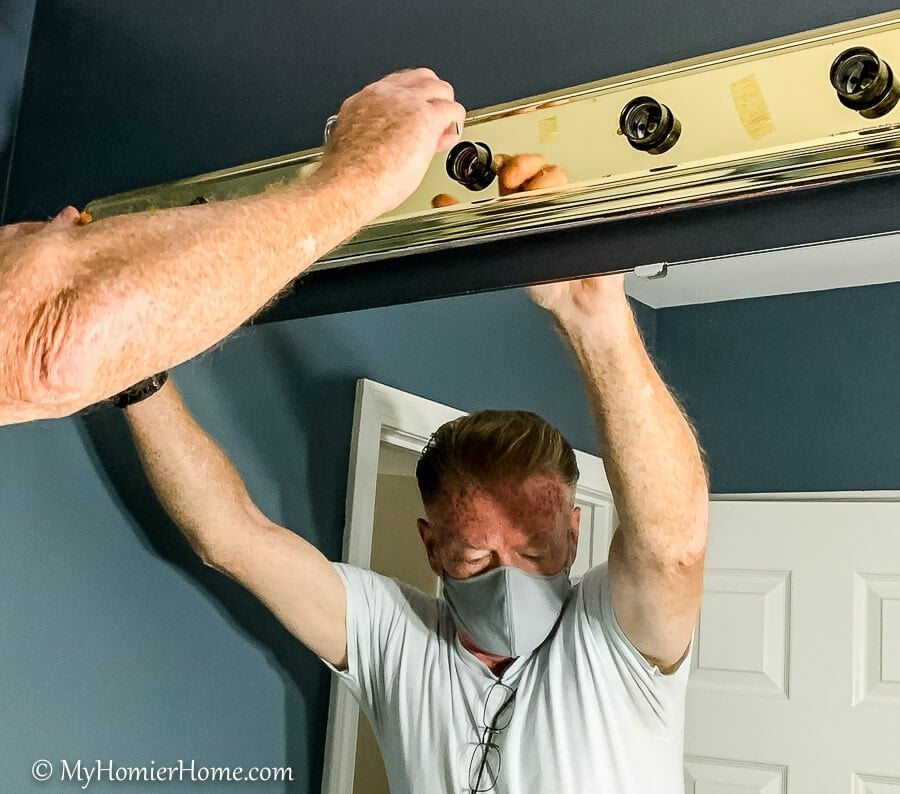
- Remove the Fixtures: Start by turning off the power to the fixtures and removing them from the wall or ceiling. This will make it easier to paint them without worrying about getting paint on other surfaces.
- Clean Thoroughly: Use a degreaser or mild detergent to clean the fixtures thoroughly. Remove any dirt, grime, or old paint using a sponge or cloth. Make sure to rinse off the cleaning solution and allow the fixtures to dry completely before moving on to the next step.
- Sand the Surface: Use fine-grit sandpaper to roughen up the surface of the fixtures slightly. This will help the paint adhere better and prevent peeling or chipping later on. Be sure to sand in the direction of the grain for a smooth finish.
- Mask-Off Areas: Use painter’s tape to mask off any areas of the fixtures that you don’t want to paint, such as electrical components or glass panels. This will help you achieve clean, precise lines and avoid accidental paint splatters.
- Prime the Surface: Apply a coat of primer designed for metal or plastic surfaces to the fixtures. Primer helps the paint adhere better and provides a smooth base for the topcoat. Allow the primer to dry completely before painting.
- Fill any Holes or Cracks: If there are any holes or cracks in the fixtures, use a suitable filler to patch them up. Smooth out the filler with a putty knife and allow it to dry completely before sanding it down to create a smooth surface.

Choosing the Right Paint and Supplies
When it comes to painting bathroom light fixtures, choosing the right paint and supplies is crucial for achieving a durable and stylish finish. With the wide variety of paints and finishes available on the market, it’s essential to select the ones that are suitable for your specific fixtures and desired look.
Paint Type: Opt for a high-quality paint that is specifically formulated for metal or plastic surfaces, depending on the material of your fixtures. Look for paints labeled as “bathroom paint” or “kitchen and bath paint,” as these are designed to withstand moisture and humidity.
Finish: Consider the finish you want for your fixtures. Satin or semi-gloss finishes are popular choices for bathroom fixtures as they are easy to clean and resistant to moisture. Matte finishes can also work well for a more modern or understated look.
Color: Choose a color that complements your bathroom decor and personal style. Classic white or black is always a safe bet, but don’t be afraid to experiment with bold colors or metallic finishes for a unique touch.
Supplies: In addition to paint, you’ll need a few essential supplies for painting your fixtures, including brushes or rollers, painter’s tape, sandpaper, primer, and a drop cloth to protect surrounding surfaces from paint drips.
Safety Gear: Don’t forget to wear proper safety gear, such as gloves and a mask, when painting to protect yourself from fumes and paint splatters.
Quality Matters: Invest in high-quality paints and supplies to ensure a professional-looking finish that will stand the test of time. While it may be tempting to cut corners with cheaper options, quality products will ultimately save you time and money in the long run.
Proper Painting Techniques for Bathroom Light Fixtures
Now that you’ve prepared your bathroom light fixtures and gathered the necessary supplies, it’s time to dive into the painting process. Proper painting techniques are crucial for achieving a smooth and even finish that will enhance the look of your fixtures and bathroom overall.
Start with a Clean Surface: Ensure that your fixtures are clean and free of any dust or debris before you begin painting. Use a tack cloth or microfiber cloth to remove any remaining particles for a smooth surface.
Apply Primer: If you haven’t already applied primer during the preparation stage, now is the time to do so. Use a brush or roller to apply a thin, even coat of primer to the fixtures, allowing it to dry completely before moving on to the next step.
Use Thin Coats of Paint: When it comes to painting, less is often more. Apply thin, even coats of paint to the fixtures, allowing each coat to dry completely before applying the next one. This will help prevent drips, streaks, and uneven coverage.
Work in Small Sections: Instead of trying to paint the entire fixture at once, work in small sections to ensure thorough coverage and avoid paint buildup. Use a brush or roller to apply paint to one section at a time, overlapping each stroke slightly for a seamless finish.
Pay Attention to Details: Take your time and pay attention to details such as corners, edges, and intricate designs. Use a smaller brush or artist’s brush to carefully paint these areas for a professional-looking finish.
Allow for Proper Drying Time: Be patient and allow each coat of paint to dry completely before applying additional coats or reassembling the fixtures. Rushing the drying process can lead to smudges, streaks, or even damage to the finish.
Tips for Achieving a Professional Finish
Painting bathroom light fixtures may seem like a straightforward DIY project, but achieving a professional finish requires attention to detail and proper technique. Follow these tips to elevate your painting game and achieve a flawless result that will impress everyone who sees it.
Use High-Quality Brushes or Rollers: Invest in high-quality brushes or rollers designed for the type of paint you’re using. Quality tools will help you achieve smooth and even coverage without leaving behind streaks or brush marks.
Apply Multiple Thin Coats: Instead of trying to cover the fixtures in one thick coat of paint, apply multiple thin coats for a more even and durable finish. Thin coats dry faster and are less likely to drip or streak, resulting in a professional-looking result.
Sand Between Coats: To ensure a smooth and seamless finish, lightly sand the fixtures between coats of paint using fine-grit sandpaper. This will help remove any imperfections and rough spots, resulting in a flawless surface.
Work in a Well-Ventilated Area: Proper ventilation is essential when painting to ensure that fumes are dispersed and the paint dries properly. Open windows and doors or use a fan to circulate air while you work.
Take Your Time: Rushing through the painting process is a surefire way to end up with a sloppy finish. Take your time and work methodically, paying attention to detail and allowing each coat of paint to dry completely before moving on to the next one.
Practice Patience: Achieving a professional finish takes time and patience, so don’t rush the process. Allow each coat of paint to dry thoroughly before handling the fixtures or applying additional coats. Patience will be rewarded with a flawless finish that will last for years to come.
Maintaining and Caring for Painted Bathroom Light Fixtures
Congratulations! You’ve successfully painted your bathroom light fixtures and transformed the look of your space. Now, it’s essential to take care of your newly painted fixtures to ensure that they remain looking fresh and beautiful for years to come.
Regular Cleaning: Keep your painted fixtures looking their best by regularly cleaning them with a mild detergent and water solution. Avoid abrasive cleaners or scrub brushes that could damage the paint finish.
Avoid Harsh Chemicals: When cleaning your fixtures, avoid using harsh chemicals or solvents that could strip away the paint finish. Stick to gentle cleaning solutions and avoid scrubbing too vigorously to preserve the integrity of the paint.
Touch-Ups: Over time, painted fixtures may experience wear and tear, such as chipping or scratching. Keep a small container of touch-up paint on hand to quickly repair any imperfections and keep your fixtures looking like new.
Protect from Moisture: Bathroom fixtures are exposed to moisture and humidity regularly, which can cause paint to peel or chip over time. To protect your painted fixtures, ensure that your bathroom is well-ventilated and use exhaust fans during showers to reduce moisture buildup.
Inspect Regularly: Make it a habit to inspect your painted fixtures regularly for any signs of damage or wear. Catching issues early will allow you to address them quickly before they worsen and require more extensive repairs.
Recoat as Needed: Depending on the wear and tear your fixtures endure, you may need to recoat them every few years to maintain their appearance and protection. Follow the same preparation and painting process outlined earlier to recoat your fixtures and keep them looking fresh.
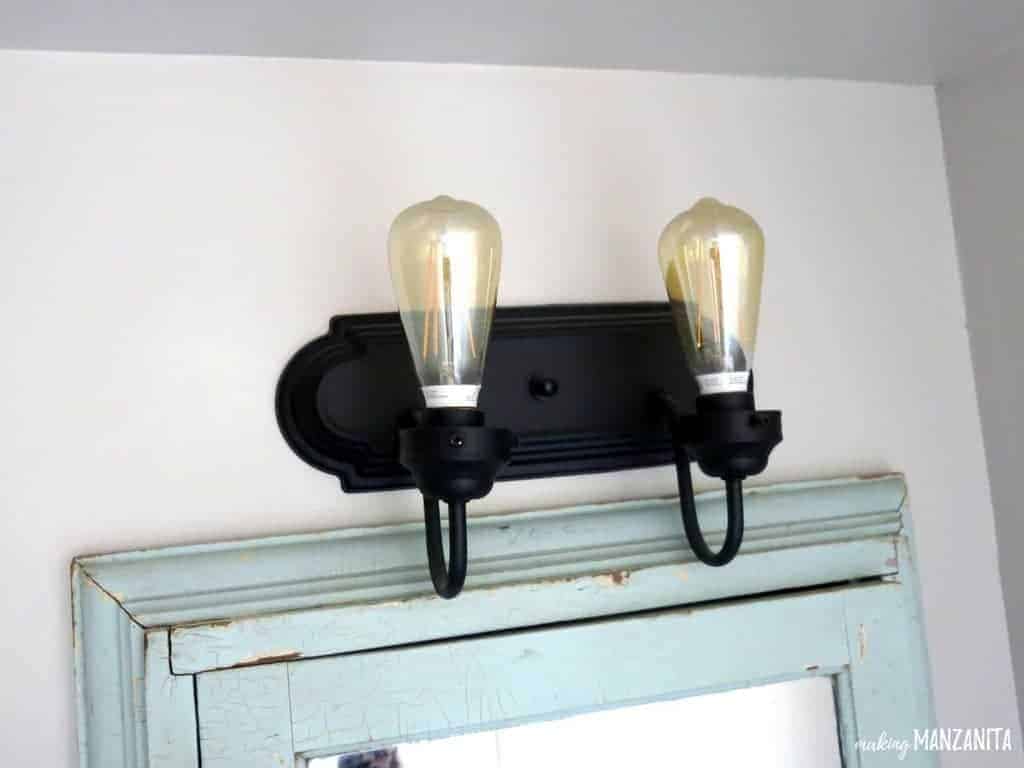
How To Spray Paint Bathroom Light Fixtures – Making Manzanita
DIY Refinished Light Fixture – YouTube
two points for honesty: jillianu0027s bathroom makeover-finally!
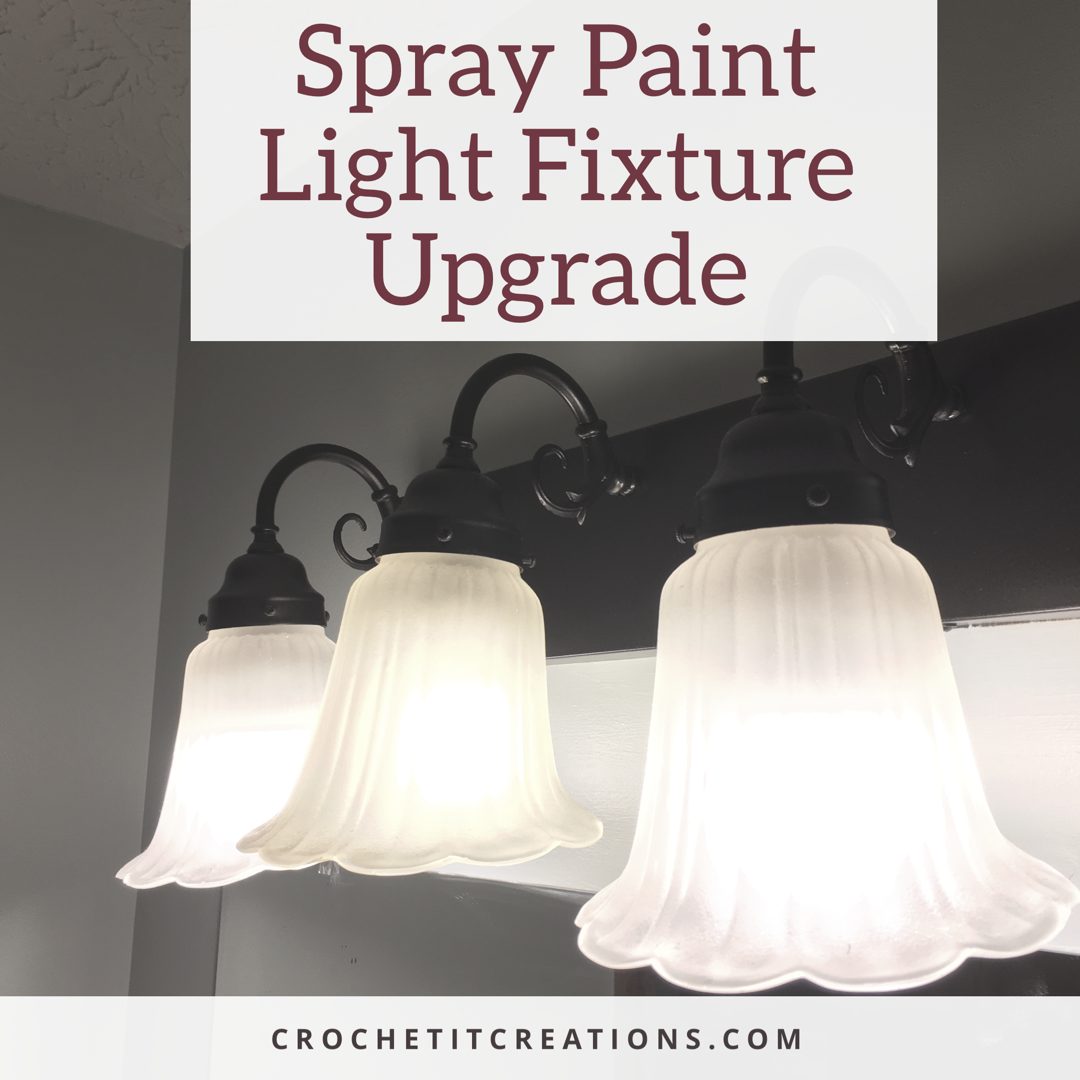
Spray Paint Light Fixture Upgrade – Crochet It Creations
The Easiest Way to Paint a Light Use Spray Paint!
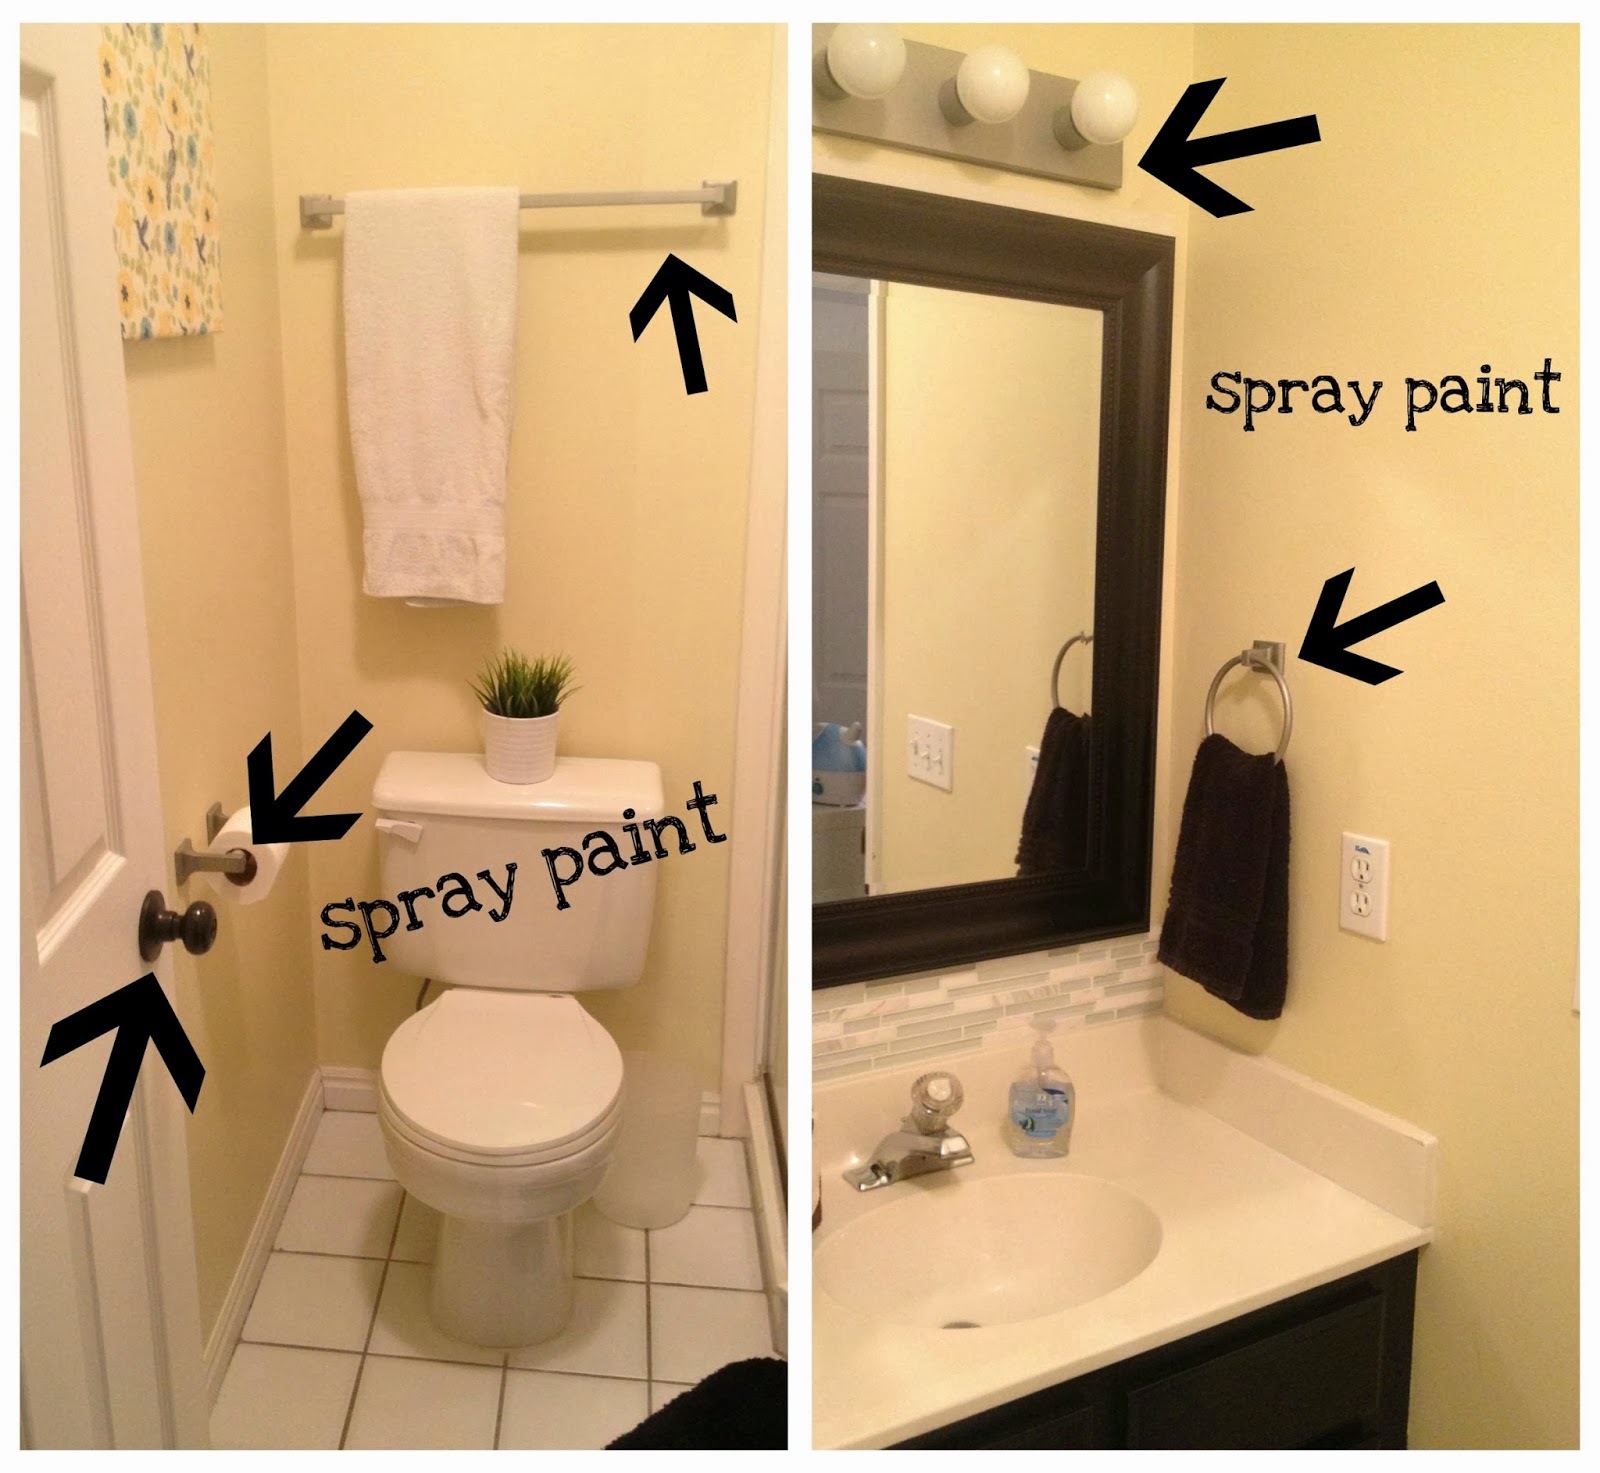
How to Spray Paint the Ugly Light Fixture in your Bathroom
$100 Room Challenge Week 3: Light Fixture Update Ru0026R at home
How To Paint Bathroom Light Fixtures
How to Spray Paint the Ugly Light Fixture in your Bathroom
Repaint A Light Fixture With Colorshot Spray Paint COLORSHOT Paint
Related Posts:


