Gathering the Necessary Tools and Materials
Before embarking on the journey to reface your bathroom cabinets, it’s crucial to gather all the necessary tools and materials. Being well-prepared will ensure a smooth, efficient process and result in a professional-looking finish.
- Essential Tools: To start, you will need a set of basic tools. These include a screwdriver (preferably both flathead and Phillips), a tape measure, and a utility knife. A cordless drill can also be very handy for speeding up the process of removing and reattaching cabinet doors and hardware. Sandpaper or a sanding block, ideally in both coarse and fine grits, is essential for smooth surfaces.
- Safety Equipment: Safety should always be a priority. Ensure you have safety goggles to protect your eyes from dust and debris. A pair of work gloves will protect your hands from splinters and sharp edges. Additionally, consider a dust mask to prevent inhalation of any sanding dust.
- Refacing Materials: For the refacing process itself, you will need veneer or laminate sheets in your chosen finish. These are available in various styles and colors, allowing you to customize the look of your bathroom cabinets. Alongside the veneer or laminate, purchase matching edge banding to cover the exposed edges of the cabinet frames and doors.
- Adhesives and Finishes: To adhere the veneer or laminate to your cabinet surfaces, you will need a high-quality contact cement or wood adhesive. Ensure you also have a J-roller, which helps in pressing the veneer or laminate firmly onto the cabinet surfaces, eliminating air bubbles and ensuring a secure bond. Finishing materials like a polyurethane sealer can provide added protection and durability.
- Measurement and Cutting Tools: Accurate measurements are crucial for a professional finish. A good quality tape measure, a straight edge, and a pencil are must-haves for marking your cuts. For cutting veneer or laminate, a utility knife with sharp blades will be needed. A carpenter’s square can help ensure your cuts are straight and precise.
- Hardware and Accessories: Finally, decide if you want to replace your cabinet hardware such as handles, knobs, and hinges. New hardware can significantly enhance the overall appearance of your cabinets. If you are reusing old hardware, ensure it is clean and in good condition. If you opt for new hardware, measure the existing hole spacing or prepare to drill new holes for the new pieces.

Preparing Your Cabinets for Refacing
Proper preparation is crucial for a successful refacing project. This phase ensures that the new veneer or laminate adheres well and that the finished cabinets look smooth and professional.
Clearing the Area
Begin by clearing the bathroom of any items that might get in the way. Remove toiletries, decorations, and anything stored in or around the cabinets. Lay down a drop cloth or old sheets to protect your floor from dust and adhesive spills.
Cleaning the Cabinets
Cleaning is a vital step. Use a mild detergent mixed with water to remove grease, grime, and soap residue from all cabinet surfaces. Pay special attention to areas around handles and edges, where dirt tends to accumulate. Rinse thoroughly with clean water and let everything dry completely.
Sanding Surfaces
Sanding the cabinet surfaces is necessary for proper adhesion. Start with coarse-grit sandpaper (around 80-120 grit) to remove any gloss or old finish. Follow up with a finer grit (around 220 grit) to smooth the surface. Ensure you sand evenly and thoroughly, reaching all nooks and crannies.
Repairing Damages
Inspect your cabinets for any damage such as dents, scratches, or holes. Fill these imperfections with wood filler and let it dry according to the manufacturer’s instructions. Once dry, sand the filled areas until they are smooth and flush with the surrounding surfaces.
Removing Cabinet Doors and Drawers
Detach all cabinet doors and drawers, including their hardware. Label each piece as you remove it to ensure easy reassembly later. Place the screws and other small parts in labeled plastic bags to prevent loss. Removing the doors and drawers will make it easier to work on the frames and to apply the veneer or laminate accurately.
Final Preparations
Before moving on to the next step, do a final wipe-down of all surfaces to remove any dust from sanding. Use a tack cloth or a damp microfiber cloth for this purpose. Double-check that all surfaces are dry and free of debris. Now, you are ready to start the exciting part of the project: refacing your cabinets.
Removing Old Cabinet Doors and Hardware
The next step in refacing your bathroom cabinets involves removing the old cabinet doors and hardware. This process not only facilitates easier access for refacing but also allows you to inspect and clean each component thoroughly.
Labeling and Organizing
Before you start unscrewing doors and hardware, it’s essential to label and organize everything. Use masking tape and a marker to label each door and drawer. Write numbers or letters on the tape and apply them to the corresponding openings in the cabinet frame. This will make reassembly much smoother.
Removing Cabinet Doors
Using a screwdriver or a cordless drill, carefully remove the screws holding the cabinet doors in place. Begin with the bottom screws and then move to the top to prevent the doors from falling. Place the screws and hinges in labeled bags. If you’re planning to reuse the hardware, keep it in a safe place.
Detaching Drawer Fronts
For drawers with removable fronts, locate and remove the screws or brackets holding the fronts in place. Some drawer fronts may be attached with clips or adhesive, so check for any fasteners before applying force. If the fronts are glued, use a putty knife to gently pry them off.
Removing Hinges and Handles
Next, remove all handles, knobs, and hinges from the doors and drawers. If you’re replacing the hardware, this is a good time to measure the existing hole spacing to ensure the new pieces will fit. If reusing the hardware, clean it thoroughly with a mild cleaner to remove any dirt or grease.
Inspecting and Cleaning
With all doors, drawers, and hardware removed, inspect each component for damage. Check for cracks, loose joints, or other issues that need repairing. Clean the removed doors and drawers with a mild detergent solution to eliminate any lingering grease or dirt. Allow them to dry completely before proceeding.
Preparing for Refacing
Finally, ensure that all removed components are set aside in an organized manner. This preparation step will make the upcoming refacing process much more manageable. By removing the doors and hardware efficiently, you set the stage for a smoother refacing project, making it easier to apply new materials and achieve a professional finish.
Applying the New Veneer or Laminate
Applying the new veneer or laminate is the most transformative step in refacing your bathroom cabinets. This process involves careful measurement, precise cutting, and meticulous application to ensure a professional finish.
Measuring and Cutting Veneer or Laminate
Start by measuring the surfaces of your cabinet frames, doors, and drawer fronts that will be covered with the veneer or laminate. Use a tape measure and write down each dimension accurately. Transfer these measurements to the back of the veneer or laminate sheets, marking them with a pencil and straight edge. Cut the sheets to size using a utility knife, ensuring clean, straight edges.
Applying Adhesive
Apply a high-quality contact cement or wood adhesive to both the back of the veneer or laminate and the surface of the cabinets. Follow the manufacturer’s instructions regarding drying time. Typically, you need to let the adhesive become tacky before applying the veneer or laminate. Use a brush or roller to ensure an even coat, avoiding any lumps or uneven spots.
Positioning the Veneer or Laminate
Carefully align the veneer or laminate with the cabinet surface, starting from one edge. Press it down gradually, smoothing it out to avoid air bubbles. Using a J-roller, press the veneer or laminate firmly onto the surface, starting from the center and working your way outward. This ensures a strong bond and a smooth finish.
Trimming Excess Material
Once the veneer or laminate is applied, use a utility knife to trim any excess material along the edges. Hold the knife at a slight angle to get a clean cut. For intricate areas or tight corners, you may need to use a fine-toothed file or sandpaper to achieve a perfect fit. Ensure all edges are smooth and flush with the cabinet surfaces.
Applying Edge Banding
For a polished look, apply edge banding to the exposed edges of the cabinet frames, doors, and drawer fronts. Use pre-glued edge banding for ease of application. Heat the adhesive with an iron or edge banding machine and press the banding firmly onto the edges. Trim any excess banding with a utility knife and sand the edges for a seamless finish.
Inspecting and Touching Up
After all veneer or laminate and edge banding are applied, inspect the surfaces for any imperfections or areas that need touch-ups. Use a matching wood filler to fill small gaps or seams. Sand the filled areas lightly once dry. Finally, consider applying a coat of polyurethane sealer to protect the new surface and give it a durable, glossy finish.
Reassembling and Finishing Touches
The final phase in your cabinet refacing project is reassembling the components and adding the finishing touches. This step brings everything together, transforming your bathroom with a refreshed, cohesive look.
Reattaching Doors and Drawers
Begin by reattaching the cabinet doors and drawer fronts to the frames. Align the doors with the pre-labeled spots and use the original screws and hinges if they are in good condition. If you’re using new hardware, ensure the hinges are aligned correctly for smooth operation. Use a cordless drill to speed up the process, being careful not to overtighten the screws.
Installing New Hardware
Next, install the new handles, knobs, or pulls. If the new hardware matches the old hole spacing, simply screw them into place. If new holes are needed, measure and mark the positions carefully before drilling. Use a template if available to ensure consistent placement across all doors and drawers. Secure the hardware firmly but avoid over-tightening, which can strip the screws or damage the doors.
Adjusting and Aligning
Once all the doors and drawers are in place, check their alignment. Adjust the hinges as needed to ensure doors hang evenly and open smoothly. Drawer fronts should be level and aligned with adjacent surfaces. Make any necessary adjustments to the drawer tracks or slides to ensure smooth operation.
Sealing and Protecting
For added durability, consider applying a final coat of polyurethane or another suitable sealer to your newly refaced cabinets. This will protect the surfaces from moisture, stains, and daily wear. Choose a clear, non-yellowing finish for a professional look. Apply the sealer evenly with a brush or roller, following the manufacturer’s instructions for drying times and recoat intervals.
Cleaning Up
After all components are reassembled and sealed, clean up your work area. Remove any protective drop cloths or sheets, and dispose of any leftover materials or debris. Wipe down the cabinets with a damp cloth to remove any dust or fingerprints. Clean your tools and store them properly for future projects.
Final Inspection and Enjoyment
Finally, perform a thorough inspection of your work. Check that all components are secure, aligned, and functioning correctly. Look for any missed spots or imperfections and touch them up as needed. Once satisfied, step back and admire your handiwork. Your newly refaced bathroom cabinets should now look fresh, modern, and professionally finished.
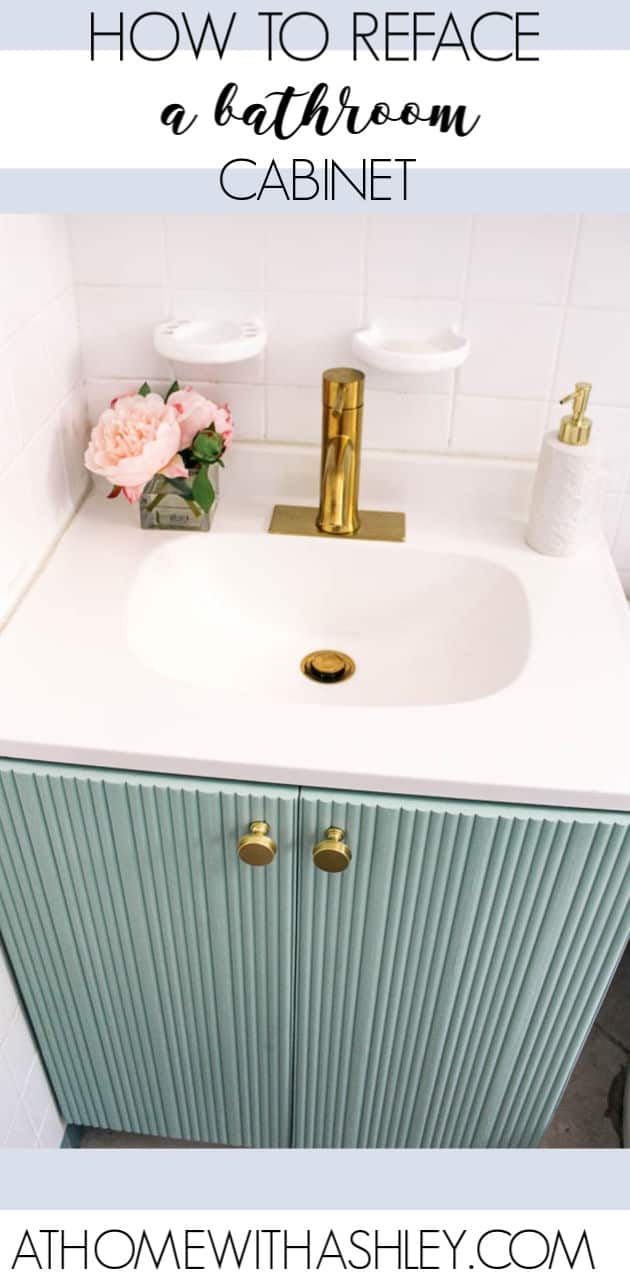
Fluted Bathroom Cabinet Refacing DIY – at home with Ashley
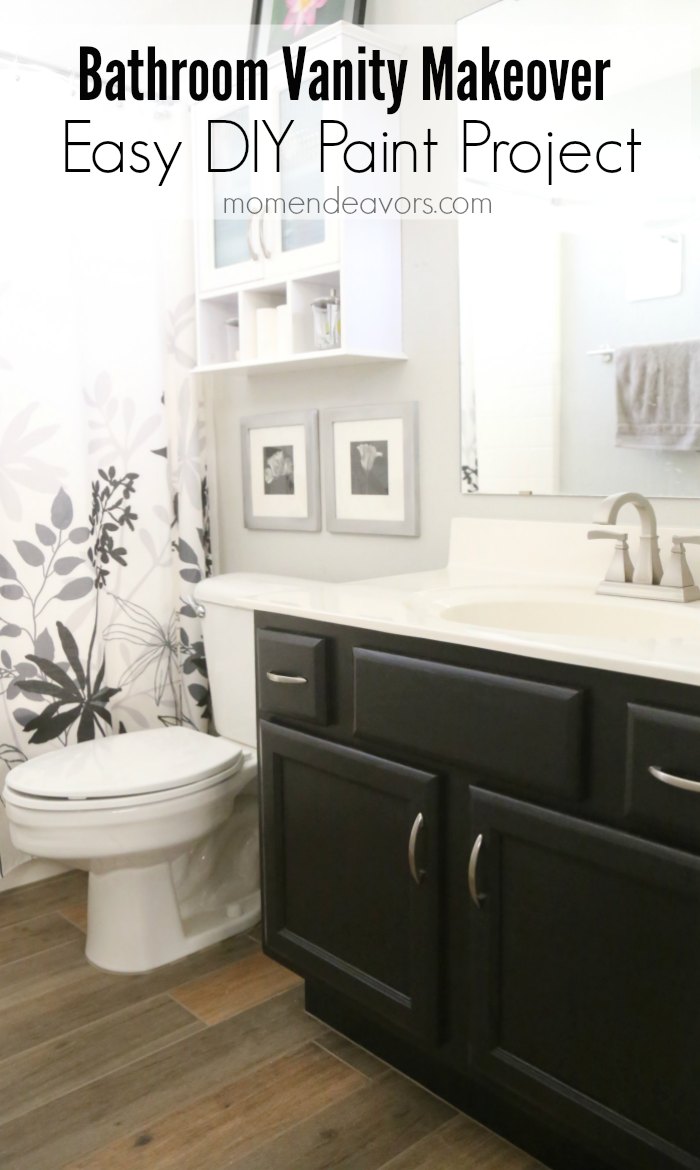
Bathroom Vanity Makeover – Easy DIY Home Paint Project – Mom Endeavors
DIY Bathroom Vanity Makeover with Behr Grey Paint
Easy DIY Bathroom Vanity Makeover – Midwest Life and Style Blog
Major Tips To Transform Your Bathroom Cabinets If It Looks Like This
Conquer Your Vanity
It’s A Grandville Life: DIY Painted Bathroom Cabinets
Awesome Bathroom Vanity Makeover Ideas For Your Cabinets
Fluted Bathroom Cabinet Refacing DIY – at home with Ashley
Related Posts:
- Painting Existing Bathroom Cabinets
- Chrome Bathroom Cabinet Pulls
- Black Free Standing Bathroom Cabinets
- Riverridge Home Bathroom Cabinet
- White Metal Bathroom Cabinet
- Different Types Of Bathroom Cabinets
- French Bathroom Cabinet
- White Vanity Bathroom Cabinets
- Replacement Bathroom Cabinet Mirror Doors
- Polyurethane Bathroom Cabinets


