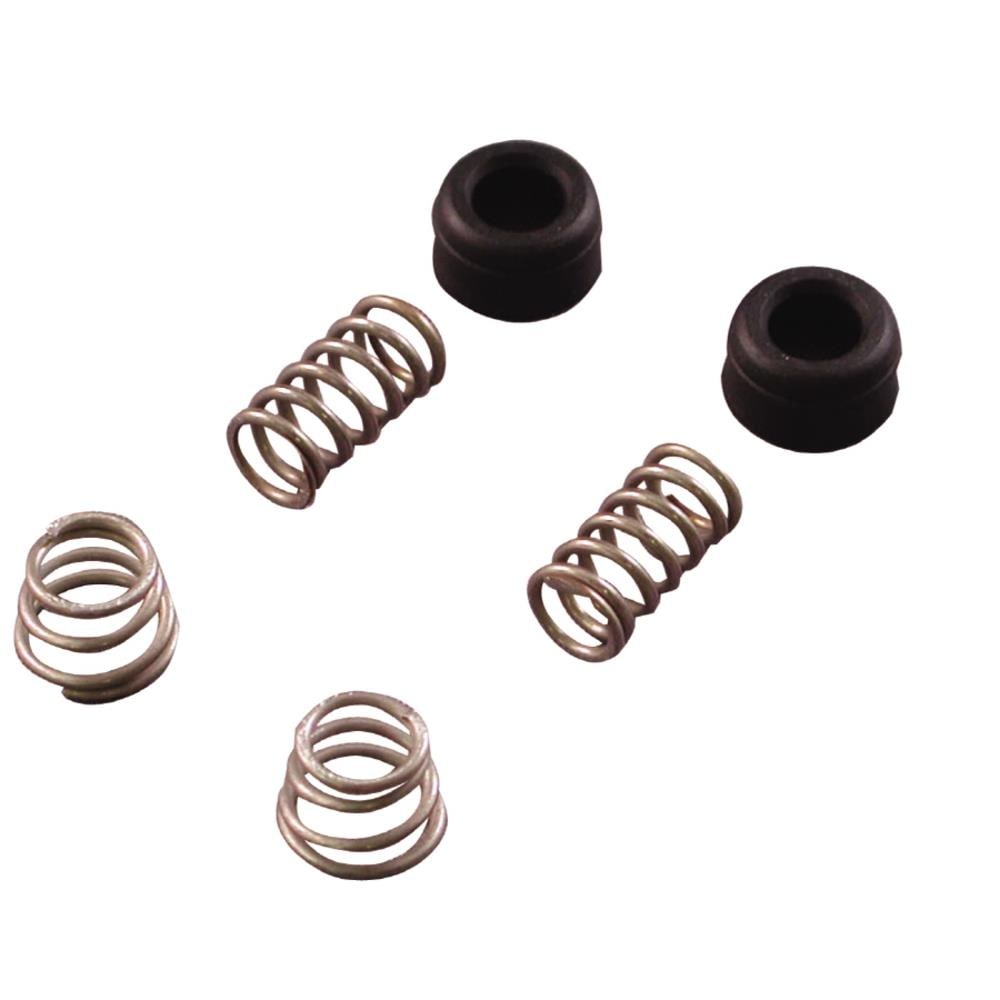
Understanding the Importance of Replacing Seats and Springs in Delta Bathroom Faucets
A Delta bathroom faucet is a crucial component in any bathroom. Over time, the seats and springs within the faucet can wear out, leading to leaks and reduced functionality. Understanding the importance of replacing these seats and springs is essential to maintain the optimal performance and longevity of your Delta bathroom faucet.
- Prevention of Leaks: One of the primary reasons to replace seats and springs in a Delta bathroom faucet is to prevent leaks. When the seats and springs wear out, water can seep through, causing dripping or even a steady flow of water. By replacing these components, you can eliminate leaks and avoid potential water damage to your bathroom.
- Restoration of Water Flow: Worn-out seats and springs can also affect the water flow in your Delta bathroom faucet. Over time, debris and mineral deposits can accumulate, hindering the smooth flow of water. By replacing the seats and springs, you can restore the proper water flow, ensuring a consistent and efficient water supply.
- Prevention of Valve Damage: The seats and springs in a Delta bathroom faucet play a crucial role in maintaining the integrity of the valve. When these components wear out, it can put additional strain on the valve, leading to potential damage. By replacing the seats and springs promptly, you can prevent valve damage and save yourself from costly repairs down the line.
- Enhanced Faucet Performance: Replacing the seats and springs in your Delta bathroom faucet can significantly enhance its overall performance. With new components in place, you can expect smoother operation, improved water control, and reduced chances of sudden malfunctions. This ensures a pleasant and hassle-free experience every time you use your faucet.
- Cost-Effective Solution: Replacing the seats and springs in a Delta bathroom faucet is a cost-effective solution compared to replacing the entire faucet. By performing this simple maintenance task, you can extend the lifespan of your faucet and avoid the need for a complete replacement, saving you both time and money.

Gathering the Necessary Tools and Materials for the Replacement Process
Before embarking on the task of replacing the seats and springs in your Delta bathroom faucet, it’s essential to gather all the necessary tools and materials. Having everything at hand will make the process smoother and more efficient.
- Adjustable Wrench: An adjustable wrench is a versatile tool that will come in handy during the replacement process. It allows you to loosen and tighten various fittings, making it easier to remove and install the seats and springs.
- Screwdriver: A screwdriver, either Phillips or flat-head, depending on the type of screws used, is necessary for removing the faucet handle and accessing the internal components. It is essential to have a good grip and the right size of screwdriver for a secure fit.
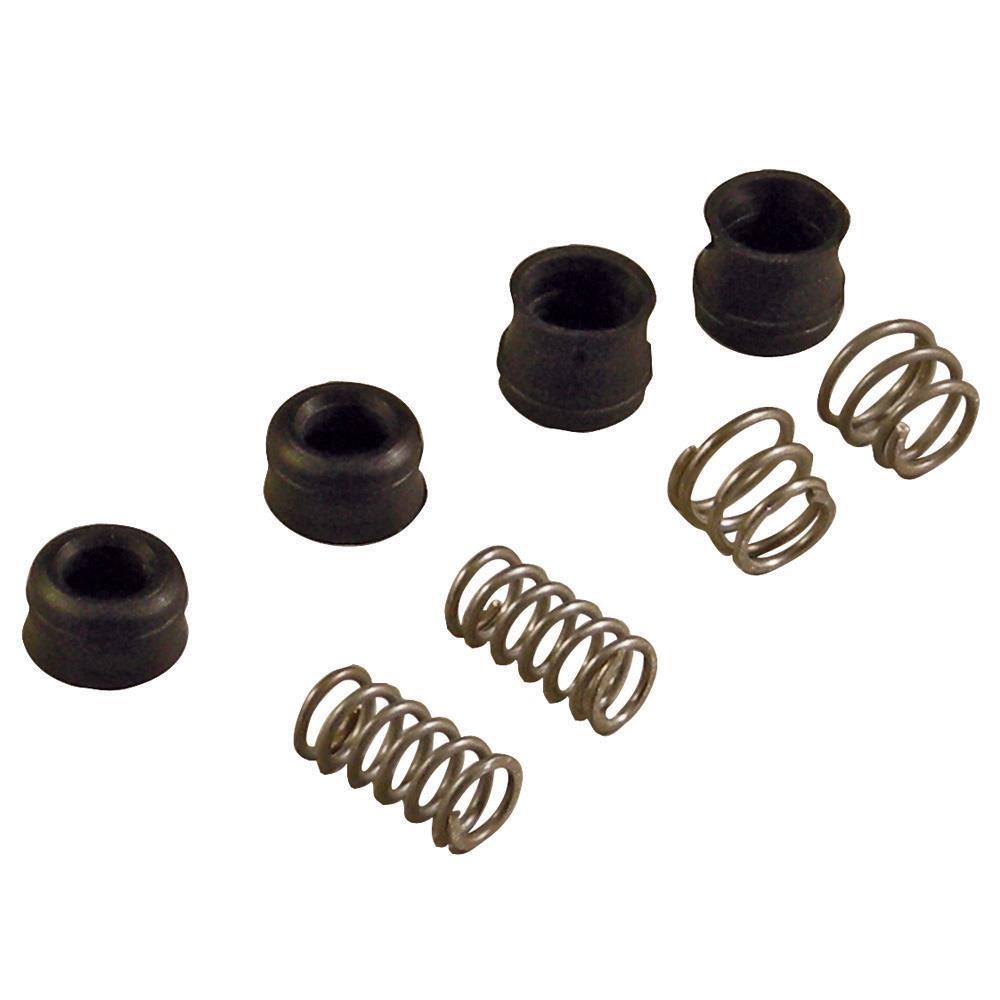
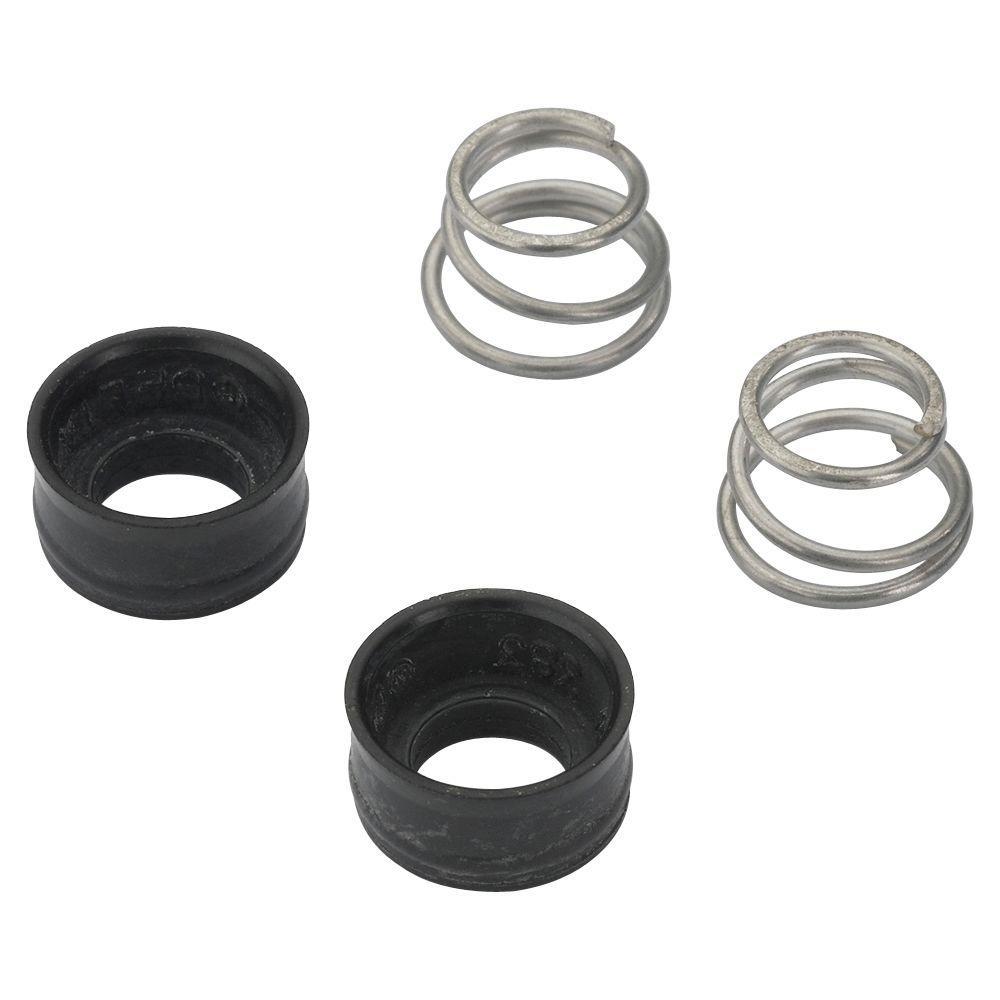
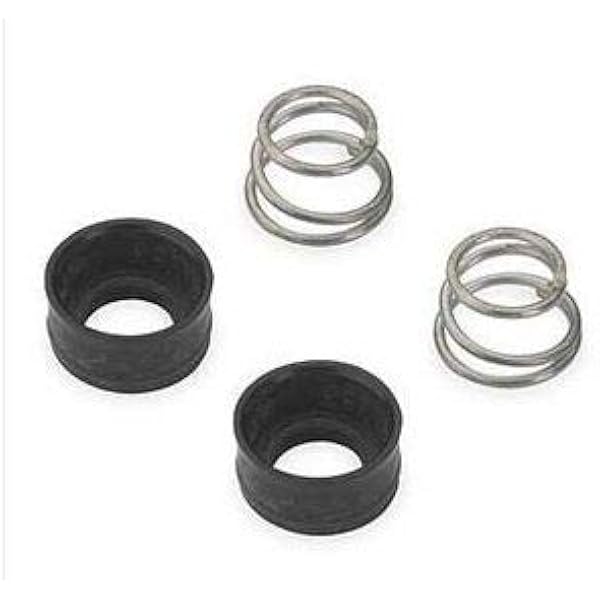
- Replacement Seats and Springs: Ensure you have the correct replacement seats and springs specifically designed for your Delta bathroom faucet model. These components are often sold as a set and can be found at most hardware stores or ordered online.
- Plumber’s Tape: Plumber’s tape, also known as Teflon tape, is a thin white tape used to create a watertight seal when reassembling the faucet. It is applied to the threads of the faucet, preventing leaks and ensuring a secure connection.
- Clean Cloth or Towel: Having a clean cloth or towel nearby is useful for wiping away any excess water, debris, or lubricant during the replacement process. It helps keep your work area clean and prevents any unwanted particles from entering the faucet.
- Lubricant: Using a small amount of silicone-based lubricant can make the installation process smoother. Apply the lubricant to the new seats and springs to facilitate their insertion and ensure a proper fit.
Removing the Old Seats and Springs from Your Delta Bathroom Faucet
Removing the old seats and springs from your Delta bathroom faucet is a crucial step in the replacement process. This step-by-step guide will walk you through the process, ensuring a successful removal.
Shut Off the Water Supply: Before starting any work on your Delta bathroom faucet, it’s essential to shut off the water supply. Locate the shut-off valves under the sink and turn them clockwise until they are fully closed. This will prevent any water from flowing while you work on the faucet.
Remove the Faucet Handle: Using a screwdriver, remove the screw that holds the faucet handle in place. Once the screw is removed, carefully lift the handle off the faucet body. Set the handle aside in a safe place.
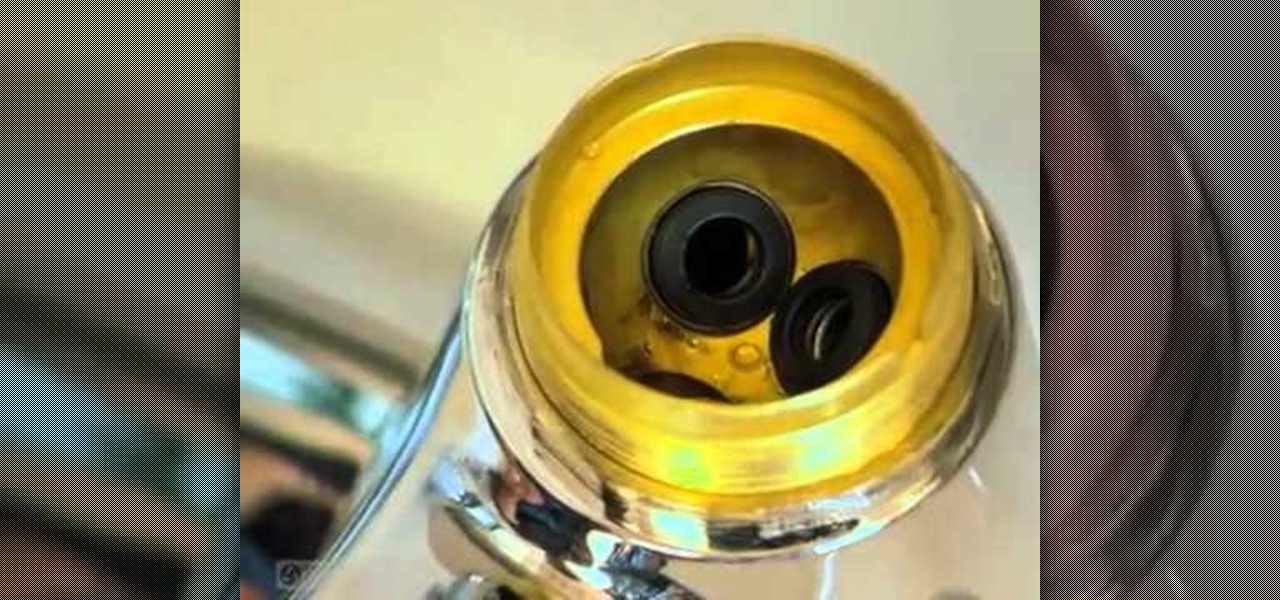
Access the Seats and Springs: After removing the faucet handle, you will find a metal cap or bonnet covering the cartridge assembly. Use an adjustable wrench to loosen and remove the cap. Once the cap is removed, you will have access to the seats and springs located inside the faucet body.
Remove the Seats and Springs: Using needle-nose pliers, grasp the old seats and springs and gently pull them out of the faucet body. Be careful not to damage the surrounding components. If the seats and springs are stubborn, you can use a seat removal tool specifically designed for this purpose.
Clean the Faucet Body: After removing the old seats and springs, take a clean cloth or towel and wipe inside the faucet body to remove any debris or mineral deposits. This step ensures a clean surface for the installation of the new components.
Inspect the Cartridge: While you have the faucet disassembled, it’s a good idea to inspect the cartridge for any signs of damage or wear. If necessary, replace the cartridge to ensure optimal performance.
Tips and Tricks for a Successful Replacement
Now that you have removed the old seats and springs from your Delta bathroom faucet, it’s time to install the new components. We will provide you with tips and tricks to ensure a successful replacement process.
Lubricate the New Seats and Springs: Before installing the new seats and springs, apply a small amount of silicone-based lubricant to ensure smooth insertion. This will help prevent any friction or resistance during installation.
Align the Seats Properly: When inserting the new seats, make sure they are aligned correctly. The flat side of the seat should be facing down, while the rounded side should be facing up. Proper alignment ensures a proper seal and prevents leaks.
Apply Even Pressure: When inserting the new springs, apply even pressure to ensure they are properly seated. Use your finger or a blunt object to press the springs down into the faucet body. Make sure they are fully compressed and positioned correctly.
Reassemble the Faucet: After installing the new seats and springs, reassemble the faucet by following the reverse order of disassembly. Place the metal cap or bonnet back in place and tighten it with an adjustable wrench. Then, reattach the faucet handle and secure it with the screw.
Test for Leaks: Once you have reassembled the faucet, turn on the water supply and test for any leaks. Check around the base of the faucet, the handle, and the spout. If you notice any leaks, tighten the connections or replace any faulty components.
Properly Dispose of Old Components: Dispose of the old seats and springs responsibly. You can check with your local recycling center or waste management facility for proper disposal methods. Do not throw them in the regular trash.
Maintaining Your Delta Bathroom Faucet
Regular maintenance of your Delta bathroom faucet is essential for its longevity and efficiency. We will provide you with tips on maintaining your faucet, including regular checks and replacements.
Check for Leaks: Regularly check your Delta bathroom faucet for any signs of leaks. Look for dripping water or moisture around the base of the faucet, handles, or spout. If you notice any leaks, address them promptly by replacing any faulty components.
Clean the Faucet: Clean your Delta bathroom faucet regularly to remove any mineral deposits or debris that may accumulate over time. Use a mild cleaning solution and a soft cloth or sponge to gently clean the faucet. Avoid abrasive cleaners that may damage the finish.
Replace O-Rings: O-rings are rubber seals found in various parts of the faucet, such as the spout or handle. Over time, these O-rings can wear out and cause leaks. If you notice leaks coming from these areas, replace the O-rings to ensure a proper seal.
Inspect the Cartridge: Periodically inspect the cartridge of your Delta bathroom faucet for any signs of damage or wear. The cartridge is responsible for controlling the flow and temperature of the water. If you notice any issues, such as difficulty turning the handle or inconsistent water flow, consider replacing the cartridge.
Regularly Clean Aerators: Aerators are small mesh screens located at the end of the faucet spout. They help regulate the flow of water and reduce splashing. Over time, these aerators can become clogged with mineral deposits. Regularly remove and clean the aerators to maintain optimal water flow.
Follow Manufacturer’s Guidelines: Always refer to the manufacturer’s guidelines and recommendations for maintenance and replacement of specific components in your Delta bathroom faucet. They will provide valuable information on the lifespan of different parts and when it’s time for replacements.
DELTA Faucet or Tub/Shower Faucet Seat Kit Delta at Lowes.com
How to Repair a leaky Delta faucet by replacing the seats and
How to Repair a leaky Delta faucet by replacing the seats and
Replacement Seats and Springs For Delta Faucet RP4993 – Faucet
Delta Faucet RP77737 Seats and Springs Kit
Danco Faucet Faucet Spring Kit Delta, Peerless at Lowes.com
Related Posts:
- American Standard Bathroom Faucet Repair Parts
- Moen Bathroom Faucet Parts Diagram
- How To Replace A Washer In A Bathroom Faucet
- Bathroom Faucet Problems
- Kraus Arcus Single Hole Single Handle Bathroom Faucet
- Polished Bronze Bathroom Faucets
- Delta Brizo Bathroom Faucets
- How To Take Out Bathroom Faucet
- Moen Darcy Bathroom Faucet
- Gold Widespread Bathroom Faucet


