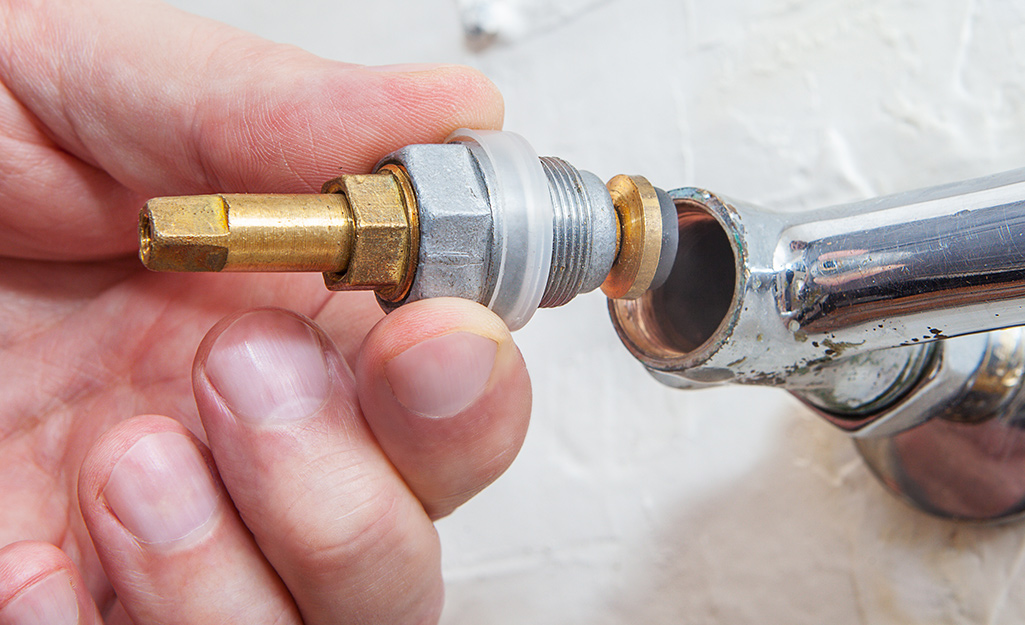
Identifying the Source of the Leak
Dealing with a leaky bathroom faucet can be frustrating, but before you can fix it, you need to identify the source of the problem. This step-by-step guide will walk you through the process of identifying the source of the leak so that you can take the appropriate steps to fix it.
- Check for Visible Leaks: The first thing you should do is inspect the faucet for any visible leaks. Look for drips or puddles of water around the base or handles of the faucet. If you notice any leaks, it’s a clear indication that there is a problem with the faucet.
- Turn Off the Water Supply: Before you begin any further inspection or repairs, it’s crucial to turn off the water supply to the faucet. Locate the shut-off valves under the sink and turn them clockwise until the water flow is completely stopped. This will prevent any accidents or further damage while you’re working on identifying the source of the leak.
- Examine the Faucet Handles: Next, remove the handles of the faucet to inspect the cartridges or valves inside. Use a screwdriver or Allen wrench to remove the handles, depending on the type of faucet you have. Once the handles are off, carefully examine the cartridges or valves for any signs of wear, corrosion, or damage.
- Inspect the Faucet Spout: After examining the handles, focus your attention on the faucet spout. Look for any visible signs of leaks or damage, such as cracks or loose connections. It’s also essential to check the aerator for any clogs or mineral build-up, as this can cause leaks as well.
- Check the Plumbing Connections: Last, inspect the plumbing connections under the sink. Look for any loose or damaged connections, such as leaking pipes or worn-out washers. Tighten any loose connections or replace any damaged components to ensure a secure and leak-free connection.
Essential Tools and Materials for Fixing a Leaky Faucet
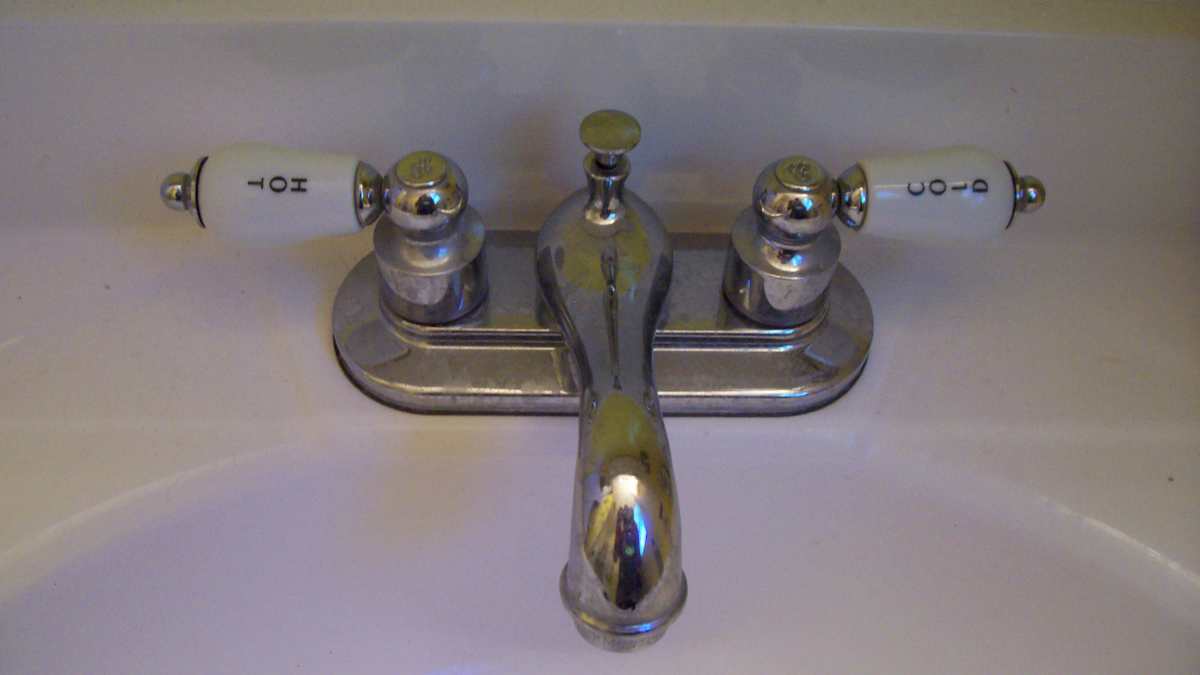
When it comes to fixing a leaky bathroom faucet, having the right tools and materials is essential. We will provide you with a comprehensive list of the essential tools and materials you’ll need to successfully repair your leaky faucet.
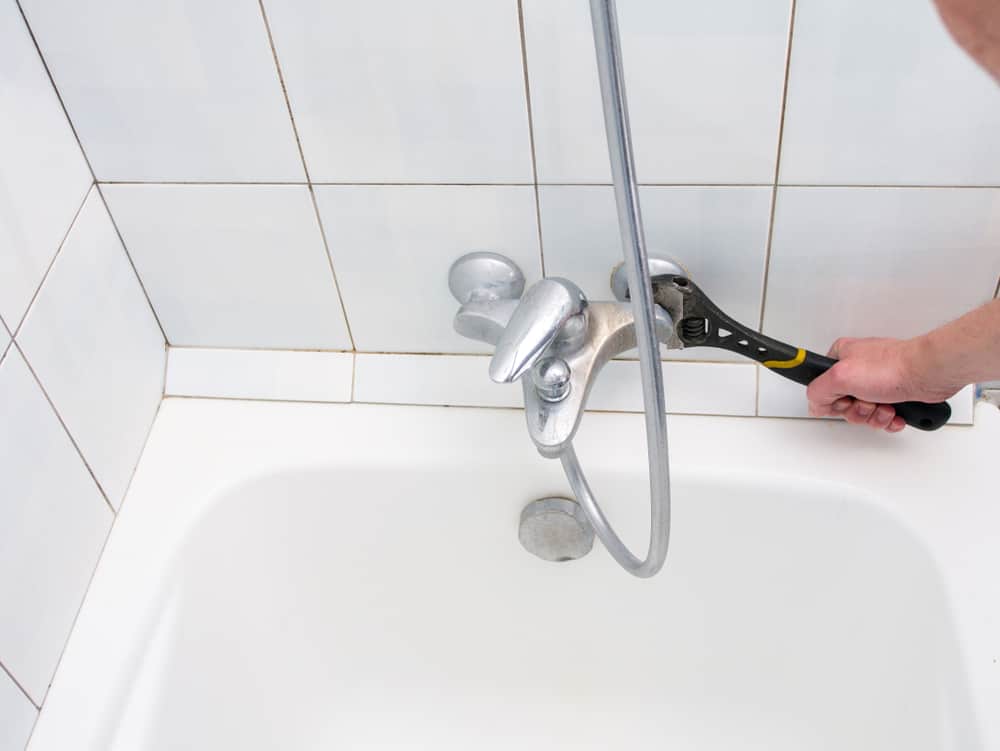
Adjustable Wrench: An adjustable wrench is a must-have tool for any plumbing repair job. It allows you to tighten or loosen nuts and bolts of various sizes, making it ideal for removing and installing faucet components.
Screwdriver Set: A set of screwdrivers, including both flathead and Phillips-head screwdrivers, is necessary for removing screws that hold faucet handles, aerators, and other components in place. Make sure to have different sizes available to accommodate different types of screws.
Plumber’s Tape: Also known as Teflon tape, plumber’s tape is a thin, white tape used to create a watertight seal on threaded plumbing connections. It helps prevent leaks by filling in small gaps and creating a secure connection between pipes and fittings.
Replacement Parts: Depending on the type of leaky faucet you have, you may need various replacement parts to fix the problem. Common replacement parts include cartridges, O-rings, washers, and seals. It’s essential to identify the specific parts needed for your faucet model before beginning the repair process.
Cleaning Supplies: Before installing any replacement parts, it’s crucial to clean the faucet thoroughly. Have a supply of cleaning materials such as vinegar, mild dish soap, and a soft cloth or brush to remove any mineral deposits or debris that may be causing the leak.
Safety Gear: While not directly related to the repair itself, it’s important to prioritize safety when working on plumbing projects. Wear safety goggles to protect your eyes from any potential debris or splashing water, and consider using gloves to protect your hands from sharp edges or chemicals.
Fixing Common Types of Leaks in Bathroom Faucets
Dealing with a leaky faucet can be a nuisance, but with the right knowledge and approach, you can fix it yourself. This step-by-step guide will walk you through the process of repairing common types of leaks in bathroom faucets, empowering you to take control and resolve the problem.
Cartridge Faucet Leaks: Start by turning off the water supply to the faucet. Remove the handles and the retaining nut using the appropriate tools. Take out the old cartridge and replace it with a new one. Reassemble the faucet, turn on the water supply, and test for leaks.
Compression Faucet Leaks: Turn off the water supply and remove the handles. Unscrew the packing nut and remove the stem. Inspect the washers for any signs of wear or damage. Replace any worn-out washers and reassemble the faucet. Turn on the water supply and check for leaks.
Ball Faucet Leaks: Begin by turning off the water supply and removing the handle. Unscrew the cap and collar assembly to access the ball and cam assembly. Inspect the O-rings for any signs of wear or damage. Replace any worn-out O-rings and reassemble the faucet. Turn on the water supply and test for leaks.
Ceramic Disk Faucet Leaks: Turn off the water supply and remove the handle. Unscrew the disk cylinder and inspect the ceramic disks for any cracks or damage. Replace any damaged disks and reassemble the faucet. Turn on the water supply and check for leaks.
O-ring or Washer Replacement: If the leak is coming from the spout, it may be due to a worn-out O-ring or washer. Turn off the water supply and disassemble the faucet. Inspect the O-rings or washers for any signs of wear or damage. Replace any worn-out components and reassemble the faucet. Turn on the water supply and test for leaks.
Preventing Future Leaks
Once you’ve successfully fixed a leaky bathroom faucet, it’s essential to take preventive measures to avoid future leaks. Below are maintenance tips that will help keep your faucet in excellent condition and prevent leaks from occurring.
Regular Cleaning: Regularly clean your faucet to prevent the build-up of mineral deposits and debris that can cause leaks. Use a mild dish soap and a soft cloth or brush to clean all surfaces, including the handles, spout, and aerator. Rinse thoroughly to remove any residue.
Check for Drips: Periodically check for any drips or leaks, even if they seem minor. Catching leaks early can prevent them from worsening and causing more significant damage. If you notice any leaks, address them promptly to avoid further complications.
Avoid Excessive Force: When turning the faucet handles on and off, avoid applying excessive force. Over time, this can wear out the internal components, leading to leaks. Use gentle pressure to operate the faucet and ensure smooth operation without straining the parts.
Replace Worn-Out Components: If you notice any signs of wear or damage, such as loose handles or dripping spouts, replace the worn-out components immediately. This includes O-rings, washers, cartridges, and seals. Regularly inspect these parts and replace them as needed to maintain a healthy faucet.
Maintain Proper Water Pressure: High water pressure can put stress on your faucet and cause leaks. Install a pressure regulator if your water pressure exceeds the recommended range. This will ensure a consistent and safe water flow, reducing the risk of leaks and damage to the faucet.
Address Plumbing Issues: If you notice any plumbing issues, such as leaking pipes or loose connections, address them promptly. Faulty plumbing can put additional strain on the faucet and lead to leaks. Contact a professional plumber to fix any plumbing issues and ensure the overall health of your faucet.
Signs that Your Leaky Faucet Requires Expert Help
While many faucet leaks can be fixed by homeowners, there are instances when it’s best to call a professional plumber. We will highlight the signs that indicate your leaky faucet requires expert help, ensuring the problem is resolved efficiently and effectively.
Persistent Leaks: If you’ve attempted to fix the leak yourself but it keeps coming back, it’s time to call a professional. Persistent leaks may indicate a more significant underlying issue with the faucet, such as a faulty valve or a damaged pipe. A plumber will have the expertise to diagnose and fix the problem correctly.
Complicated or Specialty Faucets: Some faucets, such as high-end or specialty models, may require specialized knowledge and tools for repair. If you have a complex or unique faucet design, it’s best to leave the repair to a professional who has experience working with these types of fixtures. They will have the expertise to handle the intricacies of your specific faucet model.
Water Damage: If your leaky faucet has caused water damage to the surrounding area, such as mold growth, rotting wood, or water stains, it’s crucial to call a professional plumber. Water damage can be a sign of more significant issues, such as a hidden leak within the walls or pipes. A professional will have the necessary equipment and expertise to assess and repair the damage properly.
Lack of Plumbing Knowledge: If you don’t have experience or knowledge in plumbing repairs, it’s best to call a professional. Attempting to fix the leaky faucet without the proper understanding can lead to further damage or even create new problems. A professional plumber will have the skills and knowledge to diagnose the issue accurately and provide the appropriate solution.
Old or Worn-Out Faucets: If your faucet is old or showing signs of significant wear and tear, it may be more cost-effective to replace it entirely rather than attempting to repair it. A professional plumber can assess the condition of your faucet and provide recommendations on whether a repair or replacement is the best course of action.
Time Constraints: If you lack the time or availability to dedicate to fixing the leaky faucet, it’s advisable to call a professional. Plumbing repairs can be time-consuming, especially if you encounter unexpected challenges or complications. Hiring a professional will save you time and ensure that the repair is done efficiently and correctly.
Easy Steps to Fix a Leaking Bathtub Faucet
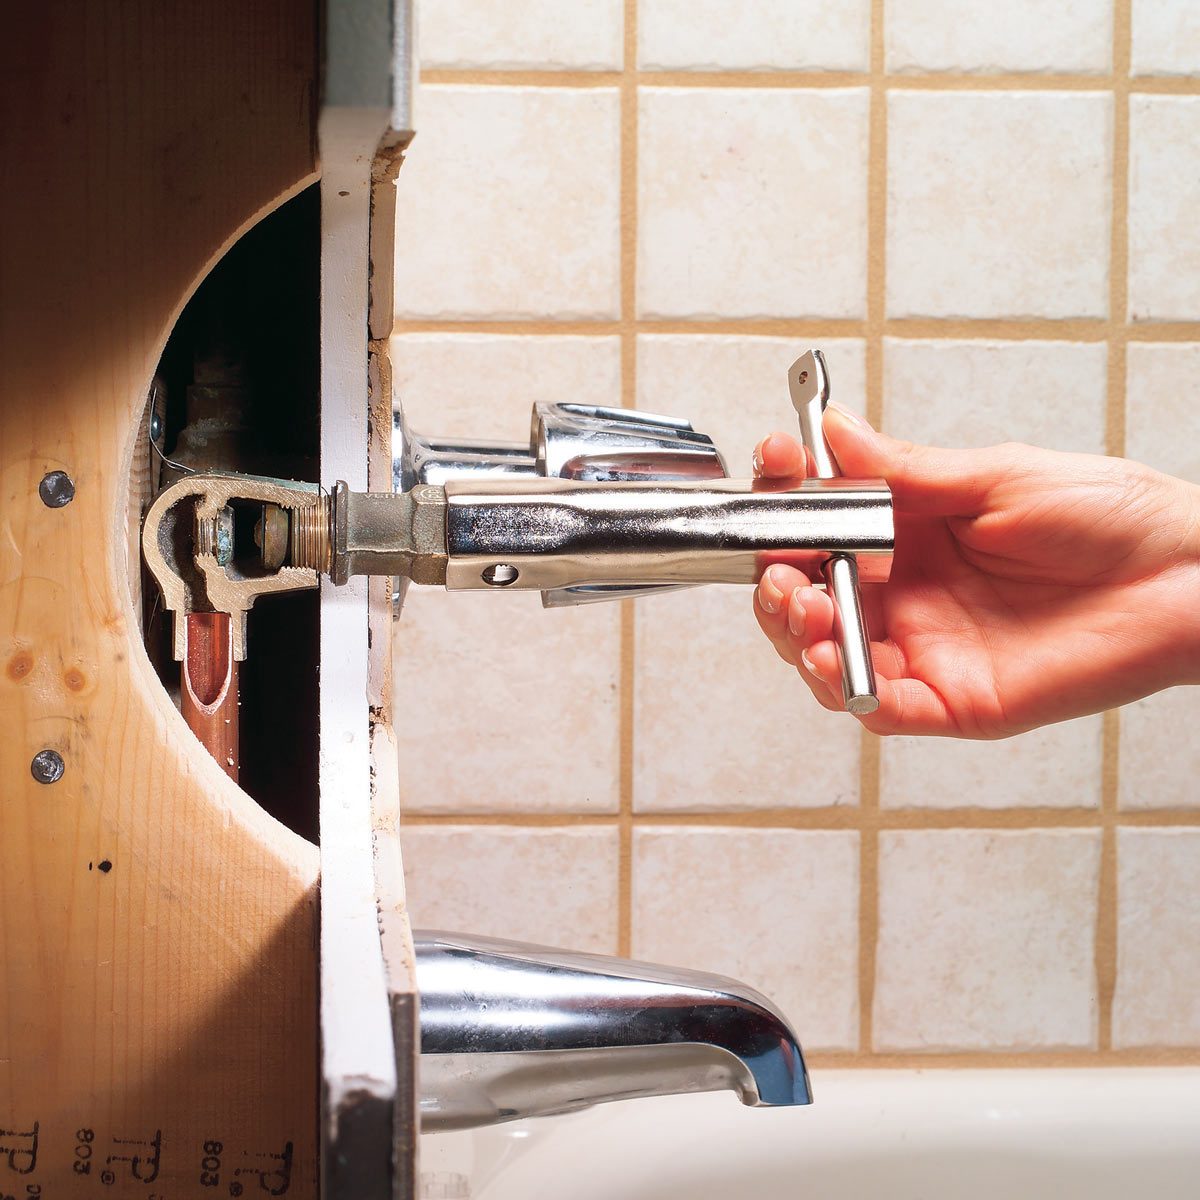
How to Fix a Leaking Bathtub Faucet (DIY) Family Handyman
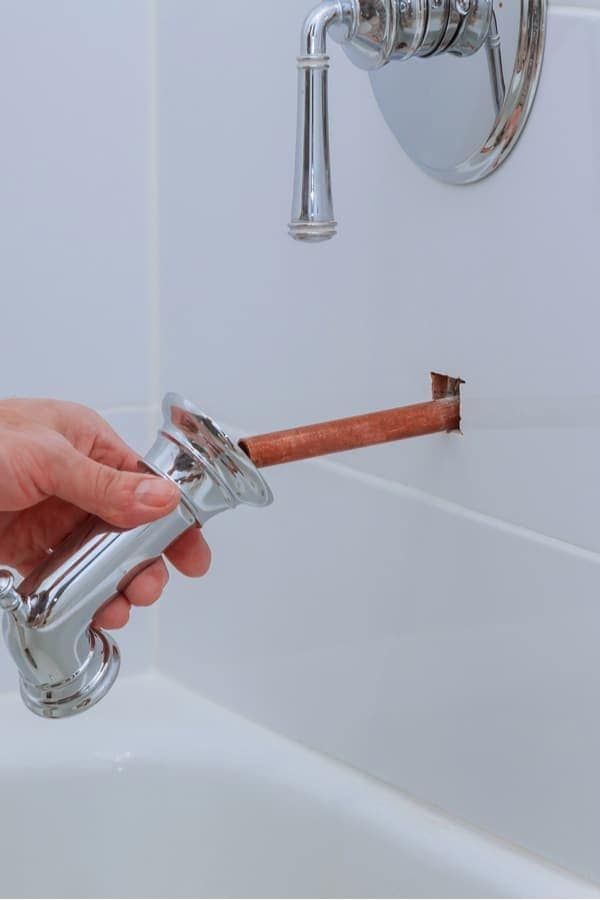
How to Fix a Bathroom Faucet: 14 Steps (with Pictures)
Faucet Repair : How to Repair a Leaky Bath Faucet
Reasons Your Faucet Is Dripping Water u0026 How To Fix It
How to Fix a Leaky Tub/Shower Faucet
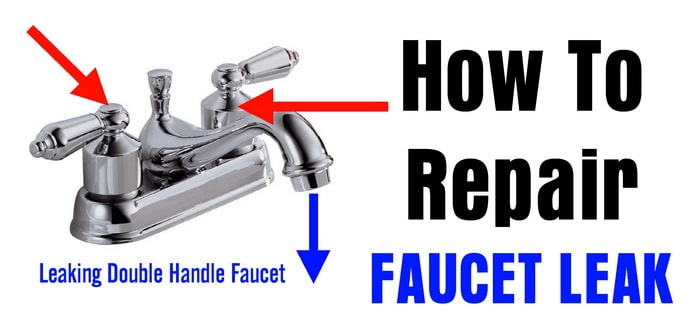
How To Repair A Leaking Double Handle Faucet
How to Fix a Leaky Shower Faucet
Related Posts:
- Ceramic Handle Bathroom Faucet
- Commercial Grade Bathroom Faucets
- Moen Bathroom Faucet Handle Repair
- Black Modern Bathroom Faucet
- Kmart Bathroom Faucets
- Delta Cassidy Widespread Bathroom Faucet
- Changing Out A Bathroom Faucet
- Moen Brass Bathroom Faucets
- Kohler Stillness Bathroom Faucet
- Grohe Widespread Bathroom Faucet
