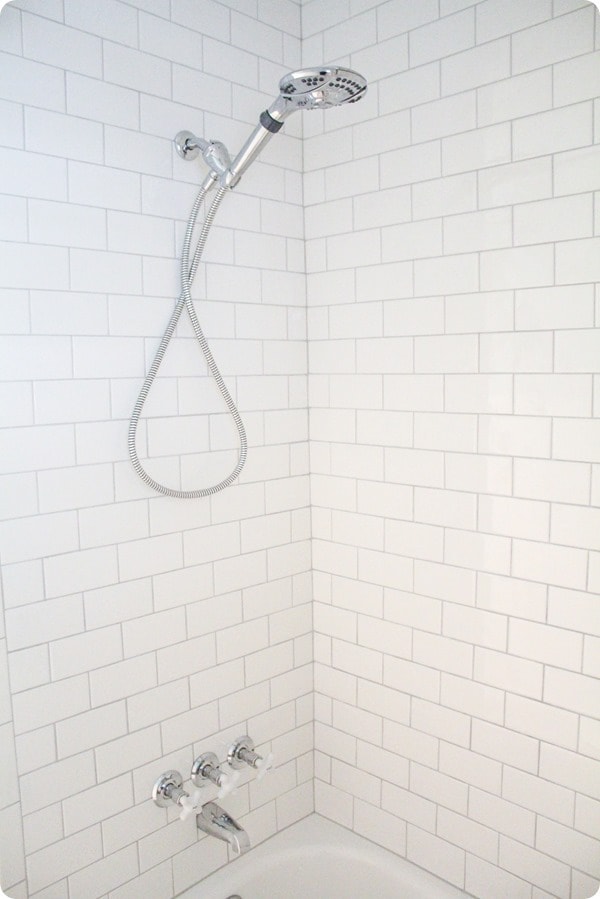
Choosing the Right Tile for Your Bathroom Shower
Choosing the right tile for your bathroom shower is a crucial first step in any tiling project. The right tile not only enhances the aesthetic appeal of your bathroom but also ensures functionality and durability. Here’s a detailed guide to help you make an informed decision.
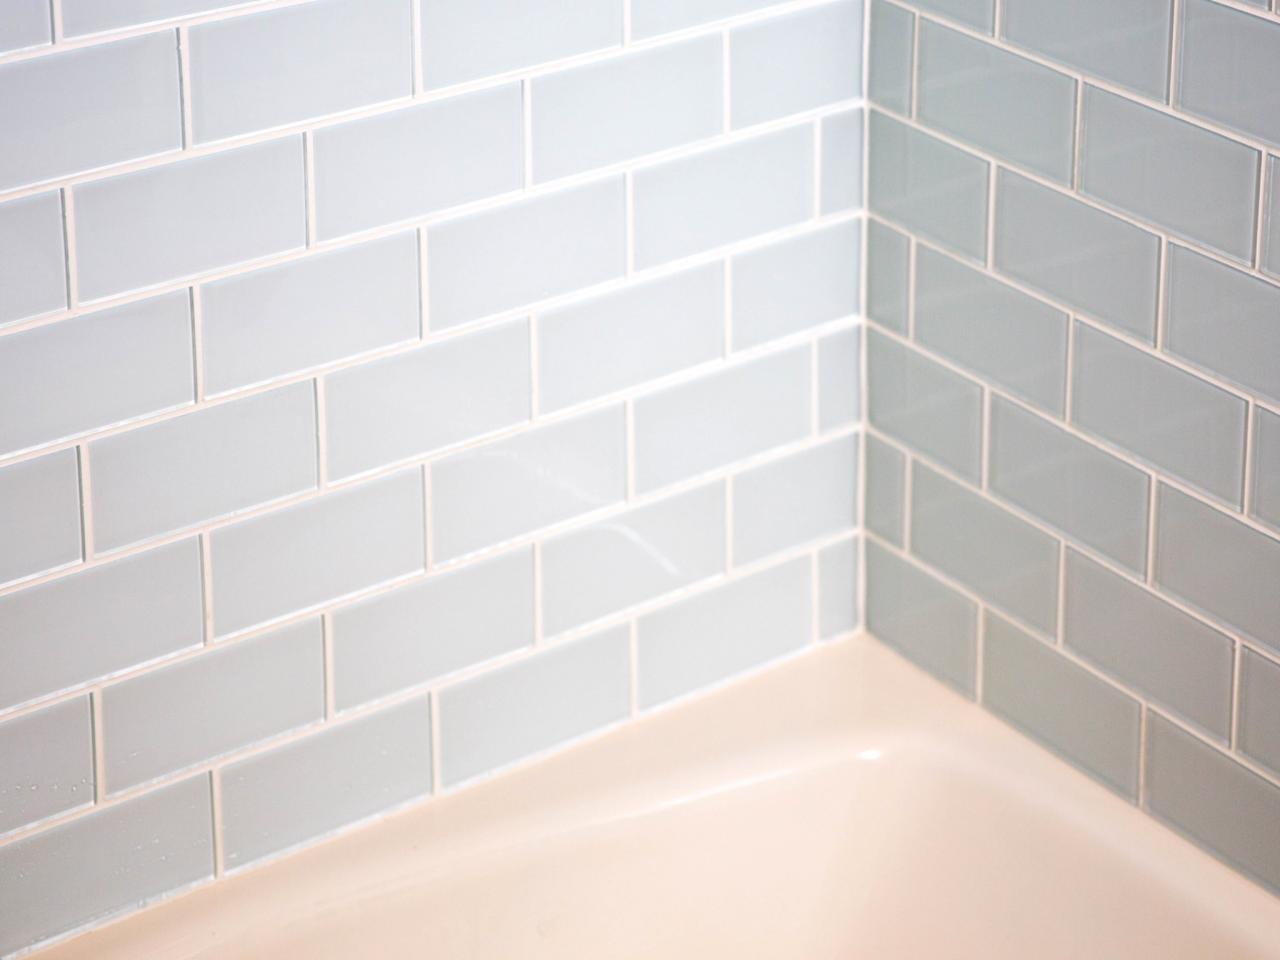
- Consider the Material: Bathroom tiles come in a variety of materials, including ceramic, porcelain, glass, and natural stone. Ceramic and porcelain tiles are popular due to their durability and water resistance. Glass tiles offer a modern look but can be more expensive and tricky to install. Natural stone tiles, such as marble and travertine, provide a luxurious feel but require more maintenance to prevent staining and damage.
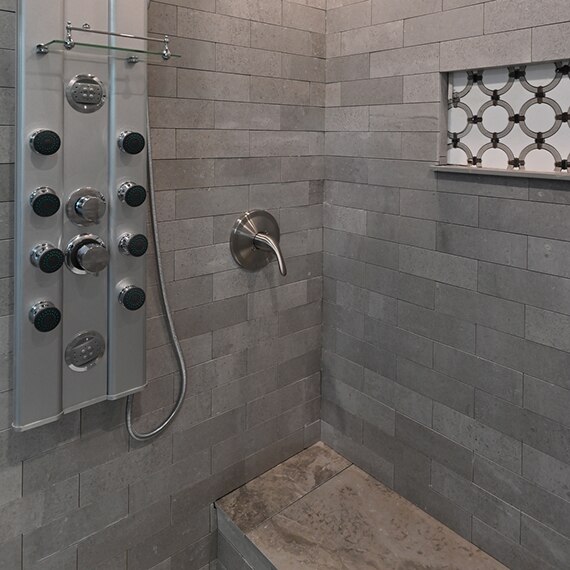
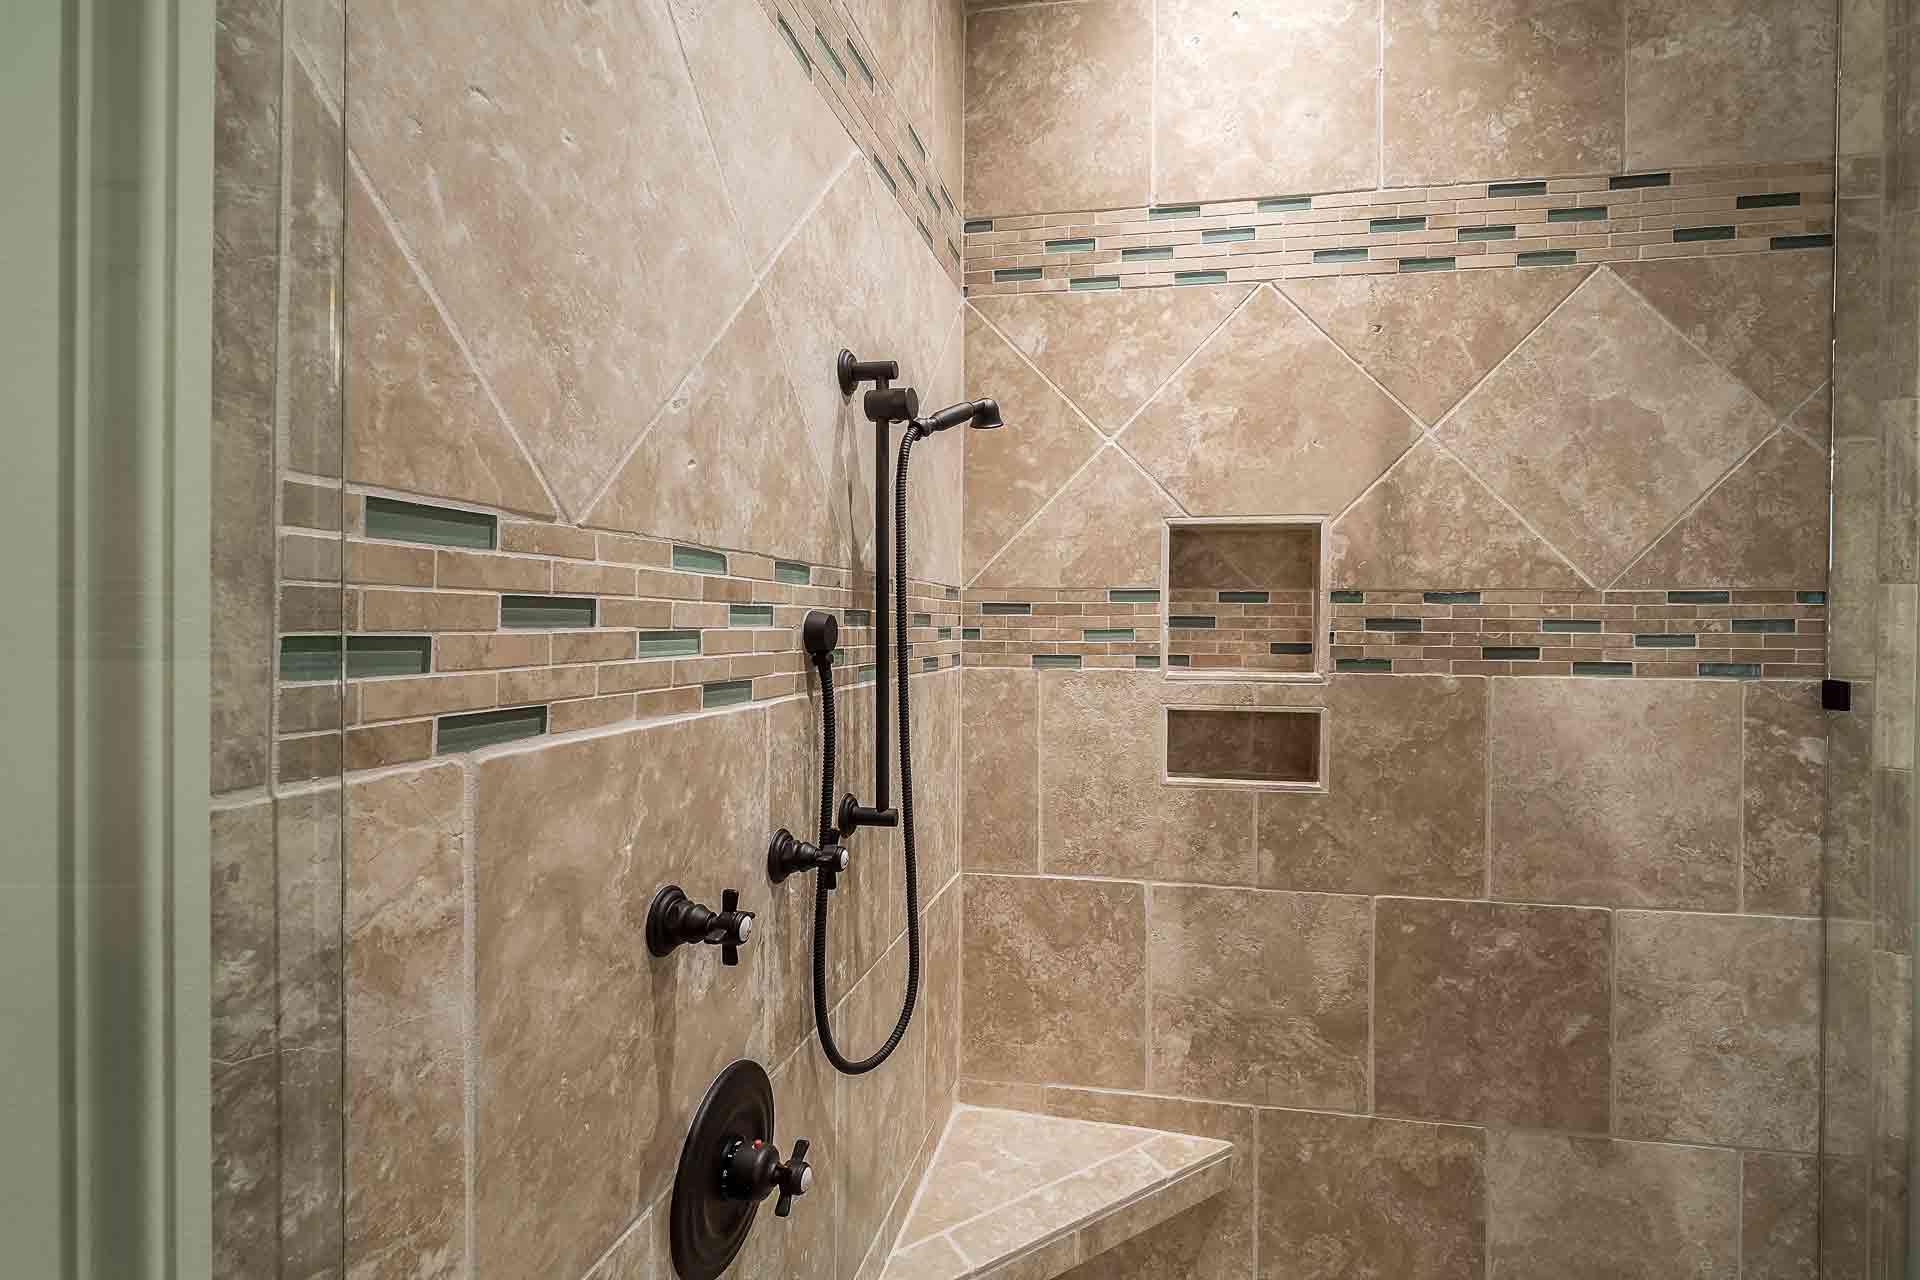
- Evaluate Tile Size and Shape: The size and shape of your tiles can significantly impact the overall look of your shower. Large tiles can make a small shower space appear larger by reducing the number of grout lines. Smaller mosaic tiles can add intricate details and are ideal for creating accent walls or floors. Consider the layout of your bathroom and the effect you want to achieve when selecting tile sizes and shapes.
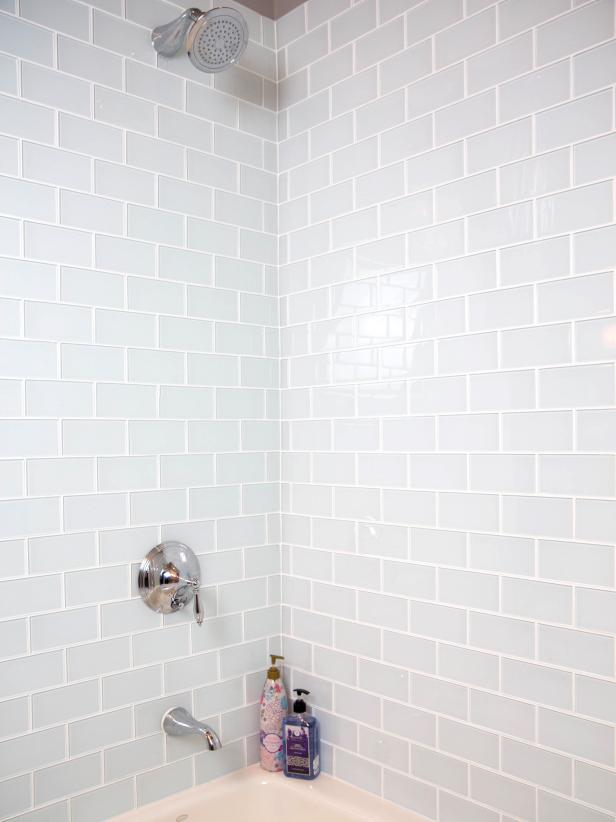
- Choose the Right Finish: The finish of your tiles affects both their appearance and practicality. Glossy tiles reflect more light, making your bathroom look brighter and more spacious. However, they can be slippery when wet. Matte finishes provide a more subdued look and better traction, making them a safer choice for shower floors. Textured finishes can add visual interest and slip resistance but may be harder to clean.
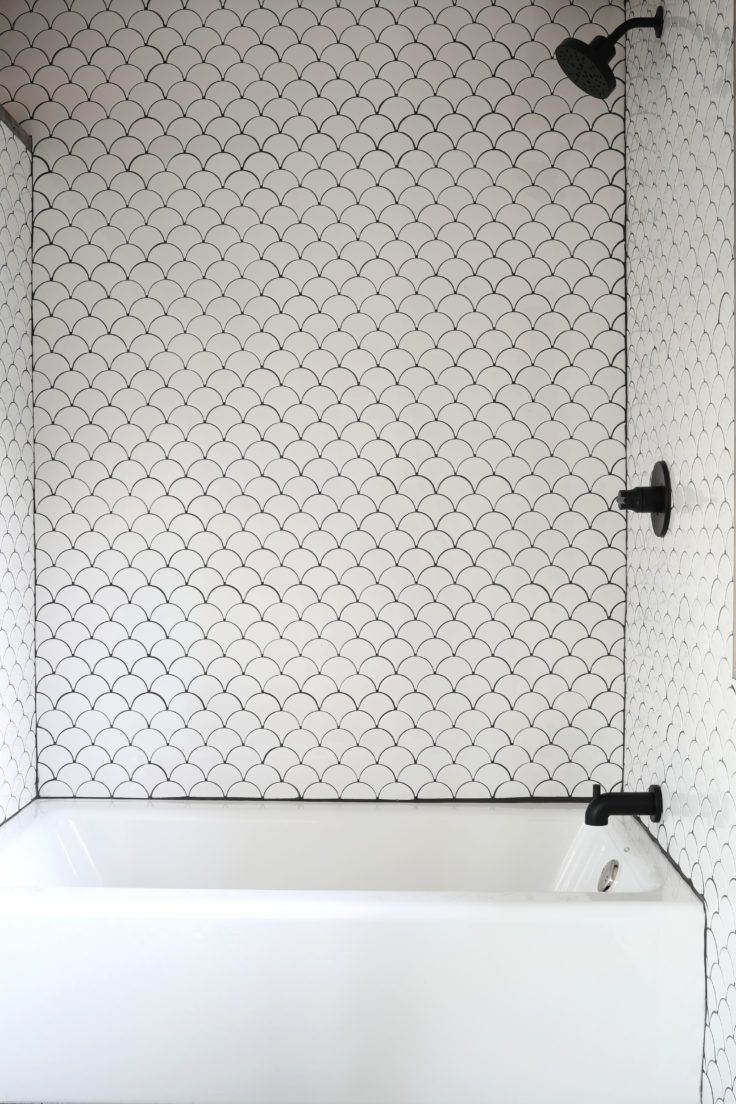
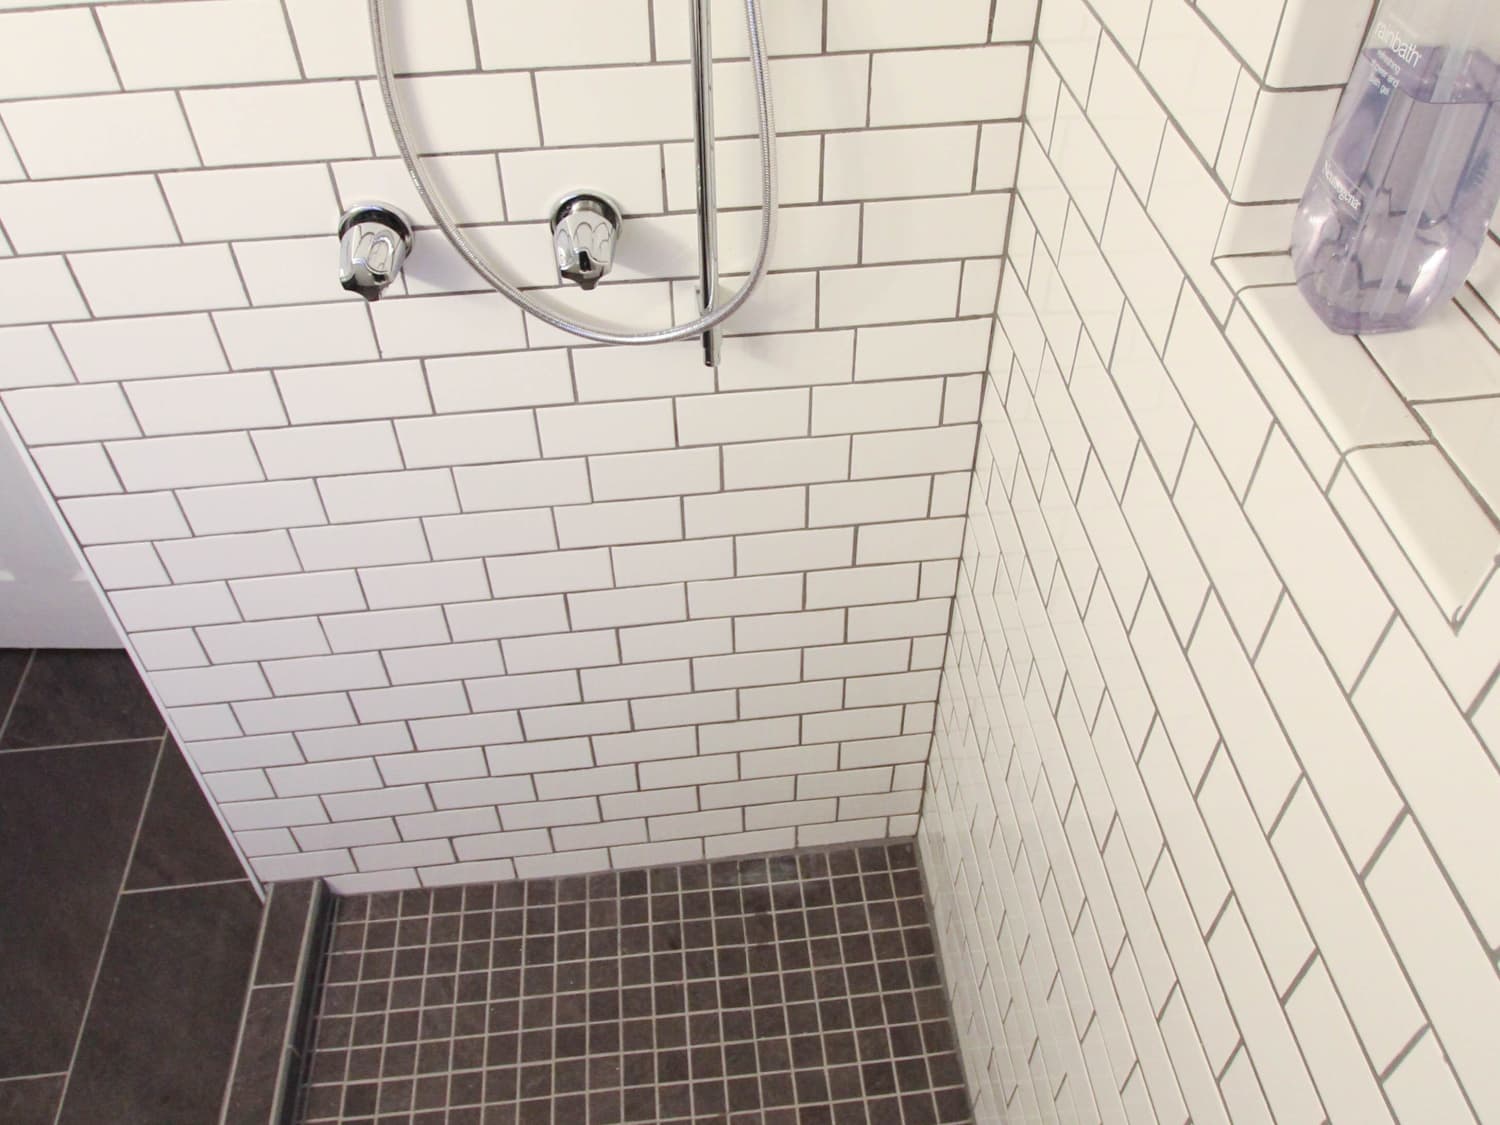
- Consider Color and Pattern: The color and pattern of your tiles should complement the overall design of your bathroom. Light-colored tiles can make a small shower feel larger and more open, while dark tiles add a touch of elegance and drama. Patterns, such as subway tiles or hexagons, can create visual interest and focal points in your shower design. Choose colors and patterns that harmonize with your bathroom’s color scheme and style.
- Assess Durability and Maintenance: Some tiles require more upkeep than others. Porcelain and ceramic tiles are generally low-maintenance and highly durable, making them ideal for high-moisture areas like showers. Natural stone tiles, while beautiful, need regular sealing to protect against moisture and stains. Consider how much time you’re willing to invest in maintenance when choosing your tiles.
- Budget and Availability: Your budget will play a significant role in your tile selection. While it’s tempting to splurge on high-end tiles, it’s essential to balance cost with quality. Set a realistic budget and explore different options within that range. Additionally, check the availability of your chosen tiles to ensure they can be delivered in time for your project.

Preparing Your Shower Space for Tile Installation
Proper preparation of your shower space is essential for a successful tile installation. This process involves several steps to ensure a stable and waterproof foundation for your tiles.
Assess and Repair the Substrate: The first step is to inspect the existing substrate, which could be drywall, cement board, or another surface. Remove any old tiles, paint, or wallpaper, and repair any damage. The surface should be clean, dry, and smooth. Any cracks or holes should be filled with a suitable filler and sanded smooth.
Install a Waterproof Membrane: Waterproofing is crucial in a shower to prevent water damage. Apply a waterproof membrane over the entire shower area, including the walls and floor. There are various types of waterproofing membranes, such as liquid-applied or sheet membranes. Follow the manufacturer’s instructions for application, ensuring all seams and corners are properly sealed.
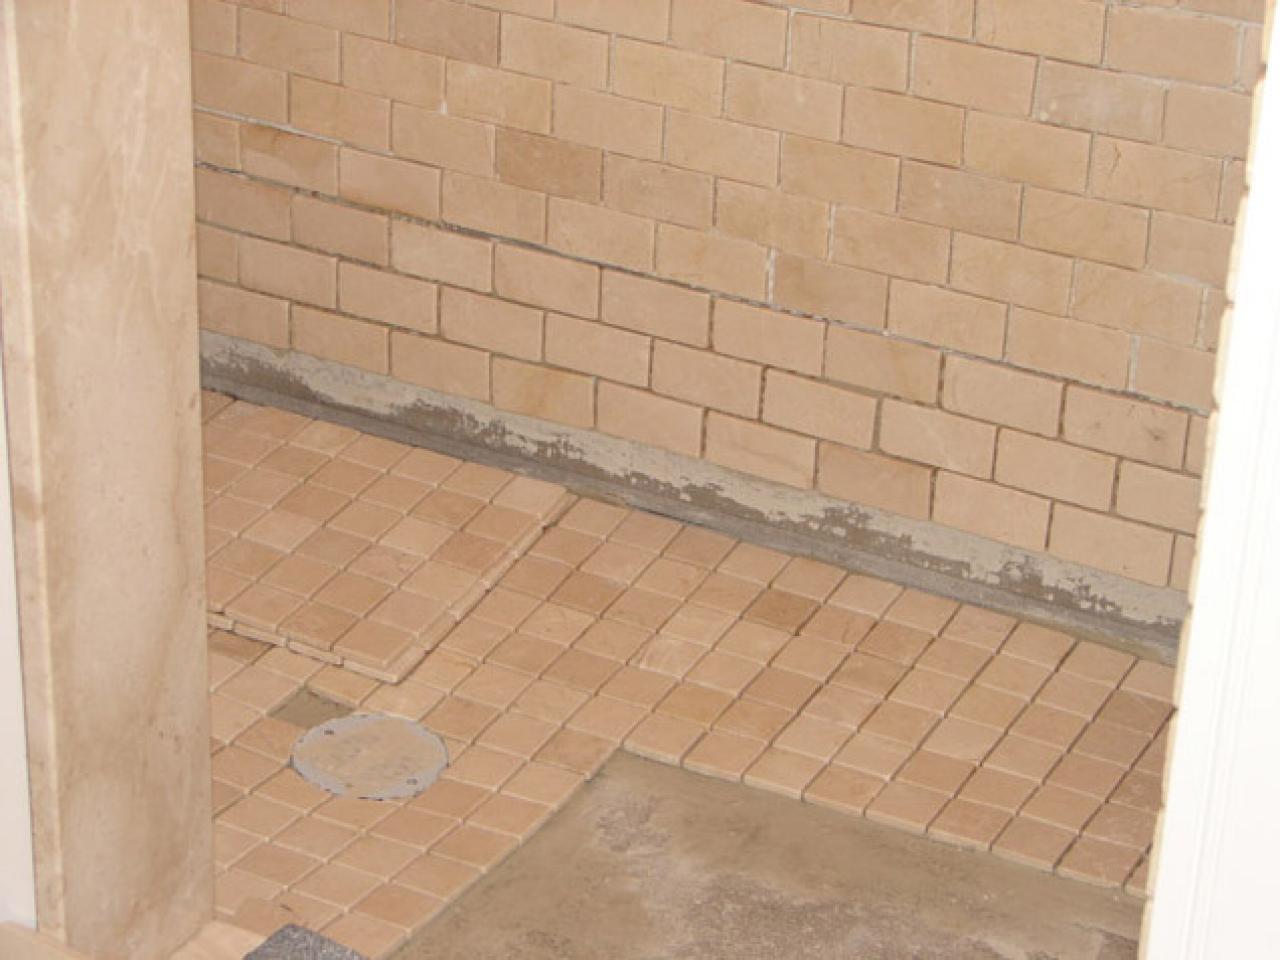
Plan Your Tile Layout: Before you start tiling, it’s essential to plan your layout. Measure the shower area and mark a level line around the walls to guide your first row of tiles. Dry-fit the tiles on the floor to determine the best arrangement and minimize the number of cuts. Consider the placement of any accent tiles or decorative patterns at this stage.
Cut and Fit Backer Board: If your substrate is not suitable for tiling, you’ll need to install a cement backer board. Cut the backer board to fit the shower walls and floor, leaving a small gap between the panels and the shower pan. Secure the backer board with corrosion-resistant screws, and tape the seams with fiberglass mesh tape. Apply a thin layer of thin-set mortar over the seams to create a smooth, even surface.
Seal Joints and Corners: To ensure a watertight installation, apply a bead of silicone sealant to all joints and corners where the backer board meets. This step helps prevent water from seeping behind the tiles and causing damage. Allow the sealant to cure according to the manufacturer’s instructions before proceeding.
Prime the Surface: Finally, apply a primer to the entire shower area to improve the adhesion of the tiles. This step is especially important if you’re tiling over a painted or glossy surface. Allow the primer to dry completely before starting the tiling process.
Tools and Materials for Tiling a Shower
Having the right tools and materials is essential for a successful shower tiling project. Here’s a comprehensive list of what you’ll need, along with tips on how to use them effectively.
Tile Cutter: A tile cutter is necessary for cutting tiles to fit around edges, corners, and fixtures. Manual tile cutters are suitable for straight cuts, while wet saws are ideal for more precise and intricate cuts. Ensure the blade is appropriate for the type of tile you’re using.
Notched Trowel: A notched trowel is used to spread thin-set mortar on the substrate. The size of the notches varies depending on the size of the tile. Larger tiles require larger notches to ensure proper adhesion. Choose a trowel with a comfortable handle and appropriate notch size for your tiles.
Tile Spacers: Tile spacers help maintain consistent spacing between tiles, ensuring even grout lines. They come in various sizes, so choose the size that matches your desired grout line width. Remove spacers before the thin-set mortar sets to avoid them being trapped under the tiles.
Level and Measuring Tools: A level ensures that your tiles are installed straight and even. A long level is useful for large areas, while a small level can be used for smaller sections. Measuring tools, such as a tape measure and a square, are essential for accurate cuts and layout planning.
Thin-Set Mortar and Grout: Thin-set mortar is used to adhere tiles to the substrate. Choose a mortar that is compatible with your tile material and the shower environment. Grout is used to fill the spaces between tiles. There are various types of grout, including sanded and unsanded. Choose a grout that is suitable for the width of your grout lines and the type of tile.
Other Essential Tools: Additional tools include a mixing paddle for mixing thin-set mortar, a grout float for applying grout, a sponge for cleaning excess grout, and a tile nipper for making small cuts or adjustments. Safety gear, such as gloves and eye protection, is also important to protect yourself during the installation process.
Step-by-Step Guide to Installing Shower Tiles
Installing shower tiles can seem daunting, but with a step-by-step approach, you can achieve professional-looking results. Here’s a detailed guide to help you through the process.
Mix the Thin-Set Mortar: Start by mixing the thin-set mortar according to the manufacturer’s instructions. Use a mixing paddle attached to a drill to ensure a smooth, lump-free consistency. Let the mortar rest for a few minutes, then mix it again before use.
Apply the Mortar: Using a notched trowel, spread a layer of thin-set mortar on a small section of the shower wall or floor. Hold the trowel at a 45-degree angle to create even ridges in the mortar. Work in small sections to prevent the mortar from drying out before you can set the tiles.
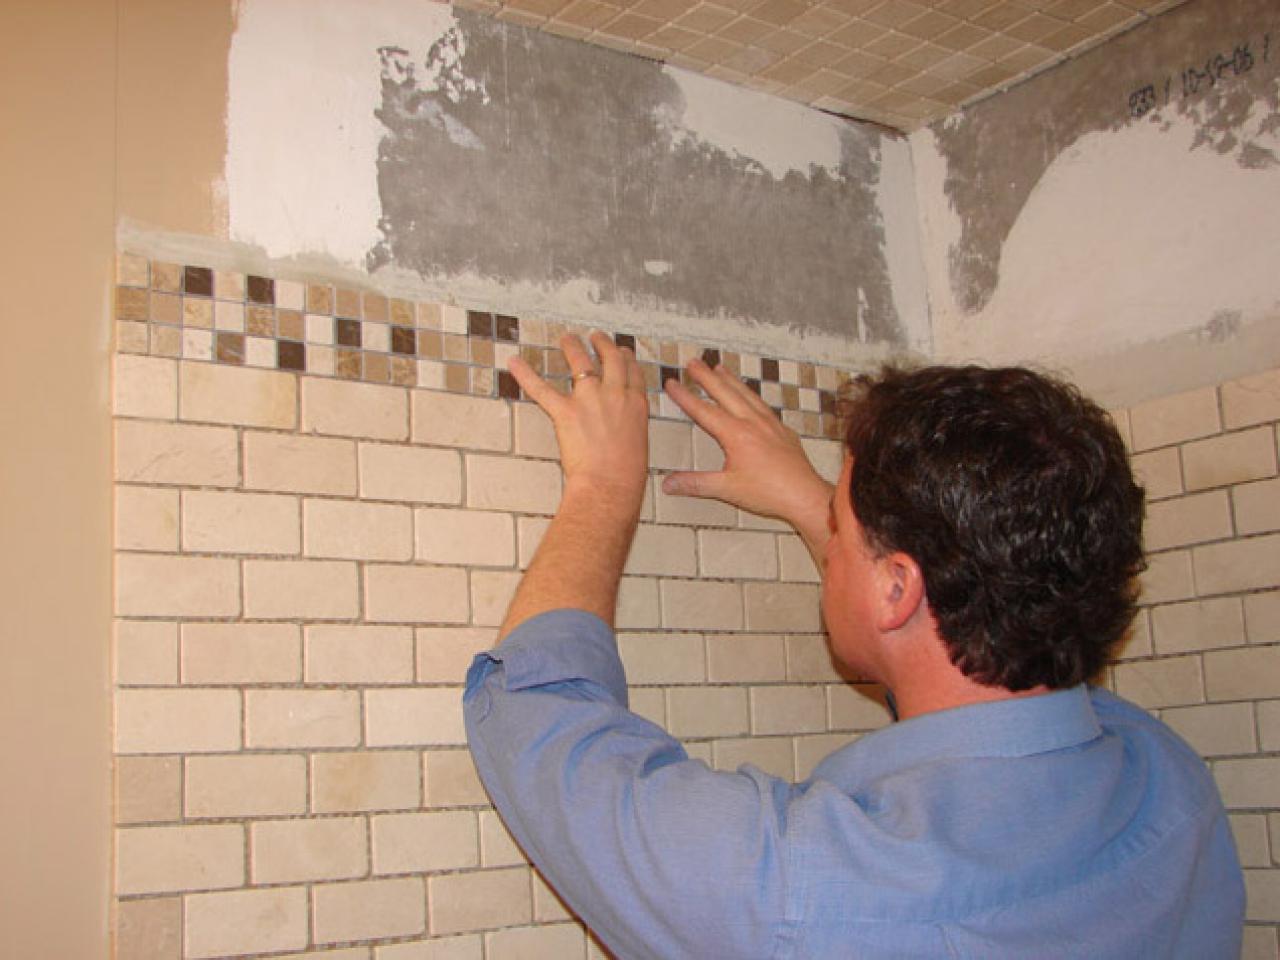
Set the Tiles: Begin setting the tiles in your planned layout, starting from the bottom and working your way up. Press each tile firmly into the mortar, giving it a slight twist to ensure good adhesion. Use tile spacers to maintain even grout lines between the tiles.
Cut Tiles to Fit: As you reach the edges and corners of the shower, you’ll need to cut tiles to fit. Measure the space accurately and use a tile cutter or wet saw to make precise cuts. Dry-fit the tiles before setting them in mortar to ensure a proper fit.
Let the Mortar Cure: Allow the thin-set mortar to cure for at least 24 hours before proceeding to the next step. This curing time is crucial for ensuring a strong bond between the tiles and the substrate.
Grout the Tiles: After the mortar has cured, remove the tile spacers and prepare the grout according to the manufacturer’s instructions. Use a grout float to apply the grout, pressing it into the spaces between the tiles. Wipe away excess grout with a damp sponge, rinsing the sponge frequently. Allow the grout to set for the recommended time before sealing.
Tips for Grouting and Sealing Shower Tiles
Grouting and sealing are critical steps in the tiling process that ensure a long-lasting, waterproof installation. Here are some expert tips to help you achieve the best results.
Choose the Right Grout: Selecting the appropriate grout is crucial. For joints wider than 1/8 inch, use sanded grout for added strength. For narrower joints, unsanded grout is preferable. Epoxy grout is an excellent choice for showers as it’s highly resistant to stains and water.
Mix Grout Properly: Mix grout according to the manufacturer’s instructions, ensuring a smooth, consistent texture. Let the grout rest for a few minutes after mixing, then remix before application. This process, known as slaking, allows the chemicals to activate fully.
Apply Grout Evenly: Use a rubber grout float to spread the grout diagonally across the tiles, pressing it firmly into the joints. Work in small sections to prevent the grout from drying out. Ensure all gaps are filled to avoid water infiltration.
Clean Excess Grout Promptly: After applying the grout, wait a few minutes for it to start setting, then wipe away the excess with a damp sponge. Rinse the sponge frequently to avoid spreading grout residue. Be careful not to remove grout from the joints while cleaning the tiles.
Allow Grout to Cure: Let the grout cure for at least 24 to 48 hours before sealing. This curing time is essential for achieving maximum strength and water resistance. Avoid using the shower during this period to allow the grout to set properly.
Seal the Grout: Applying a grout sealer helps protect against moisture, stains, and mildew. Choose a high-quality sealer and apply it according to the manufacturer’s instructions. Typically, this involves brushing or spraying the sealer onto the grout lines and allowing it to penetrate. Wipe away any excess sealer from the tiles and let it dry completely.
Maintenance and Care for Tiled Shower Walls
Proper maintenance and care of your tiled shower walls will keep them looking new and ensure their longevity. Here are some practical tips to help you maintain your tiled shower.
Regular Cleaning: Clean your tiled shower regularly to prevent soap scum, mold, and mildew buildup. Use a mild, non-abrasive cleaner and a soft brush or sponge to scrub the tiles and grout. Avoid harsh chemicals that can damage the tiles or grout.
Ventilation: Proper ventilation is essential for preventing mold and mildew growth in a shower. Use an exhaust fan during and after showers to reduce humidity. Leave the shower door or curtain open to allow air to circulate and moisture to escape.
Inspect and Repair Grout: Regularly inspect the grout lines for any signs of cracking or damage. Repair any damaged grout promptly to prevent water from seeping behind the tiles. Use a grout repair kit to fill in small cracks or regrout larger areas as needed.
Seal Grout Annually: To maintain the waterproofing of your grout, apply a grout sealer annually. This helps protect the grout from moisture, stains, and mildew. Follow the manufacturer’s instructions for application and ensure the grout is clean and dry before sealing.
Address Stains Promptly: If you notice any stains on your tiles or grout, address them promptly to prevent permanent discoloration. Use a gentle cleaner and a soft brush to scrub away stains. For stubborn stains, a mixture of baking soda and water can be effective.
Avoid Abrasive Tools and Cleaners: When cleaning your shower, avoid using abrasive tools or cleaners that can scratch or damage the tiles and grout. Stick to soft brushes, sponges, and mild cleaning solutions. For tough grime, allow the cleaner to sit for a few minutes before scrubbing gently.
How to Install Tile in a Bathroom Shower
Shower wall Tile installation DIY – How to Install shower surround tiles
How to Install Tile in a Shower
DIY Tutorial // How to Install a Tiled Shower Surround
How To Tile Your Bathroom Shower Like a Pro Apartment Therapy
Mistakes to Avoid with Shower Tile Daltile
How to Install Tile in a Bathroom Shower
How to Install a Shower Tile Wall Tile a Bathroom Shower
Installing Tile: Smart Tips for Beginners
Related Posts:
