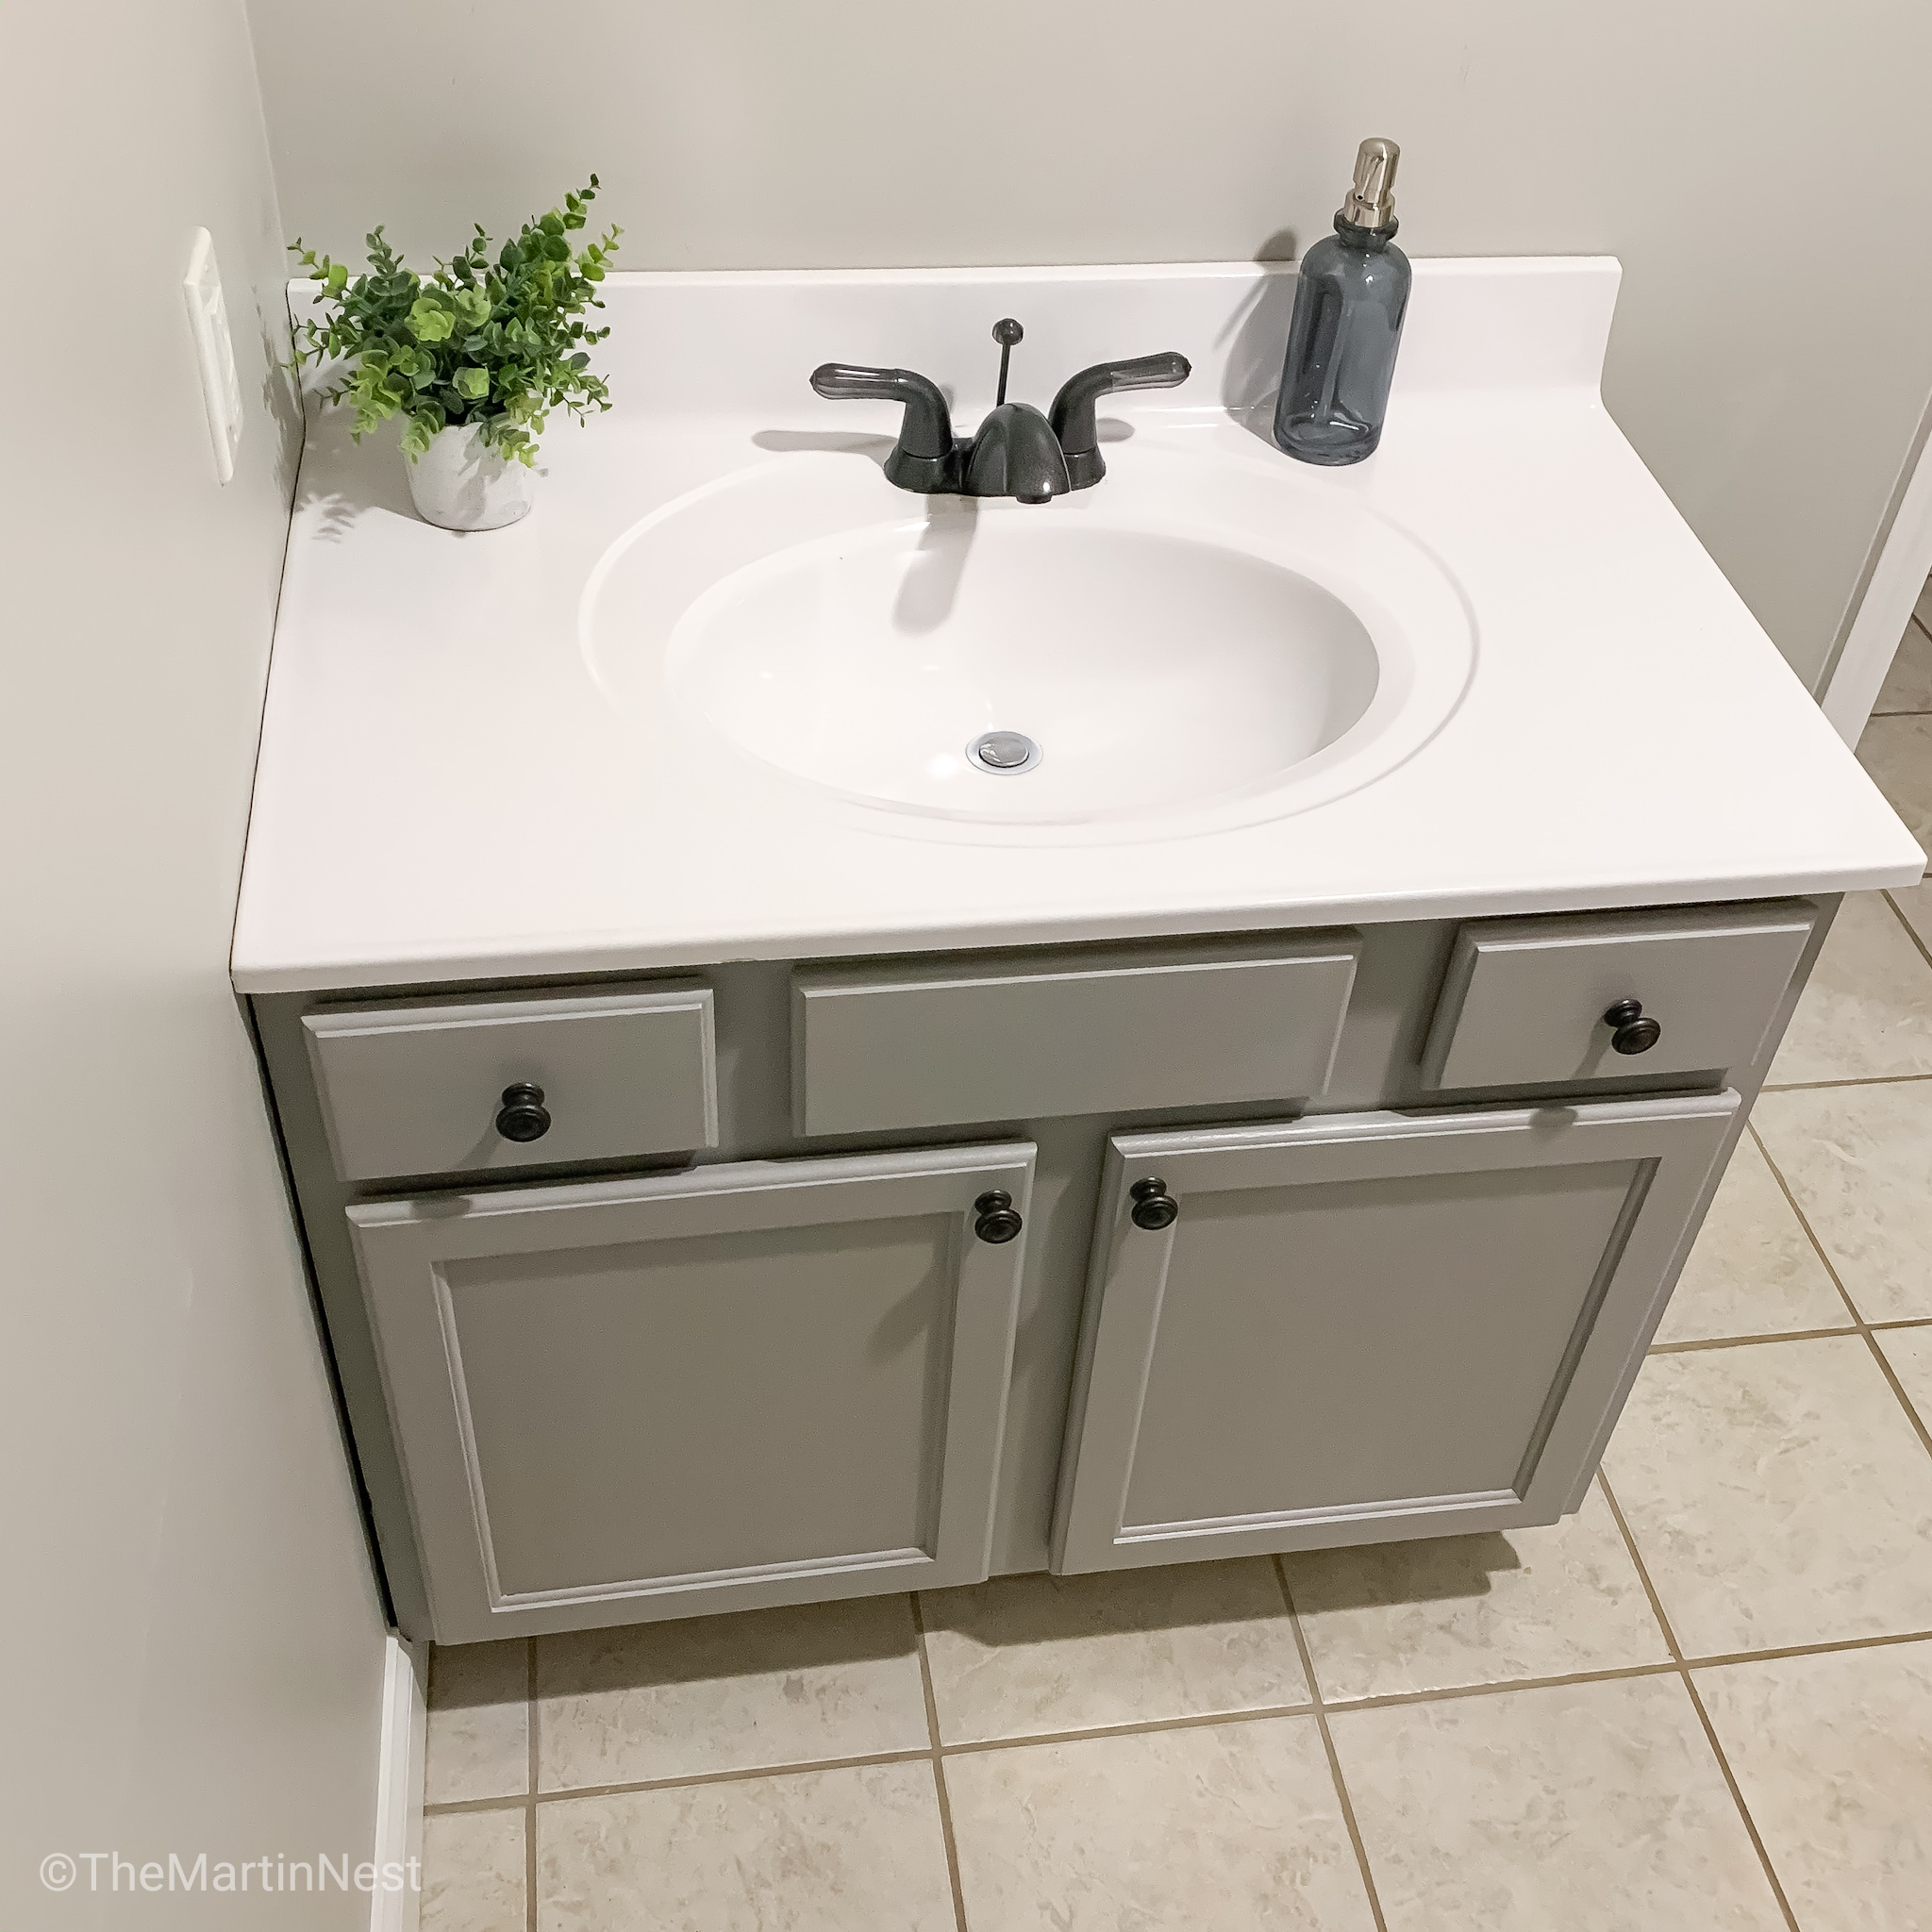
Choosing the Right Paint
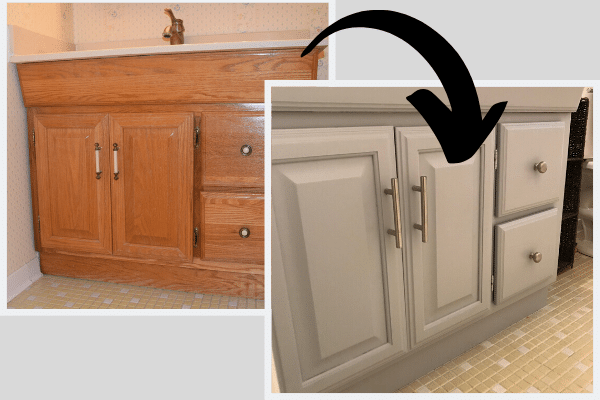
When it comes to painting an old bathroom vanity, selecting the right type and color of paint is crucial. The paint you choose will determine the durability, appearance, and longevity of your finished project. Here are some tips for choosing the perfect paint for your bathroom vanity.
- Understanding Paint Types: For bathroom vanities, it’s important to choose a paint that can withstand moisture, humidity, and frequent cleaning. Two main types of paint are suitable for this: latex and oil-based paints. Latex paint is water-based, easy to clean, and dries quickly, making it a popular choice for bathrooms. Oil-based paint, on the other hand, provides a smoother finish and is more durable, but it takes longer to dry and requires mineral spirits for cleanup.
- Selecting the Right Finish: The finish of the paint affects both the look and functionality of your vanity. Semi-gloss and high-gloss finishes are ideal for bathroom vanities because they are moisture-resistant and easy to wipe clean. These finishes also reflect light, which can make your bathroom feel brighter and more spacious. Satin finishes can also work well, providing a balance between matte and glossy finishes.
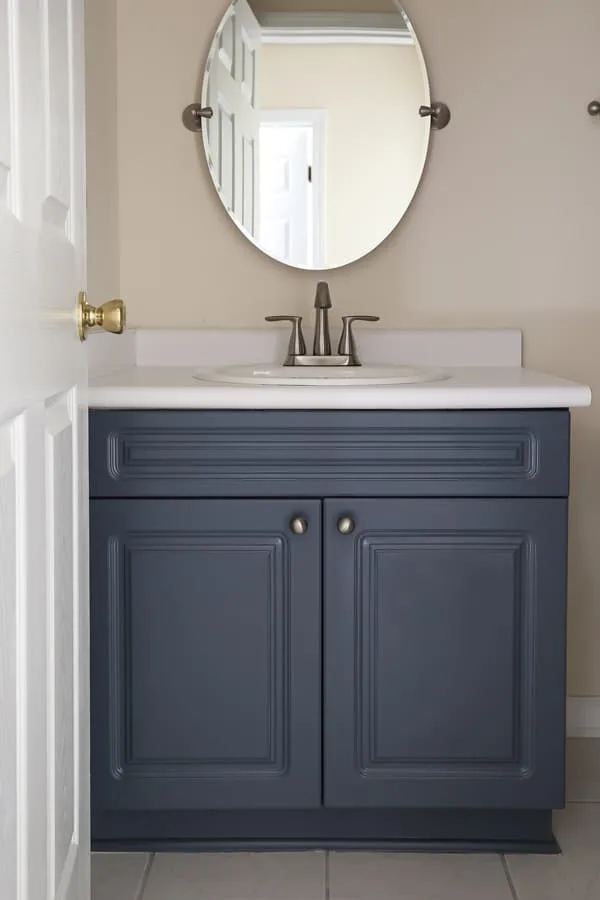
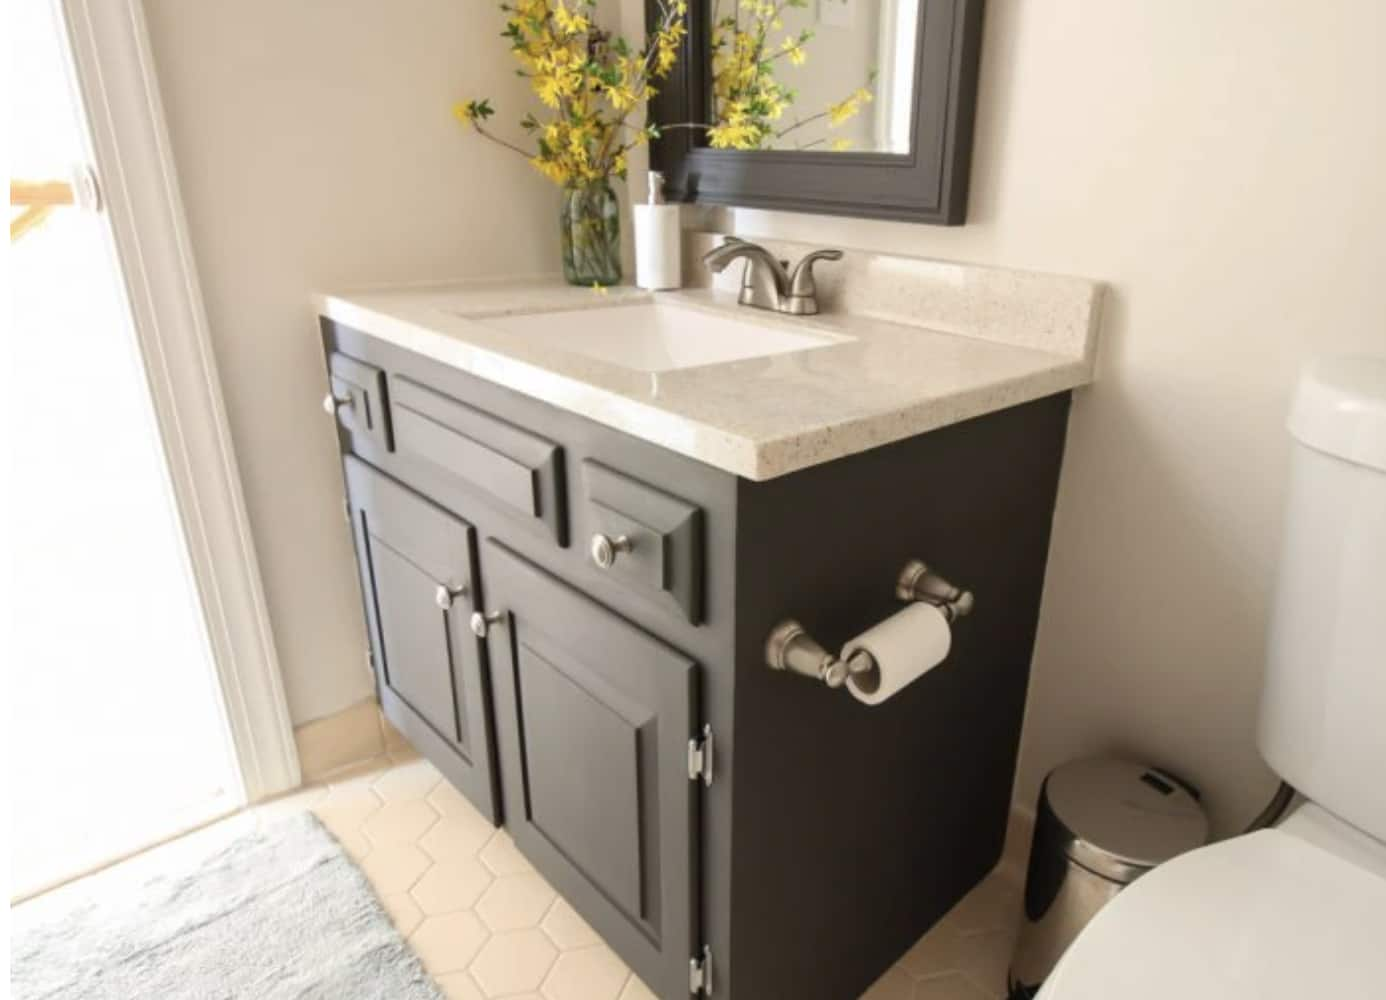
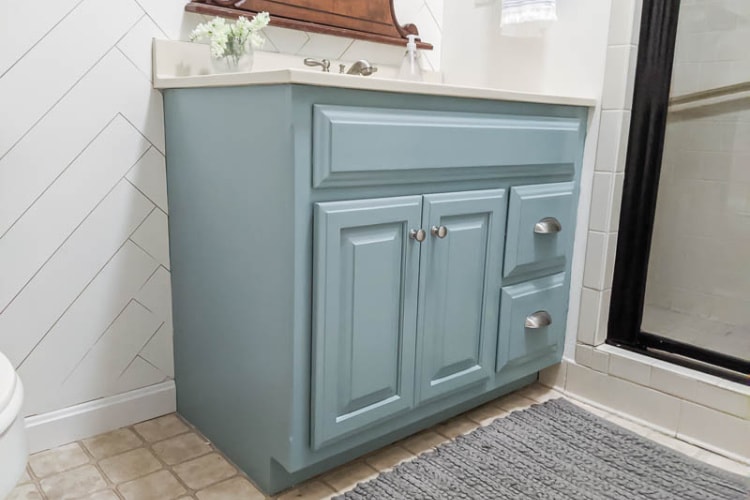
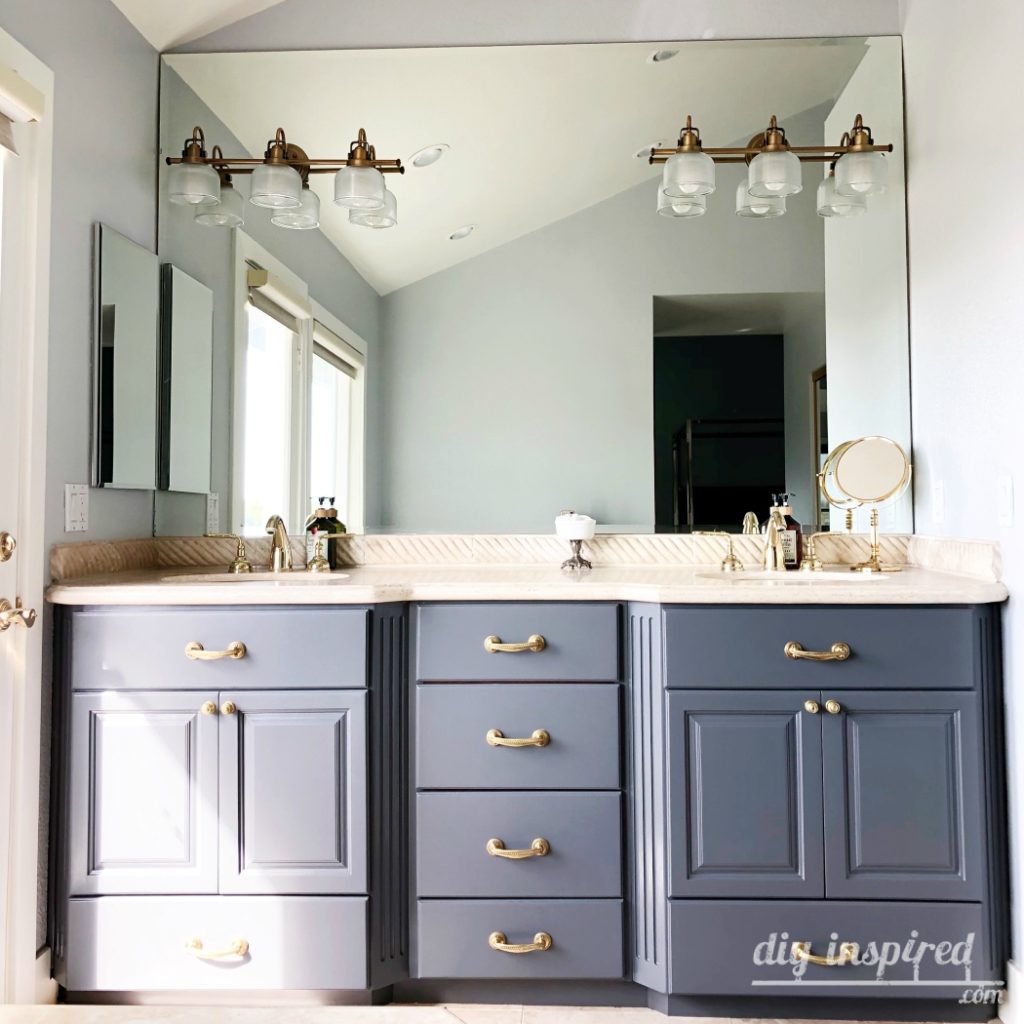
- Choosing a Color: When selecting a color for your vanity, consider the overall design and color scheme of your bathroom. Neutral colors like white, gray, and beige are timeless choices that can complement a variety of styles. If you want to make a bold statement, consider deep blues, greens, or even black. Lighter colors can make a small bathroom feel larger, while darker shades can add a touch of drama and sophistication.
- Testing Paint Samples: Before committing to a color, it’s a good idea to test paint samples on your vanity. This allows you to see how the color looks in different lighting conditions and against other elements in your bathroom. Paint a small section and observe it over a few days to ensure you’re happy with the choice.
- Considering the Vanity Material: The material of your vanity can influence the type of paint you choose. For wooden vanities, both latex and oil-based paints work well. If your vanity is made of laminate or another non-porous material, you may need to use a special bonding primer before painting to ensure the paint adheres properly.
- Eco-Friendly Options: If you’re environmentally conscious, look for low-VOC (volatile organic compounds) or zero-VOC paints. These paints emit fewer harmful chemicals, making them a safer choice for your home and the environment. Many major paint brands offer eco-friendly options without compromising on quality or durability.

Preparing Your Vanity
Proper preparation is key to achieving a professional-looking paint job on your bathroom vanity. Skipping or rushing through the prep work can result in a finish that peels, chips, or looks uneven. Follow these essential steps to prepare your vanity for painting.
Remove Hardware and Doors
Start by removing all hardware, including handles, knobs, and hinges. This will make it easier to paint all surfaces evenly and avoid getting paint on the hardware. Take off the vanity doors and drawers, and label them if necessary to ensure they go back in the right place.
Clean Thoroughly
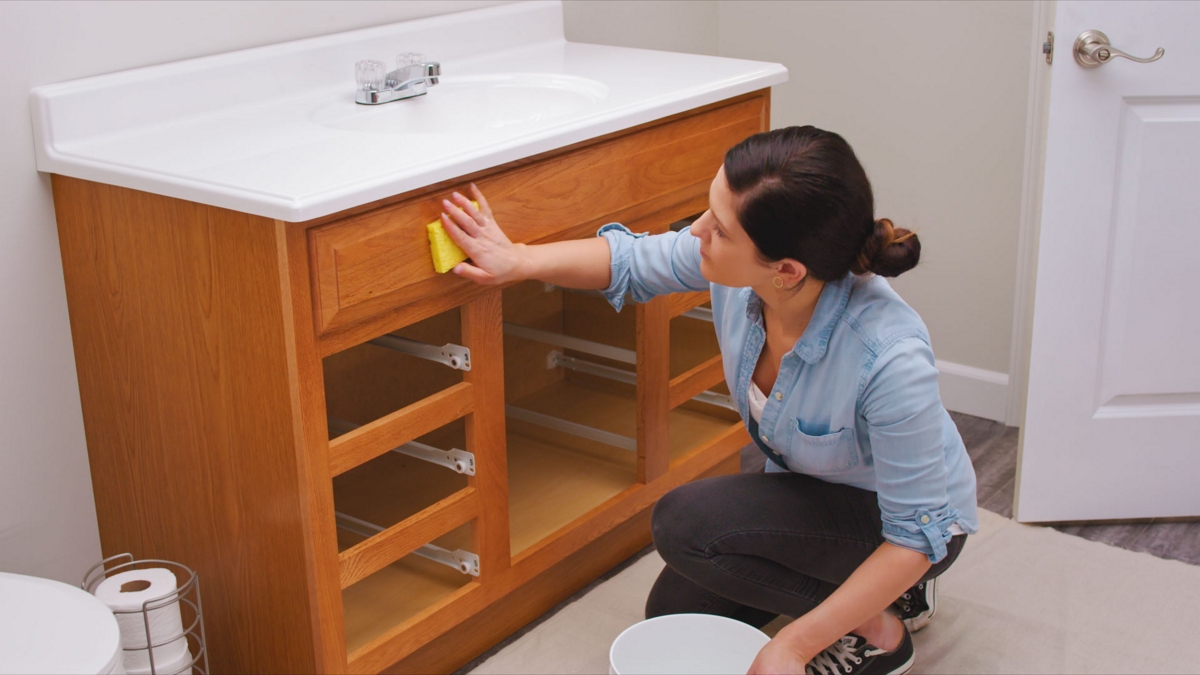
Bathrooms are prone to buildup of soap scum, dirt, and grime, which can prevent paint from adhering properly. Clean the entire vanity thoroughly using a mild detergent or a mixture of vinegar and water. Pay special attention to corners and crevices. Rinse well and let it dry completely.
Sand the Surface
Sanding the vanity is crucial for creating a smooth surface for the paint to adhere to. Use medium-grit sandpaper (around 120-150 grit) to sand all surfaces lightly. If the vanity has a glossy finish, you may need to sand more thoroughly to remove the sheen. After sanding, wipe down the vanity with a damp cloth to remove any dust.
Repair Any Damage
Inspect the vanity for any damage, such as cracks, holes, or dents. Fill these imperfections with wood filler or putty, and sand the patched areas smooth once they dry. This step ensures that the painted surface will be even and free of blemishes.
Apply a Primer
Priming the vanity is essential, especially if you’re painting over a dark color or a slick surface. A good primer will help the paint adhere better and provide a uniform base for the color. Choose a primer suitable for the material of your vanity, and apply it evenly with a brush or roller. Allow the primer to dry completely before moving on to painting.
Protect Surrounding Areas
Protect the surrounding areas from paint splatters by covering floors, walls, and any nearby fixtures with drop cloths or painter’s tape. This preparation will save you time and effort in cleaning up after painting and ensure a neat and professional finish.
Painting Techniques
Achieving a smooth and durable finish when painting an old bathroom vanity requires the right techniques and tools. A well-executed paint job can transform your vanity and enhance the overall look of your bathroom. Follow these steps for a flawless finish.
Choosing the Right Tools
Using high-quality brushes and rollers is essential for a professional-looking paint job. For larger, flat surfaces, use a foam roller to apply the paint evenly and avoid brush marks. For edges, corners, and detailed areas, use a high-quality angled brush. Investing in good tools will make a noticeable difference in the final result.
Applying the First Coat
Start by applying the first coat of paint to the vanity. Use smooth, even strokes, and avoid overloading the brush or roller with paint to prevent drips and streaks. Begin with the inner panels and detailed areas using a brush, then move to the larger, flat surfaces with a roller. Allow the first coat to dry completely according to the paint manufacturer’s instructions.
Sanding Between Coats
To achieve a smooth finish, lightly sand the vanity between coats of paint. Use fine-grit sandpaper (around 220 grit) to sand the painted surfaces gently. This step helps to remove any imperfections and provides a smooth base for the next coat. After sanding, wipe away any dust with a damp cloth.
Applying Additional Coats
Depending on the color and type of paint, you may need to apply two or more coats for complete coverage. Repeat the process of applying a thin, even coat of paint, allowing it to dry, and sanding between coats. Patience is key to achieving a professional finish, so avoid rushing the process.
Finishing with a Topcoat
For added durability and protection, consider applying a clear topcoat to the painted vanity. A water-based polyurethane or polycrylic topcoat works well for bathroom vanities, providing a hard, protective layer that resists moisture and wear. Apply the topcoat with a clean brush, following the grain of the wood, and allow it to dry completely.
Letting the Paint Cure
After applying the final coat, allow the paint to cure fully before reassembling the vanity and using the bathroom. Curing time can vary, but it’s generally best to wait at least 24 to 48 hours. Proper curing ensures that the paint hardens completely, providing a durable and long-lasting finish.
DIY vs. Professional Help
When it comes to painting an old bathroom vanity, you may be wondering whether to tackle the project yourself or hire a professional. Both options have their advantages and considerations. Here’s how to decide the best approach for your project.
Assessing Your Skills
Consider your painting skills and experience. If you’re confident in your ability to achieve a smooth and even finish, a DIY project can be rewarding and cost-effective. However, if you’re unsure or inexperienced, hiring a professional can ensure a flawless result and save you time and frustration.
Time and Effort
Painting a bathroom vanity requires time and effort, from preparation to finishing touches. If you have a busy schedule or prefer to spend your time on other activities, hiring a professional may be the best option. A professional painter can complete the job efficiently, often in a shorter timeframe than a DIY project.
Budget Considerations
Budget is a significant factor in deciding whether to DIY or hire a professional. DIY projects typically cost less, as you only need to purchase materials and tools. However, hiring a professional involves labor costs but can provide a higher-quality finish. Consider your budget and weigh the cost against the potential benefits of a professional job.
Quality of Finish
Professionals have the expertise and tools to achieve a superior finish. If you want a flawless, high-end look for your vanity, professional help may be worth the investment. On the other hand, if you’re comfortable with a DIY finish that may have minor imperfections, doing it yourself can be a satisfying and budget-friendly option.
Project Scope and Complexity
The complexity of the project can also influence your decision. If your vanity has intricate details, damage that needs repair, or requires a specific technique, a professional can handle these challenges with ease. For simpler, straightforward projects, a DIY approach can be manageable and enjoyable.
Long-term Satisfaction
Consider how important the finished result is to your overall satisfaction with the project. If you take pride in DIY projects and enjoy the process, painting the vanity yourself can be very rewarding. If you prioritize a pristine, professional finish and long-term durability, investing in professional help can provide peace of mind and satisfaction.
Adding Finishing Touches
After painting your bathroom vanity, adding the right hardware and accessories can elevate the overall look and tie the design together. These finishing touches are crucial for creating a polished and cohesive aesthetic. Here’s how to choose and incorporate hardware and accessories for a complete look.
Choosing New Hardware
Updating the hardware on your vanity is an easy and effective way to enhance its appearance. Consider the style of your bathroom when selecting new knobs, handles, and hinges. For a modern look, opt for sleek, minimalist designs in finishes like brushed nickel or matte black. For a more traditional or vintage feel, choose ornate or classic designs in brass or oil-rubbed bronze.
Coordinating with Fixtures
Ensure that the hardware on your vanity coordinates with other fixtures in your bathroom, such as faucets, towel bars, and light fixtures. Consistent finishes and styles create a cohesive and harmonious look. For example, if your faucet is chrome, consider chrome hardware for your vanity to tie the elements together.
Adding Decorative Elements
In addition to hardware, consider adding decorative elements to your vanity to enhance its visual appeal. A stylish mirror, elegant countertop accessories, or a decorative tray can add a touch of sophistication. Choose items that complement the color and style of your vanity for a coordinated look.
Installing Soft-Close Hinges and Drawers
For added functionality and a touch of luxury, consider installing soft-close hinges and drawer slides. These mechanisms prevent slamming and provide a smooth, quiet closing action. Soft-close features not only enhance the user experience but also extend the life of your vanity by reducing wear and tear.
Incorporating Lighting
Proper lighting can significantly impact the look and functionality of your vanity. Consider adding task lighting, such as wall sconces or under-cabinet lights, to illuminate the workspace. Good lighting enhances the overall ambiance and makes daily grooming tasks easier.
Personalizing with Accessories
Personalize your vanity with accessories that reflect your style and needs. Add a stylish soap dispenser, a matching toothbrush holder, or a small plant for a touch of greenery. Personal touches make the space feel more inviting and uniquely yours.
Maintaining Your Painted Vanity
Maintaining your newly painted bathroom vanity is essential for preserving its beauty and ensuring it remains in excellent condition for years to come. Proper care and maintenance will protect the finish and keep your vanity looking fresh and vibrant. Here are some tips for maintaining your painted vanity.
Regular Cleaning
Regular cleaning is crucial for keeping your painted vanity looking its best. Use a mild, non-abrasive cleaner and a soft cloth to wipe down the surfaces. Avoid harsh chemicals or abrasive scrubbing pads that can damage the paint. Cleaning your vanity regularly prevents the buildup of dirt, grime, and moisture, which can harm the finish over time.
Handling with Care
Be mindful of how you handle and use your vanity to prevent damage to the painted surface. Avoid placing heavy or sharp objects directly on the vanity top, as these can scratch or chip the paint. Use coasters or mats under items that could potentially cause damage, such as soap dishes or hair styling tools.
Touching Up Chips and Scratches
Despite your best efforts, chips and scratches may occur over time. Keep some leftover paint on hand for touch-ups. Use a small brush to carefully fill in any damaged areas, following the original paint’s application method. Touching up minor imperfections promptly will keep your vanity looking pristine.
Protecting Against Moisture
Bathrooms are naturally humid environments, which can affect the longevity of your painted vanity. To protect against moisture damage, ensure proper ventilation in your bathroom. Use exhaust fans during and after showers to reduce humidity levels. Wipe up any water spills promptly to prevent water from seeping into the paint and causing peeling or bubbling.
Reapplying Topcoat
If you applied a clear topcoat to your vanity, consider reapplying it periodically to maintain its protective barrier. A fresh topcoat can rejuvenate the finish and provide continued protection against moisture and wear. Follow the manufacturer’s recommendations for reapplication intervals.
Inspecting for Damage
Regularly inspect your vanity for signs of damage or wear. Look for areas where the paint may be peeling, bubbling, or fading. Addressing these issues early can prevent further deterioration and extend the life of your painted vanity. If extensive damage occurs, consider sanding and repainting the affected area to restore its appearance.
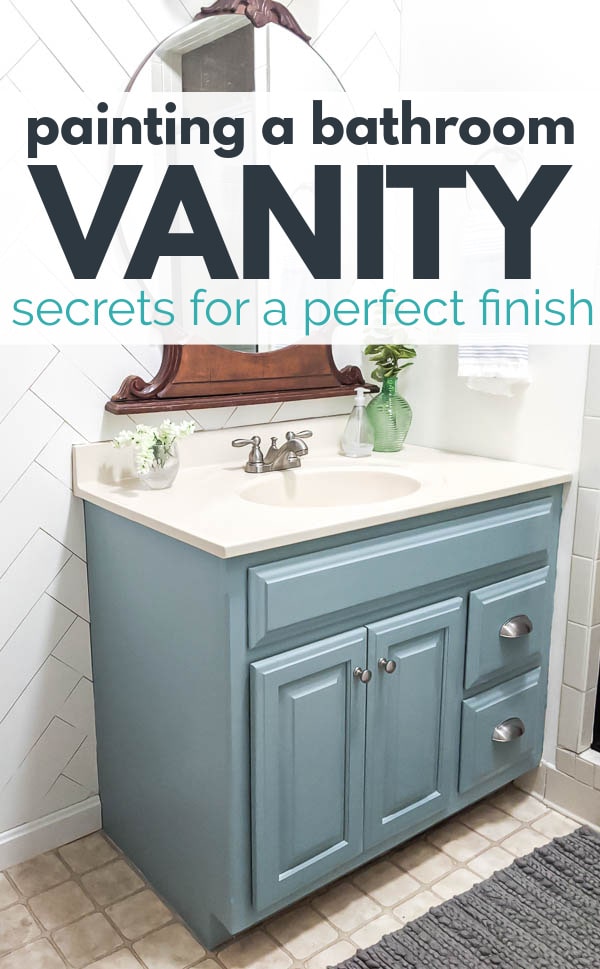
How to Paint a Bathroom Vanity: Secrets for a Perfect Finish
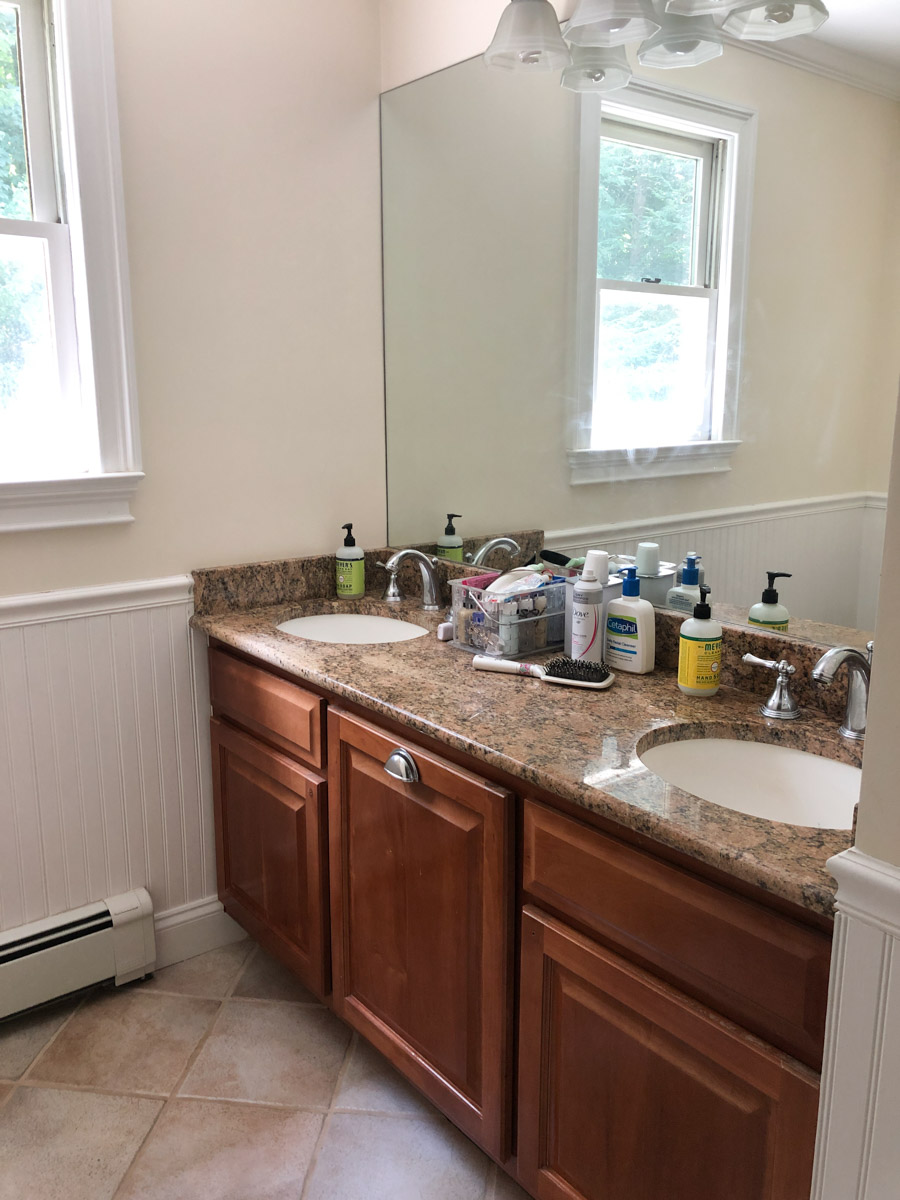
Our Painted Bathroom Vanity: The “Before” u0026 “After” and How-to
How to Paint a Bathroom Vanity – DIY Inspired
Transform Your Bathroom Vanity In A Weekend! –
How To Paint Bathroom Vanity Cabinets Sherwin-Williams
How To Paint A Bathroom Vanity – Love Remodeled
Painting A Bathroom Vanity (Again) – Dream Green DIY
Painted Bathroom Sink
Related Posts:
- Small Bathroom Vanity Set
- Bathroom Vanity Light Strip
- Double Sink Bathroom Vanity Set
- Bathroom Vanity Lights Brass
- 16 Inch Depth Bathroom Vanity
- 3 Light Bathroom Vanity Light
- Modern Bathroom Vanity 24 Inch
- Bathroom Vanity Top Right Side Sink
- Bathroom Vanity Outlet Height
- Black Bathroom Vanity Top



.jpg)
