Understanding the Importance of Repairing Bathroom Tile Grout
Bathroom tile grout may seem like a small and insignificant detail, but it plays a crucial role in maintaining the overall appearance and functionality of your bathroom. Understanding the importance of repairing bathroom tile grout is essential to prevent further damage and costly repairs down the line.
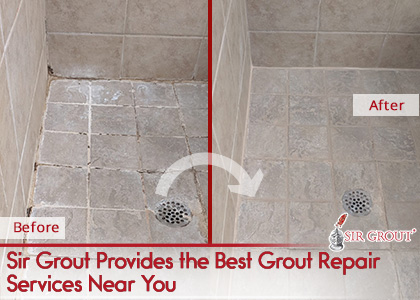
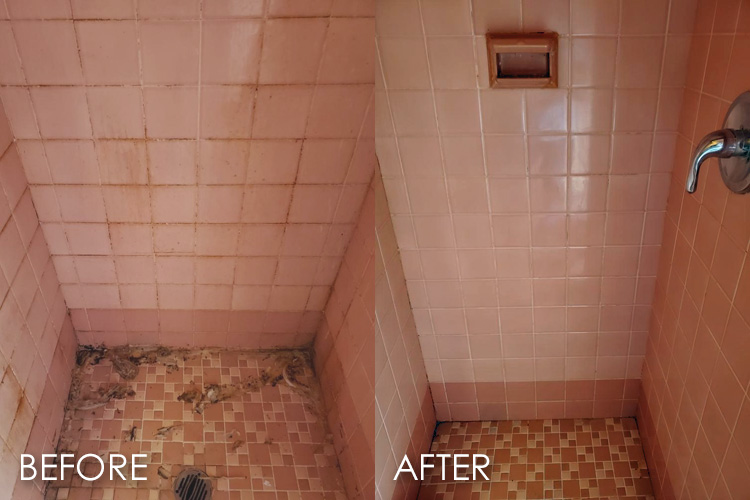
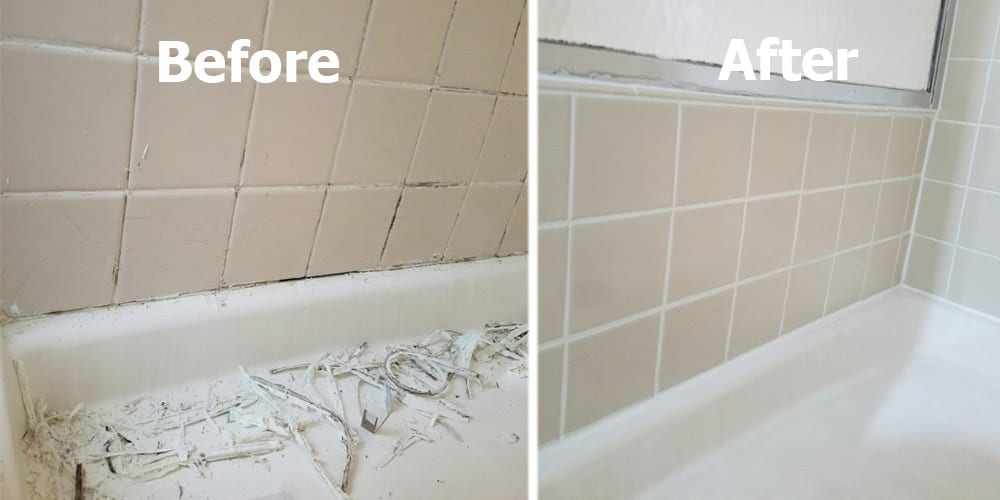
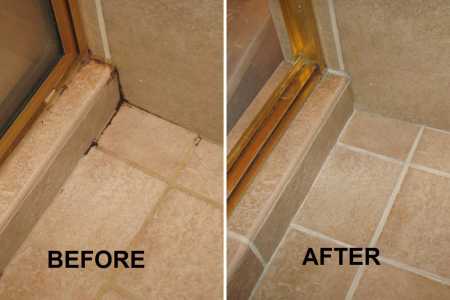
- Preserving the Aesthetic Appeal: Bathroom tile grout not only holds the tiles together but also contributes to the overall aesthetic appeal of your bathroom. Over time, grout can become discolored, cracked, or even moldy, resulting in an unsightly appearance. By repairing and maintaining the grout, you can restore the original beauty of your bathroom tiles and enhance the overall visual appeal.
- Preventing Water Damage: One of the primary purposes of grout is to create a waterproof seal between tiles, preventing water from seeping into the walls or flooring. When grout starts to deteriorate, it can compromise this seal, leading to water damage. Repairing the grout promptly helps prevent leaks, water stains, and costly water damage repairs.
- Minimizing Mold and Mildew Growth: Bathroom environments are prone to high humidity levels, which can create a breeding ground for mold and mildew. Cracked or damaged grout provides an ideal environment for these harmful microorganisms to thrive. Repairing bathroom tile grout not only improves the appearance but also helps to eliminate the potential health risks associated with mold and mildew growth.
- Increasing Tile Durability: When bathroom tile grout is in good condition, it provides additional support and stability to the tiles. Cracked or deteriorating grout can cause tiles to loosen or crack, compromising their durability. Repairing grout ensures that the tiles remain securely in place, extending their lifespan and preventing costly tile replacements.
- Maintaining Hygiene Standards: Properly repaired and maintained grout is easier to clean and helps maintain hygiene standards in your bathroom. Cracked or damaged grout can trap dirt, grime, and bacteria, making it difficult to keep the bathroom clean. By repairing the grout, you create a smooth and easy-to-clean surface, promoting a healthier and more hygienic bathroom environment.
Step-by-Step Guide: How to Repair Bathroom Tile Grout
Repairing bathroom tile grout may seem like a daunting task, but with the right tools and techniques, it can be a straightforward and rewarding DIY project. Follow this step-by-step guide to repair bathroom tile grout and restore the beauty and functionality of your bathroom.
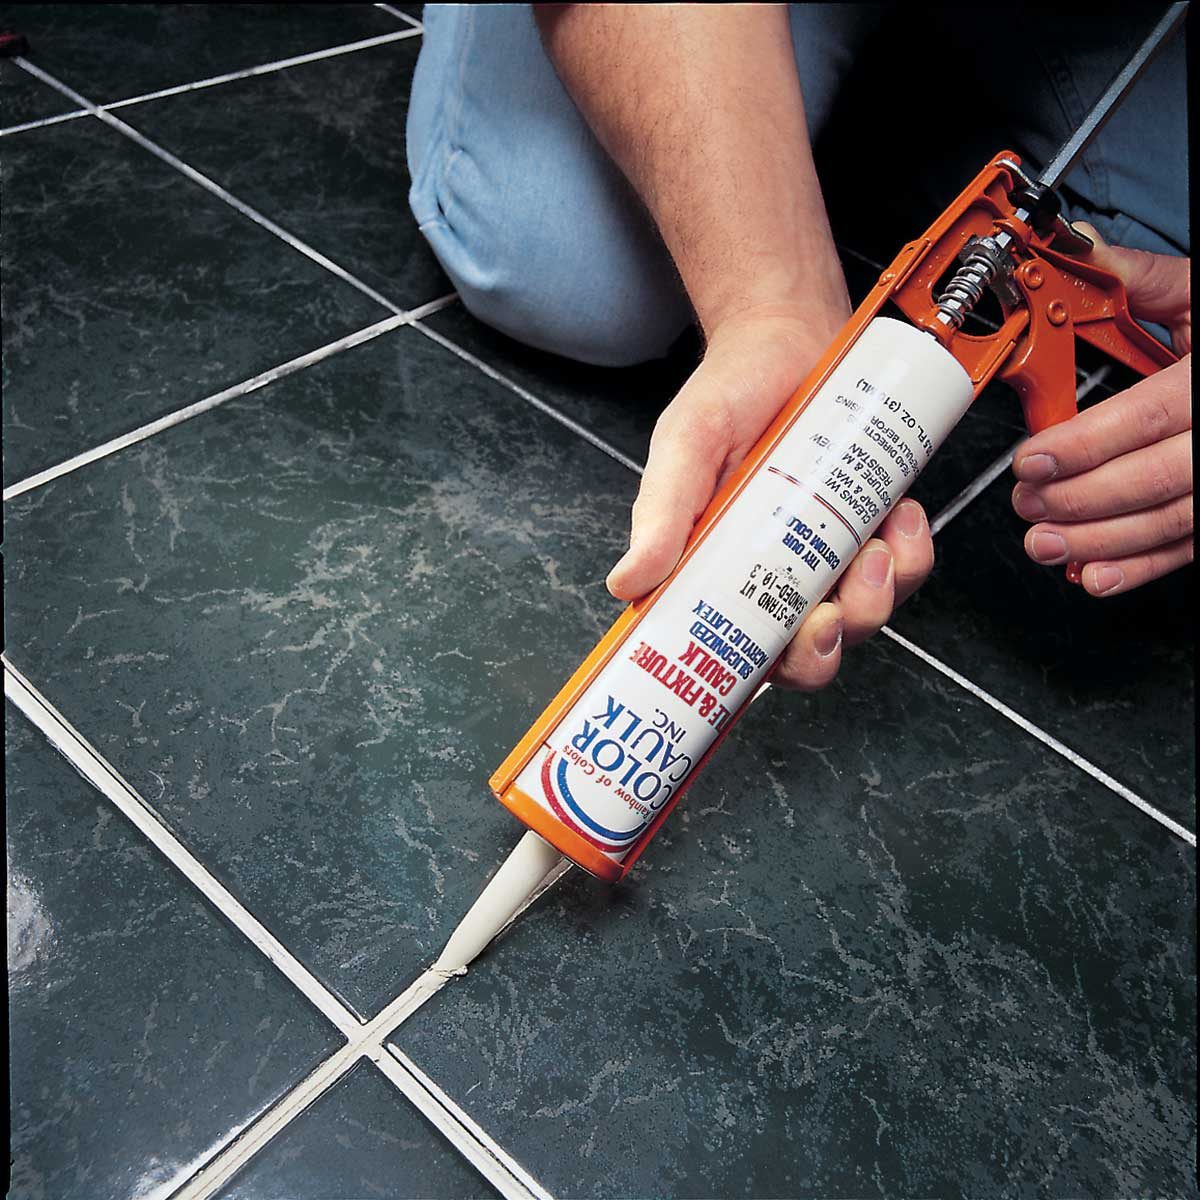
Gather the Necessary Tools and Materials: Before you begin, gather all the tools and materials you’ll need for the grout repair project. This may include a grout saw or scraper, grout float, grout mix, sponge, and a caulking gun if you need to replace any caulk.
Prepare the Surface: Start by removing any loose or damaged grout using a grout saw or scraper. Be careful not to damage the tiles. Clean the area thoroughly using a mild detergent and water to remove any dirt or debris.
Mix and Apply the Grout: Follow the instructions on the grout mix package to prepare the grout mixture. Use a grout float to apply the grout to the gaps between the tiles, ensuring it fills the spaces. Hold the float at a 45-degree angle and work the grout into the gaps, pressing it firmly.
Remove Excess Grout: After applying the grout, use a damp sponge to wipe away excess grout from the tile surface. Rinse the sponge frequently and continue wiping until the tiles are clean and the grout lines are smooth.
Allow the Grout to Cure: Let the grout cure for the recommended time, usually about 24 to 48 hours. Avoid exposing the freshly repaired grout to water or excessive moisture during this time.
Seal the Grout: Once the grout has fully cured, apply a grout sealer to protect it from stains, moisture, and mold growth. Use a small brush or roller to evenly apply the sealer over the entire grout surface. Allow it to dry completely before using the bathroom.
Common Problems with Bathroom Tile Grout and How to Fix Them
Bathroom tile grout can experience various issues over time, from discoloration and cracking to mold growth and loose tiles. Understanding the common problems associated with bathroom tile grout and knowing how to fix them can help you maintain a beautiful and functional bathroom. Here are some common grout problems and their solutions.
Discoloration: Discolored grout can make your bathroom tiles look dull and dirty. To fix this issue, start by cleaning the grout with a mixture of equal parts vinegar and water. Scrub the grout lines with a soft brush or an old toothbrush. For stubborn stains, you can use a grout cleaner or a paste made from baking soda and water. Rinse thoroughly and let it dry. If the discoloration persists, consider applying a grout stain or sealer to restore the original color.
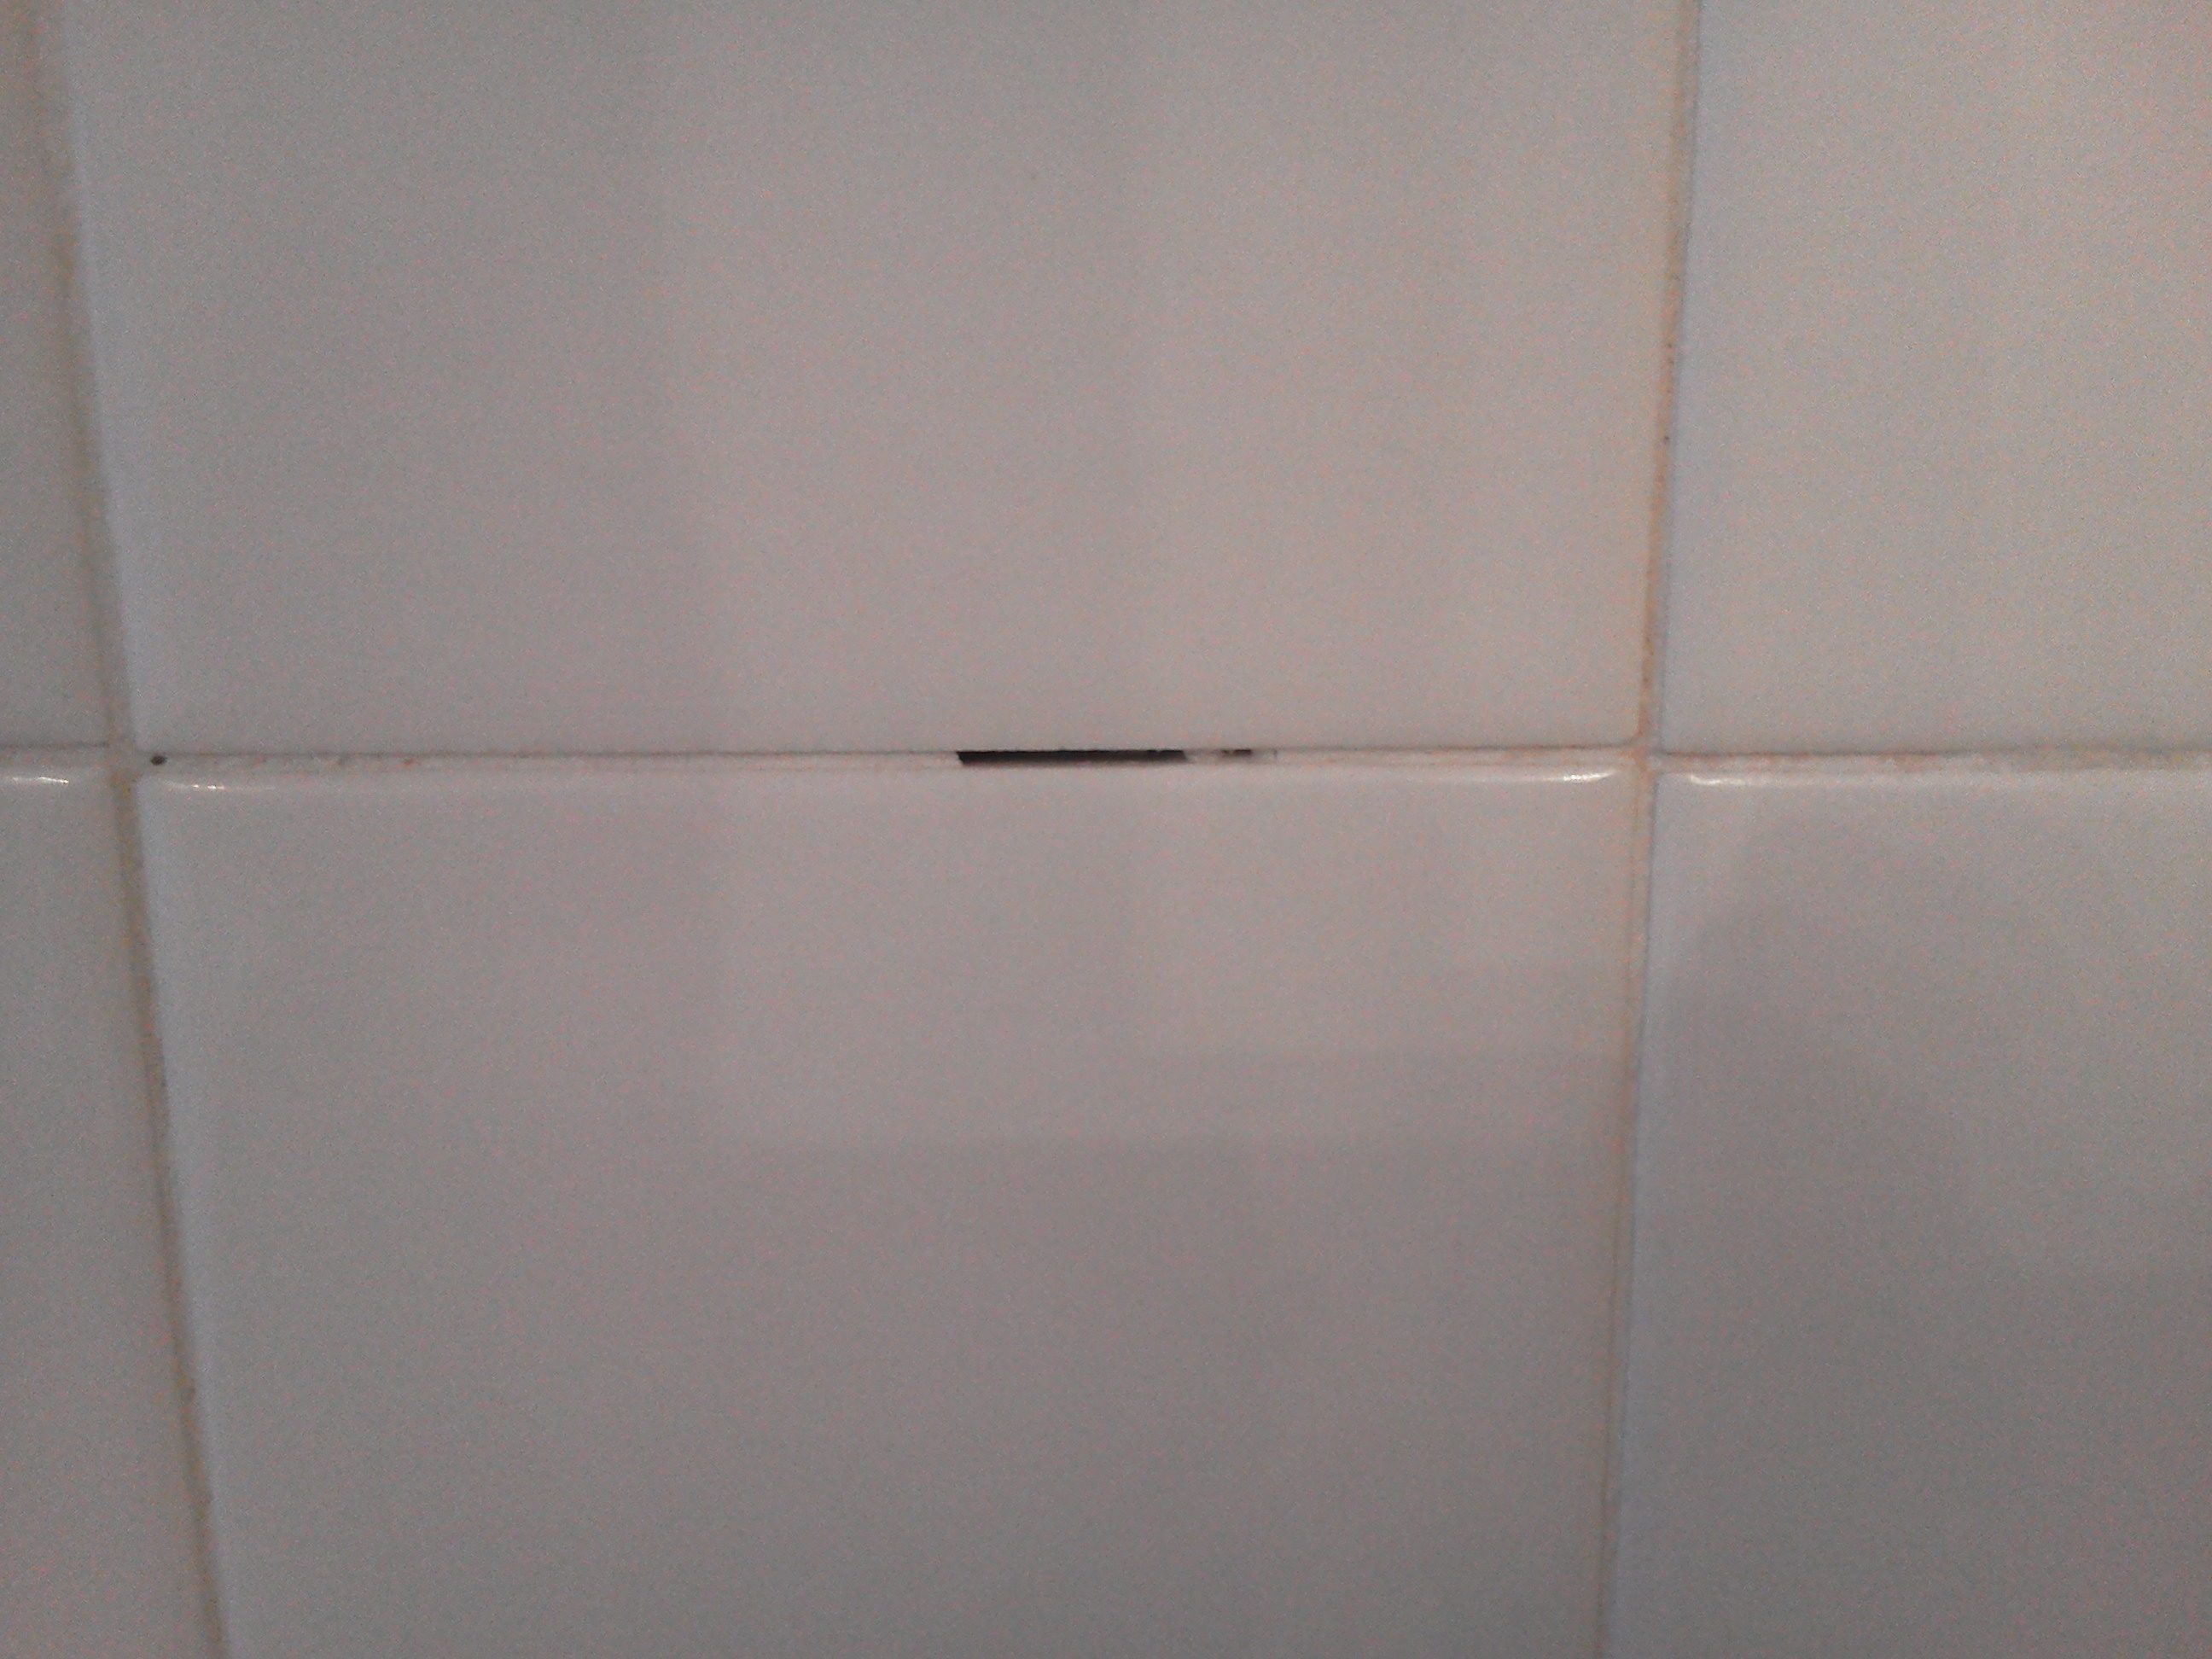
Cracked or Damaged Grout: Cracked or damaged grout can lead to water damage and the growth of mold and mildew. To repair cracked grout, start by removing the damaged grout using a grout saw or scraper. Clean the area thoroughly, and then apply new grout using a grout float. Wipe away excess grout with a damp sponge and allow it to cure. Finally, seal the grout to prevent future damage.
Mold and Mildew Growth: Mold and mildew thrive in damp environments, making bathrooms a common breeding ground. To remove mold and mildew from grout, create a solution of equal parts bleach and water. Apply the solution to the affected areas and let it sit for about 10 minutes. Scrub the grout lines with a brush or toothbrush, then rinse thoroughly. To prevent future growth, ensure proper ventilation in the bathroom and regularly clean and dry the grout.
Loose or Crumbling Grout: Loose or crumbling grout can cause tiles to become unstable and lead to further damage. To fix this issue, remove the loose grout with a grout saw or scraper. Clean the area and apply new grout, making sure it fills the gaps completely. Wipe away excess grout with a damp sponge and let it cure. If the tiles are loose, you may need to remove and reattach them using fresh adhesive.
Stained or Discolored Caulk: Caulk around the edges of your bathroom tiles can also become stained or discolored over time. To fix this, start by removing the old caulk using a caulk remover tool or a sharp knife. Clean the area thoroughly and apply a new bead of caulk using a caulking gun. Smooth the caulk with a wet finger or a caulk smoothing tool for a professional finish.
Tips and Tricks for Maintaining and Preventing Grout Damage
Proper maintenance and preventive measures are essential for preserving the integrity and appearance of bathroom tile grout. By following these tips and tricks, you can prevent grout damage and ensure that your bathroom remains beautiful and functional for a long time.
Regular Cleaning: Regularly clean your bathroom tile grout to prevent the buildup of dirt, grime, and mold. Use a mild detergent and warm water solution to scrub the grout lines with a soft brush or an old toothbrush. Avoid using abrasive cleaners or tools that can damage the grout. Rinse thoroughly and dry the grout after cleaning to prevent moisture buildup.
Avoid Harsh Chemicals: Avoid using harsh chemicals, such as bleach or acidic cleaners, on your grout. These chemicals can weaken the grout and cause discoloration or deterioration over time. Opt for milder, pH-neutral cleaners that are specifically formulated for grout cleaning.
Use Grout Sealer: Apply a grout sealer every 6 to 12 months to protect your grout from stains, moisture, and mold growth. Grout sealers create a protective barrier that helps repel water and prevent dirt and stains from penetrating the grout. Follow the manufacturer’s instructions for application and reapplication.
Maintain Proper Ventilation: Proper ventilation in your bathroom is essential for preventing excess moisture, which can lead to mold growth and grout damage. Ensure that your bathroom has a working exhaust fan or window to allow for adequate air circulation. After showering, leave the bathroom door open or use a towel to wipe down any excess moisture.
Fix Leaks Promptly: Address any leaks or water damage in your bathroom promptly. Leaking pipes or fixtures can cause water to seep into the grout, leading to damage and mold growth. Regularly inspect your bathroom for any signs of leaks, such as water stains, dampness, or a musty odor, and fix them immediately.
Avoid Abrasive Cleaning Tools: When cleaning your bathroom tiles and grout, avoid using abrasive cleaning tools, such as steel wool or abrasive scrub brushes. These tools can scratch or damage the surface of the tiles and grout. Opt for soft brushes or sponges that are gentle on the grout while still effectively removing dirt and grime.
Wipe Dry After Each Use: After showering or using the bathroom, take a few moments to wipe down the tiles and grout with a dry cloth or towel. This helps to remove any excess water and moisture that could potentially seep into the grout and cause damage over time.
Avoid Standing Water: Avoid allowing standing water to accumulate on the bathroom tiles or in the grout lines. This can lead to prolonged exposure to moisture, which can weaken the grout and promote the growth of mold and mildew. Use bath mats or towels to absorb excess water and promptly wipe up any spills or splashes.
Be Mindful of Chemicals: Be cautious when using chemical-based products in your bathroom, such as hair dyes or cleaning solutions. These substances can stain or damage the grout if they come into contact with it. Take care to protect the grout by using a barrier, such as a towel or plastic sheet, when using potentially harmful chemicals.
Regularly Inspect and Repair: Make it a habit to regularly inspect the condition of your bathroom tile grout. Look for any signs of cracks, discoloration, or loose grout. Promptly address any issues by repairing or replacing the damaged grout to prevent further damage and maintain the integrity of the grout lines.
Exploring Alternative Solutions to Repair Bathroom Tile Grout
While traditional grout repair methods are effective, there are alternative solutions available that can simplify the process or offer additional benefits. Exploring these alternative solutions can provide you with options to repair bathroom tile grout that best suits your needs and preferences.
Pre-Mixed Grout: Pre-mixed grout is an alternative to traditional grout that comes ready to use straight out of the container. It eliminates the need for mixing and allows for easier application. Pre-mixed grout is available in various colors and types, including sanded and unsanded, to accommodate different tile installations. It is a convenient option for small grout repair jobs or for those who prefer a hassle-free approach.
Grout Pens: Grout pens are handy tools that allow you to refresh the appearance of your grout without the need for extensive repairs. These pens contain a pigmented grout formula that you can apply directly over existing grout lines to change or restore their color. Grout pens are available in a range of colors and offer a quick and easy solution for minor grout touch-ups and color corrections.
Epoxy Grout: Epoxy grout is a durable and stain-resistant alternative to traditional cement-based grout. It is composed of epoxy resins and a hardener, which creates a chemical reaction that results in a highly durable and waterproof grout. Epoxy grout is resistant to stains, chemicals, and mold, making it an excellent choice for high-moisture areas such as bathrooms. While epoxy grout requires special mixing and application techniques, it offers long-lasting performance and minimal maintenance.
Grout Stain and Sealer Combination: Grout stain and sealer combinations are products that not only restore the color of your grout but also provide a protective seal. These products contain pigments that penetrate the grout lines, refreshing the color and rejuvenating the appearance. Additionally, they create a protective barrier that helps repel stains and moisture. Grout stain and sealer combinations are available in various colors and can be easily applied with a brush or sponge.
Re-Grouting: If your bathroom tile grout is severely damaged or beyond repair, re-grouting may be the best solution. Re-grouting involves removing the existing grout and replacing it with fresh grout. This process provides a clean slate and allows you to address any underlying issues or damage. While re-grouting can be time-consuming and labor-intensive, it offers a long-term solution and the opportunity to update the appearance of your bathroom by choosing a different grout color or style.
Quick Fix: Repair Cracked Bathroom Grout
How To Repair Bathroom Grout Step-by-Step DIY Guide
How to Repair Tile Grout Loweu0027s
How to Repair Cracked Tile Grout: An Easy Guide
Quick Tub Grout Repair
Don’t Replace Your Tile Tile Repair The Grout Medic
How to Repair Grout Thatu0027s Cracking (DIY) Family Handyman
Related Posts:
