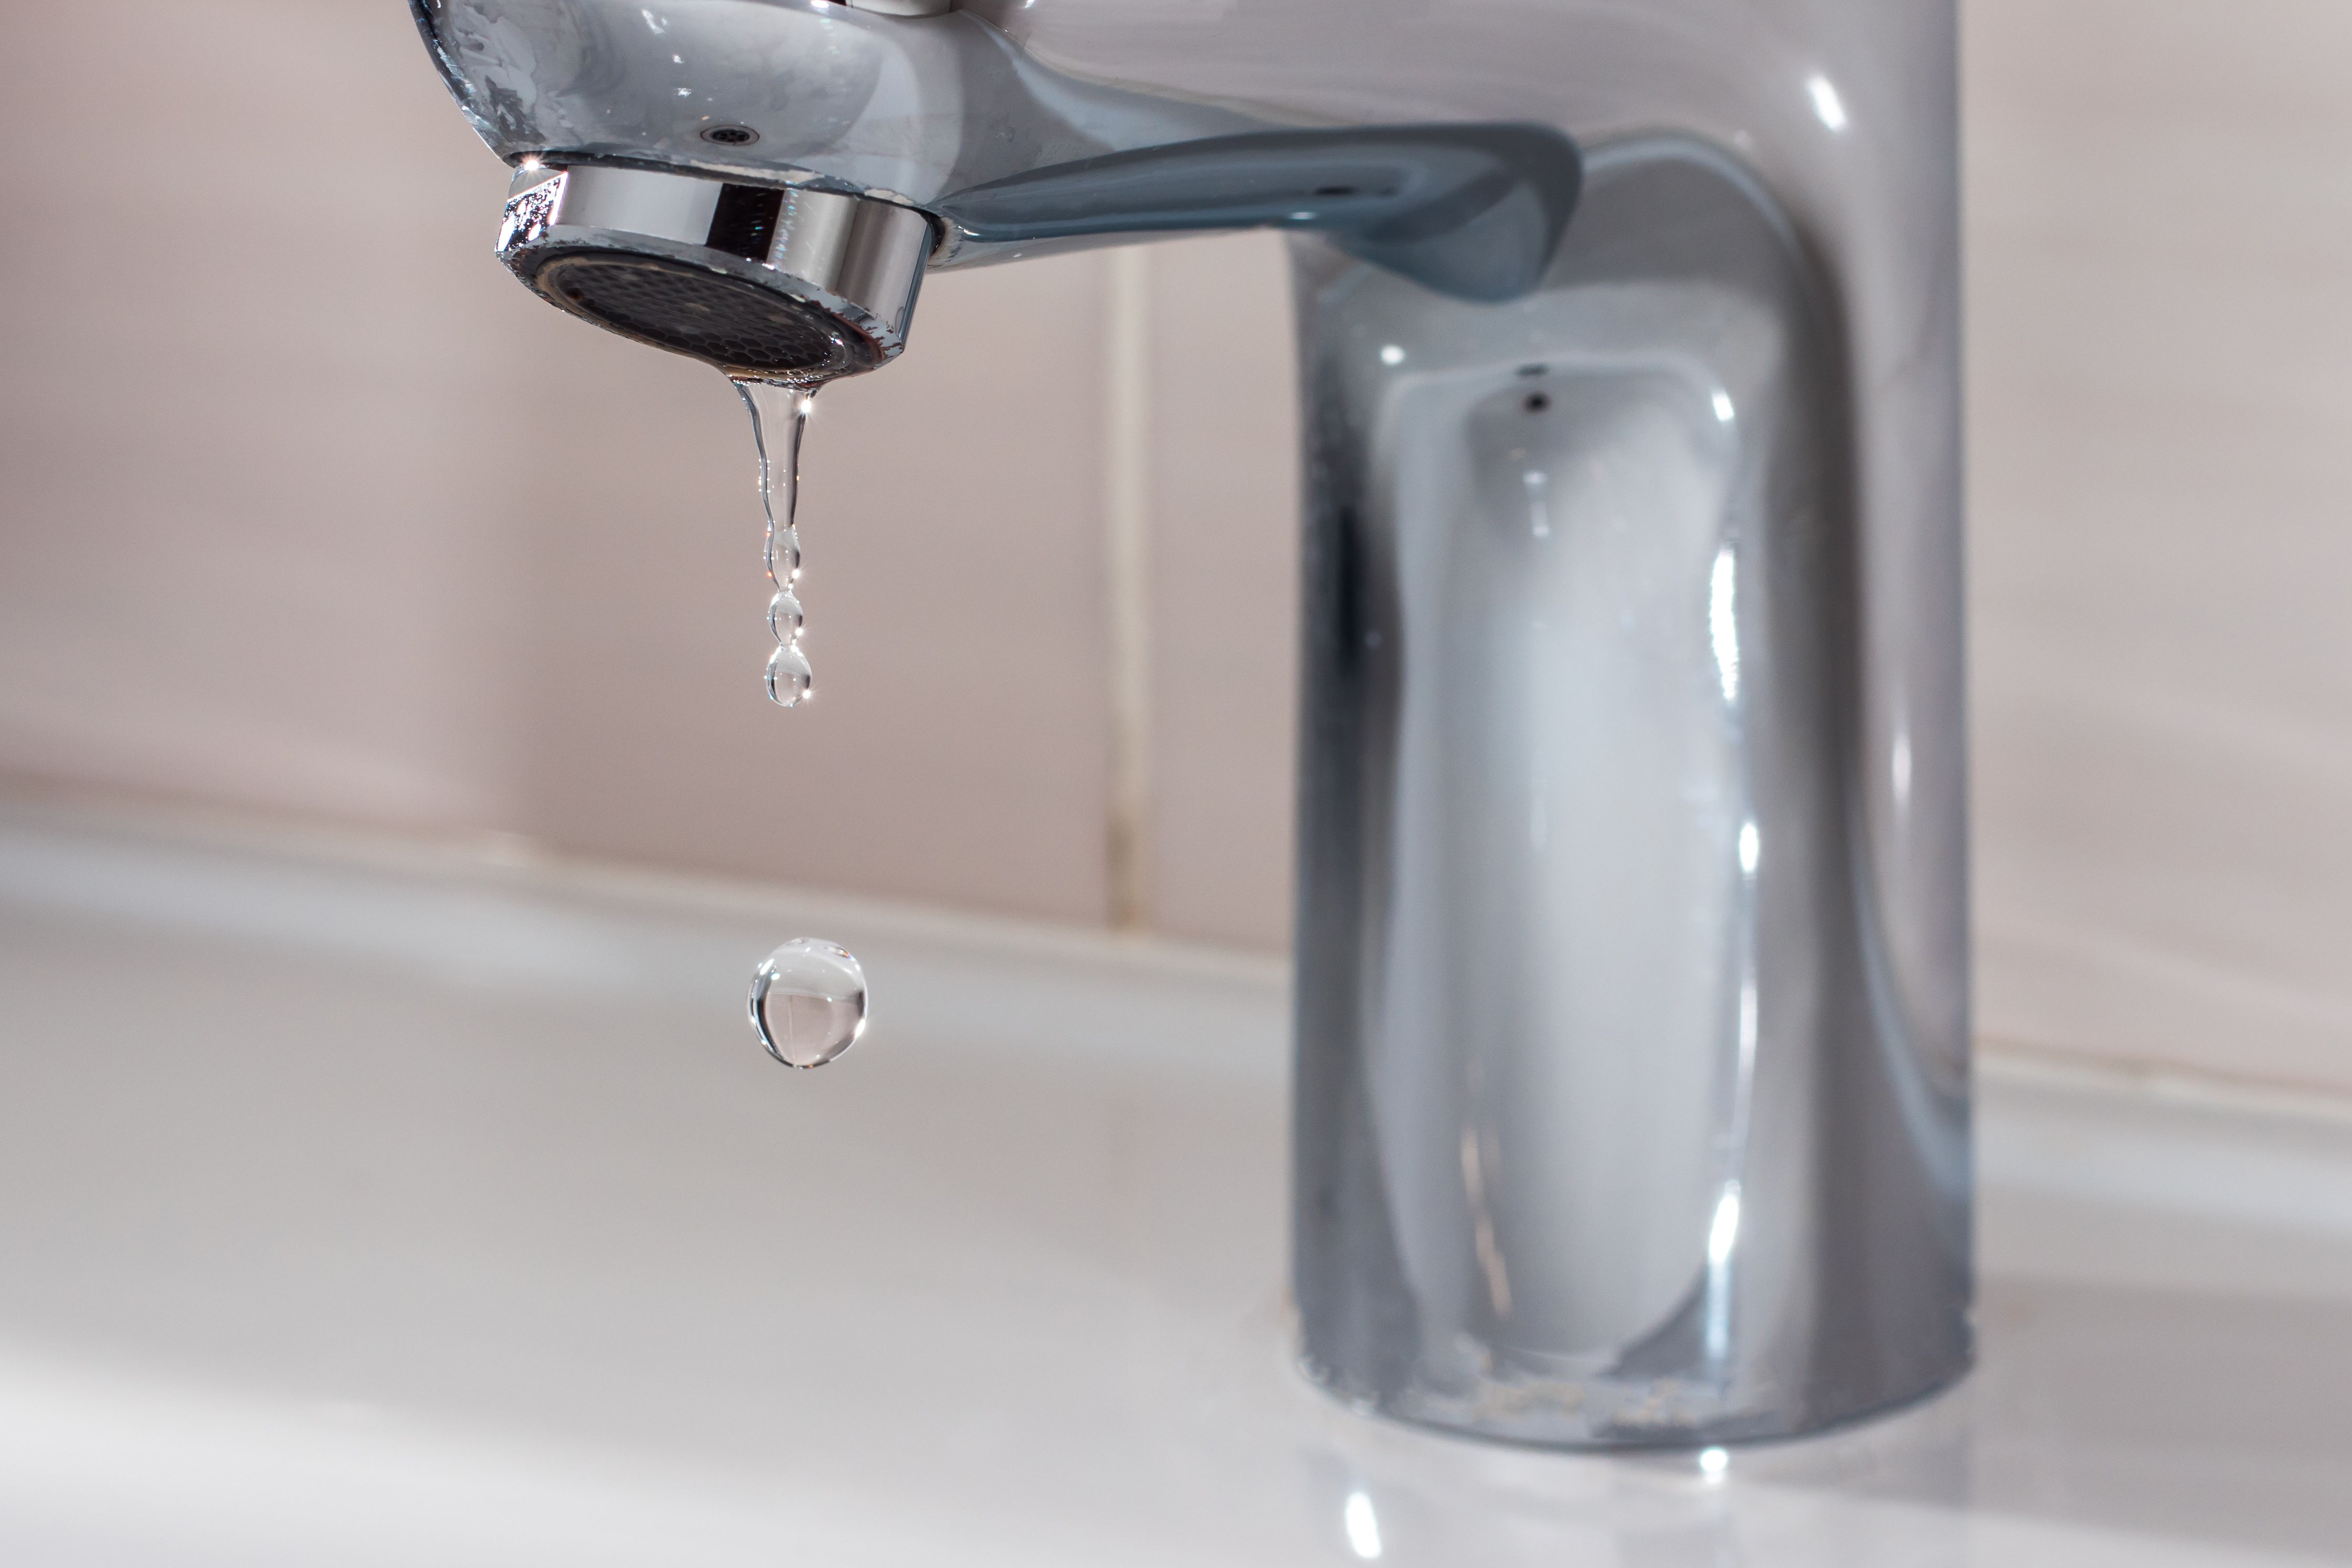
Identifying the causes of a dripping bathroom faucet
A dripping bathroom faucet can be a nuisance, not to mention the wasted water and potential damage it can cause. Understanding the causes of a dripping faucet is essential to effectively fix the problem. Let’s explore the various reasons behind a dripping bathroom faucet and how to identify them.
- Worn-out or faulty washers: One of the most common causes of a dripping faucet is a worn-out or faulty washer. Over time, the constant use of the faucet can cause the washer to deteriorate, resulting in leaks. To check if a faulty washer is the culprit, turn off the water supply and disassemble the faucet. Examine the washer for any signs of wear or damage.
- Loose or worn-out O-rings: Another common cause of a dripping faucet is loose or worn-out O-rings. O-rings are rubber seals that prevent water from leaking out of the faucet. If these O-rings become loose or worn-out, water can seep through, causing the faucet to drip. To check for loose or worn-out O-rings, disassemble the faucet and inspect the O-rings for any signs of wear or damage.
- Corroded valve seat: A corroded valve seat can also lead to a dripping bathroom faucet. The valve seat is the connection between the faucet and the spout. Over time, mineral deposits can build up on the valve seat, causing it to corrode and create a leak. To check for a corroded valve seat, disassemble the faucet and inspect the valve seat for any signs of corrosion.
- High water pressure: High water pressure can put excessive stress on the faucet and cause it to drip. If you notice that the dripping is more pronounced when the water pressure is high, it may be an indication that the water pressure is the cause. In such cases, it is advisable to install a pressure regulator to reduce the water pressure and alleviate the dripping.
- Improper installation or faulty parts: Sometimes, a dripping bathroom faucet can be a result of improper installation or faulty parts. If the faucet is not installed correctly or if there are defective components, it can lead to leaks. In such cases, it is best to consult a professional plumber to assess the installation and replace any faulty parts.

Tools and materials needed for the repair
Fixing a dripping bathroom faucet requires the right tools and materials. Having a comprehensive list of items needed for the repair ensures that you are well-prepared and can complete the task efficiently. Below we provide you with a detailed list of tools and materials required to fix a dripping faucet.
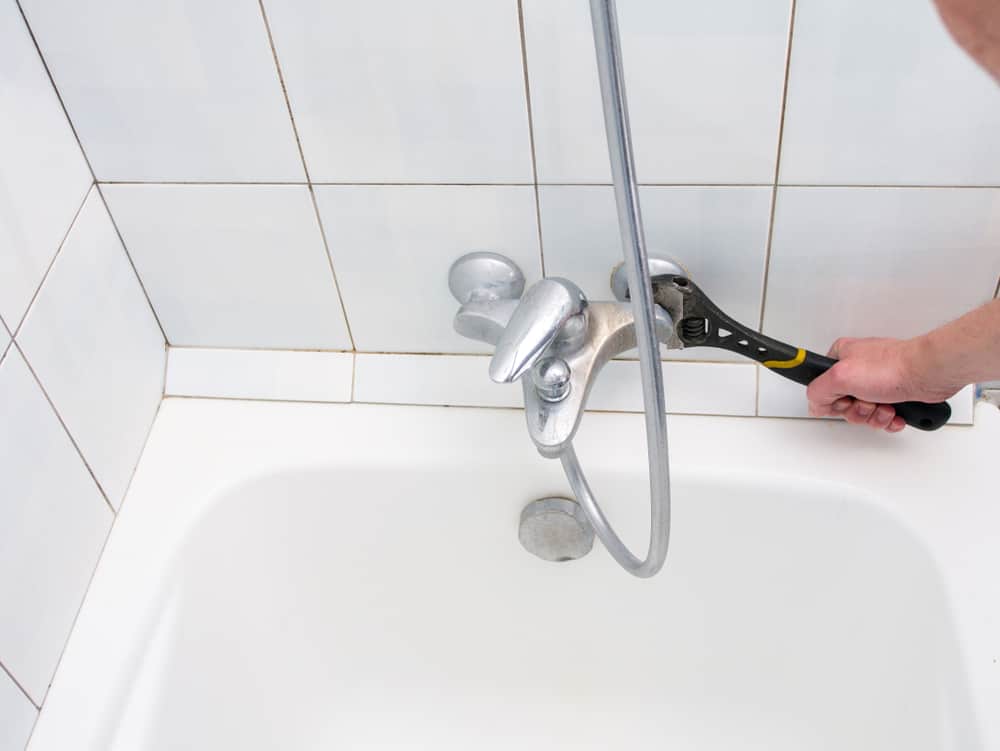
- Adjustable wrench: An adjustable wrench is an essential tool for loosening and tightening various components of the faucet. It allows you to securely hold and manipulate different sizes of nuts and bolts.
- Screwdrivers: Different types of screwdrivers may be needed depending on the type of faucet you have. Flathead and Phillips screwdrivers are commonly used for disassembling and reassembling the faucet.
- Pliers: Pliers are useful for gripping and turning small parts of the faucet, such as the valve stem or cartridge. They provide a firm grip and make it easier to handle tight spaces.
- Allen wrench: An Allen wrench, also known as a hex key, is often required for removing certain types of faucet handles. It is essential to have a set of Allen wrenches in different sizes to accommodate various faucet models.
- Replacement parts: Depending on the specific problem with your dripping faucet, you may need to replace certain parts. Common replacement parts include washers, O-rings, valve seats, and cartridges. It is important to identify the specific parts needed for your faucet before starting the repair.
- Plumber’s tape: Plumber’s tape, also known as Teflon tape, is used for creating a watertight seal on threaded connections. It is typically wrapped around the threads of pipe fittings to prevent leaks.
- Cleaning supplies: Before reassembling the faucet, it is important to clean all the components thoroughly. You may need a mild detergent or vinegar solution, a soft brush or cloth, and a toothbrush for scrubbing hard-to-reach areas.
Repairing a dripping bathroom faucet
Repairing a dripping bathroom faucet may seem like a daunting task, but with the right guidance, it can be a straightforward process. Follow this step-by-step guide to help you fix your dripping faucet and restore it to proper working condition.
Turn off the water supply: Before starting the repair, it is essential to turn off the water supply to the faucet. Locate the shut-off valves under the sink and close them to stop the flow of water. If you cannot find individual shut-off valves, you may need to turn off the main water supply to your house.
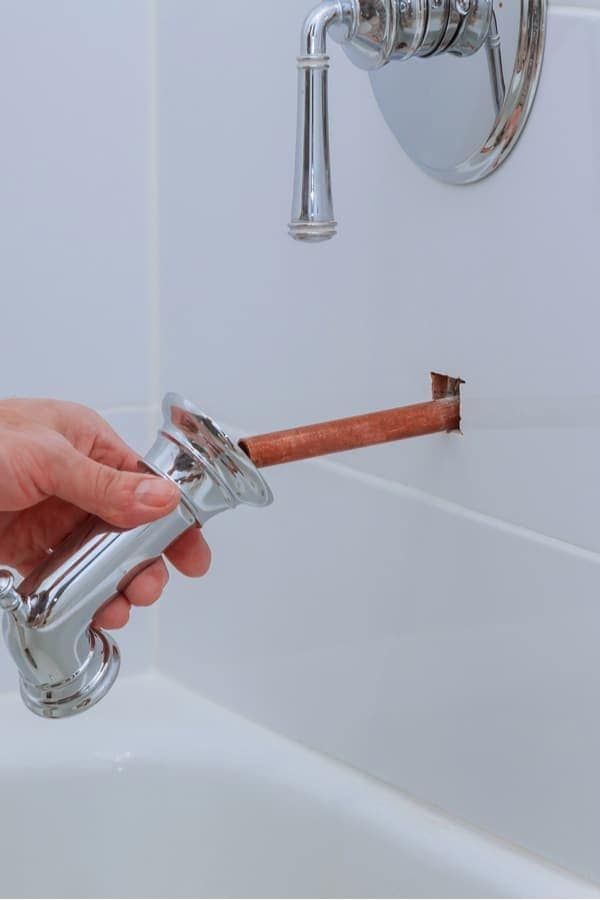
Disassemble the faucet: Carefully remove the handle of the faucet by either unscrewing it or removing the decorative cap and set screw. Once the handle is off, use a wrench or pliers to unscrew the packing nut or bonnet that holds the valve in place. Remove the valve stem or cartridge from the faucet body.
Inspect and replace faulty parts: Examine the valve stem or cartridge for any signs of damage or wear. If you notice a worn-out washer, O-ring, or valve seat, replace them with new ones. It is important to match the replacement parts with the existing ones to ensure a proper fit.
Clean and lubricate: Before reassembling the faucet, clean all the components thoroughly to remove any debris or mineral deposits. Use a mild detergent or vinegar solution and a soft brush or cloth to scrub the parts. Once cleaned, apply a thin layer of plumber’s grease or silicone lubricant to the moving parts to ensure smooth operation.
Reassemble the faucet: Carefully place the valve stem or cartridge back into the faucet body. Secure it in place by tightening the packing nut or bonnet. Reattach the handle and tighten any screws or set screws. Turn on the water supply and test the faucet for any leaks. If everything is working correctly, you have successfully repaired your dripping bathroom faucet.
Adjust water pressure and temperature: After repairing the faucet, you may need to adjust the water pressure and temperature. Use the shut-off valves under the sink to regulate the water flow and adjust the temperature control on the faucet if necessary.
Common mistakes to avoid during the repair
Repairing a dripping bathroom faucet requires precision and attention to detail. While it may seem like a simple task, there are common mistakes that can lead to further damage or complications. We will highlight some of these mistakes and provide you with tips and tricks to avoid them during the repair process.
Lack of preparation: One common mistake is starting the repair without proper preparation. Before beginning the repair, make sure you have all the necessary tools and replacement parts on hand. Familiarize yourself with the faucet’s structure and take note of the steps involved in disassembling and reassembling it. This will help you avoid confusion and save time during the repair.
Forcing or overtightening: When disassembling or reassembling the faucet, it is important to use the right amount of force. Forcing parts can lead to damage or breakage, while overtightening can cause leaks or striped threads. Follow the manufacturer’s instructions and use the appropriate tools to tighten components securely. If a part doesn’t fit or move easily, double-check that you have the correct replacement part and consult a professional if necessary.
Ignoring water supply shut-off: Neglecting to turn off the water supply before starting the repair can result in a flood or water damage. Always locate and close the shut-off valves under the sink or turn off the main water supply to your house. This precaution will prevent water from spraying out when you remove components and allow you to work safely.
Mixing up parts: During the disassembly process, it is crucial to keep track of the order and orientation of each part. Mixing up the parts can lead to improper reassembly and cause leaks or malfunctioning. Take photos or make notes as you remove components to ensure they are correctly reinstalled.
Rushing the cleaning process: Cleaning the faucet components is an essential step in the repair process. Rushing or skipping this step can result in debris or mineral deposits causing leaks or reduced functionality. Take the time to thoroughly clean each part, removing any buildup or residue. Use a soft brush or cloth to reach into crevices and ensure all surfaces are clean.
Neglecting regular maintenance: Once you have successfully repaired the dripping faucet, it is important to establish a regular maintenance routine. Regularly inspect and clean the faucet, checking for any signs of wear or damage. Addressing minor issues promptly can prevent leaks and prolong the lifespan of your faucet.
Maintenance tips to prevent future faucet drips
Prevention is always better than cure, and when it comes to dripping bathroom faucets, regular maintenance is key. By taking proactive measures, you can keep your faucets in good condition, prevent future leaks, and save money on repairs. Here are several maintenance tips to help you maintain your bathroom faucets.
Clean the faucet regularly: Regular cleaning is essential to prevent mineral buildup and debris from affecting the performance of your faucet. Use a mild detergent or vinegar solution and a soft brush or cloth to clean the faucet and remove any deposits. Pay attention to hard-to-reach areas and crevices where dirt can accumulate.
Check for leaks and drips: Regularly inspect your faucets for any signs of leaks or drips. Even a small drip can waste a significant amount of water over time. If you notice any leaks, address them promptly to prevent further damage or water waste. Replace faulty washers, O-rings, or other components as needed.
Maintain proper water pressure: Excessive water pressure can put stress on your faucets and cause leaks. Install a pressure regulator or consult a professional plumber to ensure that your water pressure is within the recommended range. This will help prevent future faucet drips and prolong the lifespan of your fixtures.
Avoid harsh cleaning agents: Avoid using harsh chemicals or abrasive cleaners on your faucets, as they can damage the finishes and components. Stick to mild detergents or vinegar solutions for regular cleaning. If you encounter stubborn stains or buildup, consult the manufacturer’s guidelines or seek professional advice.
Address dripping faucets promptly: If you notice a dripping faucet, address it promptly to prevent further damage and water waste. Ignoring a dripping faucet can lead to increased damage to the internal components, resulting in more extensive repairs. Take the time to identify the cause of the drip and replace any faulty parts as necessary.
Schedule professional inspections: Consider scheduling regular professional inspections of your plumbing system, including faucets. A trained plumber can identify potential issues before they become major problems and provide recommendations for maintenance or repairs. Regular inspections can help you catch small leaks or drips early on, saving you money and preventing water damage.
Reasons Your Faucet Is Dripping Water – How To Fix It WM Henderson
11 Easy Steps to Fix a Leaking Bathtub Faucet
How To Repair A Leaking Double Handle Faucet
How to FIX LEAKY quarter turn FAUCETS – No more Drips !
How to fix a dripping American Standard Bathroom Faucet
11 Easy Steps to Fix a Leaking Bathtub Faucet
How to Fix a Leaky Faucet – 5 Easy Steps to Fix a Faucet
Related Posts:


