The Importance of Sealing Bathroom Tile and Grout
Sealing bathroom tile and grout may seem like an optional step in your bathroom maintenance routine, but its importance should not be underestimated. Let’s discuss the benefits of sealing bathroom tile and grout, highlighting the reasons why it should be an essential part of your cleaning regimen.
- Protection against Water Damage: One of the primary benefits of sealing bathroom tile and grout is its ability to protect against water damage. Bathrooms are prone to high levels of moisture and humidity, which can seep into the porous surface of unsealed tiles and grout. Over time, this can lead to mold and mildew growth, as well as structural damage. Sealing creates a barrier that prevents water from penetrating the surface, thus safeguarding your bathroom against potential damage.
- Stain Resistance: Unsealed grout and tile are more susceptible to staining from spills, dirt, and grime. Sealing forms a protective layer that repels liquids, making it easier to clean and maintain the pristine appearance of your bathroom. Whether it’s a splash of toothpaste or a hair dye mishap, sealed tile and grout are less likely to absorb stains, ensuring your bathroom remains aesthetically pleasing.
- Enhanced Durability: Sealing bathroom tile and grout enhances their durability and prolongs their lifespan. The sealant acts as a shield, preventing cracks and chips in the tiles and minimizing wear and tear. By sealing your bathroom surfaces, you can prevent costly repairs or replacements in the future, saving both time and money.
- Improved Hygiene: The porous nature of unsealed tile and grout provides an ideal breeding ground for bacteria, mold, and mildew. Sealing helps to inhibit the growth of these microorganisms, promoting a cleaner and healthier environment. By sealing your bathroom tile and grout, you can reduce the risk of allergies, respiratory issues, and other health concerns associated with poor indoor air quality.
- Easy Maintenance: Sealed tile and grout are much easier to clean and maintain compared to their unsealed counterparts. The protective layer created by the sealant makes it harder for dirt and grime to adhere to the surface, allowing for effortless cleaning. Regular maintenance becomes less time-consuming, and you can enjoy a sparkling bathroom with minimal effort.

How to Properly Seal Bathroom Tile and Grout
Sealing bathroom tile and grout is a relatively simple process that can be done by homeowners with a few basic tools and materials. In this step-by-step guide, we will walk you through the process of properly sealing your bathroom tile and grout, ensuring a long-lasting and effective seal.
Prepare the Surface: Before you begin the sealing process, it is important to thoroughly clean the tile and grout. Use a mild detergent and a scrub brush to remove any dirt, grime, or stains. Rinse the surface with water and allow it to dry completely before proceeding.
Choose the Right Sealer: Selecting the appropriate sealer for your bathroom tile and grout is crucial. There are various types of sealers available, including penetrating sealers, surface sealers, and enhancer sealers. Consider the type of tile and grout you have and the level of protection you desire. Read the manufacturer’s instructions carefully to ensure compatibility and proper application.
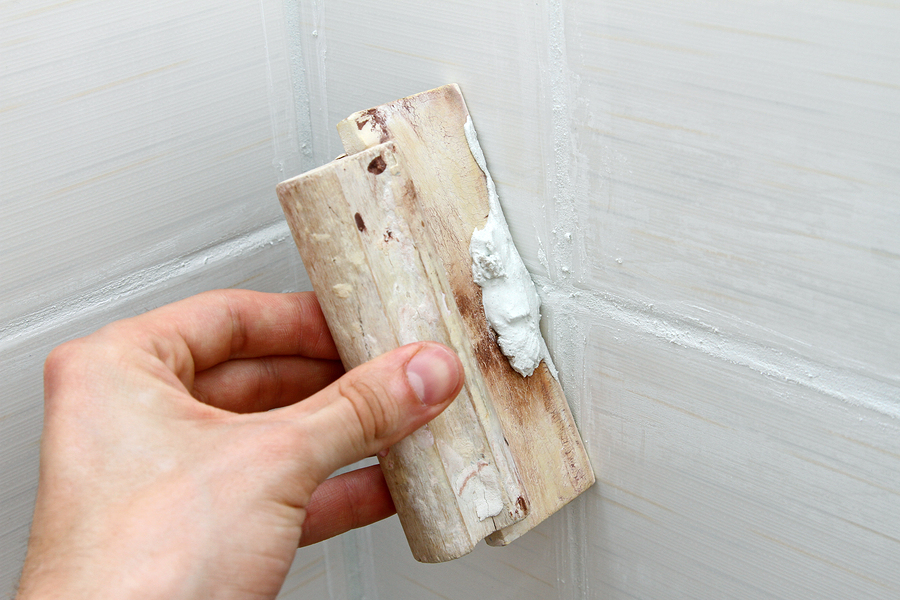
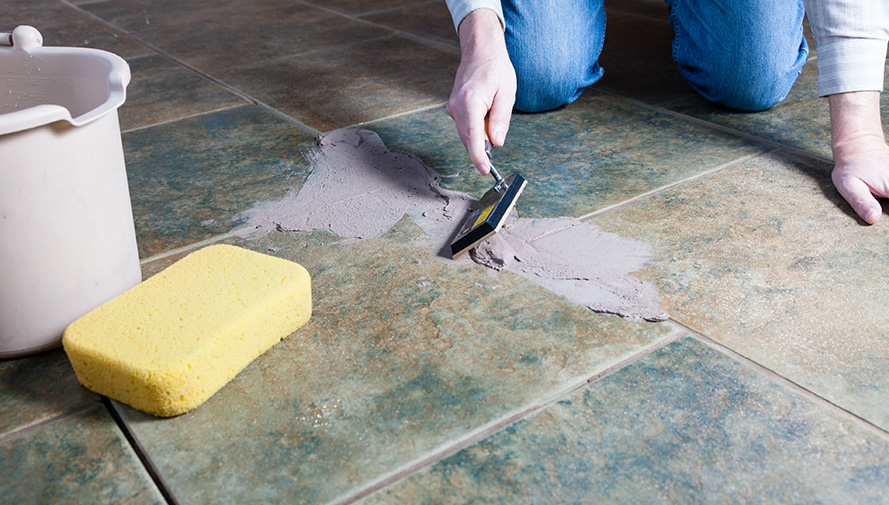
Apply the Sealer: Using a clean brush or roller, apply the sealer evenly to the tile and grout. Be sure to work in small sections, ensuring complete coverage. Avoid applying excessive sealer, as this may lead to a hazy or uneven finish. Allow the sealer to penetrate the surface for the recommended time specified by the manufacturer.
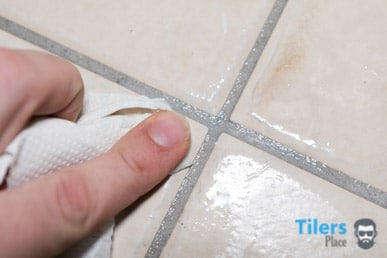
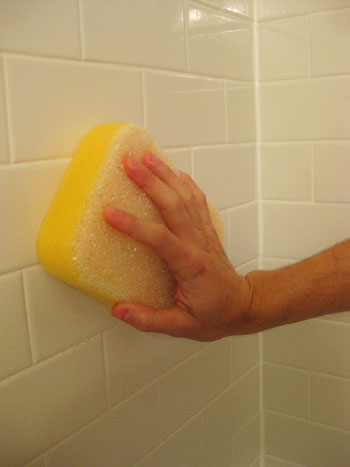
Wipe off Excess: After the sealer has had sufficient time to penetrate, use a clean cloth or sponge to wipe off any excess sealer from the surface. Pay attention to the grout lines and corners, ensuring they are free from any sealer residue. Take care not to disturb the sealed surface as you wipe off the excess.
Allow for Curing: Allow the sealed tile and grout to cure according to the manufacturer’s instructions. This typically involves avoiding contact with water and heavy traffic for a specific period. Curing time can vary depending on the type of sealer used, so be sure to follow the recommended guidelines to achieve optimal results.
Perform Regular Maintenance: Once the sealant has cured, it is important to maintain the sealed surfaces regularly. Clean the tile and grout with a mild detergent and avoid using abrasive cleaners or tools that may damage the seal. Regularly inspect the sealed areas for any signs of wear or damage and reapply the sealer as needed.
Choosing the Right Sealer
Choosing the right sealer for your bathroom tile and grout is essential to ensure optimal protection and longevity. With a variety of options available in the market, it can be overwhelming to make the right choice. Let’s explore different types of sealers and provide insights to help you choose the best sealer for your bathroom.
Penetrating Sealers: Penetrating sealers are designed to seep into the pores of the tile and grout, creating a protective barrier from within. These sealers are excellent for porous materials such as natural stone, ceramic, and unglazed tiles. They do not alter the appearance of the surface and provide long-lasting protection against water, stains, and mold.
Surface Sealers: Surface sealers, also known as topical sealers, create a protective layer on top of the tile and grout. They form a glossy or matte finish that enhances the appearance of the surface. Surface sealers are suitable for glazed tiles and provide excellent stain resistance. However, they may require more frequent reapplication compared to penetrating sealers.
Enhancer Sealers: Enhancer sealers are a combination of penetrating and surface sealers. They enhance the natural color and texture of the tile and grout while providing protection. Enhancer sealers are ideal for tiles with intricate patterns or for those who want to highlight the beauty of their tile and grout. However, they may require more maintenance and periodic reapplication.
Water-Based vs. Solvent-Based Sealers: Sealers can be categorized as water-based or solvent-based. Water-based sealers are environmentally friendly, low in odor, and easy to clean up. They are suitable for most tile and grout materials and provide a clear finish. Solvent-based sealers, on the other hand, offer longer-lasting protection and are more resistant to chemicals and extreme temperatures. However, they can emit strong fumes during application and require proper ventilation.
Considerations for Specific Tile and Grout Types: Different tile and grout materials have specific characteristics that should be taken into account when choosing a sealer. For example, natural stone tiles require a sealer specifically formulated for their unique properties. Porcelain tiles, on the other hand, are less porous and may require a different type of sealer. It is important to read the manufacturer’s recommendations and consult with experts to ensure compatibility and optimal results.
Maintaining the Longevity of Your Bathroom Tile and Grout
Once you have sealed your bathroom tile and grout, it is important to establish a routine care plan to maintain their longevity and beauty. We will provide you with essential tips for routine care that will help preserve the integrity of your sealed surfaces and keep your bathroom looking its best.
Regular Cleaning: Regular cleaning is key to maintaining the longevity of your bathroom tile and grout. Use a mild, pH-neutral cleaner specifically formulated for tile and grout. Avoid harsh chemicals or abrasive cleaners that can damage the sealant. Clean the surfaces regularly using a soft brush or sponge, paying close attention to the grout lines where dirt and grime tend to accumulate.
Preventive Measures: Take preventive measures to minimize the potential for damage or staining. Place mats or rugs in high-traffic areas to capture dirt and moisture before they reach the tile and grout. Wipe up spills immediately to prevent them from seeping into the porous surfaces. Use coasters under toiletries and avoid contact with harsh chemicals or abrasive materials.
Avoid Excessive Moisture: Excessive moisture can compromise the integrity of the sealant and promote the growth of mold and mildew. Keep the bathroom well-ventilated by using exhaust fans or opening windows during and after showers. Wipe down wet surfaces with a dry cloth or squeegee to remove excess moisture. By controlling moisture levels, you can prevent damage and maintain a healthy environment.
Periodic Inspection: Periodically inspect your bathroom tile and grout for any signs of wear or damage. Look for cracks, chips, or areas where the sealant may have worn off. Promptly address any issues to prevent further damage. If necessary, reseal the affected areas to maintain the protection and longevity of your tile and grout.
Regular Reapplication: Over time, the sealant on your bathroom tile and grout may start to wear off. It is important to reapply the sealer periodically to ensure continuous protection. The frequency of reapplication depends on factors such as the type of sealer used, the level of usage, and the manufacturer’s recommendations. Follow the instructions provided with the sealer to determine the appropriate time for resealing.
Professional Maintenance: For deep cleaning or intensive maintenance, consider hiring a professional tile and grout cleaning service. Professionals have the expertise and specialized equipment to effectively clean and maintain your bathroom surfaces. They can also provide recommendations for resealing or repairing any damaged areas.
Common Mistakes to Avoid When Sealing Bathroom Tile and Grout
Sealing bathroom tile and grout is an important step in maintaining their appearance and durability. However, there are common mistakes that homeowners often make during the sealing process that can compromise the effectiveness of the seal. We will discuss expert advice on the common mistakes to avoid when sealing your bathroom tile and grout.
Insufficient Cleaning: One of the most common mistakes is failing to thoroughly clean the tile and grout before applying the sealer. Any dirt, grime, or stains left on the surface can prevent the sealer from properly adhering, leading to an ineffective seal. Take the time to clean the surfaces using a mild detergent and scrub brush, ensuring they are free from any debris or residue.
Applying Too Much Sealer: Applying an excessive amount of sealer is another mistake to avoid. More is not always better when it comes to sealing. Excessive sealer can create a hazy or uneven finish and may take longer to dry. Follow the manufacturer’s instructions regarding the recommended amount of sealer to apply for optimal results.
Not Allowing Sufficient Drying Time: Proper drying time is crucial for the sealer to effectively penetrate and form a protective barrier. Many homeowners make the mistake of not allowing sufficient drying time before using the bathroom or exposing the sealed surfaces to water. Be patient and follow the manufacturer’s instructions regarding the recommended drying time to ensure a durable and long-lasting seal.
Neglecting Regular Maintenance: Sealing your bathroom tile and grout is not a one-time solution. Regular maintenance is essential to preserve the effectiveness of the seal. Neglecting routine cleaning or failing to reapply the sealer when necessary can lead to the breakdown of the sealant and leave your tile and grout vulnerable to damage and staining. Make sure to follow a consistent cleaning and maintenance routine to prolong the life of the seal.
Using the Wrong Type of Sealer: Using the wrong type of sealer for your specific tile and grout can result in an ineffective or short-lived seal. Different types of tile and grout require specific sealers that are compatible with their properties. Research and consult with professionals to ensure you choose the right sealer for your bathroom surfaces.
Rushing the Process: Sealing bathroom tile and grout requires patience and attention to detail. Rushing through the process can lead to mistakes and compromise the quality of the seal. Take the time to read and follow the manufacturer’s instructions, work in small sections, and allow proper drying time. By taking a careful and methodical approach, you can achieve a successful seal.
How To Seal Your Grout and Tile Floor and Shower
The 3 Main Benefits of Grout Sealing
How To Seal And Gloss Tile And Grout In One Step
Is Grout Sealing Necessary After Installing New Tile?
How To Seal Tile Grout – Full Guide How To Use Grout Sealer
How To Seal Grout Young House Love
bathtub – Correct order of operations for caulking + sealing
How to Clean, Refresh, and Seal Your Grout (Easily and Cheaply!)
Austin Tile sealing, Tile sealing Austin TX
Related Posts:

