Why Spray Paint Your Bathroom Faucet: Benefits and Considerations
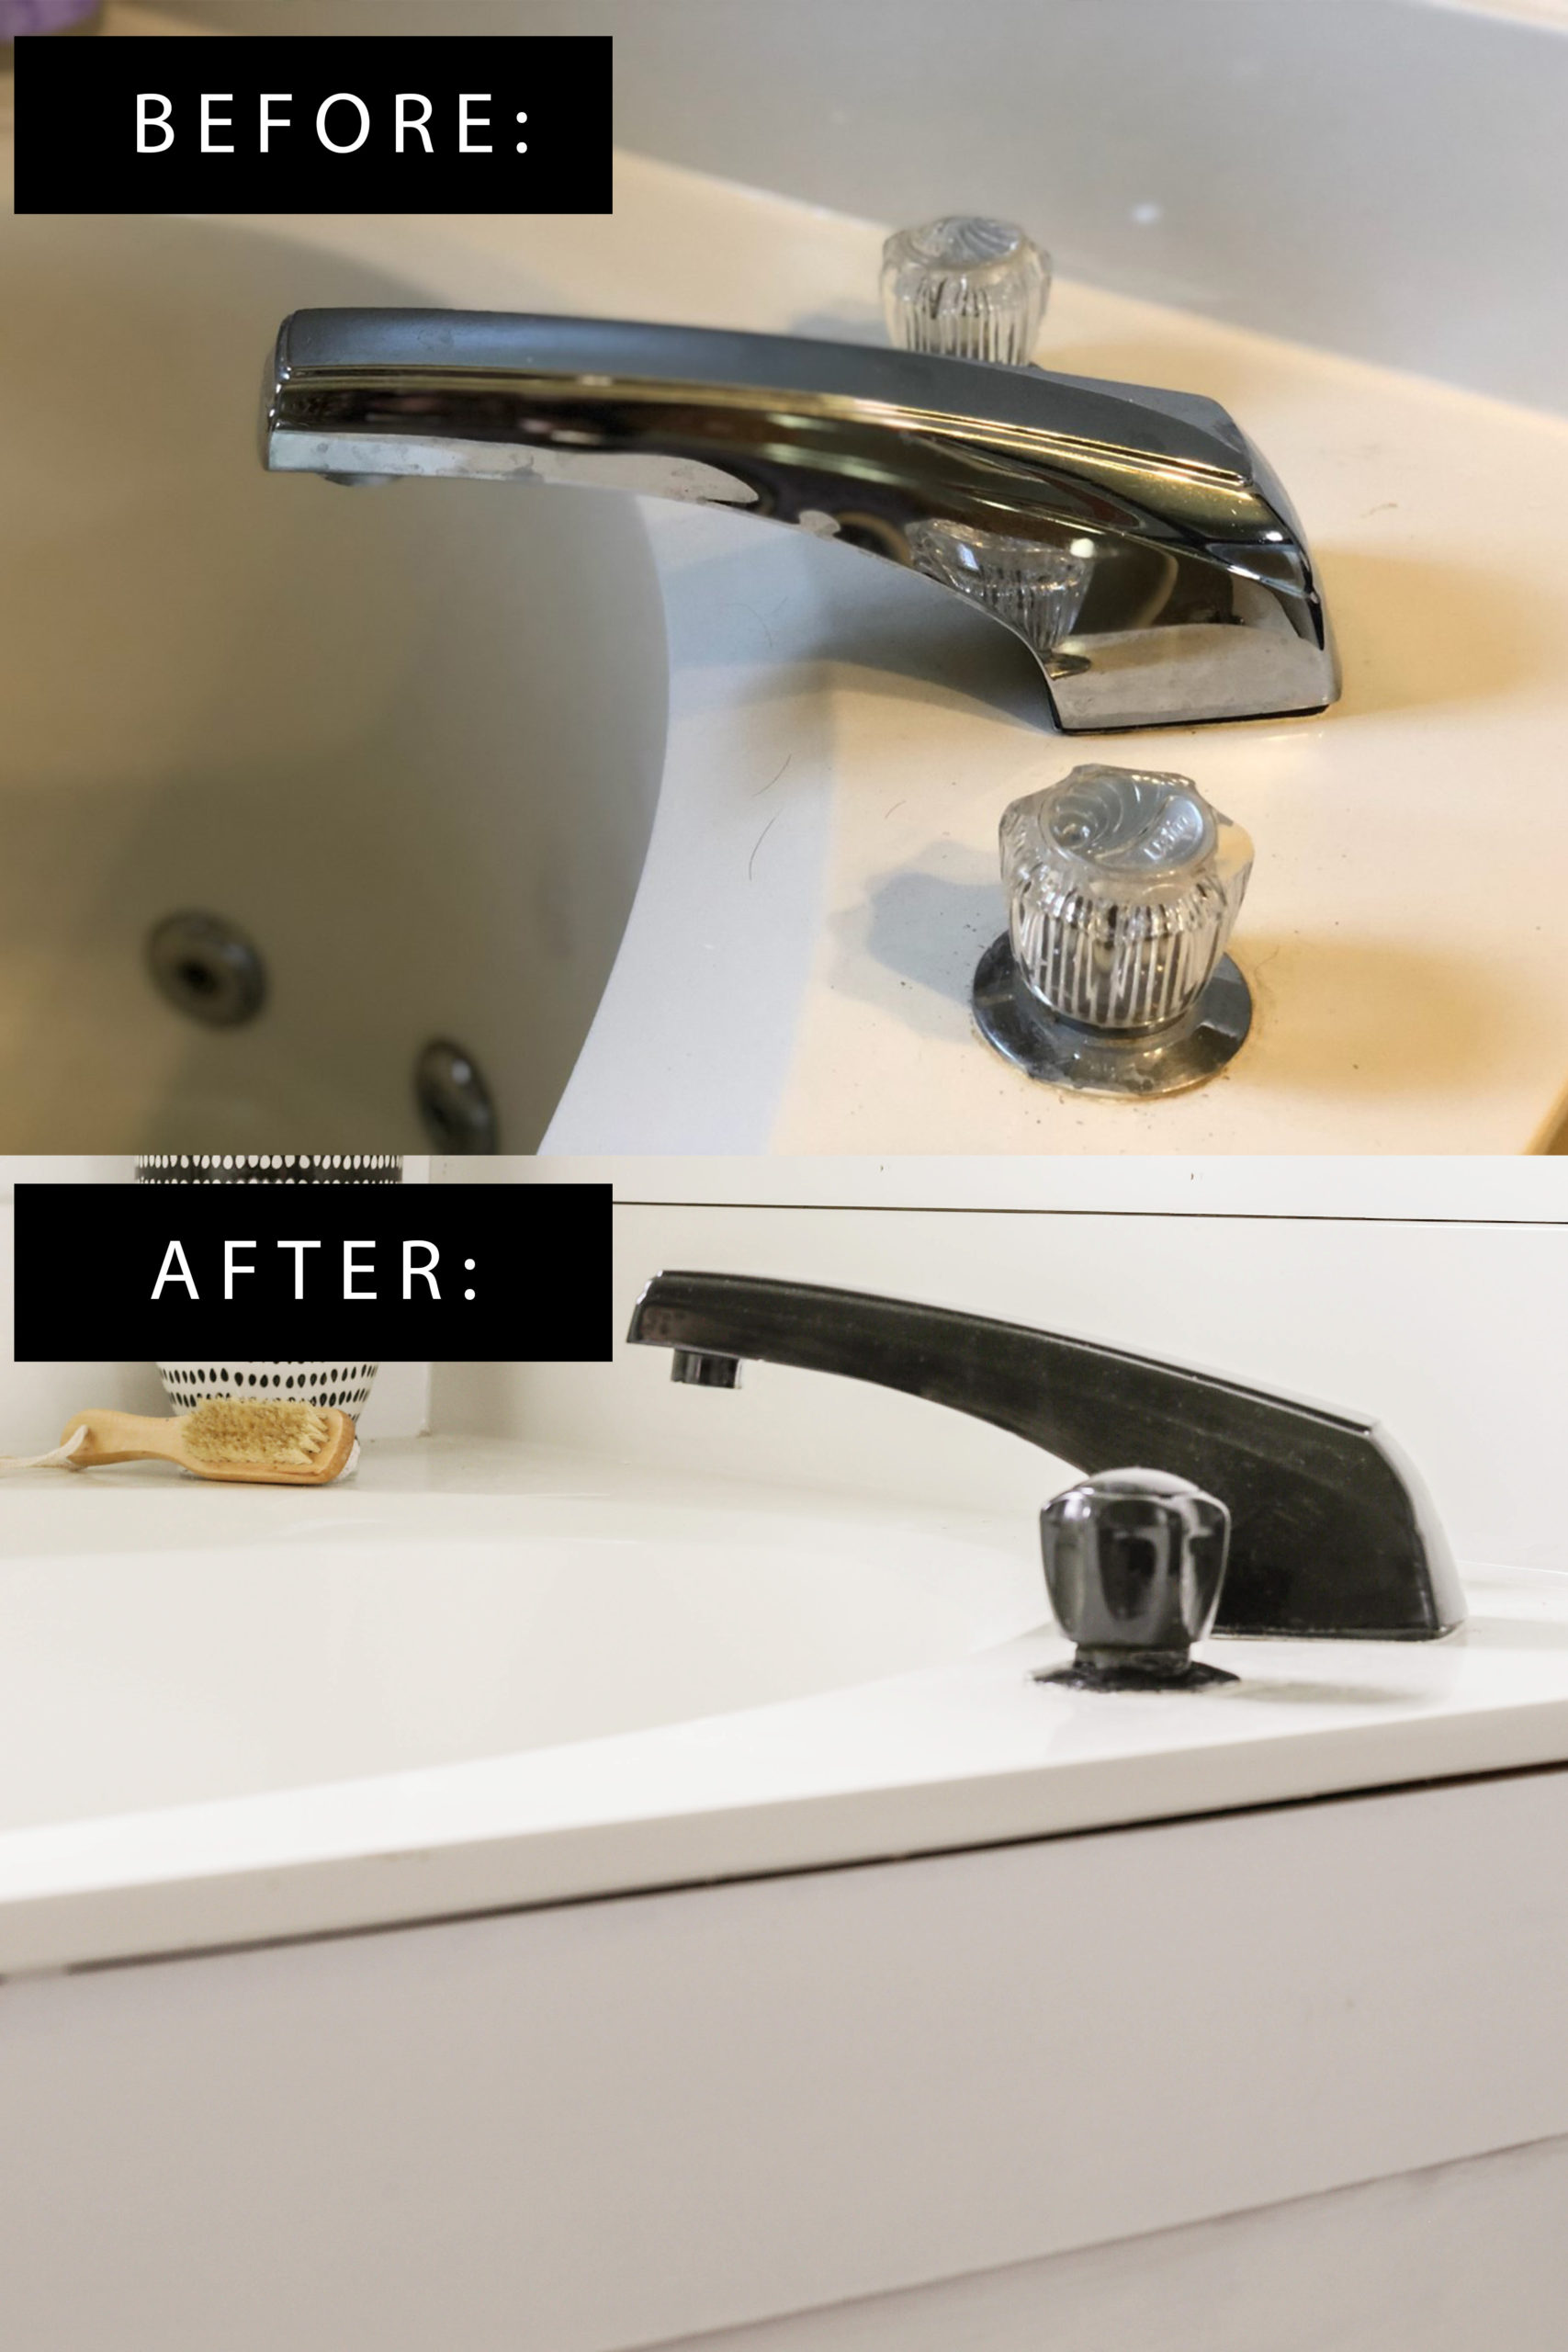
Spray painting your bathroom faucet might seem unconventional, but it’s an affordable and effective way to refresh the look of your bathroom without the need to replace fixtures. When I first considered it, I was a bit skeptical. However, after researching and trying it out myself, I realized that spray painting a faucet can be a game-changer for anyone wanting a budget-friendly update.
- Cost-Effective Makeover: One of the main reasons I decided to spray paint my bathroom faucet was to save money. Replacing bathroom fixtures, especially high-quality faucets, can get expensive. Spray painting provides a cost-effective alternative to buying a new faucet while still giving it a fresh, modern look.
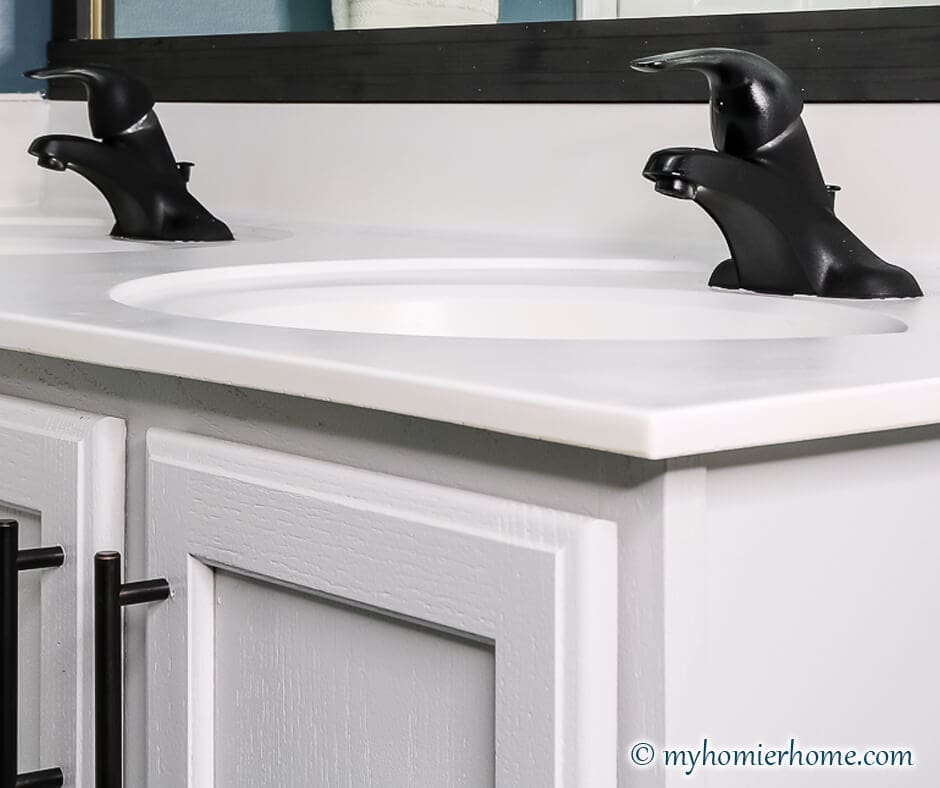
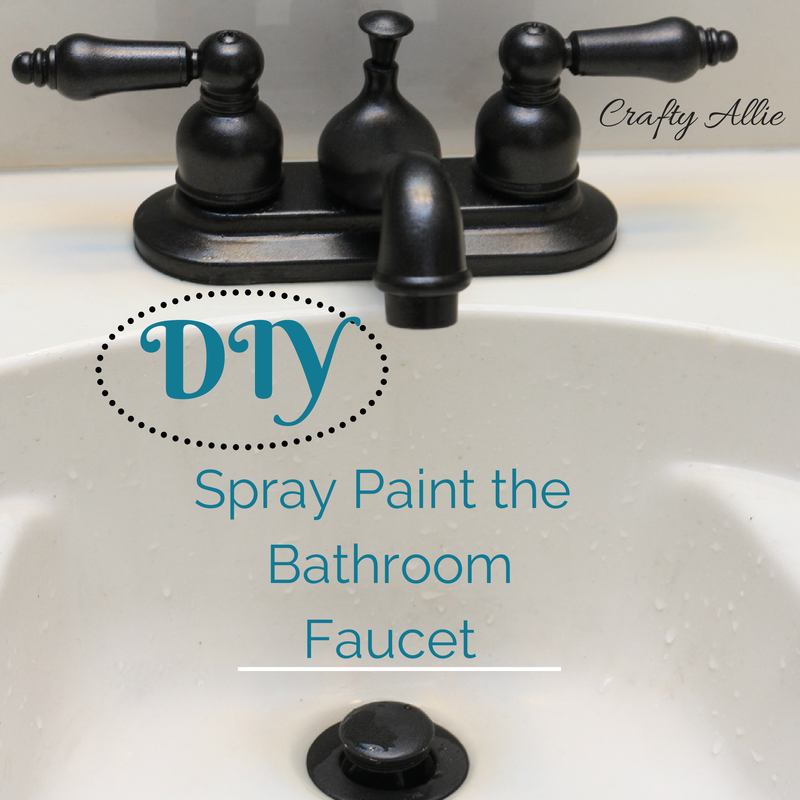
- Wide Range of Color Options: When you decide to spray paint your faucet, the variety of finishes and colors is extensive. I love that I could choose between matte black, brushed gold, or even a polished chrome finish, depending on the vibe I wanted for my bathroom. It allows you to get creative and tailor the look to your own taste.
- Quick Update Without the Hassle of Replacement: If you’ve ever replaced a faucet, you know it can be a complicated process. By opting to spray paint, you avoid the hassle of dealing with plumbing, detaching parts, and making sure everything is installed correctly. It’s a relatively easy and quick way to update your space, and that was a huge plus for me.
- Customizable Look: One thing I appreciate about spray painting is the ability to personalize your bathroom fixtures. Whether you want a classic finish or a more unique color to stand out, spray paint lets you achieve the exact look you’re going for. It’s especially useful if you’re coordinating with other bathroom elements, like your towel racks or light fixtures.
- Environmentally Friendly: Instead of discarding old fixtures, spray painting helps reduce waste. Reusing and refreshing existing pieces instead of replacing them is a more environmentally conscious choice, and that’s something I always try to keep in mind for any home improvement project.
- A Temporary Solution: While spray painting your faucet can last for quite some time if done correctly, it’s not a permanent solution. I found this to be a positive aspect because if I ever wanted to change the look again, it wouldn’t be as difficult as replacing the faucet entirely. It offers flexibility if you’re someone like me who loves updating their home frequently.

Choosing the Right Spray Paint for Bathroom Faucets
Selecting the right type of spray paint is crucial to ensure that your bathroom faucet holds up to daily use. When I first started this project, I realized not all spray paints are created equal, especially when used in a humid environment like the bathroom. Here’s what I learned along the way.
Look for Durable, Water-Resistant Paint
Because faucets are constantly exposed to water, it’s important to choose a paint that is durable and water-resistant. I found that spray paints specifically designed for metal and outdoor use tend to offer better water resistance, making them ideal for bathroom faucets.
Opt for a Rust-Preventative Formula
Bathrooms tend to be humid, which means rust can be a big concern, especially for metal fixtures. When choosing spray paint, I made sure to pick a brand with a built-in rust prevention feature. This will help keep the faucet looking fresh and new for a longer period.
Consider a Paint-and-Primer Combo
Using a spray paint with a built-in primer saves time and ensures better adhesion to the faucet’s surface. I’ve used regular spray paints before that didn’t have primer, and they didn’t last nearly as long. The paint started chipping after a few months. Choosing a paint-and-primer combo will give you a more durable finish with fewer coats.
Choose the Right Finish
The finish you choose will impact the overall look of your faucet. I personally love matte finishes for a sleek, modern look, but you can also go for satin or gloss if you prefer a shinier finish. The important thing is to consider how the finish complements the rest of your bathroom decor.
Check for Heat and Moisture Resistance
Given the constant exposure to heat from hot water, it’s essential to choose a spray paint that can withstand temperature changes. Some spray paints are formulated to be heat resistant, which helps prevent the paint from bubbling or peeling over time. I made sure to double-check the product label for this feature.
Stick to Trusted Brands
Not all spray paints will give you the long-lasting finish you need, especially in a high-use area like the bathroom. After researching online and asking for recommendations, I found that sticking to trusted brands like Rust-Oleum or Krylon provided better results. These brands are known for their durability and quality, so I felt more confident in my choice.
Preparing Your Bathroom Faucet for Spray Painting
Preparation is key when it comes to spray painting your bathroom faucet. I learned that skipping or rushing this step can lead to poor results, so taking the time to prep properly is worth the effort. Here’s how I prepped my faucet for painting and what I recommend for a flawless finish.
Clean Thoroughly
The first step is cleaning the faucet to remove any dirt, soap scum, or residue. I used a degreaser to make sure the surface was completely clean. Any dirt or grime left on the faucet can prevent the paint from adhering properly, leading to an uneven finish. I also recommend using a mild abrasive cleaner if the faucet has hard water stains.
Remove or Cover Surrounding Areas
I found that covering the surrounding sink and countertop with painter’s tape and plastic sheets was essential. You want to protect these areas from any overspray. If possible, removing the faucet and painting it separately is the best option, but if that’s not feasible, take your time taping everything up carefully.
Sanding the Surface
Sanding the faucet lightly with fine-grit sandpaper helps the paint adhere better to the surface. I used 220-grit sandpaper to roughen up the faucet’s surface just enough for the paint to stick. Be careful not to sand too aggressively, as you only want to create a slight texture for the paint to grip onto.
Use a Degreaser Again
After sanding, it’s important to clean the faucet again to remove any dust and oils that could interfere with the paint’s adhesion. I used a degreaser or rubbing alcohol for this step to ensure that the surface was perfectly clean and ready for painting. Skipping this step can lead to bubbling or peeling paint down the line.
Apply a Bonding Primer
Even if you’re using a paint-and-primer combo, I recommend applying a separate bonding primer before spray painting the faucet. This step ensures that the paint will stick properly and last longer. I used a metal primer for this purpose and made sure to follow the drying time recommendations before applying the paint.
Test the Spray Paint on a Small Area
Before committing to painting the entire faucet, I tested the spray paint on a small, inconspicuous area of the faucet to make sure the color and finish were what I wanted. This also gave me a chance to see how well the paint adhered to the surface before going all-in on the project.
Step-by-Step Guide to Spray Painting a Bathroom Faucet
Spray painting a bathroom faucet isn’t difficult, but following a step-by-step process ensures that you get the best possible finish. After successfully spray painting my faucet, I’m excited to share the steps I took to achieve a professional-looking result.
Gather Materials
Before you begin, make sure you have all the necessary materials. For my project, I needed spray paint (suitable for metal and moisture exposure), primer, painter’s tape, plastic sheets, fine-grit sandpaper, a degreaser, and gloves. Having everything ready beforehand helps make the process smoother.
Prepare the Area
As I mentioned earlier, covering the surrounding area is crucial. I taped plastic sheets over the sink, countertop, and backsplash to protect them from overspray. If you can remove the faucet, that’s even better. But if not, covering everything thoroughly is key to avoiding a mess.
Apply Primer
Once the faucet was cleaned and sanded, I applied a bonding primer in light, even coats. I made sure to hold the spray can about 8-12 inches away from the faucet to avoid drips and ensure an even application. Letting the primer dry completely between coats is essential for proper adhesion.
Start Spray Painting
When it came time to apply the spray paint, I used slow, sweeping motions to cover the entire faucet. Multiple light coats are much better than one heavy coat, as they prevent drips and ensure an even finish. I allowed each coat to dry for about 15-20 minutes before applying the next one.
Let It Dry Completely
Patience is key when spray painting. I let the faucet dry completely for at least 24 hours before using it again. This waiting period ensures that the paint has fully cured and will withstand regular use without chipping or peeling.
Reassemble and Enjoy the New Look
Once everything was dry, I removed the painter’s tape and plastic sheets. If you removed the faucet, now’s the time to reattach it. The final result was a sleek, modern-looking faucet that completely transformed the look of my bathroom without breaking the bank.
Best Practices for Achieving a Durable Finish
Achieving a durable finish when spray painting a bathroom faucet is all about the details. After completing my project, I realized that following a few key practices can make a big difference in how long the finish lasts and how professional it looks.
Multiple Light Coats Over One Heavy Coat
I quickly learned that applying multiple light coats of paint is much better than trying to get it done in one heavy coat. Light coats dry faster, adhere better, and reduce the risk of drips. This technique also prevents bubbling or peeling in the future, which can happen if the paint is applied too thickly.
Allow Proper Drying Time Between Coats
One of the most important things I did was allow plenty of drying time between coats. Rushing this step can result in a tacky, uneven finish. I followed the paint manufacturer’s instructions for drying times and found that patience really paid off. Letting the faucet dry completely between coats ensures a durable, smooth finish.
Use a Clear Protective Sealant
After painting, I applied a clear sealant designed for metal and high-moisture environments. This step is optional, but I highly recommend it. It adds an extra layer of protection against scratches and daily wear. I opted for a matte sealant to maintain the look I wanted without adding extra shine.
Avoid Excessive Water Exposure Right Away
Once the faucet was spray painted and sealed, I was careful not to expose it to excessive water for at least 48 hours. This allowed the paint to fully cure and harden. Even though it’s tempting to start using the faucet right away, waiting a little longer ensures a more durable finish in the long run.
Regular Cleaning with Non-Abrasive Products
To keep the finish looking fresh, I use non-abrasive cleaning products on the faucet. Harsh chemicals or abrasive scrubbing pads can damage the paint over time, so I stick to mild cleaners. A soft cloth and gentle soap have worked perfectly for keeping the faucet clean without risking damage to the finish.
Touch Up as Needed
I keep a can of the same spray paint on hand for any future touch-ups. While the finish is durable, normal wear and tear may occur over time. Having the paint ready to go allows for easy maintenance and keeps the faucet looking new. It’s a simple way to extend the life of the project.
Maintaining and Caring for Your Spray-Painted Faucet
Maintaining a spray-painted bathroom faucet is relatively easy if you follow a few basic care tips. Since the faucet will be exposed to water and regular use, it’s essential to take steps to protect the finish and keep it looking new.
Wipe Down the Faucet Regularly
One of the easiest ways to maintain your spray-painted faucet is to wipe it down regularly with a soft, damp cloth. This helps prevent water spots and mineral buildup that can dull the finish. I make it a habit to do this after each use to keep the faucet looking clean and shiny.
Use Gentle Cleaning Products
Avoid using harsh chemicals or abrasive scrubbing tools when cleaning your spray-painted faucet. I’ve found that a mild dish soap and water solution works best for everyday cleaning. Harsh cleaners can wear down the paint over time, so it’s best to stick to gentle products.
Dry the Faucet After Use
Excess water left on the faucet can lead to water spots or even rust in some cases. After each use, I take a few seconds to dry the faucet with a soft cloth. This simple step goes a long way in preserving the finish and preventing any long-term damage caused by moisture.
Address Scratches or Chips Quickly
Even with the best care, scratches or chips can happen. I always keep some of the same spray paint on hand for quick touch-ups. If I notice a small scratch or chip, I immediately address it to prevent further damage. A quick spray in the affected area is all it takes to keep the faucet looking like new.
Avoid Abrasive Scrubbing Pads
If the faucet gets dirty or has built-up grime, it’s tempting to reach for a scrubbing pad. However, I learned that abrasive pads can damage the paint, leading to chips or scratches. Instead, I use a soft sponge or microfiber cloth to clean the faucet without risking any damage.
Reapply Clear Sealant Periodically
To keep the faucet’s finish looking fresh, I reapply a clear protective sealant every few months. This adds an extra layer of protection and helps prevent any fading or chipping over time. It’s a simple step that ensures the faucet maintains its new look for as long as possible.
Common Mistakes to Avoid When Spray Painting Faucets
When I first started my spray painting project, I made a few mistakes along the way. After learning from them, I’m here to share what NOT to do when spray painting a bathroom faucet, so you can avoid the same issues.
Skipping the Cleaning and Sanding Steps
One of the biggest mistakes I made was rushing through the preparation phase. Skipping or half-heartedly cleaning and sanding the faucet can result in poor paint adhesion. I quickly realized that taking the time to properly clean and sand the faucet makes a huge difference in the outcome.
Using the Wrong Type of Paint
Another mistake is using spray paint that isn’t designed for metal or high-moisture environments. I initially used regular spray paint, and it started chipping within weeks. After switching to a paint specifically designed for metal surfaces, the results were much more durable. Always check the label to make sure the paint is appropriate for your faucet.
Applying Too Much Paint at Once
When I first started spray painting, I made the rookie mistake of applying too much paint in one coat. This led to drips and an uneven finish. Applying light, even coats is key to avoiding this mistake. Multiple light coats will give you a smoother, more professional result than one heavy coat.
Not Letting the Paint Dry Fully Between Coats
I was impatient during my first attempt and didn’t let the paint fully dry between coats. This led to tacky spots and uneven coverage. Letting each coat dry completely before applying the next one ensures a smoother finish and better durability.
Skipping the Primer
Not using a primer can result in a finish that chips and peels easily. I learned this the hard way. Using a bonding primer before applying spray paint gives the paint something to adhere to and significantly improves the durability of the finish.
Neglecting to Use a Clear Protective Sealant
Forgetting to apply a clear sealant was another mistake I made early on. The paint alone isn’t enough to protect the faucet from daily wear and tear. A sealant adds an extra layer of protection, making the finish last longer and look better over time.
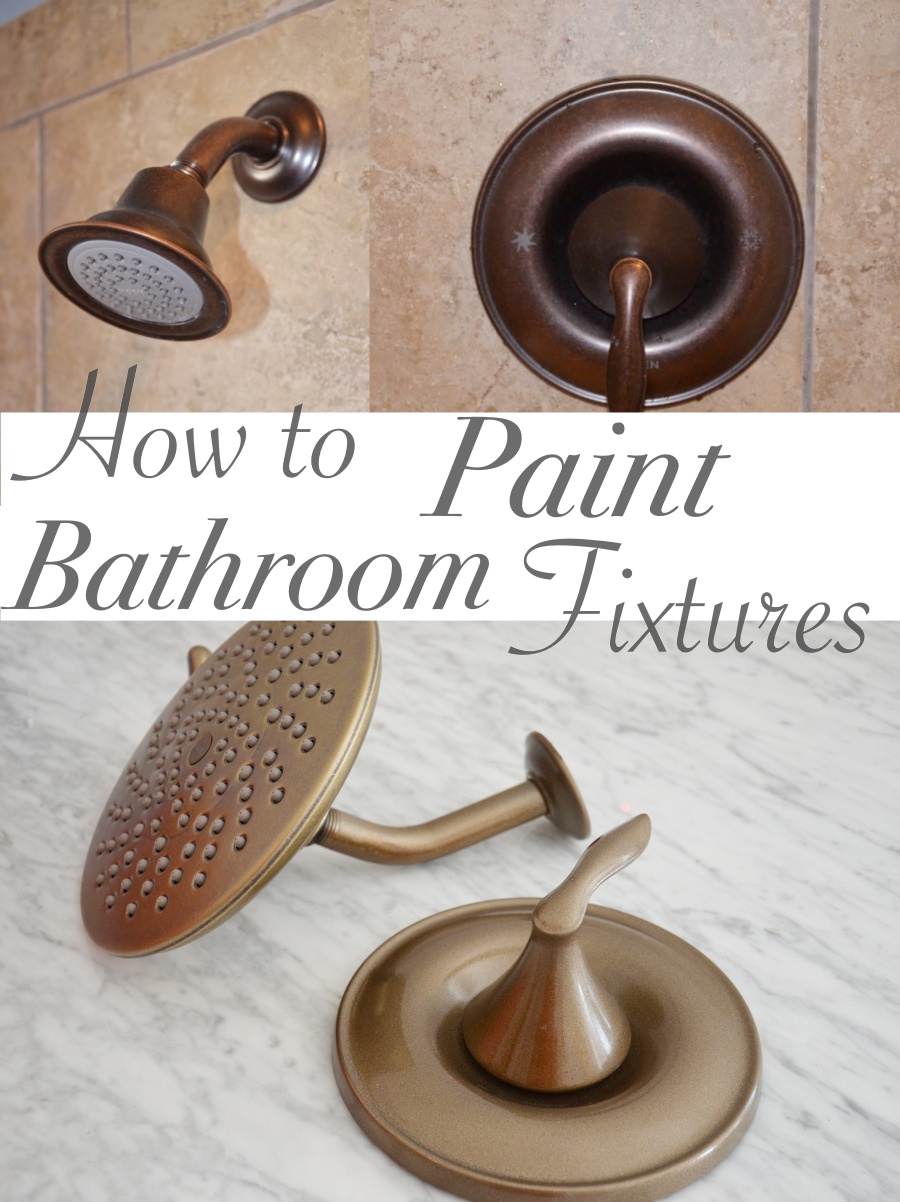
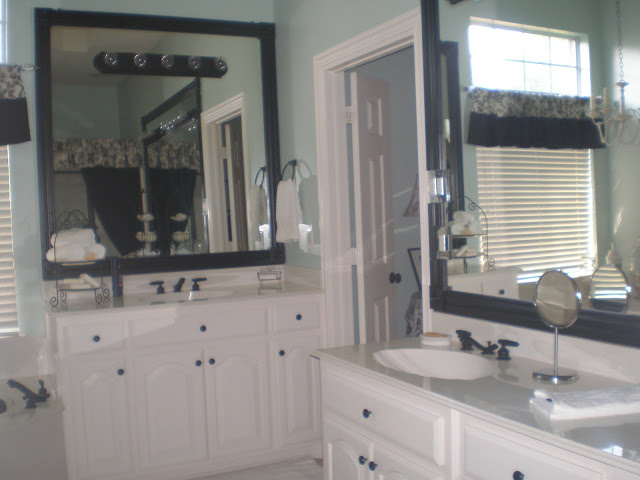
Painted Bathroom Faucets & Shower Enclosure
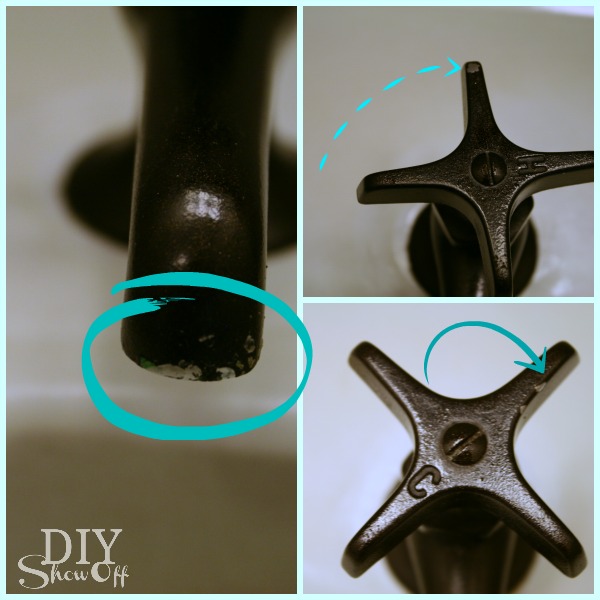
Painted FaucetsDIY Show Off ™ – DIY Decorating and Home
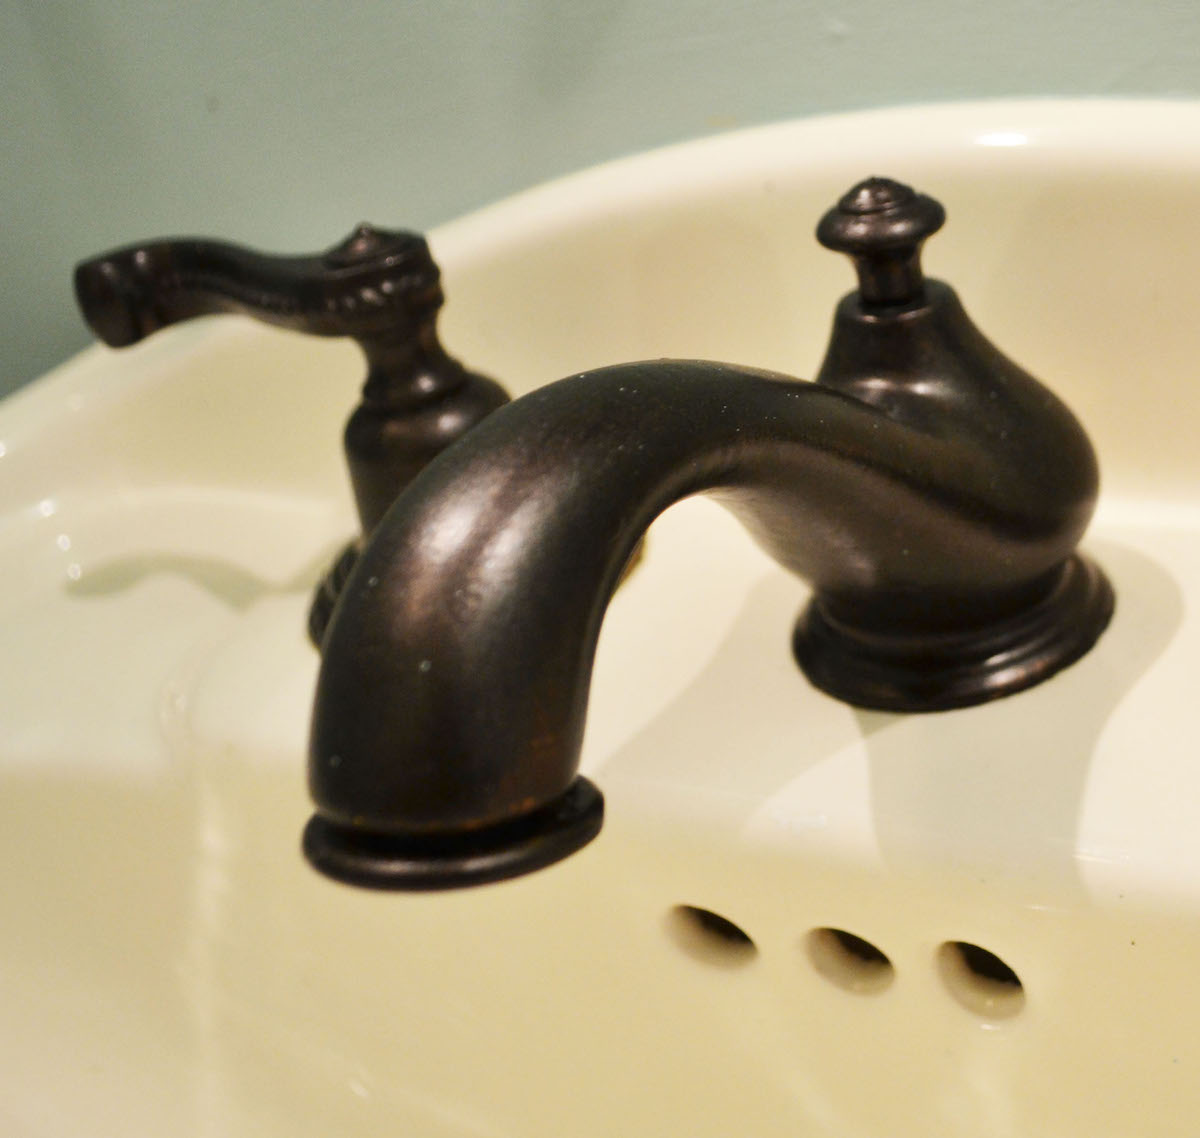
How to Paint a Faucet – Sincerely, Sara D. Home Decor
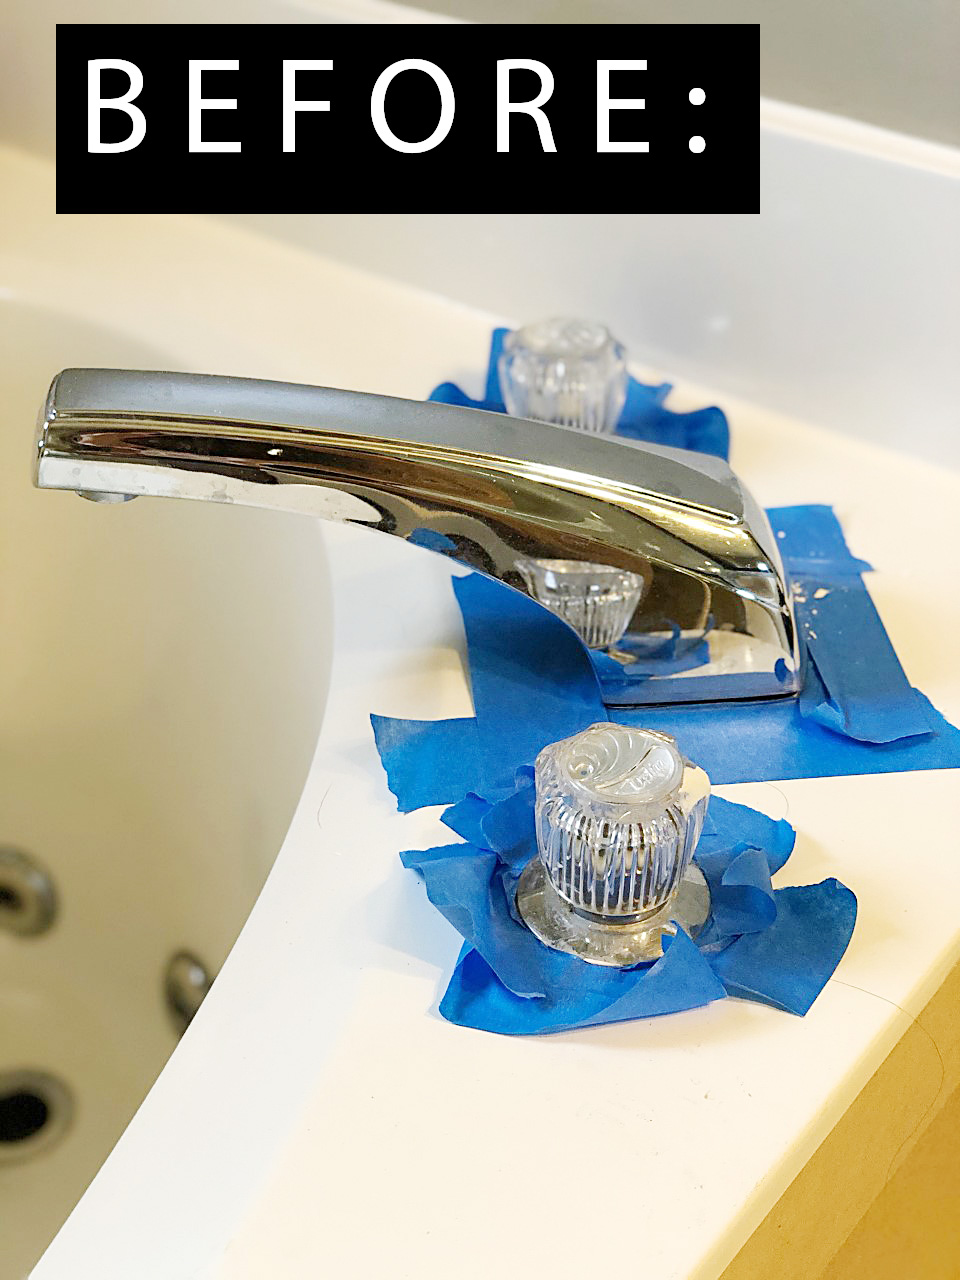
DIY Faucet Transformation for Under $15 – How to Paint a BathTub
Related Posts:
- Widespread Bathroom Faucets Under $100
- Delta Lorain Bathroom Faucet
- Ceramic Handle Bathroom Faucet
- Delta Venetian Bronze Bathroom Faucet
- Antique Brass Bathroom Faucet Centerset
- Motion Bathroom Faucet
- Delta Bathroom Faucet Reviews
- Vigo Titus Wall Mount Bathroom Faucet
- Traditional Widespread Bathroom Faucets
- Replace Bathroom Faucet Cost
