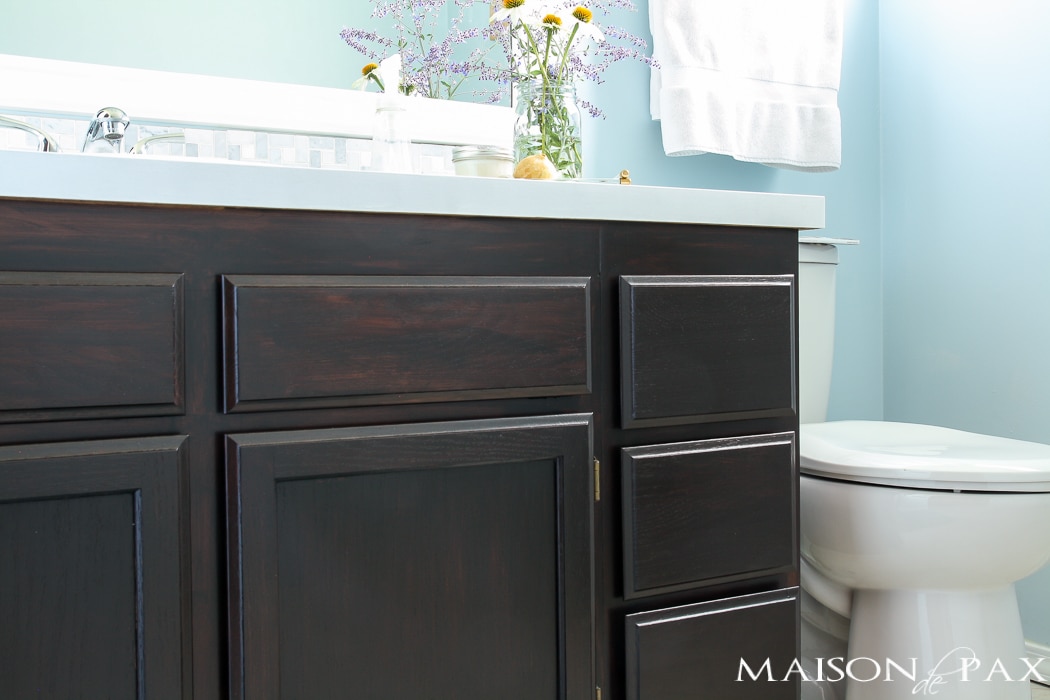
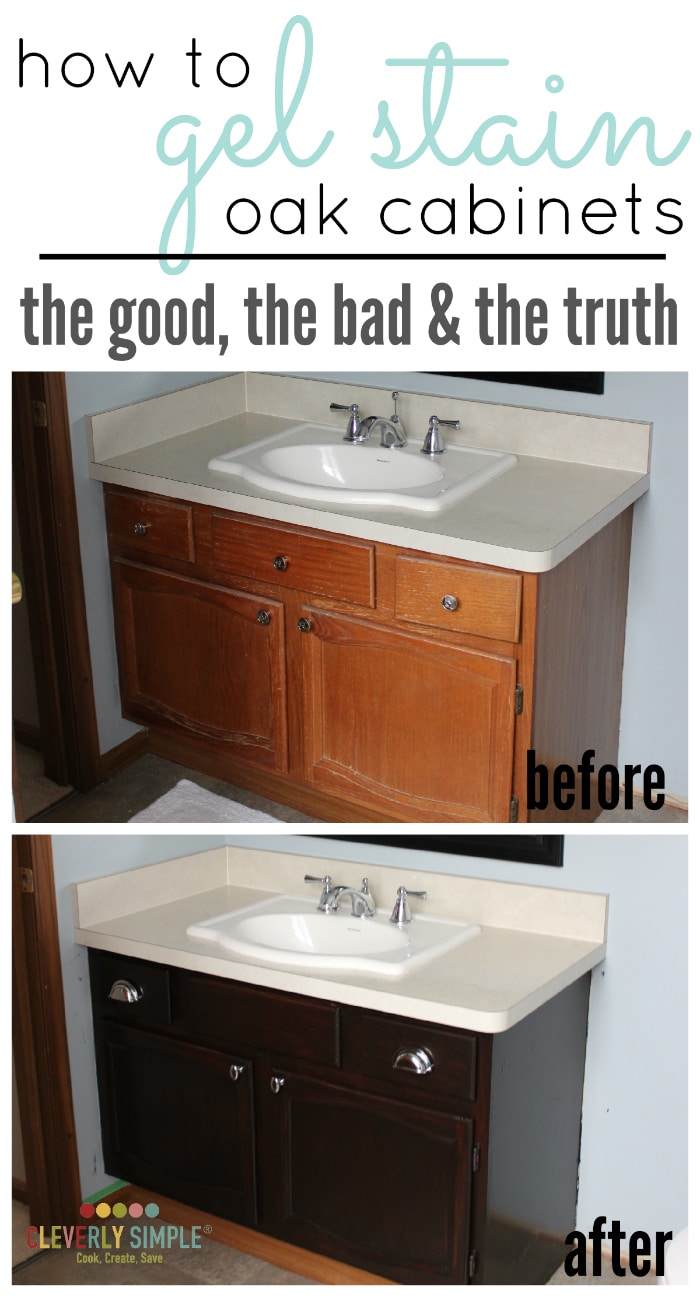
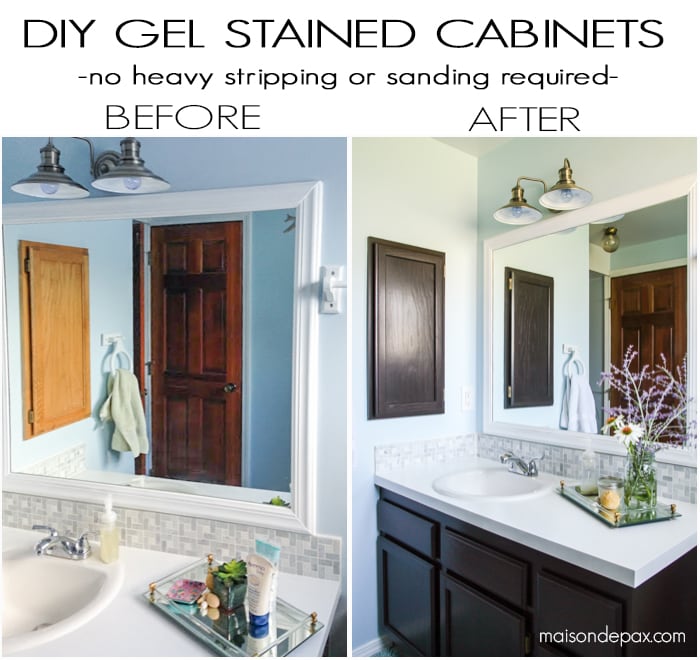
Preparing Your Bathroom Cabinets for Staining
Renovating your bathroom cabinets can breathe new life into the space without breaking the bank. Staining is a great option whether you’re looking to refresh the look of worn-out cabinets or simply want to update your style. However, proper preparation is crucial before you start staining to ensure a successful outcome.
- Remove Hardware and Clean Surfaces: Begin by removing all hardware such as knobs, handles, and hinges from the cabinets. This will allow you to work on the surfaces more effectively. Next, thoroughly clean the cabinets with a mild detergent to remove any dirt, grease, or residues that may interfere with the staining process.
- Sand if Necessary: While the focus here is on staining without sanding, some cabinets may require light sanding to smooth out rough spots or remove old finishes. If your cabinets have rough patches or peeling paint, consider lightly sanding those areas to ensure a smooth surface for staining.
- Fill in Imperfections: Inspect the cabinets for any dents, scratches, or holes. Use a wood filler to fill in these imperfections, and sand them smooth once dry. This step is essential for achieving a flawless finish.
- Mask Off Surrounding Areas: To protect the surrounding areas from accidental stains, use painter’s tape to mask off any adjacent walls, countertops, or floors. This will help maintain clean lines and prevent messy cleanup later on.
- Apply a Pre-Stain Conditioner: For certain types of wood, especially those prone to blotching, applying a pre-stain conditioner can help achieve a more uniform stain color. Follow the manufacturer’s instructions for application and drying times before proceeding with staining.
- Ensure Adequate Ventilation: Staining can release strong fumes, so working in a well-ventilated area is essential. Open windows and doors to allow proper airflow, or consider using a fan to help dissipate the fumes.

Choosing the Right Stain for Your Bathroom Cabinets
When it comes to staining bathroom cabinets, choosing the right stain can make all the difference in achieving the desired look and durability. With a wide range of stain colors and types available, it’s essential to consider factors such as wood type, existing decor, and personal preferences.
Consider Wood Type: The type of wood your cabinets are made of will influence how the stain appears. For example, lighter woods such as maple or pine may absorb stains differently than darker woods like cherry or mahogany. Test the stain on a small, inconspicuous area of the cabinet to ensure it achieves the desired color.
Determine the Desired Finish: Stains come in various finishes, including matte, satin, semi-gloss, and gloss. Consider the overall aesthetic of your bathroom and choose a stain finish that complements the existing decor. Keep in mind that glossier finishes tend to reflect more light and may show imperfections more prominently.
Test Samples: Before committing to a particular stain color, test samples on scrap wood or an inconspicuous area of the cabinets to see how they look in your bathroom’s lighting conditions. This will help you visualize the final result and make any necessary adjustments before applying the stain to the entire surface.
Factor in Maintenance: Some stains require more maintenance than others to keep them looking their best. For example, lighter stains may show dirt and grime more easily and require more frequent cleaning. Consider your lifestyle and maintenance preferences when choosing a stain color and finish.
Consult with Experts: If you’re unsure about which stain color or type to choose, don’t hesitate to seek advice from professionals at your local home improvement store or consult with a professional contractor. They can provide valuable insights and recommendations based on their experience and expertise.
Read Reviews: Before making a final decision, take the time to read reviews and testimonials from other homeowners who have used the stains you’re considering. Their feedback can offer valuable insights into the durability, ease of application, and overall satisfaction with the product.
Application Techniques for Staining Bathroom Cabinets Without Sanding
Staining bathroom cabinets without sanding can be a time-saving and convenient alternative for homeowners looking to refresh their space without the hassle of extensive preparation. However, achieving professional-looking results requires proper technique and attention to detail. Here are some application techniques to consider:
Use a Quality Brush or Cloth: When applying stain to your bathroom cabinets, choose a high-quality brush or lint-free cloth to ensure smooth and even coverage. Avoid cheap brushes that may leave bristle marks or lint behind, which can detract from the final finish.
Apply Thin, Even Coats: Instead of applying a thick layer of stain all at once, apply thin, even coats to prevent drips, streaks, or uneven coloring. Allow each coat to dry completely before applying the next layer to achieve a richer, more saturated color.
Wipe-Off Excess Stain: After applying the stain, use a clean cloth to wipe off any excess product. This will help prevent blotching and ensure a more uniform finish. Work in small sections and wipe with the grain of the wood for best results.
Blend Stain Colors: If you’re looking to customize the color of your cabinets, consider blending different stain colors to achieve the perfect hue. Mix small amounts of stain on a disposable surface until you reach the desired color, then apply to the cabinets using the same technique as described above.
Pay Attention to Detail: Take your time and pay attention to detail when applying stain to your bathroom cabinets. Check for any missed spots or uneven areas, and touch up as needed before the stain dries. A little extra effort during the application process can go a long way toward achieving professional-looking results.
Allow Sufficient Drying Time: Proper drying time is essential for a successful staining project. Allow the stain to dry completely according to the manufacturer’s instructions before handling or applying any additional coats. Rushing the drying process can result in tacky or uneven surfaces.
Tips for Achieving a Professional Finish
Staining bathroom cabinets can transform the look of your space and add a touch of elegance and warmth. To ensure a professional finish that enhances the beauty of your cabinets, consider these helpful tips:
Test on a Sample Piece: Before applying stain to your bathroom cabinets, test it on a small, inconspicuous area or a scrap piece of wood to ensure it achieves the desired color and finish. This will help you avoid any surprises and make adjustments as needed before committing to the entire project.
Work in a Well-Ventilated Area: Staining can release strong fumes that may be harmful if inhaled. Work in a well-ventilated area, such as a garage or outdoor space, to minimize exposure to fumes and ensure adequate airflow.
Protect Yourself: When working with stains and other chemicals, be sure to wear appropriate protective gear, including gloves, safety goggles, and a respirator mask if necessary. This will help protect your skin, eyes, and lungs from potential hazards.
Take Your Time: Rushing through the staining process can lead to mistakes and uneven results. Take your time and work methodically, applying thin, even coats of stain and allowing sufficient drying time between coats.
Consider Topcoat Options: Once the stain has dried completely, consider applying a topcoat to protect the finish and enhance durability. Options include polyurethane, lacquer, or wax, depending on the desired level of sheen and protection.
Practice Proper Cleanup: After completing the staining process, clean your brushes, clothes, and any other tools with mineral spirits or the appropriate cleaning solution recommended by the stain manufacturer. Proper cleanup will prolong the life of your tools and ensure they’re ready for future projects.
Maintaining and Protecting Stained Bathroom Cabinets
After investing time and effort into staining your bathroom cabinets, it’s important to properly maintain and protect the finish to ensure long-lasting beauty and durability. Here are some tips for maintaining and protecting stained bathroom cabinets:
Regular Cleaning: To keep your stained cabinets looking their best, clean them regularly with a mild detergent and water solution. Avoid harsh cleaners or abrasive sponges that can damage the finish. Wipe down the cabinets with a soft cloth or sponge, then dry thoroughly to prevent water damage.
Avoid Excessive Moisture: Excessive moisture can cause damage to stained wood cabinets over time. Avoid placing wet items directly on the cabinets, and ensure proper ventilation in the bathroom to prevent moisture buildup. Consider using a dehumidifier if necessary, especially in humid climates.
Protect from Sunlight: Direct sunlight can cause stains to fade and wood to warp or discolor over time. Consider installing curtains or blinds to block out harsh sunlight during the day, or use UV-protective coatings on windows to reduce UV exposure.
Repair Damage Promptly: If you notice any scratches, dents, or other damage to your stained cabinets, repair them promptly to prevent further deterioration. Use a touch-up stain or wood filler to fill in minor imperfections, and sand and refinish as needed to restore the original appearance.
Reapply Topcoat as Needed: Over time, the topcoat on stained cabinets may wear away due to normal wear and tear. Keep an eye on the condition of the finish and reapply the topcoat as needed to maintain protection and enhance durability. Follow the manufacturer’s instructions for application and drying times.
Inspect Regularly: Make it a habit to inspect your stained cabinets regularly for signs of wear, damage, or discoloration. Catching issues early allows you to address them promptly and prevent further damage or deterioration.
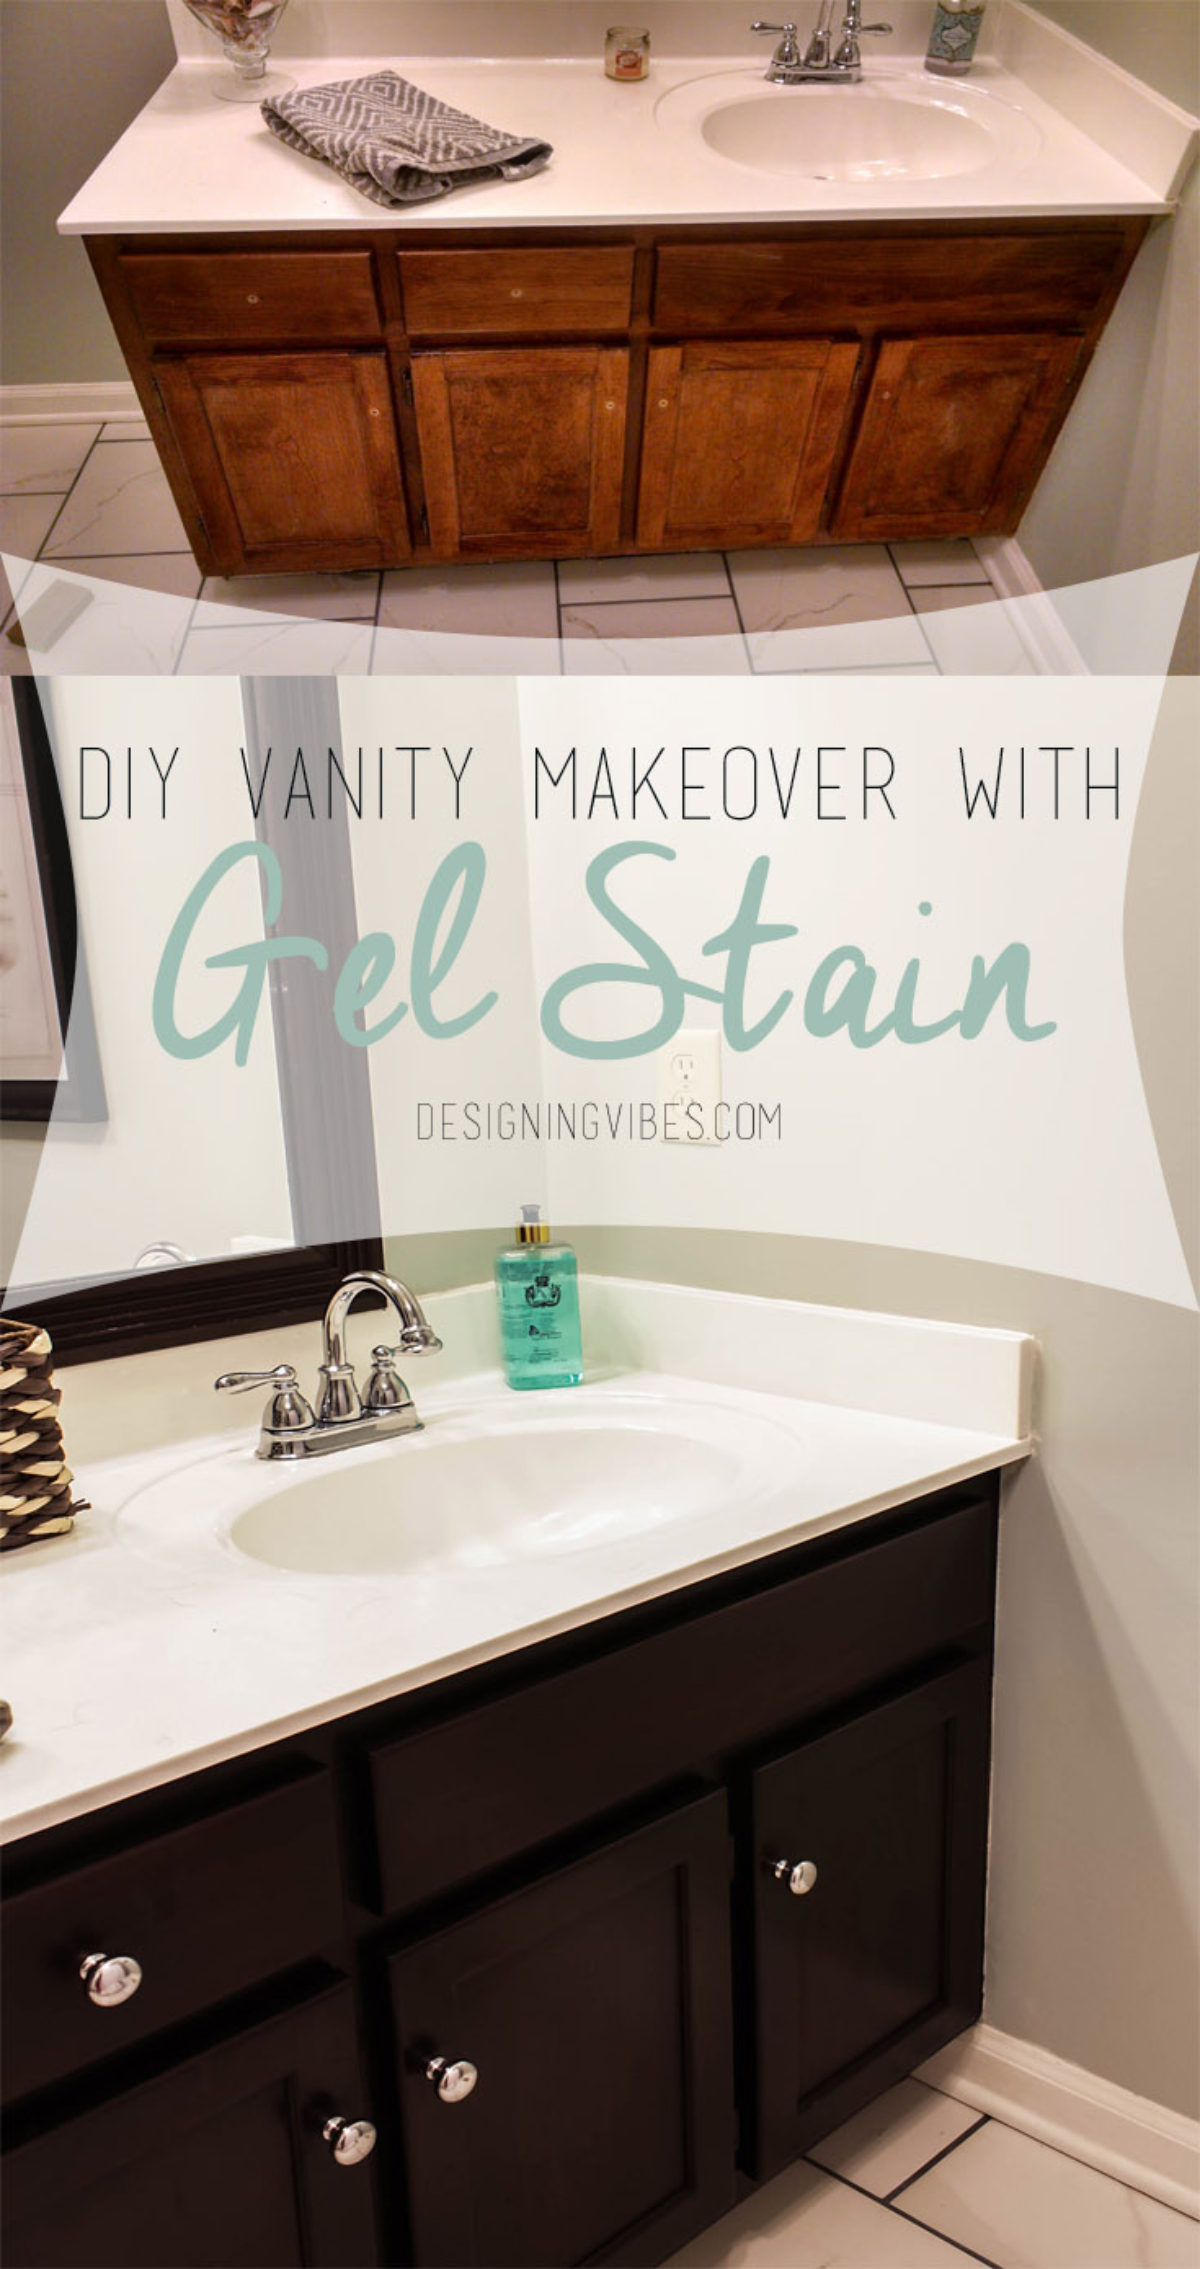
Transforming Bathroom Vanity With Gel Stain- Java Gel Stain
How to Use Gel Stain – Update Cabinets Without Sanding
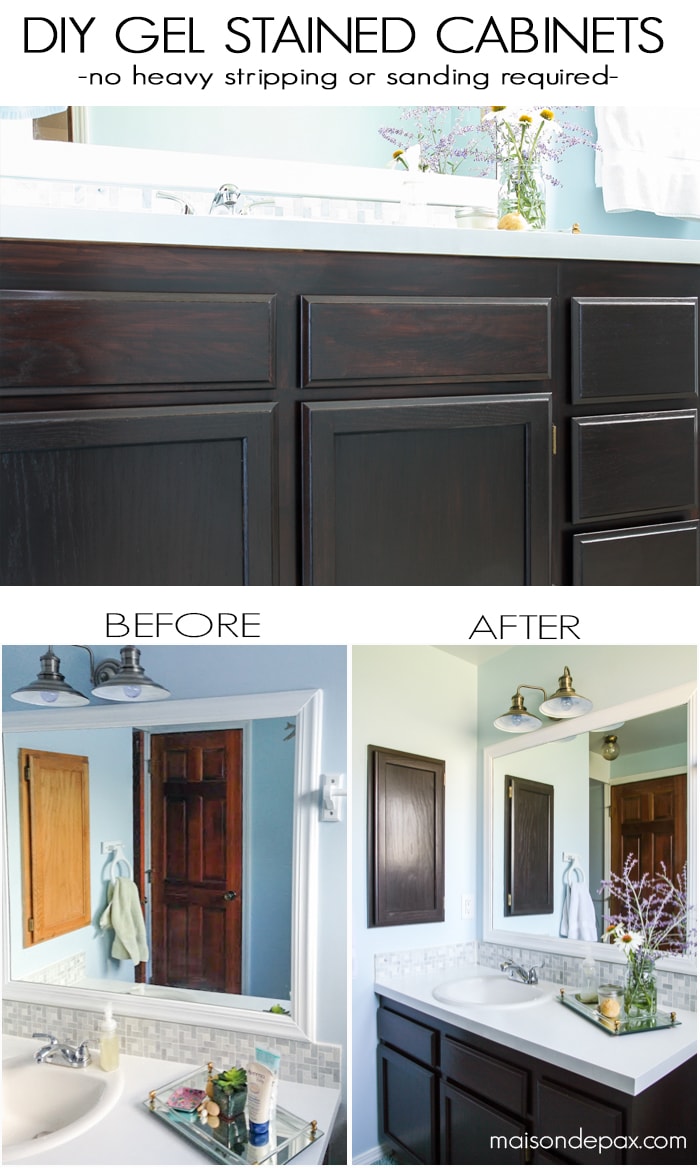
DIY Gel Stain Cabinets (No heavy sanding or stripping!)
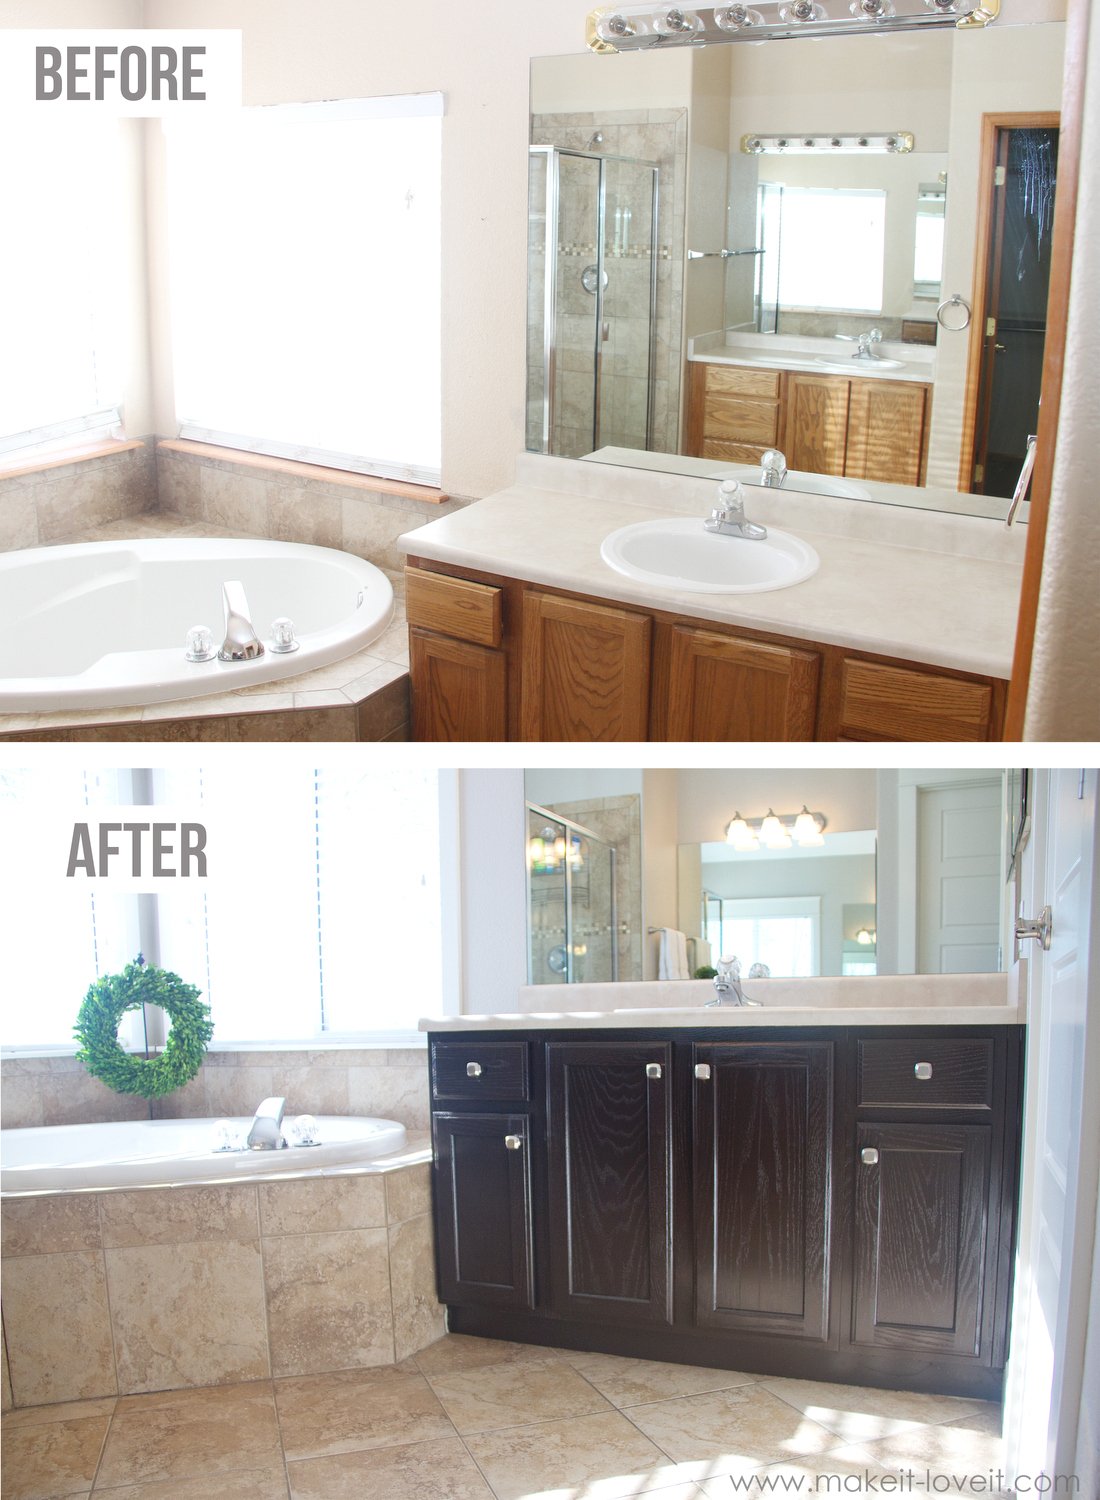
Refinish Bathroom Vanity DIY Project: How To Stain Oak Cabinets
How to Use Gel Stain on Cabinets – The Good & The Bad
Darken Cabinets WITHOUT Stripping the Existing Finish Pneumatic
DIY Gel Stain Cabinets
Refinish Bathroom Vanity DIY Project: How To Stain Oak Cabinets
Darken Cabinets WITHOUT Stripping the Existing Finish Pneumatic
Related Posts:
