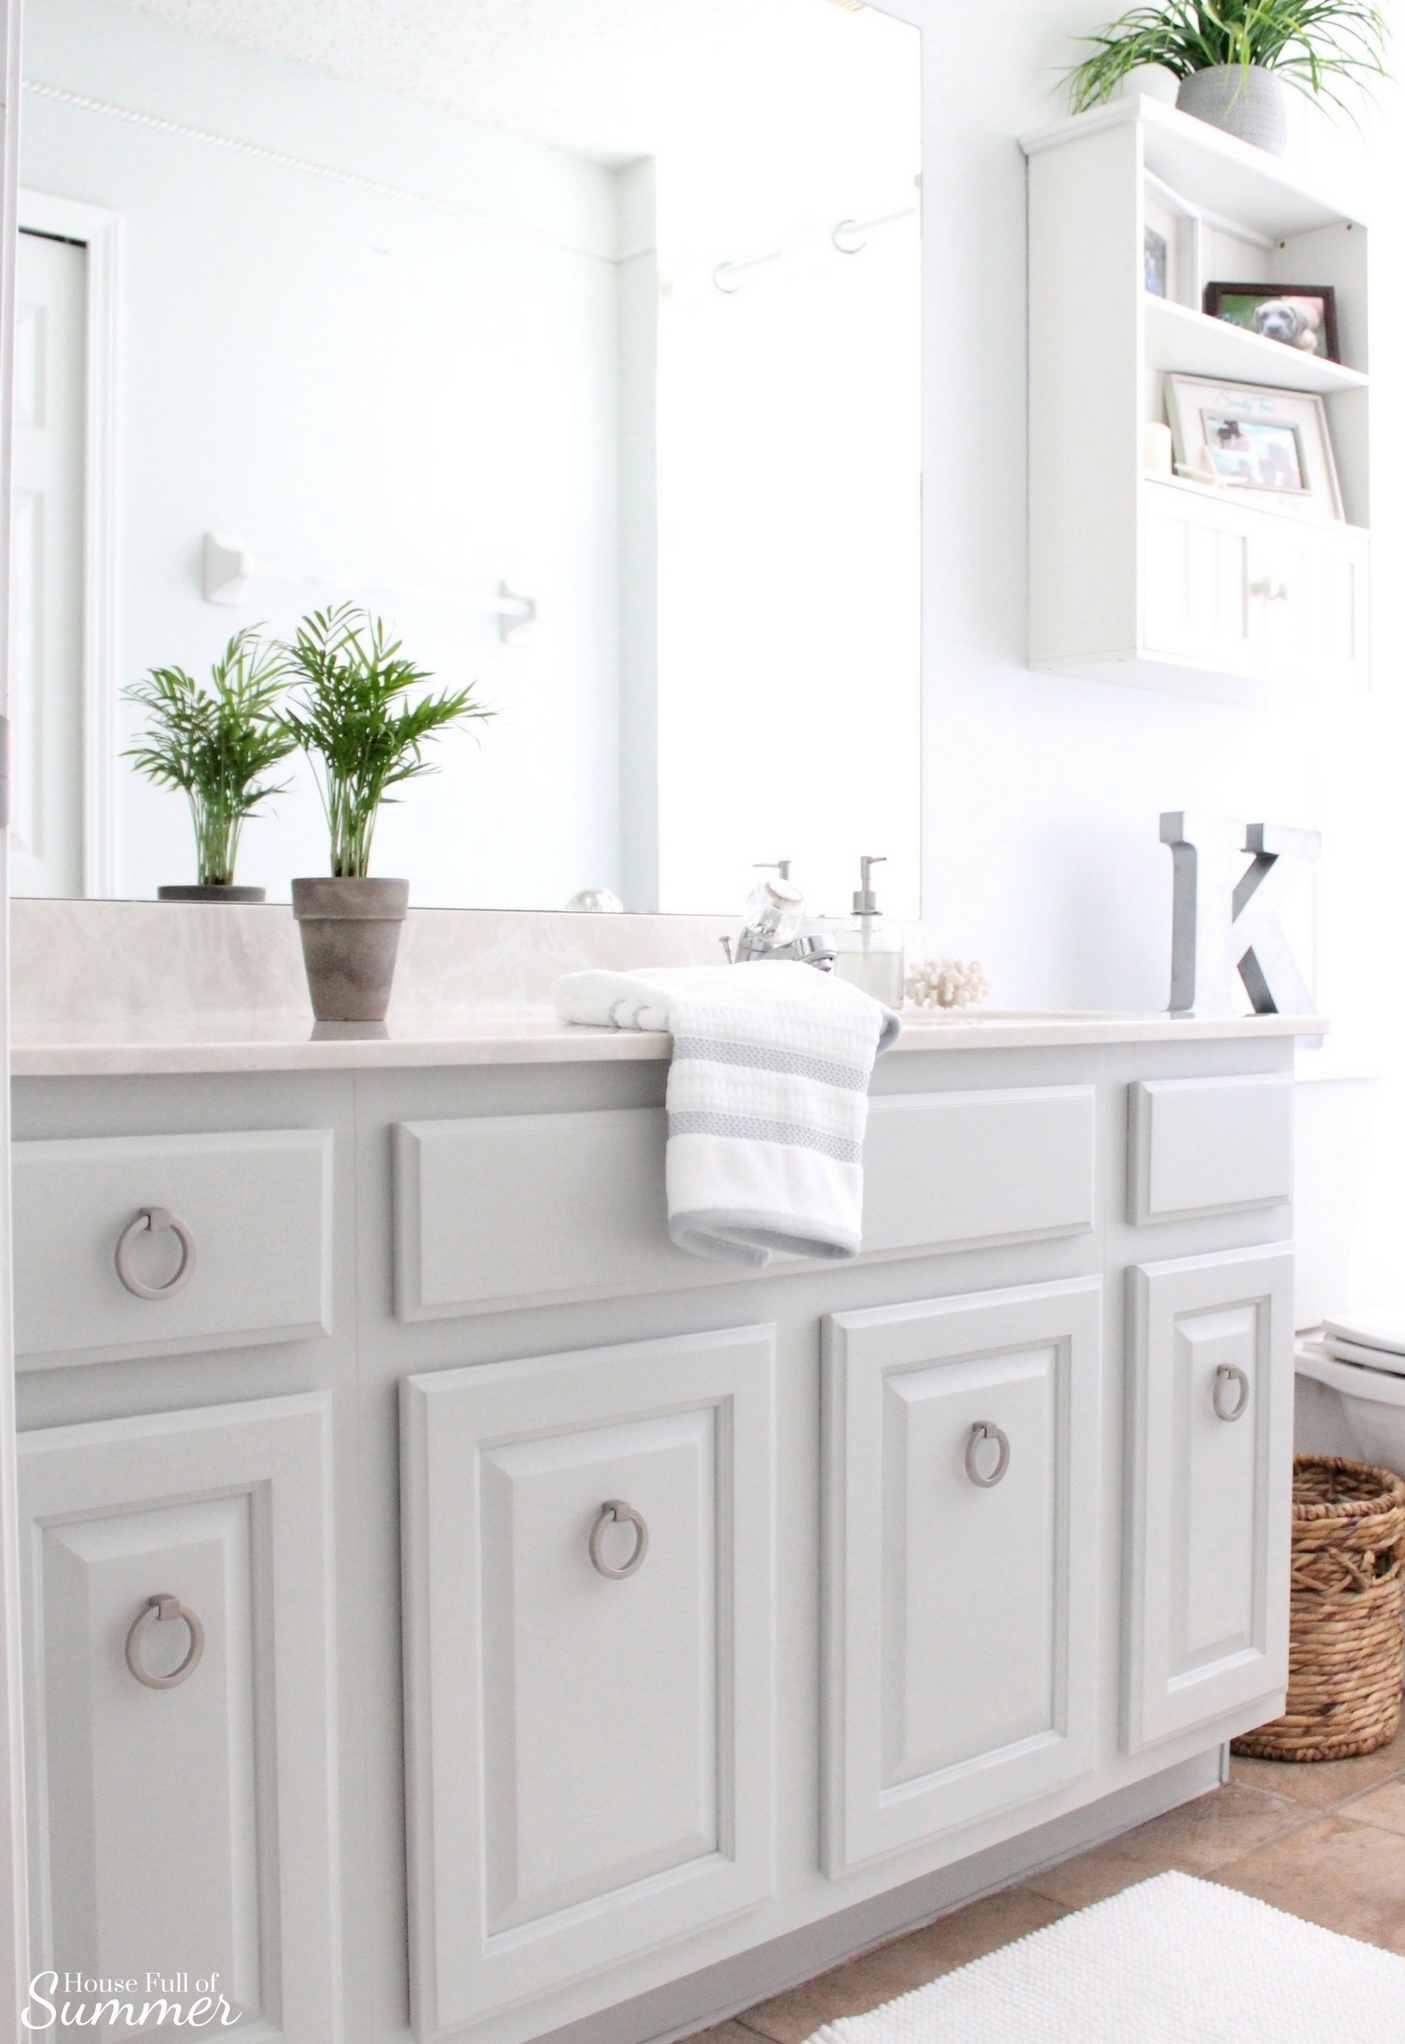
Chalk Paint for Bathroom Cabinets
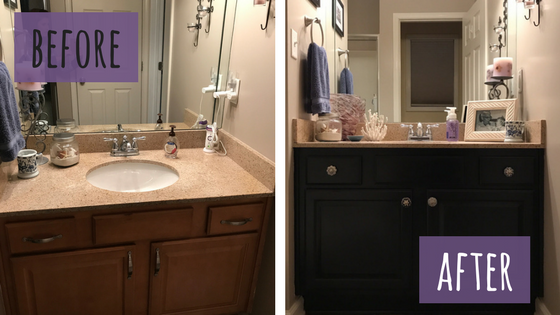
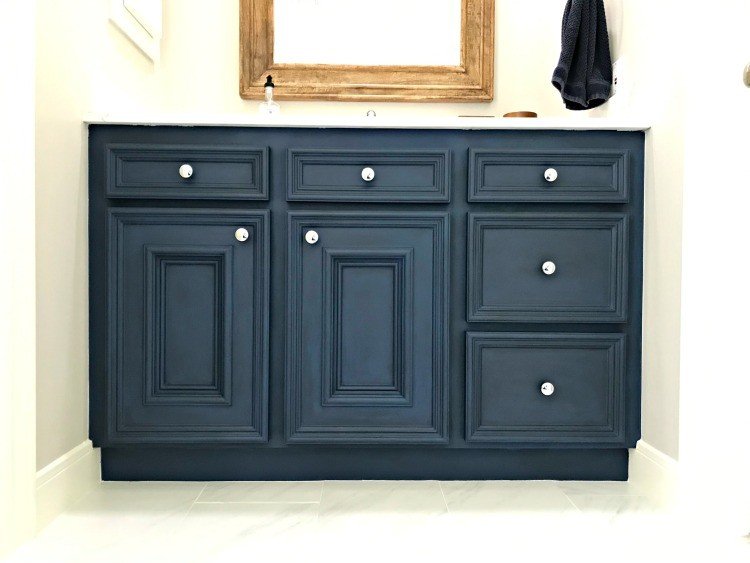
Transforming your bathroom cabinets with chalk paint can breathe new life into the space, giving it a fresh and stylish update without the need for extensive renovation. Chalk paint offers a versatile and user-friendly solution for DIY enthusiasts and homeowners looking to revamp their bathroom decor. Here’s why chalk paint is a popular choice for bathroom cabinets:
- Versatility: Chalk paint is known for its versatility, making it suitable for a wide range of surfaces, including wood, laminate, metal, and even plastic. Whether your bathroom cabinets are made of solid wood or have a laminate finish, chalk paint can adhere to almost any surface with minimal prep work.
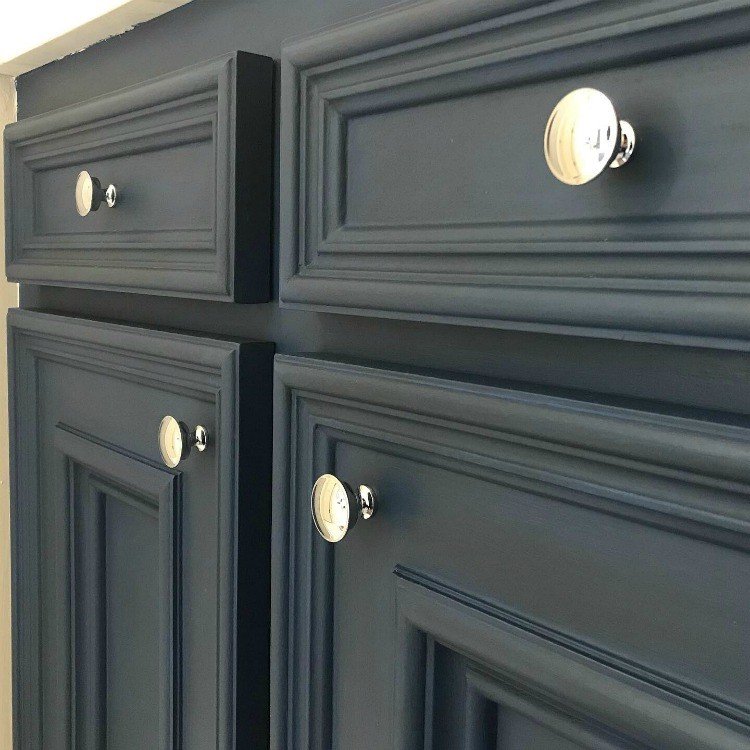
- Ease of Use: Unlike traditional paint, chalk paint requires minimal preparation and no priming or sanding in most cases. Its thick and creamy consistency allows for easy application with a brush or roller, and it dries quickly to a matte finish, giving your cabinets a rustic and charming look.
- Wide Range of Colors: Chalk paint is available in a wide range of colors and shades, allowing you to choose the perfect hue to complement your bathroom decor. Whether you prefer soft pastels, bold and vibrant tones, or classic neutrals, there’s a chalk paint color to suit every style and preference.
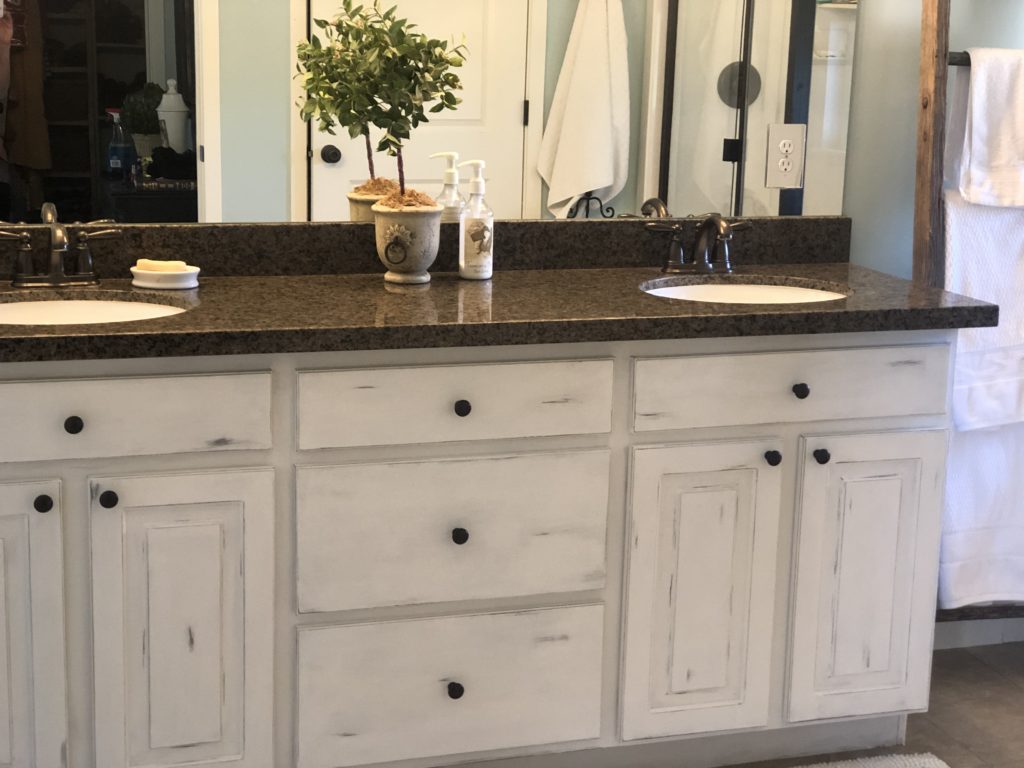
- Distressed Finish Options: One of the unique features of chalk paint is its ability to create a distressed or aged finish effortlessly. By lightly sanding or distressing the painted surface after it has dried, you can achieve a vintage or shabby chic look that adds character and charm to your bathroom cabinets.
- Durable and Long-lasting: Despite its matte appearance, chalk paint is surprisingly durable and long-lasting, especially when sealed with a protective topcoat. Once properly cured and sealed, chalk-painted bathroom cabinets can withstand everyday wear and tear, moisture, and humidity in the bathroom environment.
- Cost-effective: Compared to the cost of replacing or refacing bathroom cabinets, chalk paint offers a cost-effective alternative for updating your bathroom decor on a budget. With just a few cans of paint and some basic supplies, you can achieve professional-looking results at a fraction of the cost of a full renovation.

Preparation and Application Process
Preparing and applying chalk paint to your bathroom cabinets is a straightforward process that requires minimal effort and basic supplies. By following these simple steps, you can achieve professional-looking results and give your cabinets a fresh new look:
Clean the Surfaces: Before applying chalk paint, thoroughly clean the surfaces of your bathroom cabinets to remove dirt, grease, and grime. Use a mild detergent or cleaning solution and a sponge or cloth to wipe down the cabinets, paying special attention to areas around handles and hinges.
Remove Hardware: If possible, remove any hardware such as knobs, handles, and hinges from the cabinets before painting. This will make the painting process easier and ensure that you achieve a smooth and uniform finish on the cabinet surfaces.
Lightly Sand (Optional): While chalk paint typically adheres well to most surfaces without the need for sanding, lightly sanding the cabinets with fine-grit sandpaper can help improve adhesion and smooth out any rough or uneven areas. Wipe away any dust with a tack cloth before painting.
Apply Primer (Optional): In some cases, particularly if your cabinets have a glossy or slick finish, applying a primer before painting can help improve adhesion and ensure better coverage with the chalk paint. Choose a primer specifically designed for use with chalk paint and follow the manufacturer’s instructions for application.
Stir the Paint: Before painting, thoroughly stir the chalk paint to ensure that the pigments are evenly distributed and the consistency is smooth. Avoid shaking the paint, as this can introduce air bubbles and affect the finish.
Apply the Paint: Using a high-quality brush or roller, apply a thin and even coat of chalk paint to the cabinet surfaces. Work in small sections, applying the paint in long, smooth strokes and overlapping slightly to ensure full coverage. Be sure to paint both the fronts and sides of the cabinets for a seamless finish.
Allow to Dry: Once the first coat of paint has been applied, allow it to dry completely according to the manufacturer’s instructions. Depending on the temperature and humidity levels, this may take anywhere from 1 to 2 hours.
Apply Additional Coats (If Necessary): Depending on the desired coverage and intensity of color, you may need to apply additional coats of chalk paint. Allow each coat to dry completely before applying the next, and sand lightly between coats if necessary to smooth out any imperfections.
Optional: Distress the Finish (If Desired): For a distressed or aged look, lightly sand the painted surfaces with fine-grit sandpaper once the final coat of paint has dried. Focus on areas that would naturally wear over time, such as corners, edges, and raised details.
Seal the Finish: Once the paint has dried completely, seal the finish with a clear wax or matte sealer to protect the painted surfaces and enhance durability. Apply the wax or sealer with a clean cloth or brush, working in small sections and buffing gently to achieve a smooth and even finish.
Benefits of Using Chalk Paint on Bathroom Cabinets
Using chalk paint on bathroom cabinets offers a multitude of benefits, making it a popular choice for DIY enthusiasts and homeowners looking to update their bathroom decor. From its ease of use to its versatile finish options, chalk paint provides a stylish and cost-effective solution for transforming tired and outdated cabinets. Here are some of the key benefits of using chalk paint on bathroom cabinets:
Ease of Application: One of the primary benefits of chalk paint is its ease of application. Unlike traditional paint, chalk paint requires minimal preparation and can be applied directly to most surfaces without the need for priming or sanding in most cases. Its thick and creamy consistency allows for smooth and even coverage with minimal effort.
Minimal Odor and VOCs: Chalk paint is typically low in volatile organic compounds (VOCs) and has a minimal odor compared to traditional paints, making it a more environmentally friendly and user-friendly option for indoor painting projects such as bathroom cabinets. This makes it suitable for use in enclosed spaces with limited ventilation.
Quick Drying Time: Chalk paint dries quickly to a matte finish, allowing for faster turnaround times between coats and reducing the overall time required for the painting process. Depending on the temperature and humidity levels, chalk paint typically dries to the touch within 30 minutes to 1 hour, allowing you to complete your project in less time.
Versatile Finish Options: Chalk paint offers a wide range of finish options, from matte and chalky to distressed and aged. Whether you prefer a smooth and modern look or a rustic and vintage vibe, there’s a chalk paint finish to suit every style and aesthetic preference. Plus, chalk paint can be easily customized with decorative techniques such as distressing, layering, and stenciling to achieve unique and personalized effects.
Durable and Long-lasting: Despite its matte appearance, chalk paint is surprisingly durable and long-lasting, especially when sealed with a protective topcoat. Once properly cured and sealed, chalk-painted bathroom cabinets can withstand everyday wear and tear, moisture, and humidity in the bathroom environment, ensuring that your newly painted cabinets look great for years to come.
Cost-effective: Compared to the cost of replacing or refacing bathroom cabinets, painting with chalk paint offers a cost-effective alternative for updating your bathroom decor on a budget. With just a few cans of paint and some basic supplies, you can achieve professional-looking results at a fraction of the cost of a full renovation, saving you time and money in the process.
Tips for Achieving a Professional Finish
Achieving a professional-looking finish when painting bathroom cabinets with chalk paint requires careful preparation, attention to detail, and the right techniques. With the following tips and tricks, you can ensure that your cabinets look polished and pristine:
Choose the Right Paint: When selecting chalk paint for your bathroom cabinets, choose a high-quality brand known for its durability and coverage. Look for paint specifically designed for use on furniture and cabinets, as these formulations are typically thicker and more durable than standard chalk paint.
Prepare the Surfaces: Proper preparation is key to achieving a smooth and durable finish with chalk paint. Thoroughly clean the surfaces of your bathroom cabinets to remove dirt, grease, and grime, and sand lightly with fine-grit sandpaper to smooth out any imperfections. Wipe away any dust with a tack cloth before painting.
Remove Hardware: If possible, remove any hardware such as knobs, handles, and hinges from the cabinets before painting. This will make the painting process easier and ensure that you achieve a smooth and uniform finish on the cabinet surfaces. If removing hardware is not an option, use painter’s tape to protect it from paint.
Use the Right Tools: Invest in high-quality brushes and rollers specifically designed for use with chalk paint. A quality brush will help you achieve smooth and even coverage, while a foam roller can be used to apply paint to larger surfaces quickly and efficiently. Avoid using cheap or low-quality brushes, as they can leave streaks and bristles behind in the paint.
Apply Thin Coats: When painting bathroom cabinets with chalk paint, it’s best to apply thin coats rather than thick layers. This will help prevent drips, runs, and brush marks, resulting in a smoother and more professional-looking finish. Work in small sections, applying the paint in long, smooth strokes and overlapping slightly to ensure full coverage.
Sand Between Coats: For a smoother and more polished finish, lightly sand the painted surfaces with fine-grit sandpaper between coats of chalk paint. This will help smooth out any imperfections or brush marks and ensure a more uniform appearance. Be sure to wipe away any dust with a tack cloth before applying the next coat of paint.
Seal the Finish: Once the final coat of chalk paint has dried completely, seal the finish with a clear wax or matte sealer to protect the painted surfaces and enhance durability. Apply the wax or sealer with a clean cloth or brush, working in small sections and buffing gently to achieve a smooth and even finish. Allow the sealer to dry completely before using the cabinets.
Take Your Time: Achieving a professional-looking finish with chalk paint takes time and patience, so don’t rush the process. Take your time to prepare the surfaces properly, apply the paint carefully, and allow each coat to dry completely before proceeding to the next step. The extra effort will pay off in the form of beautifully painted cabinets that look polished and pristine.
Maintenance and Care Tips
Maintaining and caring for chalk-painted bathroom cabinets is relatively easy, allowing you to enjoy your newly refreshed cabinets for years to come. With proper care and maintenance, you can keep your cabinets looking beautiful and pristine. Here are some tips for maintaining and caring for chalk-painted bathroom cabinets:
Avoid Excessive Moisture: While chalk paint is durable and moisture-resistant, excessive exposure to moisture can cause it to soften, chip, or peel over time. To prevent damage, avoid placing wet items directly on the painted surfaces of your bathroom cabinets, and use coasters or trays to protect them from moisture.
Clean Regularly: Regular cleaning is essential for maintaining the appearance of chalk-painted bathroom cabinets and removing dirt, dust, and grime that can accumulate over time. Use a mild detergent or soap and water solution and a soft cloth or sponge to gently clean the painted surfaces, taking care not to scrub too hard or use abrasive cleaners that could damage the finish.
Avoid Harsh Chemicals: When cleaning chalk-painted bathroom cabinets, avoid using harsh chemicals or abrasive cleaners that could damage the finish. Instead, opt for gentle cleaning solutions such as mild dish soap or vinegar diluted in water, which are effective at removing dirt and grime without causing harm to the paint.
Use Protective Coatings: To enhance durability and protect the painted surfaces of your bathroom cabinets, consider applying a clear wax or matte sealer periodically. This will help seal the finish and provide an extra layer of protection against moisture, stains, and wear and tear. Reapply the wax or sealer as needed to maintain the protective coating.
Be Gentle with Hardware: When cleaning chalk-painted bathroom cabinets, be gentle with hardware such as knobs, handles, and hinges to avoid damaging the finish. Use a soft cloth or sponge to clean the hardware, and avoid using abrasive cleaners or scrubbing too vigorously, as this can scratch or dull the surface.
Touch Up as Needed: Over time, chalk-painted bathroom cabinets may develop small chips, scratches, or imperfections due to everyday wear and tear. To keep your cabinets looking their best, touch up any areas of damage with matching chalk paint, blending the paint carefully to achieve a seamless finish.
Monitor for Signs of Wear: Periodically inspect your chalk-painted bathroom cabinets for signs of wear, such as chips, scratches, or fading. Address any areas of damage promptly by touching up the paint or applying a fresh coat as needed to prevent further deterioration and maintain the appearance of your cabinets.
Avoid Sharp Objects: To prevent scratches and damage to the painted surfaces of your bathroom cabinets, avoid using sharp objects or abrasive materials directly on the cabinets. Use cutting boards, trivets, and protective pads to prevent scratches and damage from utensils, hot pans, and other objects.
Control Humidity Levels: Excessive humidity can contribute to damage and deterioration of chalk-painted bathroom cabinets over time. To maintain optimal humidity levels in your bathroom, use a dehumidifier or ventilation fan to reduce moisture buildup and prevent damage to the cabinets.
Seek Professional Help: If your chalk-painted bathroom cabinets require extensive repairs or refinishing, consider seeking professional help from a qualified painter or refinisher. A professional can assess the condition of your cabinets and recommend the best course of action to restore them to their original beauty.
Honest Review of My Chalk Painted Bathroom Vanities
Blue DIY Chalk Paint Bathroom Vanity Makeover – Abbotts At Home
Chalk Paint Master Bathroom Cabinets – Karins Kottage
Chalk Paint Cabinets With Annie Sloan Chalk Paint
The Easiest Way to Paint Cabinets – List in Progress
Blue DIY Chalk Paint Bathroom Vanity Makeover – Abbotts At Home
Easy Bathroom Cabinet Transformation u2014 House Full of Summer
Pin page
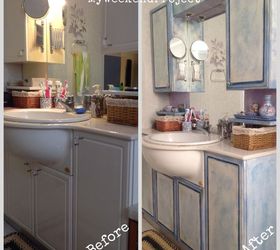
Bathroom Cabinets Makeover With Chalk Paint! Hometalk
Related Posts:
- How To Paint Bathroom Cabinets Espresso
- Marble Top Bathroom Cabinet
- High Gloss Bathroom Cabinet
- Eco Friendly Bathroom Cabinets
- Bathroom Cabinet Towel Storage
- Bathroom Cabinet Knobs Chrome
- Small White Gloss Bathroom Cabinet
- White Gloss Mirrored Bathroom Cabinet
- Tall High Gloss Bathroom Cabinets
- Zenith Bathroom Cabinet


