Choosing the Right Paint Finish for Bathroom Vanities
Choosing the right paint finish for your bathroom vanity is crucial for achieving both a beautiful look and long-lasting durability. The bathroom is a high-moisture environment, which means that the paint finish needs to withstand humidity, water splashes, and frequent cleaning. Here are some tips to help you make the best choice:
- High-Gloss Finish
High-gloss paint finishes are highly reflective and provide a sleek, modern look. They are incredibly durable and resistant to moisture, making them an excellent choice for bathroom vanities. High-gloss finishes are also easy to clean, which is a significant advantage in a bathroom setting. However, they can highlight imperfections in the wood or paint job, so careful preparation is essential. - Semi-Gloss Finish
Semi-gloss paint offers a good balance between durability and aesthetics. It provides a slightly softer shine compared to high-gloss finishes but still holds up well against moisture and frequent cleaning. Semi-gloss is a popular choice for bathroom vanities because it is easier to work with and doesn’t highlight imperfections as much as high-gloss finishes. - Satin Finish
Satin finishes are less shiny than semi-gloss and high-gloss, providing a more subtle, elegant look. They offer decent durability and moisture resistance, though not as much as higher gloss finishes. Satin finishes are an excellent choice if you want a softer appearance for your bathroom vanity without compromising too much on durability. - Eggshell Finish
Eggshell finishes have a low sheen and offer a smooth, velvety appearance. While they are not as durable as gloss or satin finishes, they can still be used for bathroom vanities if you are looking for a more understated look. It’s important to use a high-quality eggshell paint that is specifically formulated for high-moisture environments to ensure longevity. - Matte Finish
Matte finishes provide a non-reflective, smooth surface that can hide imperfections well. However, they are not recommended for bathroom vanities because they are less resistant to moisture and harder to clean. If you prefer a matte look, consider using it on bathroom walls and opting for a more durable finish for the vanity. - Consider Your Overall Bathroom Style
The finish you choose for your bathroom vanity should complement the overall style of your bathroom. High-gloss finishes work well in modern, contemporary bathrooms, while satin and eggshell finishes suit traditional or rustic styles. Take into account the color scheme and materials used in your bathroom to ensure a cohesive look.

Understanding Paint Types: Oil-Based vs. Water-Based
When it comes to painting your bathroom vanity, understanding the differences between oil-based and water-based paints is crucial. Each type has its own set of advantages and disadvantages, making them suitable for different applications and preferences.
Oil-Based Paints: Durability and Finish
Oil-based paints are known for their durability and smooth finish. They create a hard, durable surface that can withstand heavy use and frequent cleaning, making them a popular choice for high-traffic areas like bathroom vanities. The finish is typically glossy, which adds to its durability and aesthetic appeal.
Water-Based Paints: Ease of Use and Quick Drying
Water-based paints, also known as latex or acrylic paints, are easier to work with and dry much faster than oil-based paints. They have low levels of volatile organic compounds (VOCs), making them more environmentally friendly and safer for indoor use. Water-based paints are also easier to clean up with just soap and water.
Adhesion and Flexibility
Water-based paints have excellent adhesion and flexibility, making them less likely to crack or peel over time. This is particularly important in a bathroom environment where the paint needs to withstand changes in humidity and temperature. Oil-based paints, while durable, can become brittle and prone to cracking as they age.
Moisture Resistance
Both oil-based and water-based paints can be formulated to resist moisture, which is crucial for bathroom applications. Oil-based paints naturally repel water better due to their chemical composition. However, modern water-based paints are designed to be highly resistant to moisture and mildew, making them suitable for bathroom vanities.
Ease of Application
Water-based paints are generally easier to apply because they have a smoother consistency and require fewer coats to achieve a uniform finish. They also dry quickly, allowing for multiple coats in a single day. Oil-based paints take longer to dry and can require more effort to achieve a smooth, even finish.
Choosing the Right Paint for Your Vanity
The choice between oil-based and water-based paints ultimately depends on your priorities. If you value durability and a high-gloss finish, oil-based paint may be the better option. If you prefer ease of use, quick drying times, and a more environmentally friendly choice, water-based paint is the way to go. Consider your specific needs and the conditions of your bathroom before making a decision.
Moisture and Mildew Resistance: Key Features for Bathroom Paints
Bathrooms are high-moisture environments, making it essential to choose paints that can resist moisture and mildew. Properly selected paint can prevent unsightly mold growth and maintain the integrity of your bathroom vanity over time.
Understanding Moisture Resistance
Moisture-resistant paints are formulated to create a barrier that prevents water from penetrating the surface. This is particularly important in bathrooms where humidity levels can be high due to showers and baths. Using moisture-resistant paint on your bathroom vanity helps protect the wood or underlying material from swelling, warping, and rotting.
Mildew-Resistant Formulations
Mildew-resistant paints contain special additives that inhibit the growth of mold and mildew. These additives are essential in preventing the unsightly black spots and unpleasant odors associated with mildew. When selecting paint for your bathroom vanity, look for labels that indicate mildew resistance to ensure a long-lasting and hygienic finish.
Importance of Proper Ventilation
While choosing the right paint is crucial, proper ventilation also plays a significant role in preventing moisture and mildew problems. Ensure your bathroom has adequate ventilation through exhaust fans or windows to reduce humidity levels. This, combined with moisture and mildew-resistant paint, creates a comprehensive approach to maintaining a clean and dry bathroom environment.
High-Quality Paint Brands
Investing in high-quality paint brands can make a significant difference in moisture and mildew resistance. Brands such as Benjamin Moore, Sherwin-Williams, and Behr offer specialized bathroom paints designed to withstand high humidity levels. These paints are formulated with advanced technology to provide superior protection against moisture and mildew.
Application Techniques
Proper application techniques are essential to maximize the benefits of moisture and mildew-resistant paints. Ensure that the surface of your bathroom vanity is clean, dry, and free of any existing mold or mildew before painting. Use a high-quality primer that is also moisture-resistant to create a solid base for the paint. Apply the paint in thin, even coats, allowing adequate drying time between each coat.
Maintenance Tips
Even with the best moisture and mildew-resistant paint, regular maintenance is necessary to keep your bathroom vanity in top condition. Wipe down surfaces regularly to remove excess moisture and prevent mold growth. Address any plumbing leaks or water damage promptly to avoid compromising the paint’s effectiveness. Regularly inspect your vanity for signs of wear and touch up paint as needed to maintain its protective barrier.
Preparation and Priming: Ensuring a Long-Lasting Paint Job
Preparation and priming are critical steps in achieving a long-lasting and professional-looking paint job for your bathroom vanity. Properly preparing the surface and using the right primer can significantly enhance the durability and appearance of the paint.
Cleaning the Surface
Before you begin painting, it is essential to thoroughly clean the surface of your bathroom vanity. Remove all dirt, grease, and grime using a mild detergent and water. For tougher stains or residue, consider using a degreaser or a mixture of vinegar and water. A clean surface ensures better adhesion of the primer and paint.
Sanding the Vanity
Sanding the vanity is a crucial step in the preparation process. Use medium-grit sandpaper to rough up the surface, creating a texture that helps the primer and paint adhere better. Pay special attention to any areas with peeling paint or imperfections. After sanding, wipe down the surface with a damp cloth to remove any dust or debris.
Repairing Imperfections
Inspect your vanity for any cracks, holes, or dents that need to be repaired. Use wood filler or putty to fill in these imperfections, and sand them smooth once dry. Addressing these issues before painting ensures a smooth and flawless finish. For larger repairs, you may need to use a bonding primer to help the paint adhere properly.
Choosing the Right Primer
Selecting the right primer is essential for a long-lasting paint job. Use a high-quality, moisture-resistant primer specifically designed for bathrooms. Primers create a uniform surface for the paint to adhere to and enhance the paint’s durability and appearance. Consider using a stain-blocking primer if your vanity has any stains or discolorations.
Applying the Primer
Apply the primer in thin, even coats using a brush or roller. Allow each coat to dry thoroughly before applying the next. Follow the manufacturer’s instructions for drying times and the number of coats needed. Proper priming is essential to create a solid foundation for the paint, ensuring it adheres well and lasts longer.
Sanding Between Coats
For the smoothest finish, lightly sand the primed surface between coats using fine-grit sandpaper. This step helps to remove any brush marks or imperfections and ensures a smooth, even surface for the paint. Wipe away any sanding dust with a damp cloth before applying the next coat of primer or paint.
Step-by-Step Guide to Painting Your Bathroom Vanity
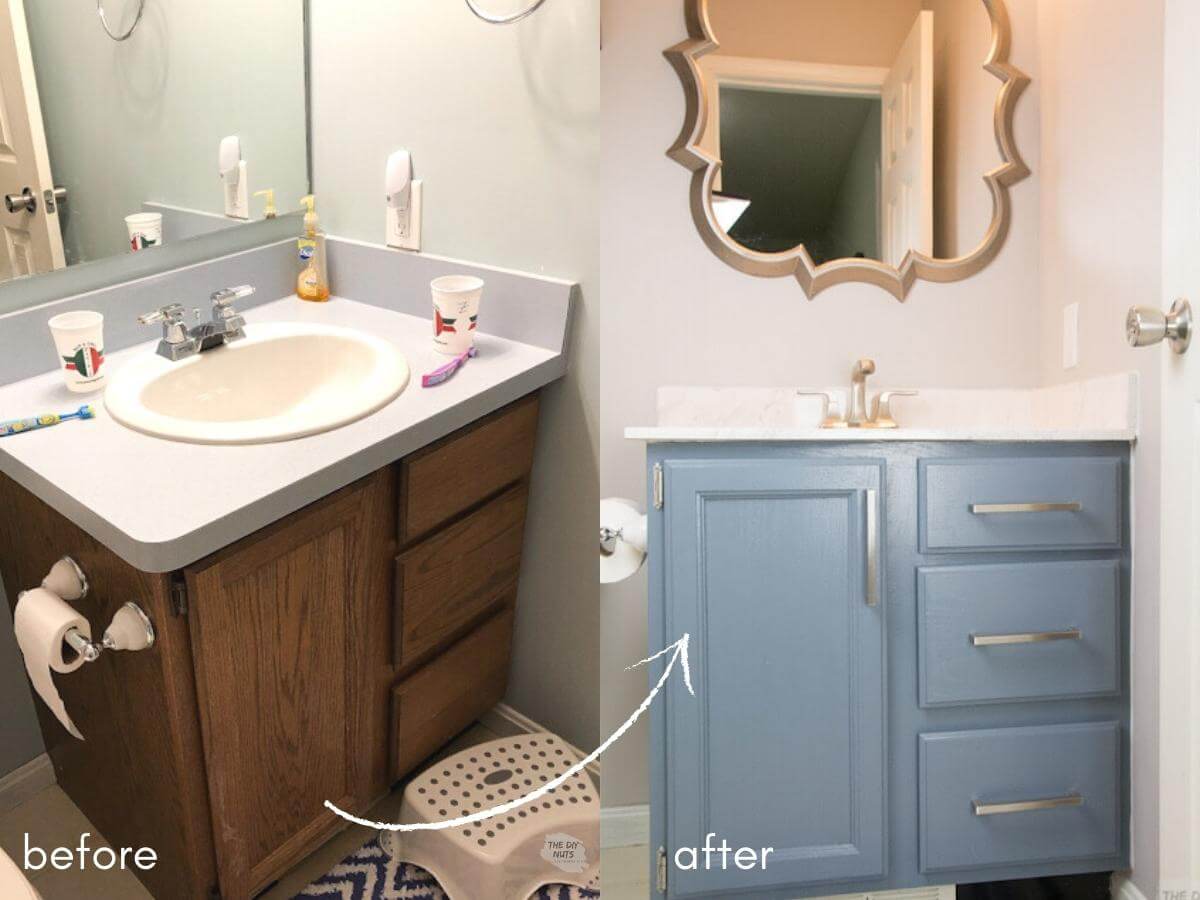
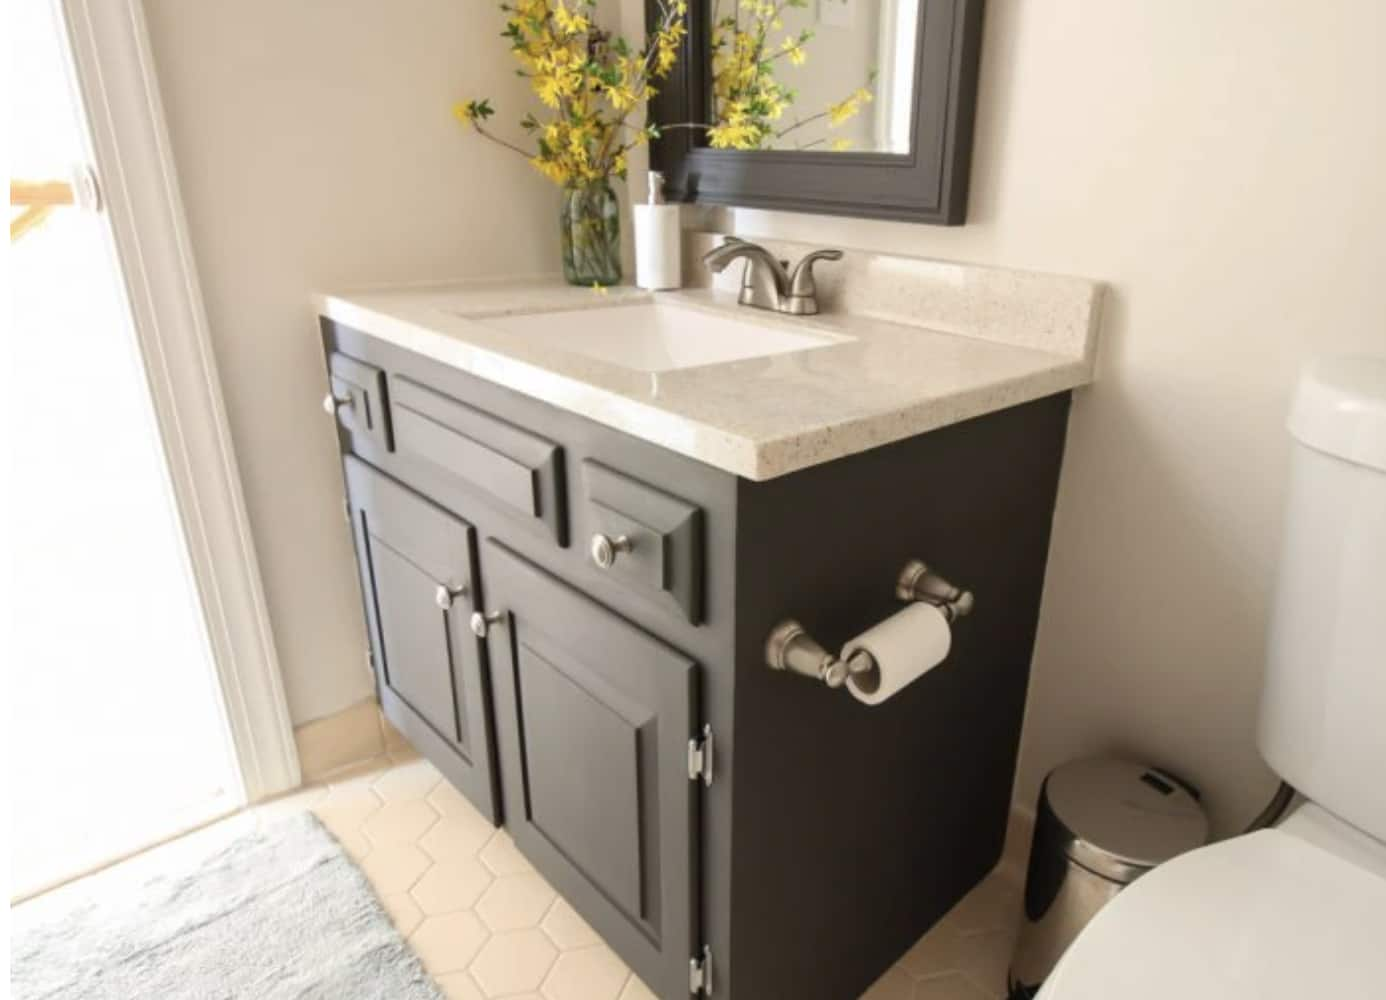
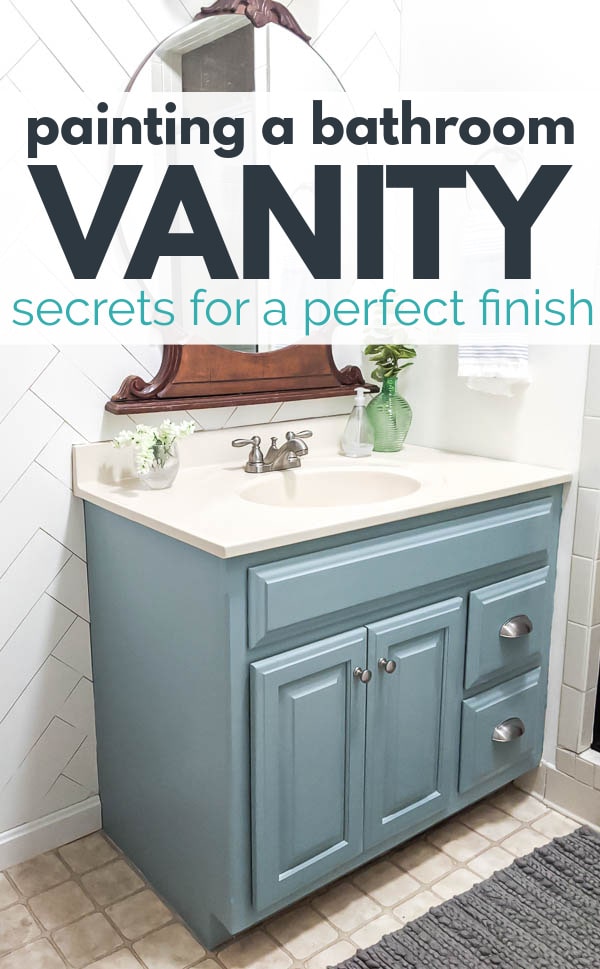
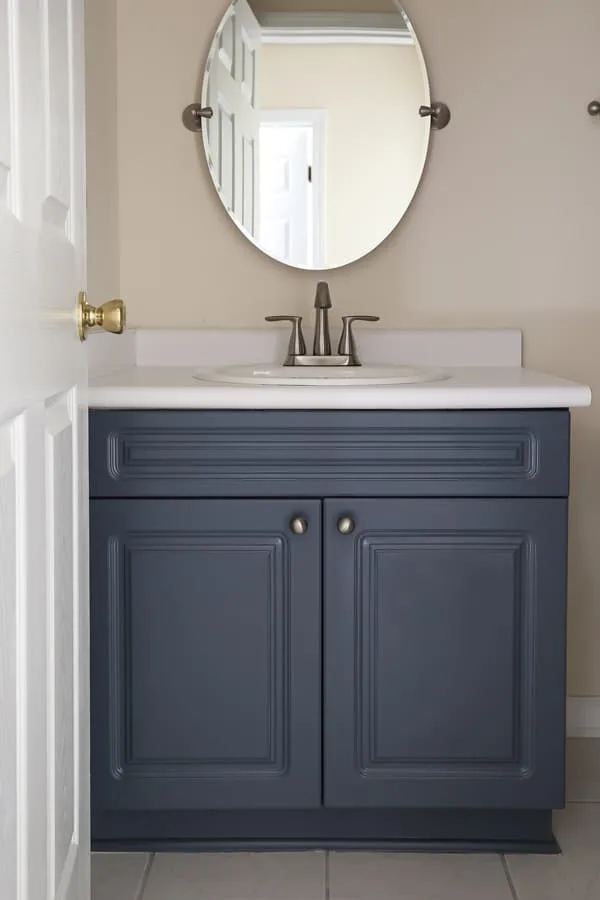
Painting your bathroom vanity is a cost-effective way to update and refresh the look of your bathroom. With the right tools and techniques, you can achieve a professional finish that will stand up to the challenges of a bathroom environment.
Gather Your Supplies
Before you begin, gather all the necessary supplies. You will need sandpaper, a primer, high-quality paint, paintbrushes or rollers, painter’s tape, a drop cloth, and a screwdriver. Having everything on hand before you start will make the process smoother and more efficient.
Remove Hardware and Doors
Start by removing all hardware, such as knobs, handles, and hinges, from your bathroom vanity. Take off the cabinet doors and drawers to make painting easier and more thorough. Label each piece of hardware and its corresponding location to make reassembly easier.
Prepare the Surface
Clean the vanity thoroughly to remove any dirt, grease, or grime. Sand the surface to create a texture for the primer to adhere to. Repair any imperfections with wood filler or putty and sand them smooth. Wipe down the surface with a damp cloth to remove any dust.
Apply Primer
Apply a high-quality, moisture-resistant primer to the entire surface of the vanity. Use thin, even coats and allow each coat to dry thoroughly before applying the next. Lightly sand the primed surface between coats to ensure a smooth finish. Make sure to cover all areas, including the edges and corners.
Paint the Vanity
Once the primer is dry and smooth, begin painting your vanity. Use a high-quality paint that is moisture and mildew-resistant. Apply the paint in thin, even coats, allowing each coat to dry completely before applying the next. Use a brush for detailed areas and a roller for larger surfaces to achieve a uniform finish.
Reassemble and Finish
After the final coat of paint has dried thoroughly, reattach the hardware, doors, and drawers. Touch up any areas as needed to ensure a flawless finish. Consider adding a clear topcoat for extra protection against moisture and wear. Finally, admire your beautifully painted bathroom vanity, and enjoy the refreshed look it brings to your bathroom.
How to Paint a Bathroom Vanity – Angela Marie Made
Our Painted Bathroom Vanity: The “Before” u0026 “After” and How-to
How To Paint A Bathroom Vanity – Love Remodeled
How to Paint Bathroom Cabinets // Secrets for a Perfect Finish
How to Paint a Bathroom Vanity Like a Pro – Dengarden
How to Paint a Bathroom Vanity: Secrets for a Perfect Finish
Transform Your Bathroom Vanity In A Weekend!
The Easiest Way to Paint Cabinets – List in Progress
How to Paint a Bathroom Vanity
How to Paint Cabinets to Last: Painting a Bathroom Vanity
Bathroom Vanity Makeover – Easy DIY Home Paint Project
Related Posts:
